What Kinds of Designs are Found in Halloween Stencils?
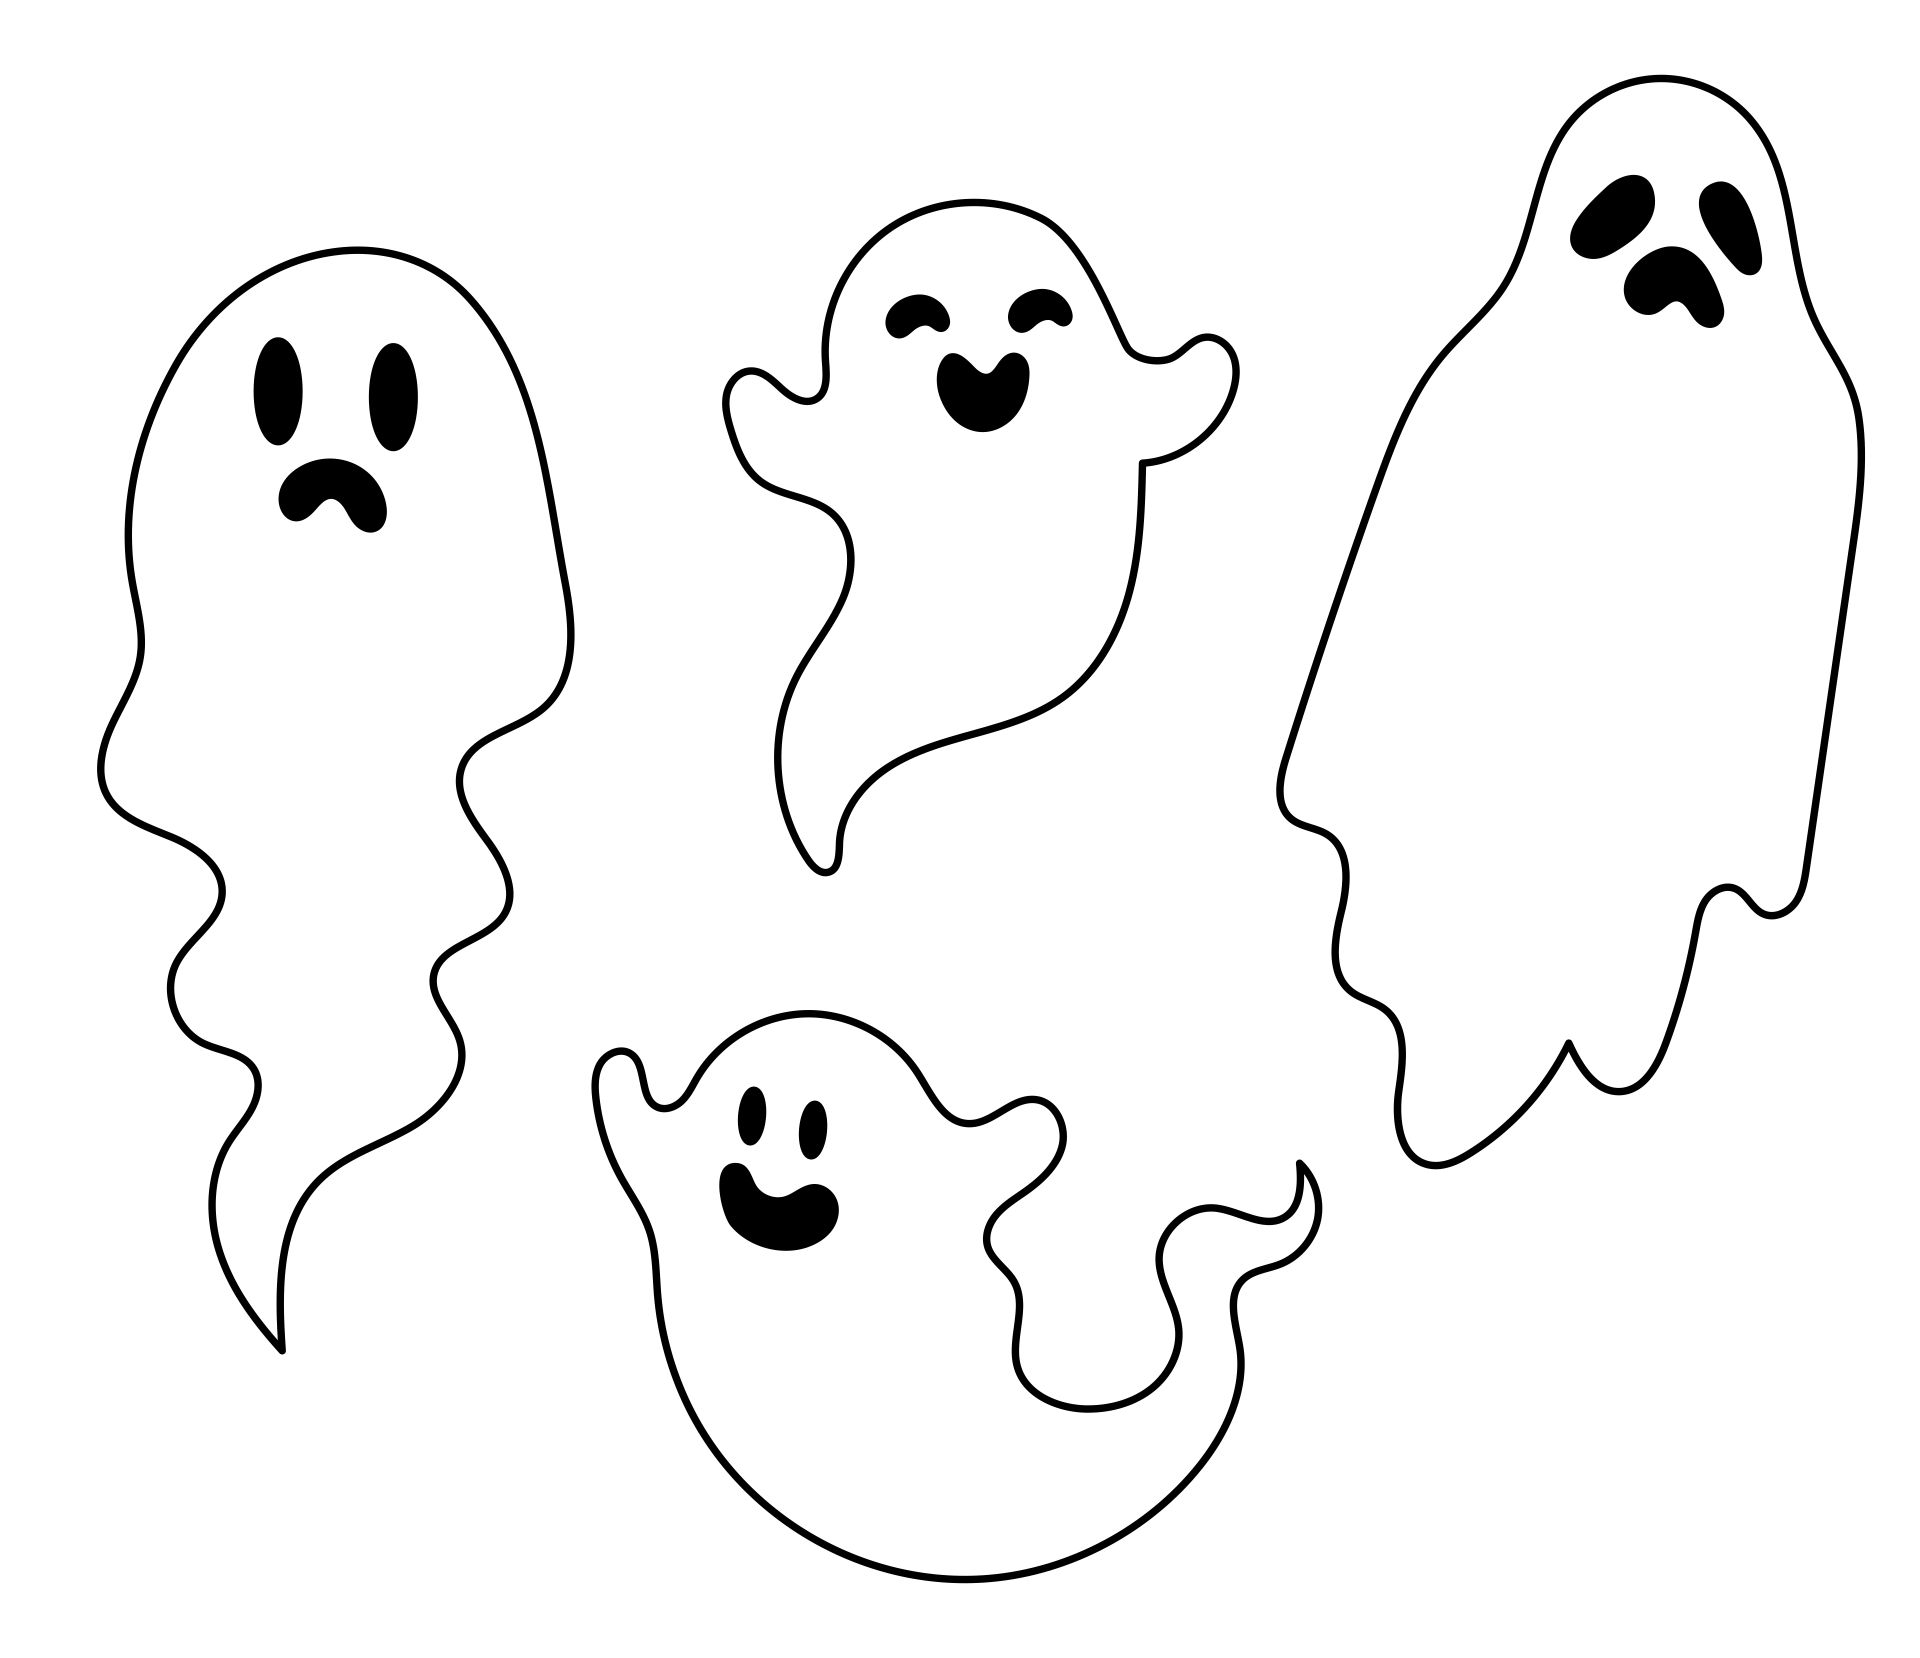
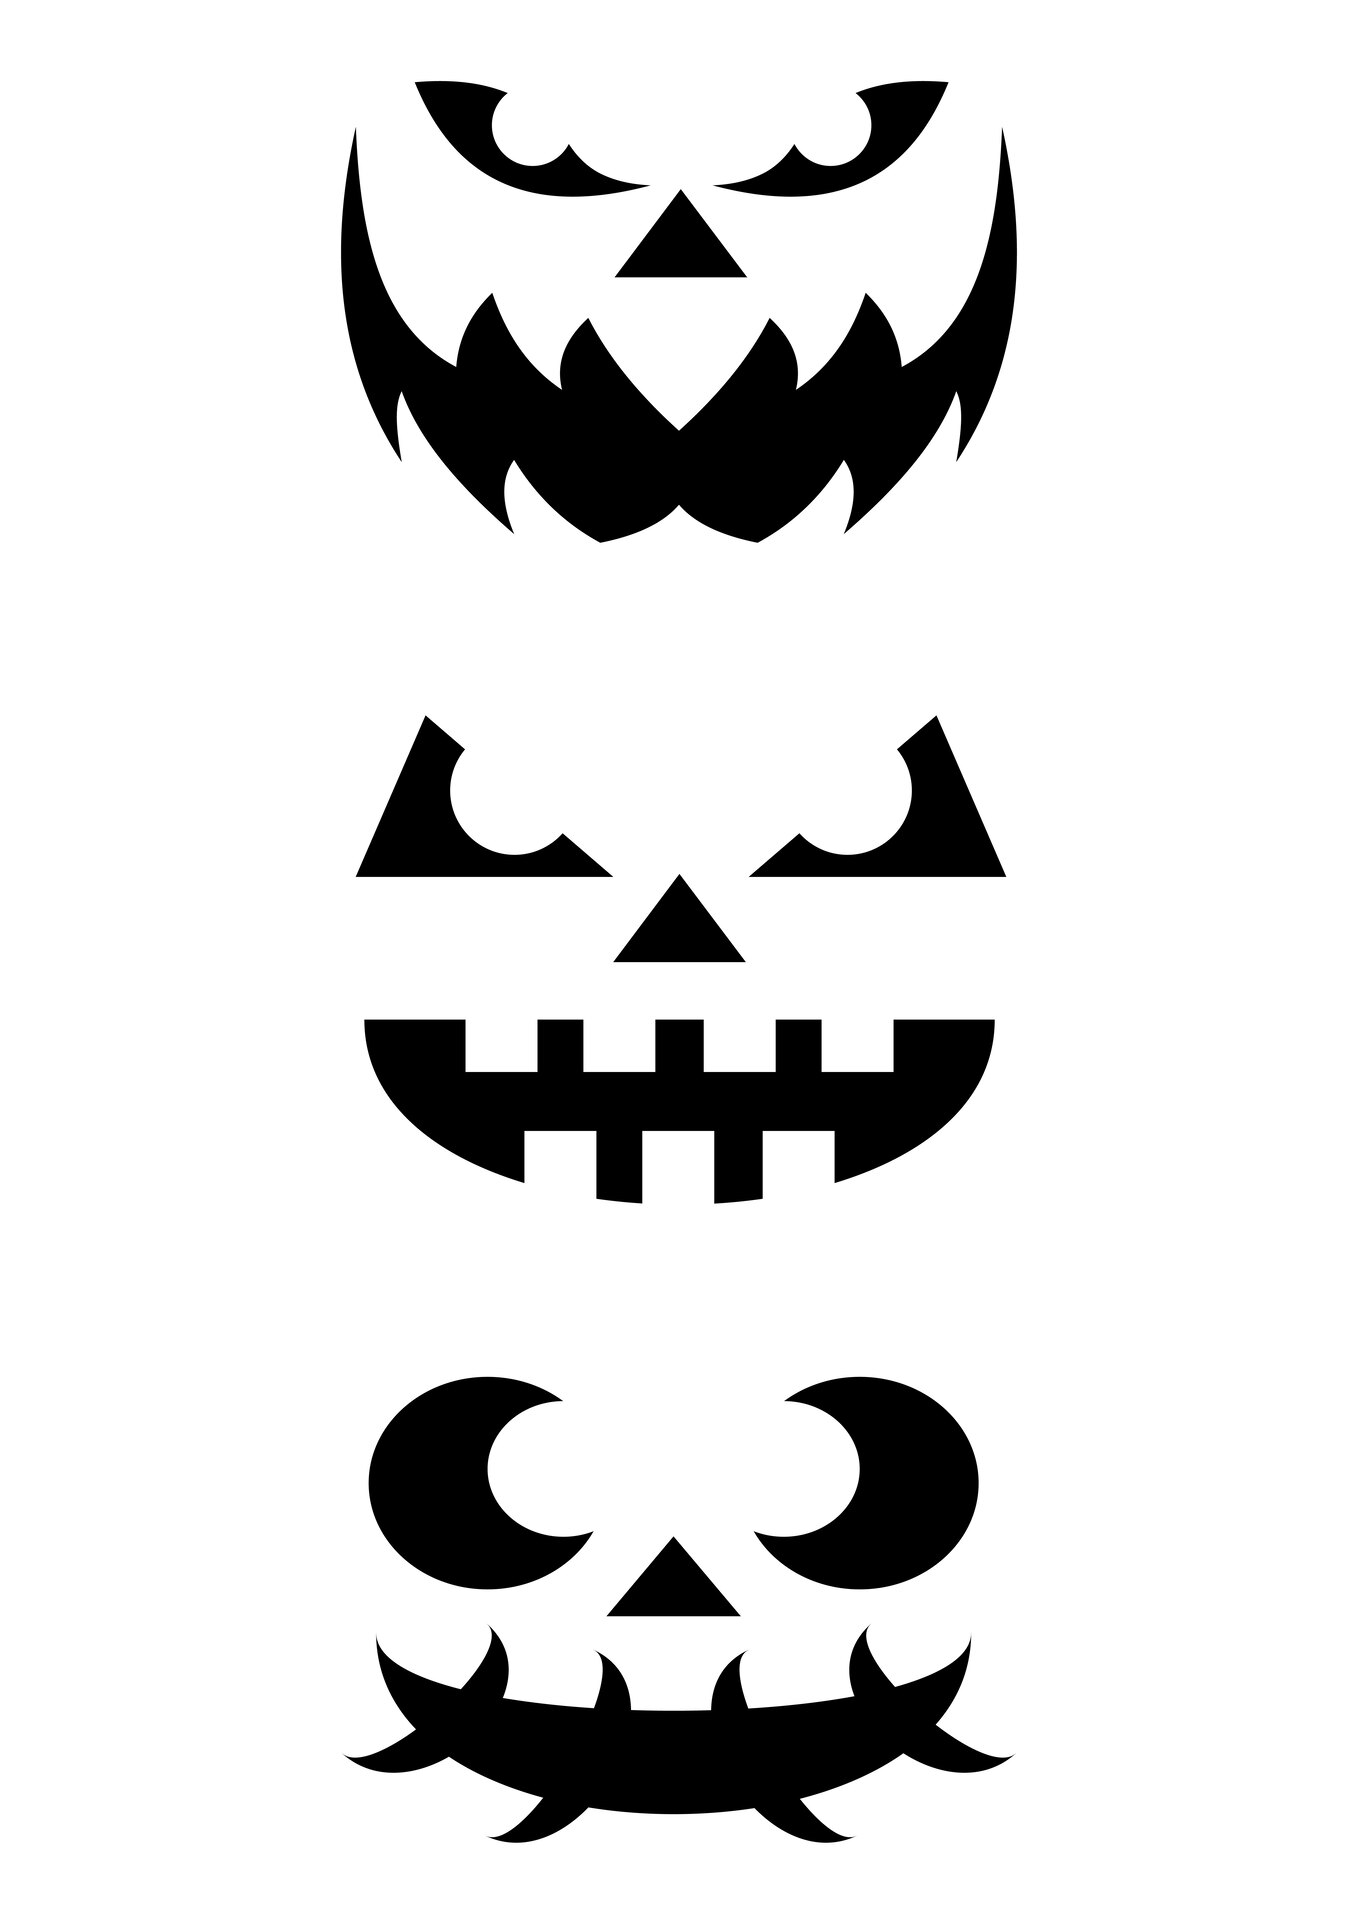
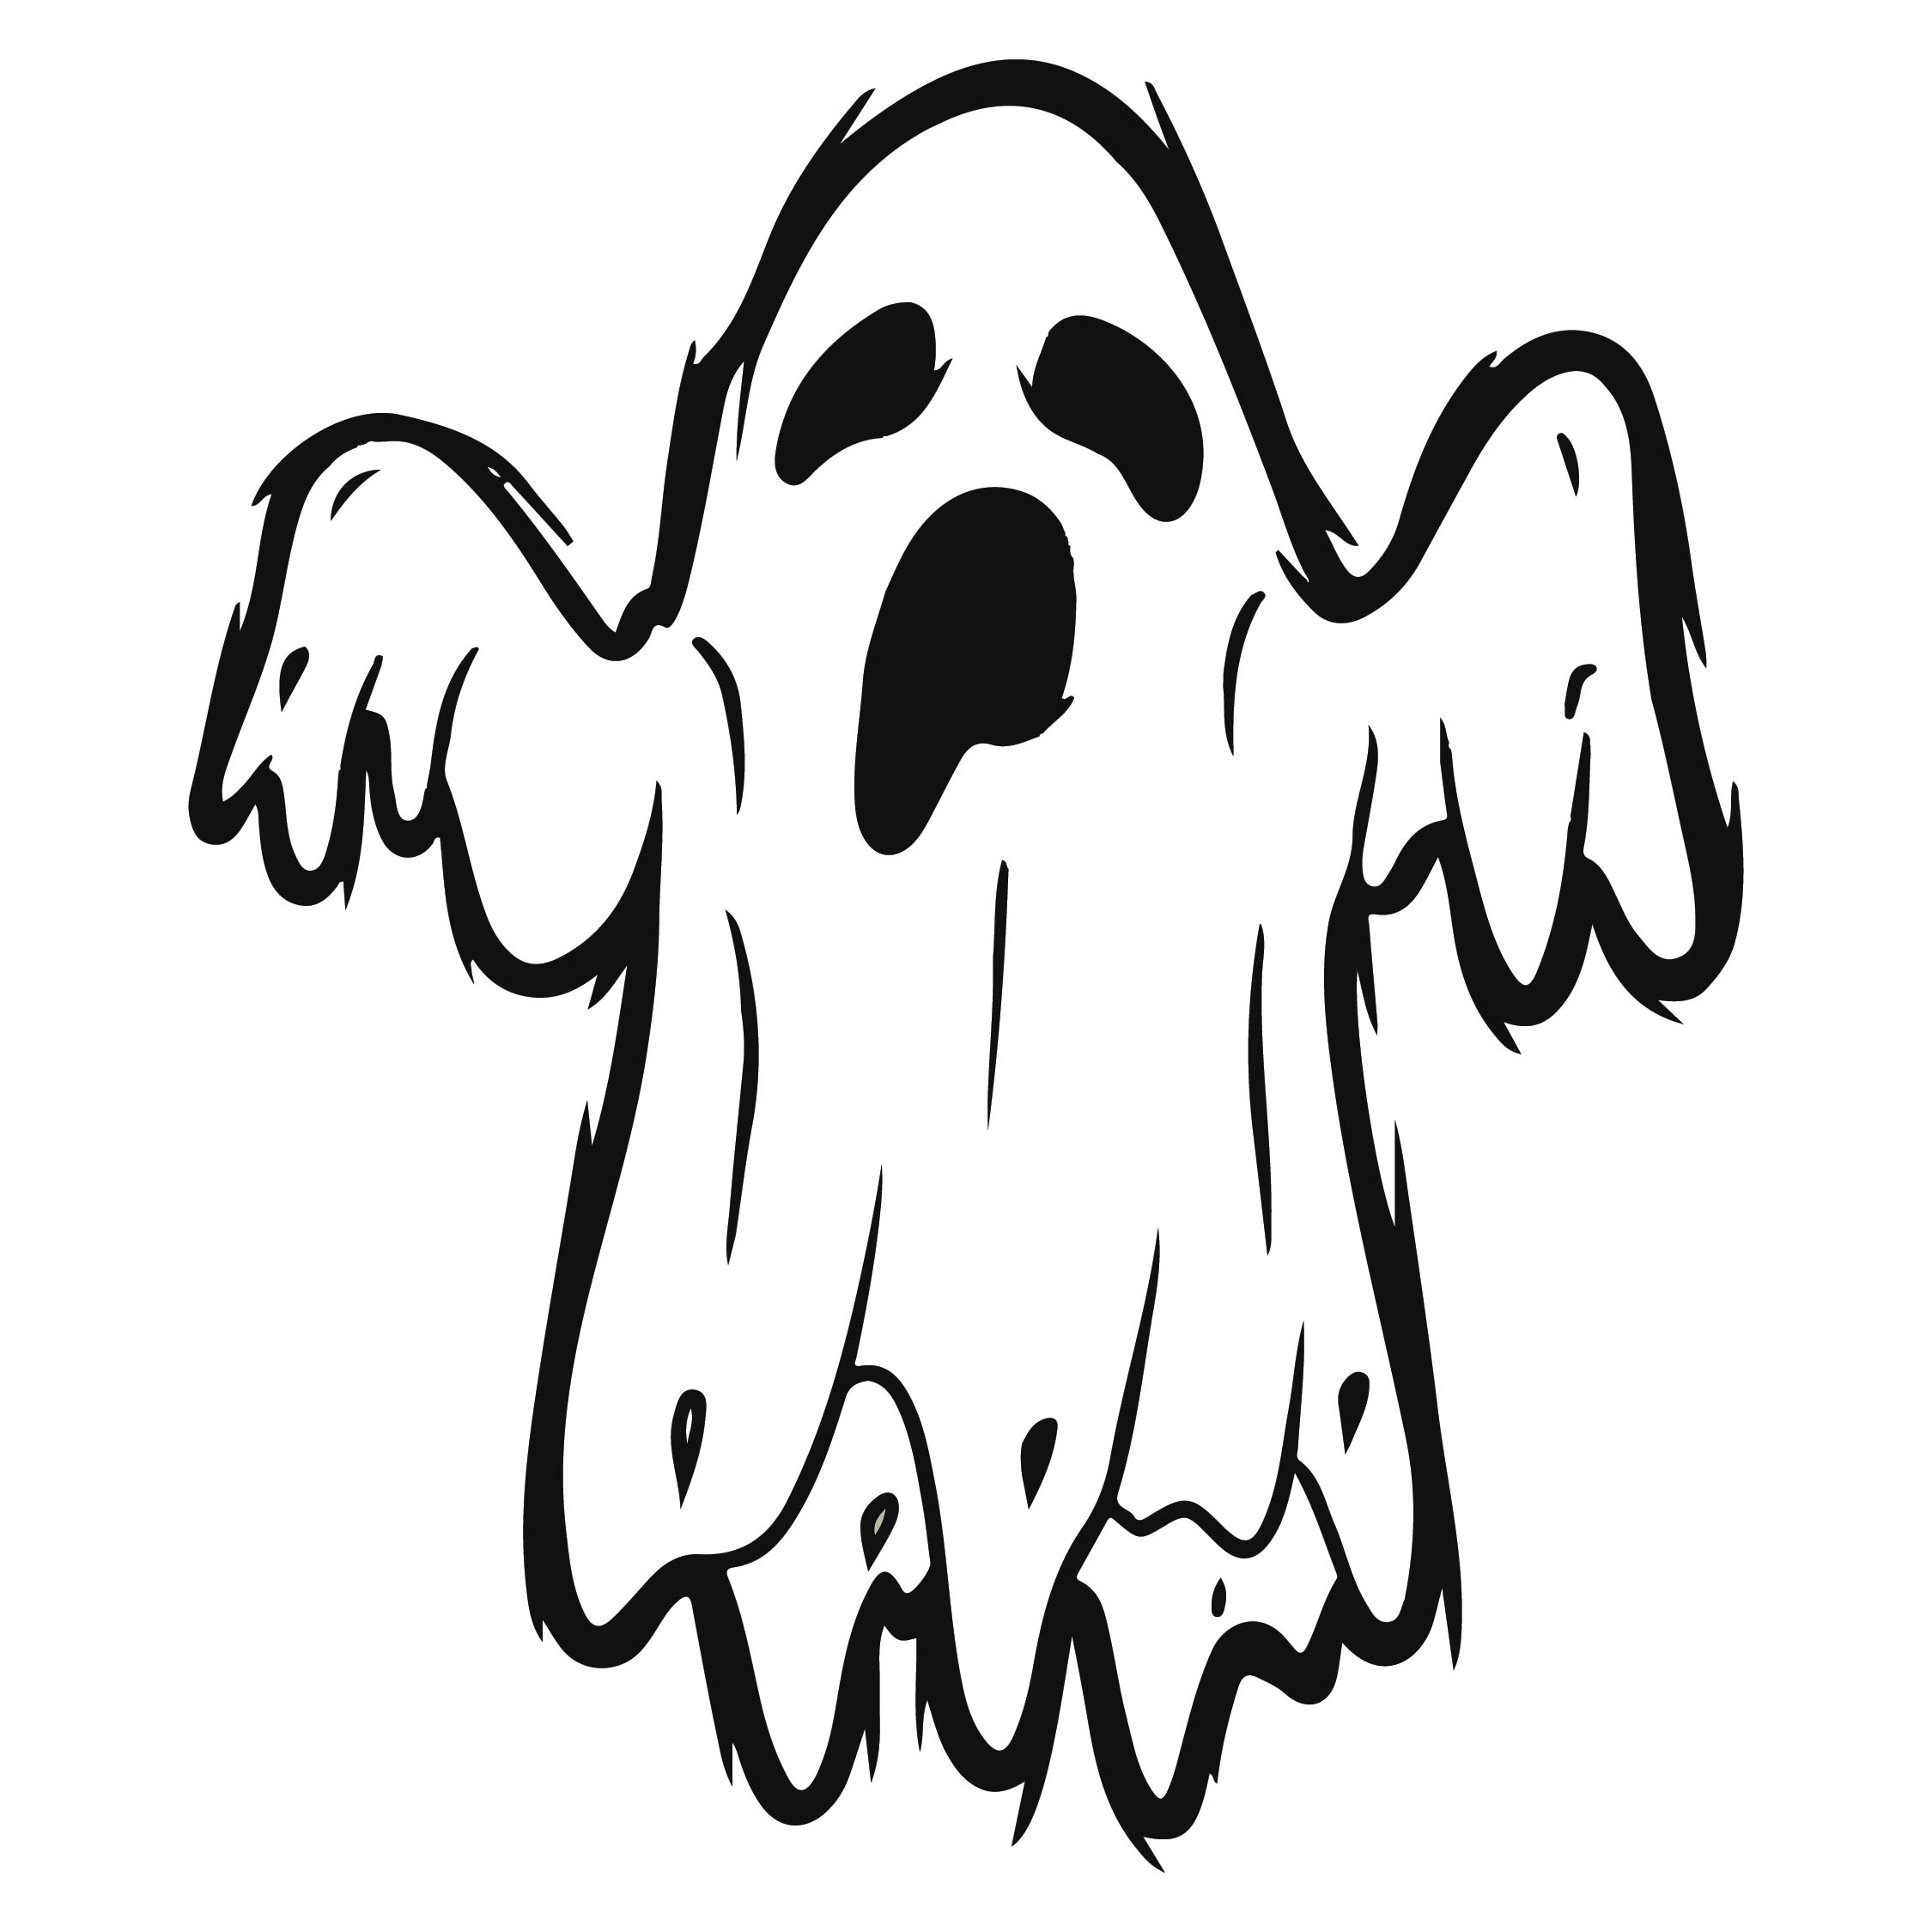
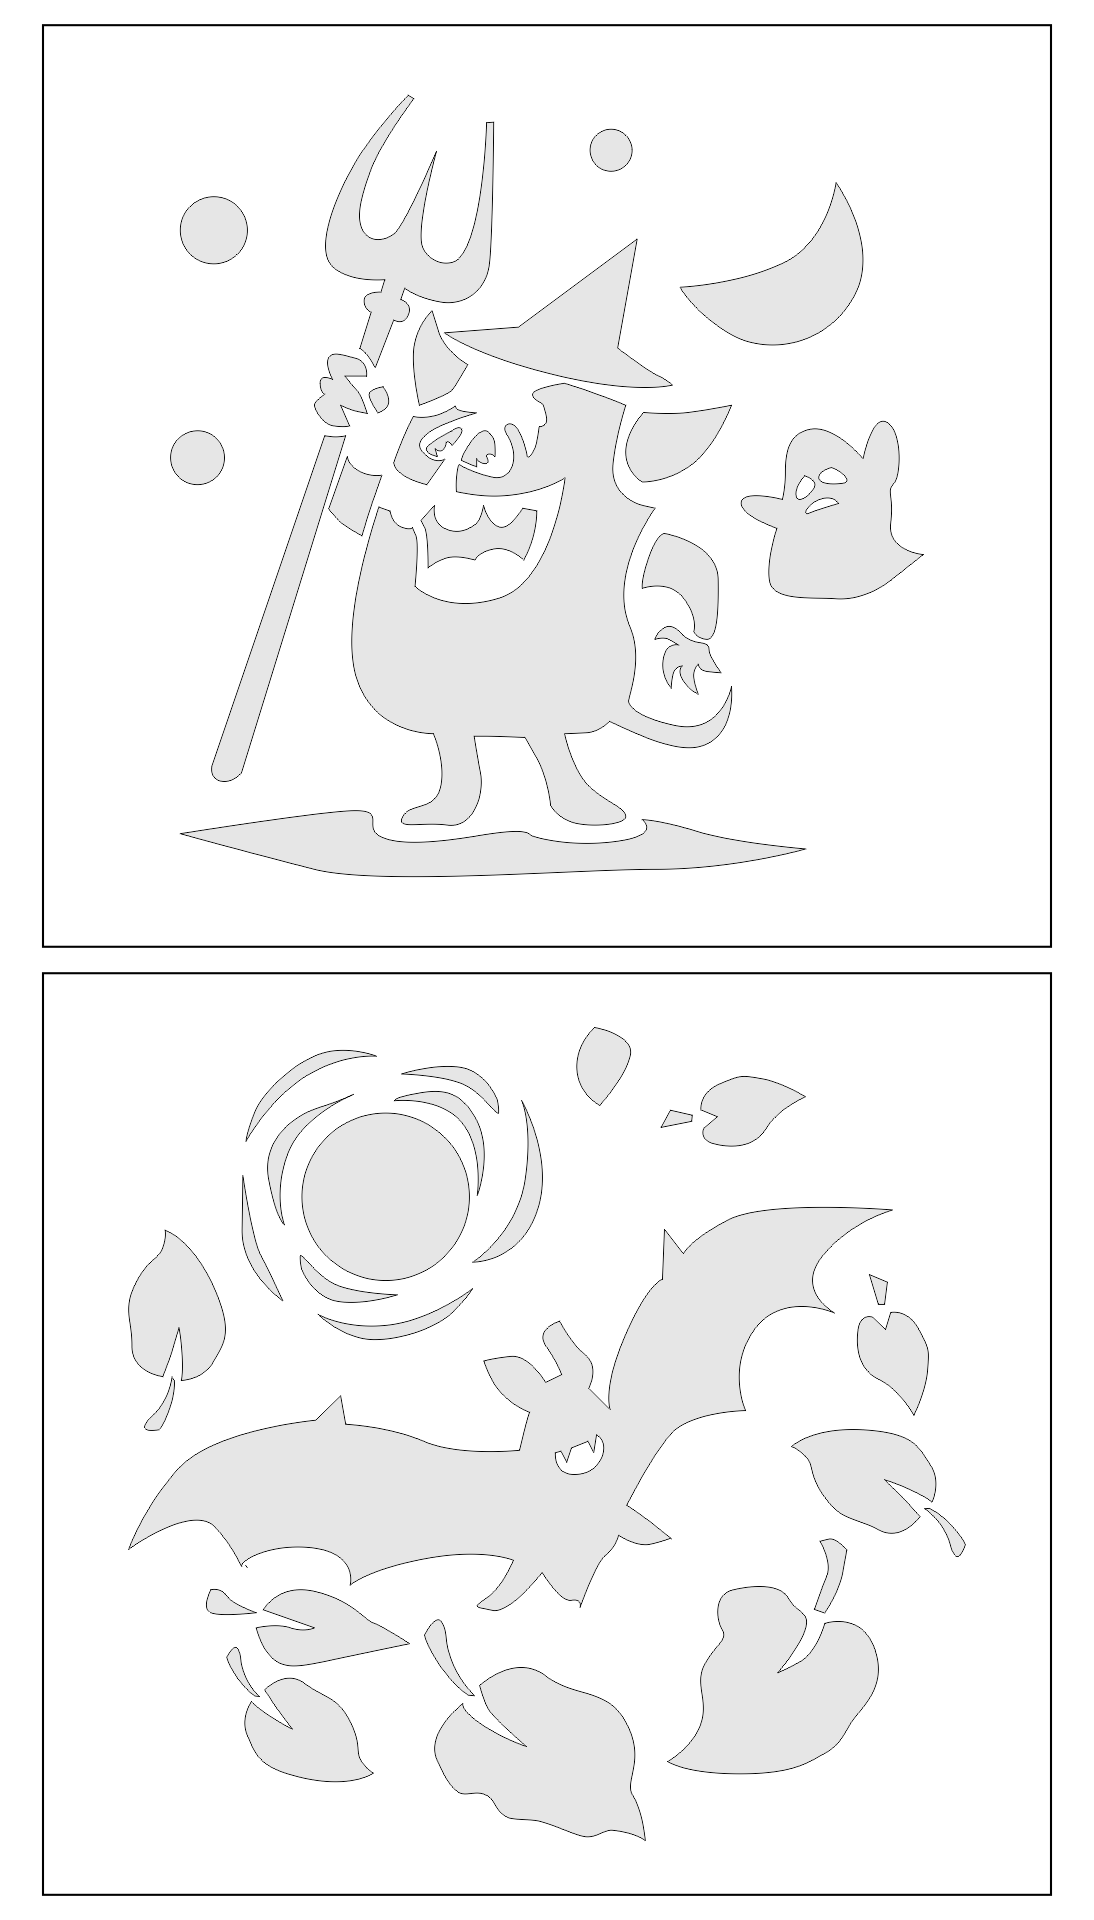
- Scary Designs: Skulls, ghosts, witches, and vampires are all popular choices for Halloween-themed stencils. These designs can add a creepy element to your decorations and are perfect for creating a haunted house atmosphere.
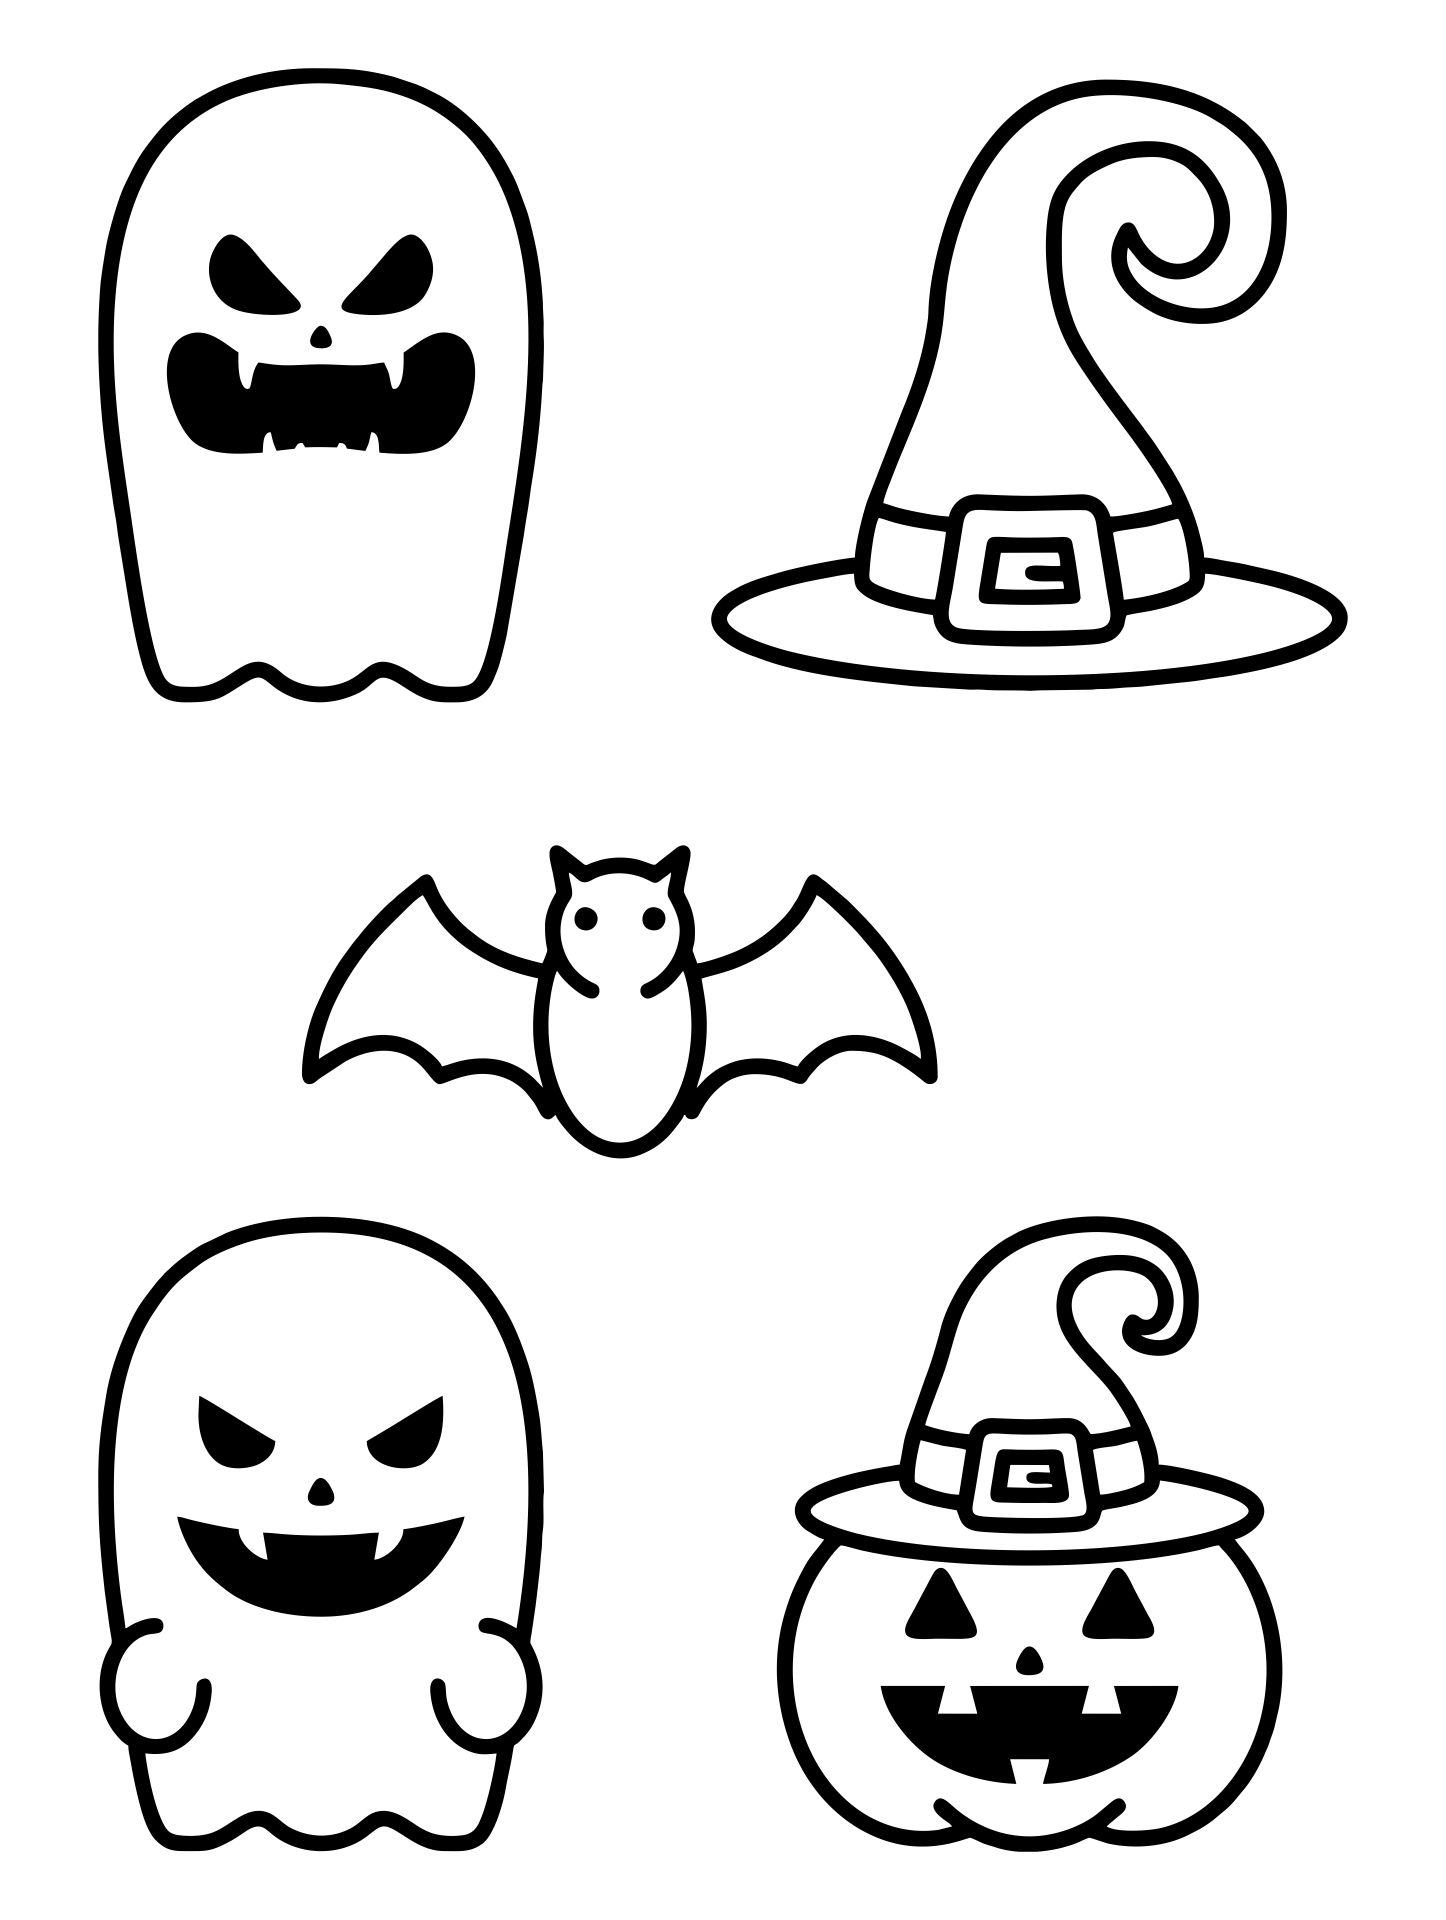
- Cute and Whimsical Designs: Not all Halloween decorations have to be scary! Cute and whimsical designs are perfect for adding a playful touch to your Halloween-themed stencils. Adorable pumpkins, smiling ghosts, and friendly monsters are just a few examples of the cute designs you can find in Halloween-themed stencils.
- Spooky Text Designs: In addition to images, many Halloween-themed stencils also feature spooky text designs. Spooky sayings like 'Boo!' or 'Trick or Treat' bring an extra dose of eerie fun to your Halloween setup, giving your decorations a chillingly festive vibe.
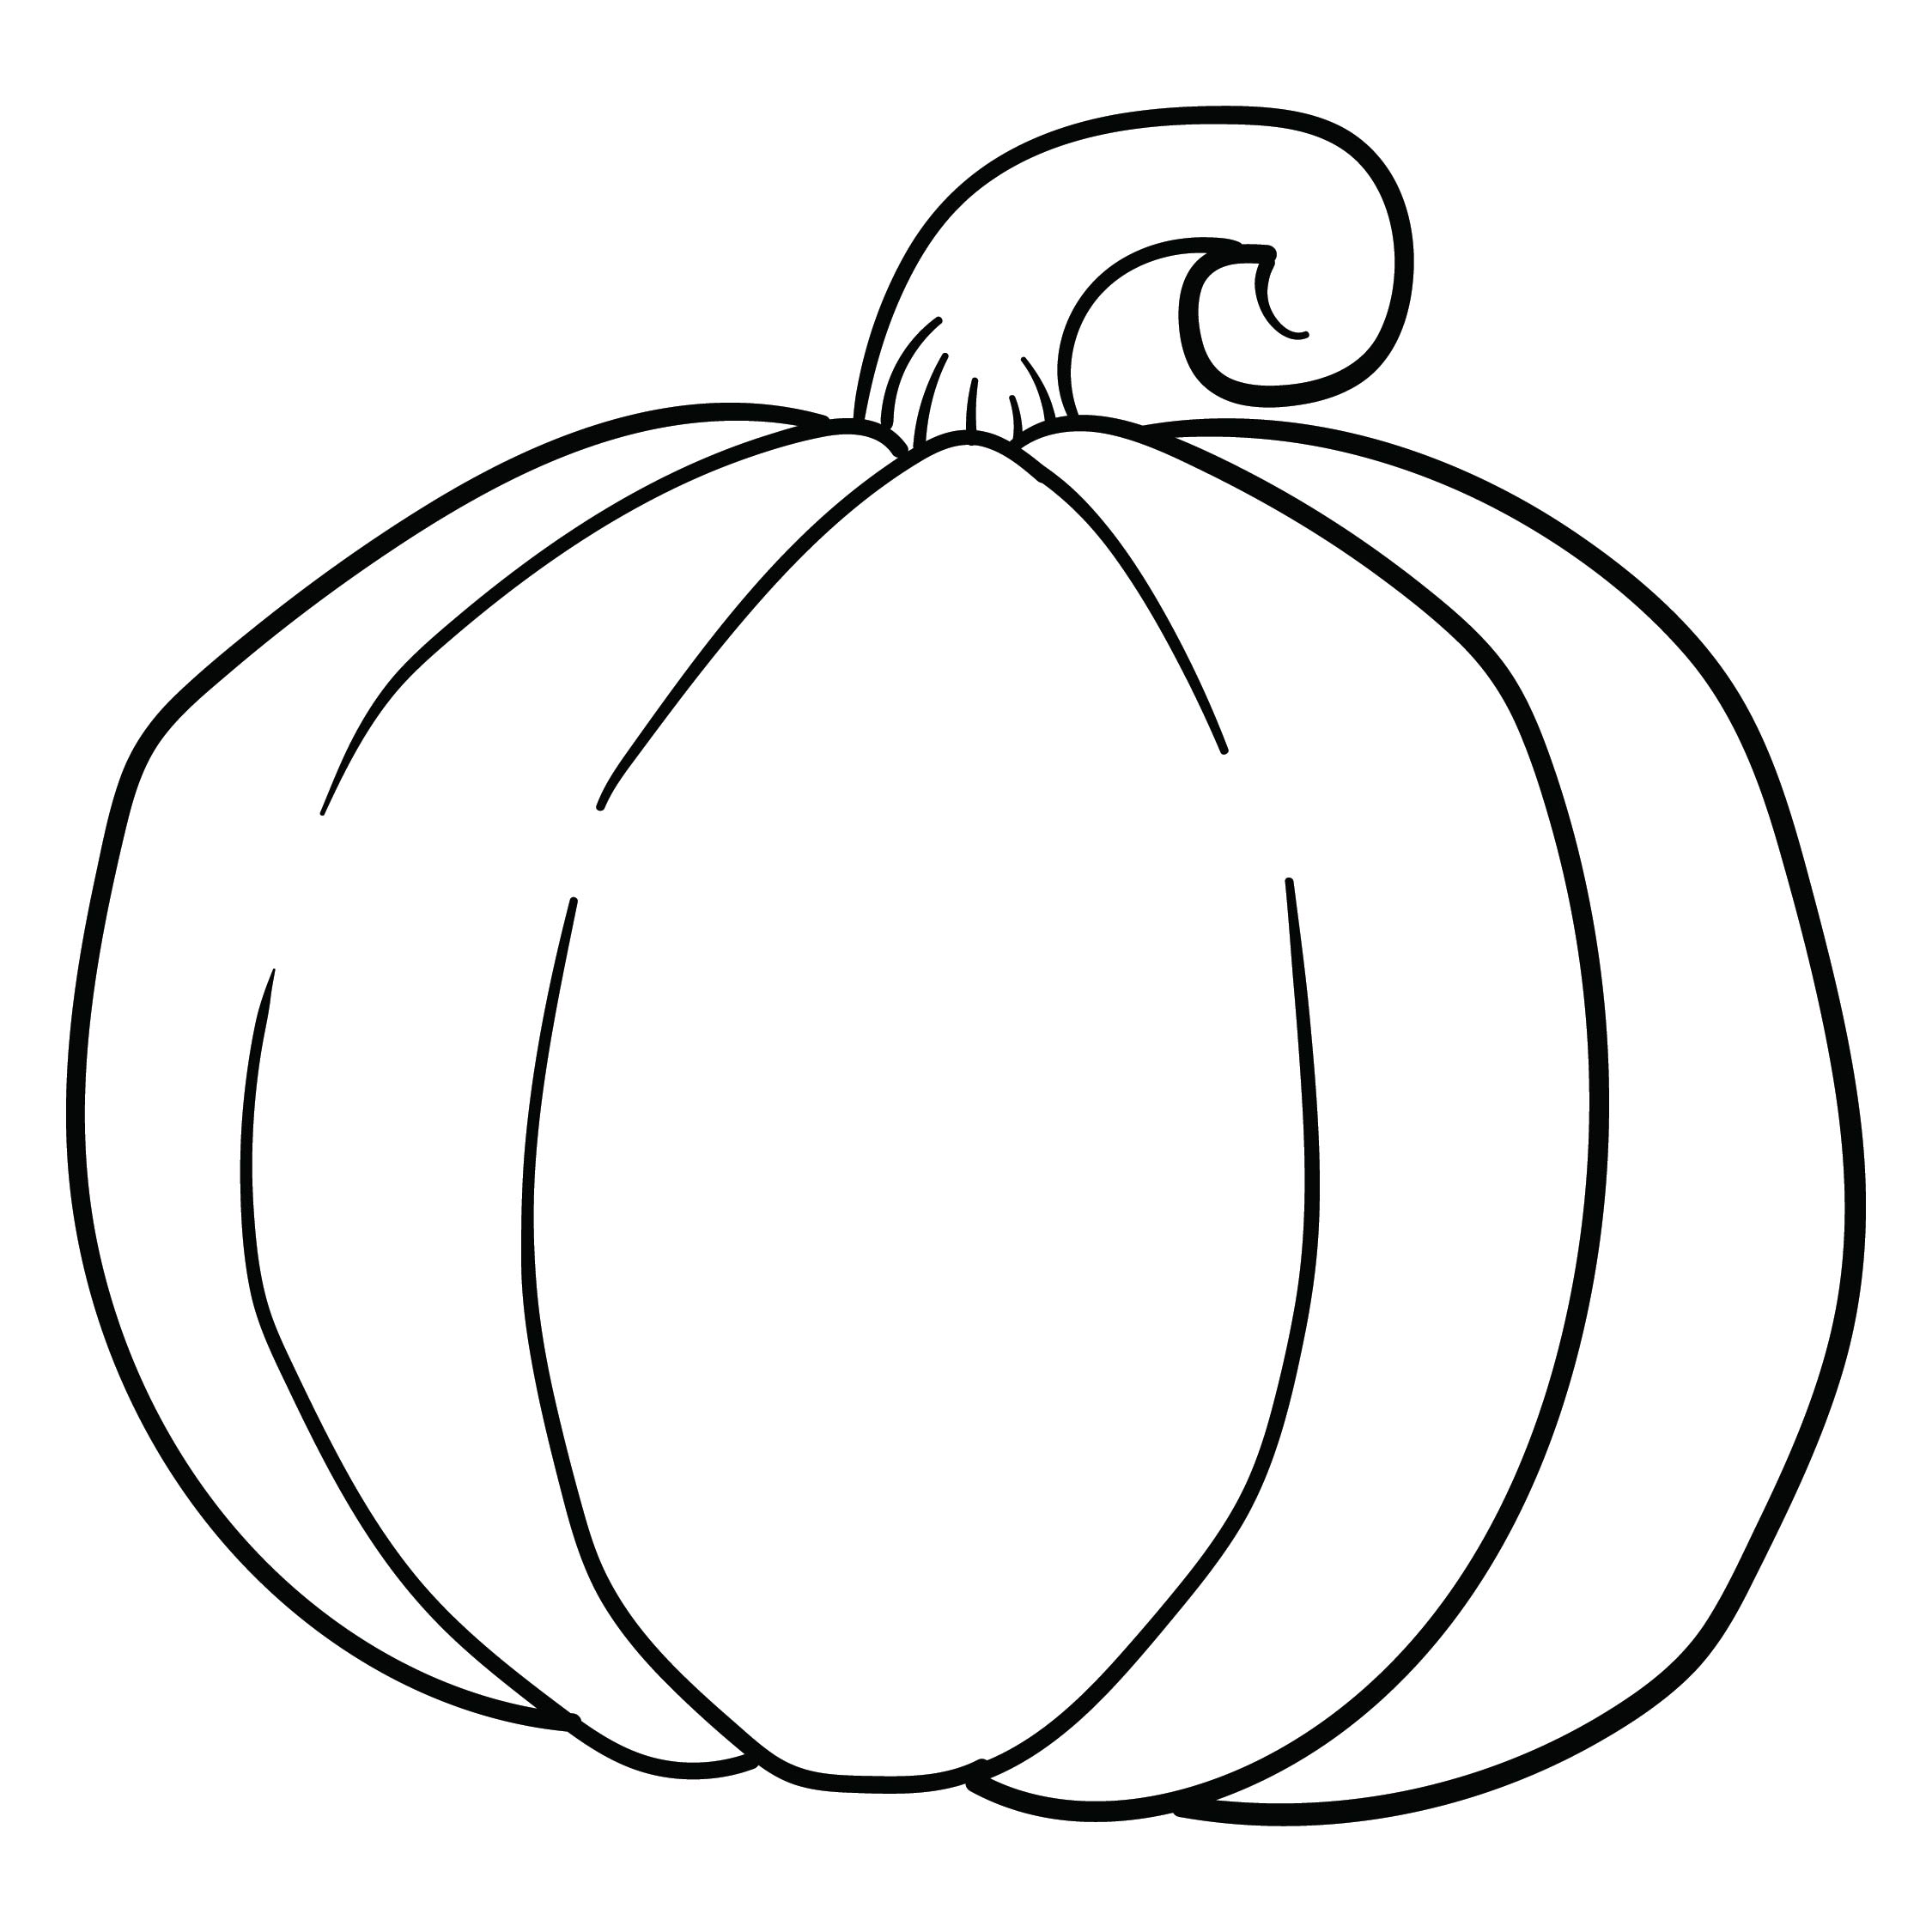
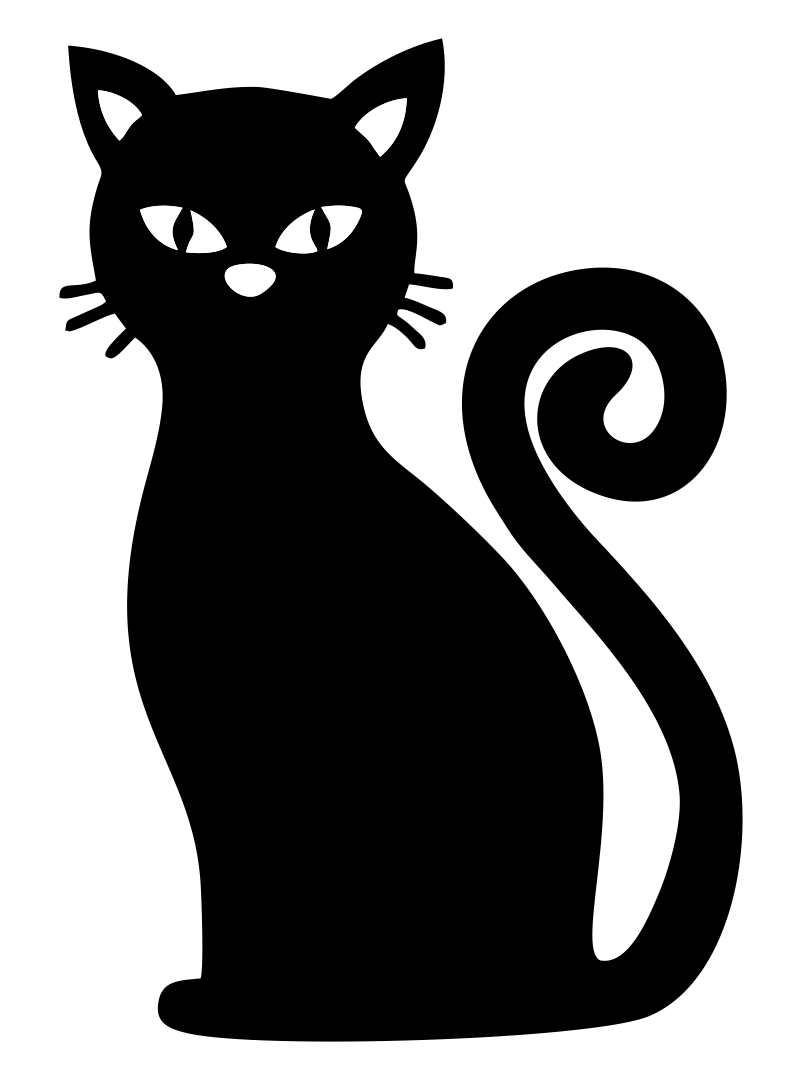
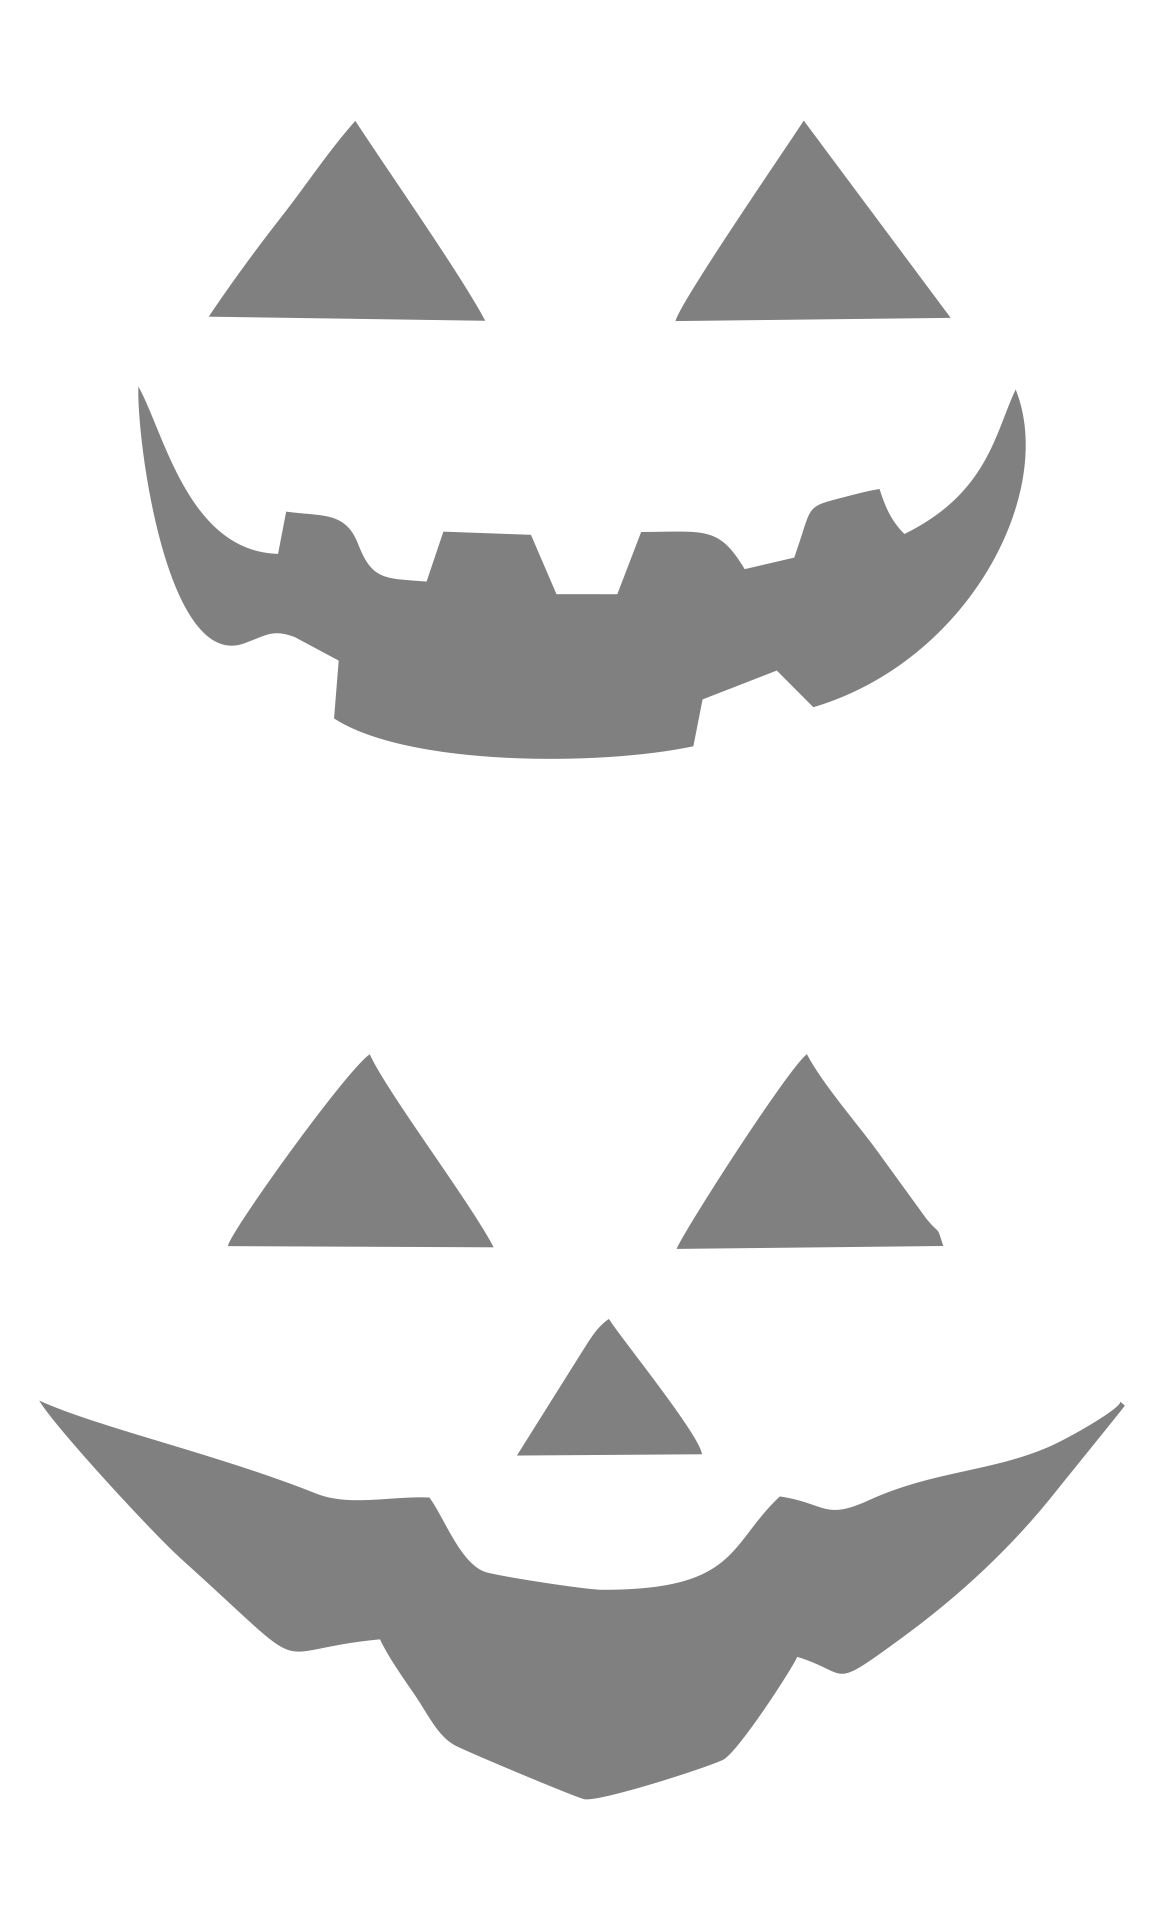
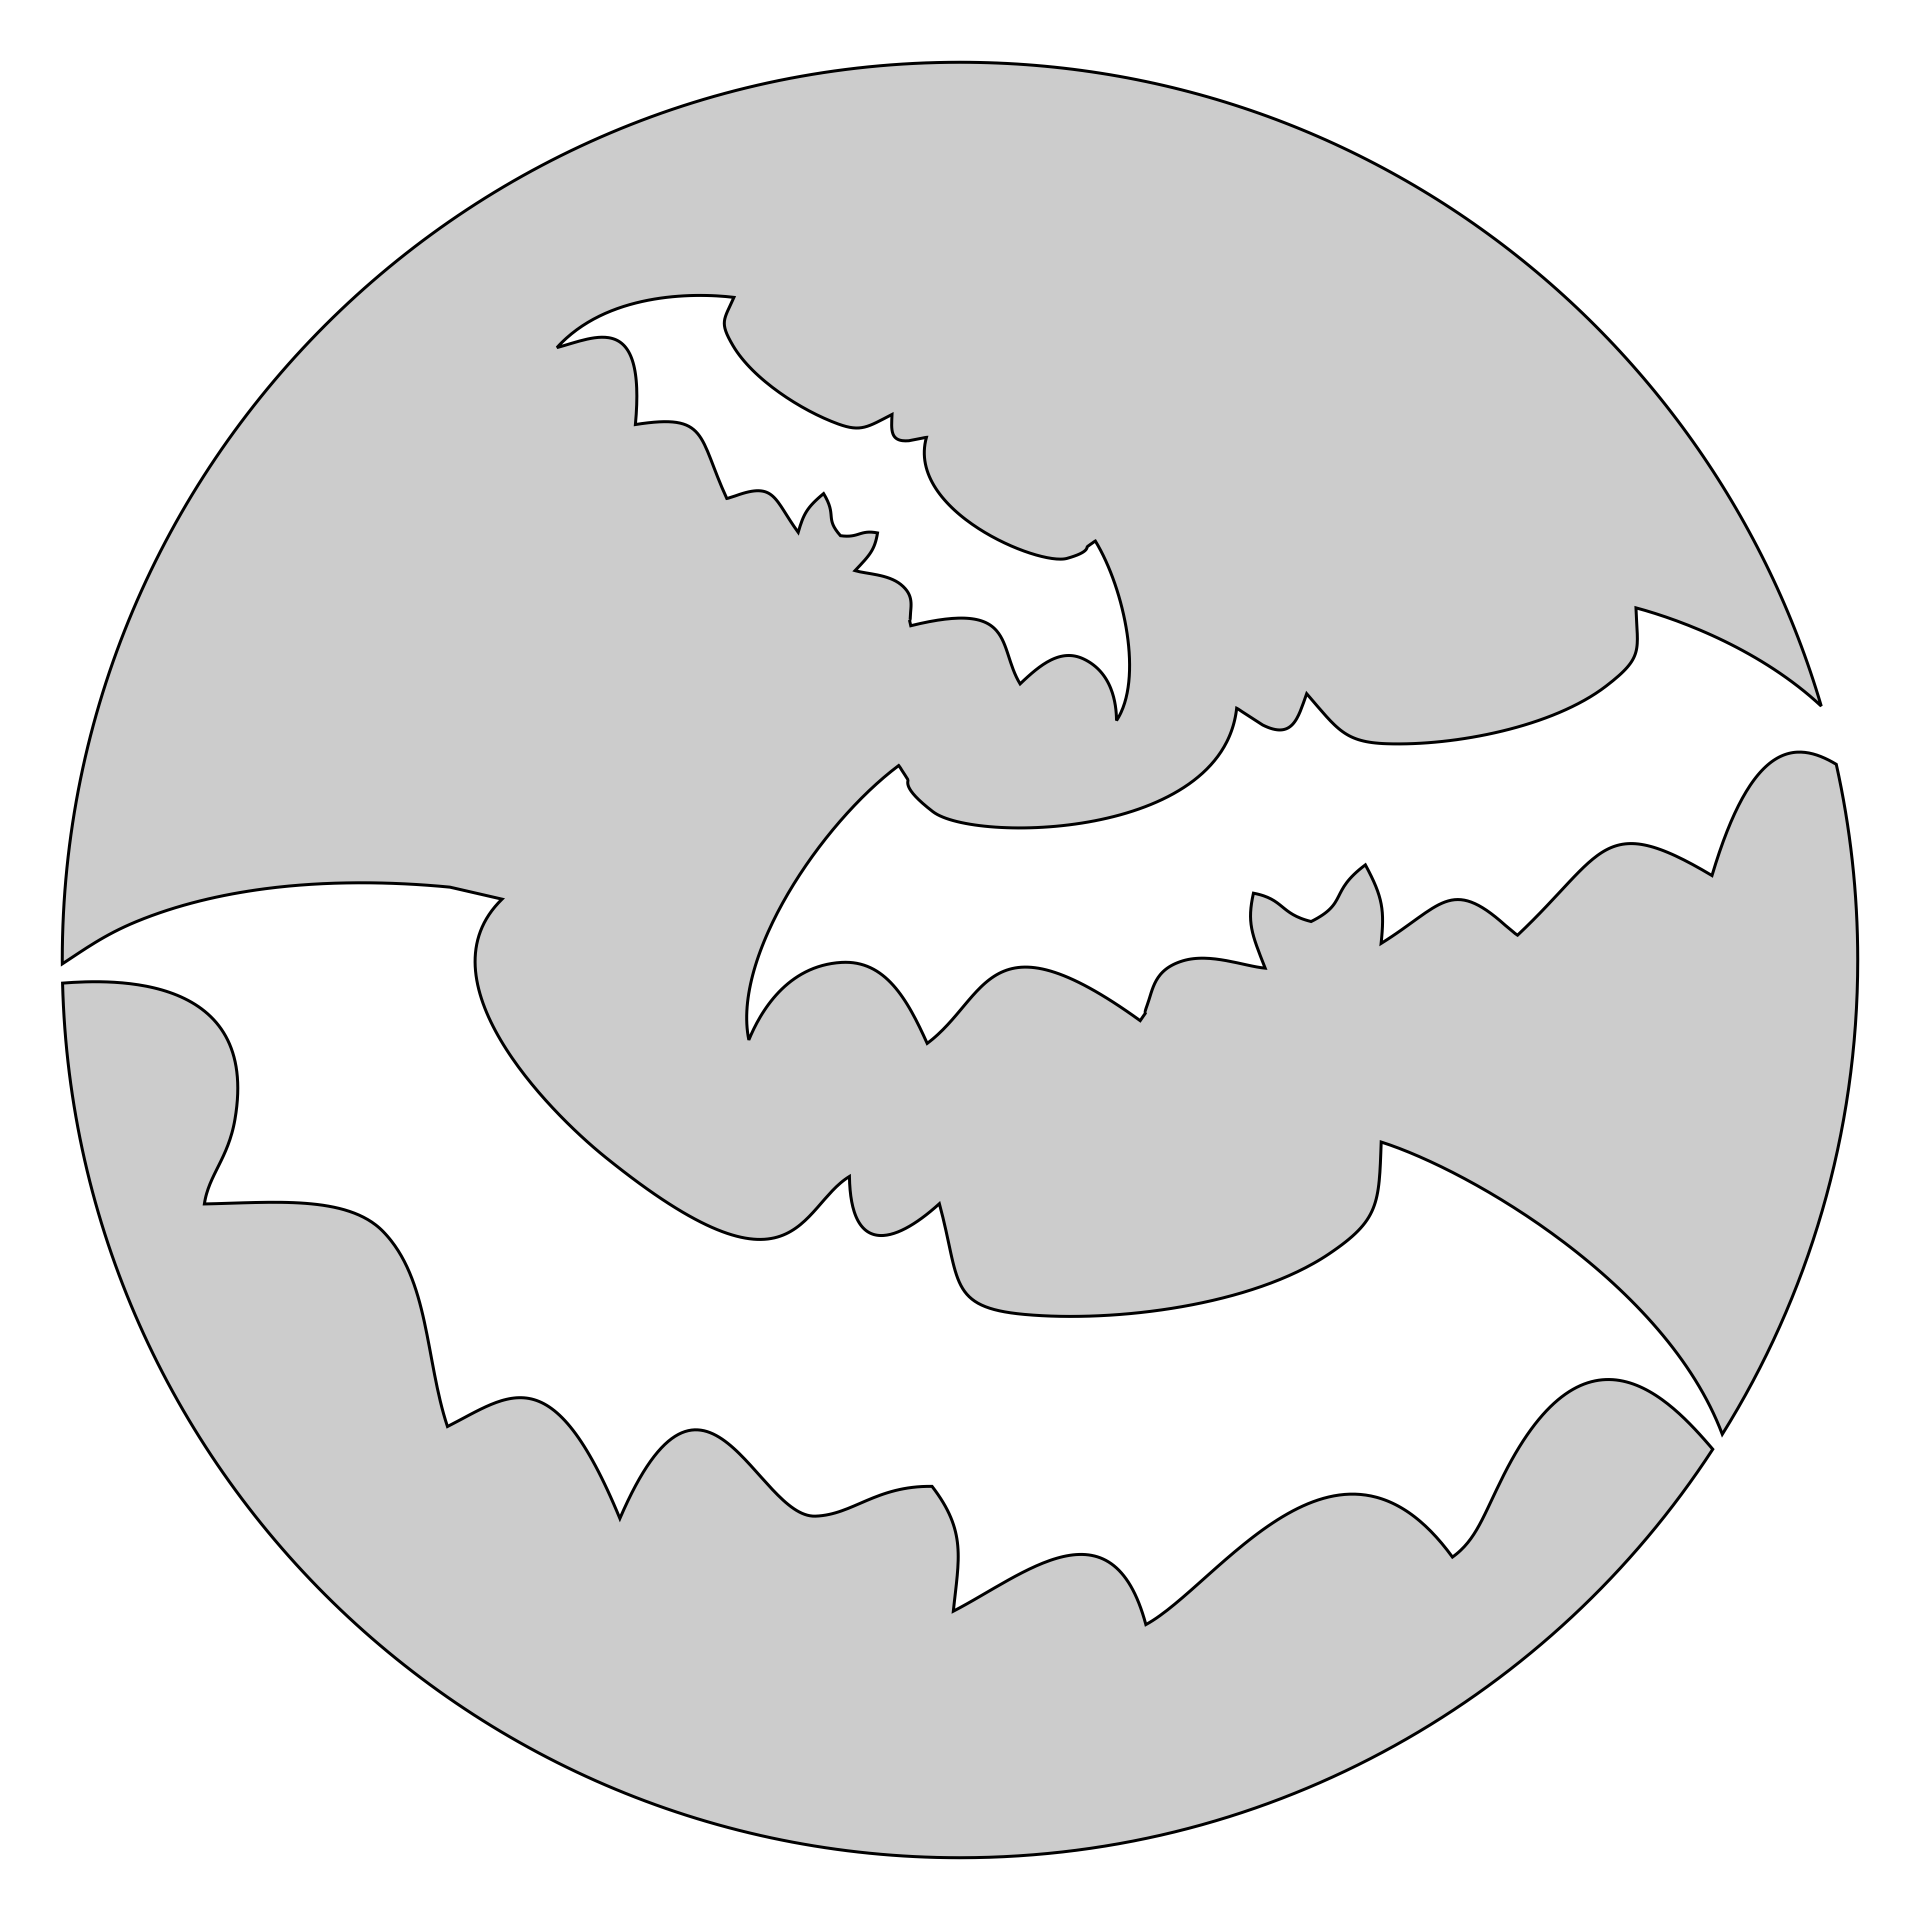
- Classic Halloween Symbols: Some of the most popular designs found in these stencils are classic Halloween symbols. Jack-o'-lanterns, black cats, bats, and spiders are all iconic symbols of the holiday and can be found in a wide variety of stencil designs.
Do Halloween Stencils Work with Paint, Markers, or Spray?
Yes! Let’s explore the effectiveness of using Halloween-themed stencils with these different materials and provide some tips for achieving the best results.
- Using Paint with Halloween Stencils: You can use acrylic paint, fabric paint, or even spray paint to add vibrant colors to your stenciled design. Ensure to use a stencil brush or sponge to apply the paint evenly and prevent any smudging. Remember to let the paint dry completely before removing the stencil to avoid any smears or smudges.
- Using Markers with Halloween Stencils: If you prefer a more controlled and precise application, using markers with Halloween-themed stencils is a great option. Fine-tip markers or paint pens work well for outlining the stencil design and adding intricate details. You can also use metallic or glitter markers to add a touch of sparkle to your Halloween decorations. Just make sure to hold the stencil firmly in place to prevent any movement while coloring.
- Using Spray with Halloween Stencils: For larger stencil designs or when you want to cover a larger area quickly, using spray paint with these stencils is a convenient choice. With a wide range of colors and finishes, spray paint lets you design striking and attention-grabbing stencil art effortlessly. When using spray paint, place the stencil on a flat surface and apply the spray paint from a distance to prevent any bleeding or smudging. Make sure you're crafting in a space with plenty of fresh air, and don’t forget to wear a mask to keep things safe and fume-free.
Can Halloween Stencils Be Used for Face Painting?
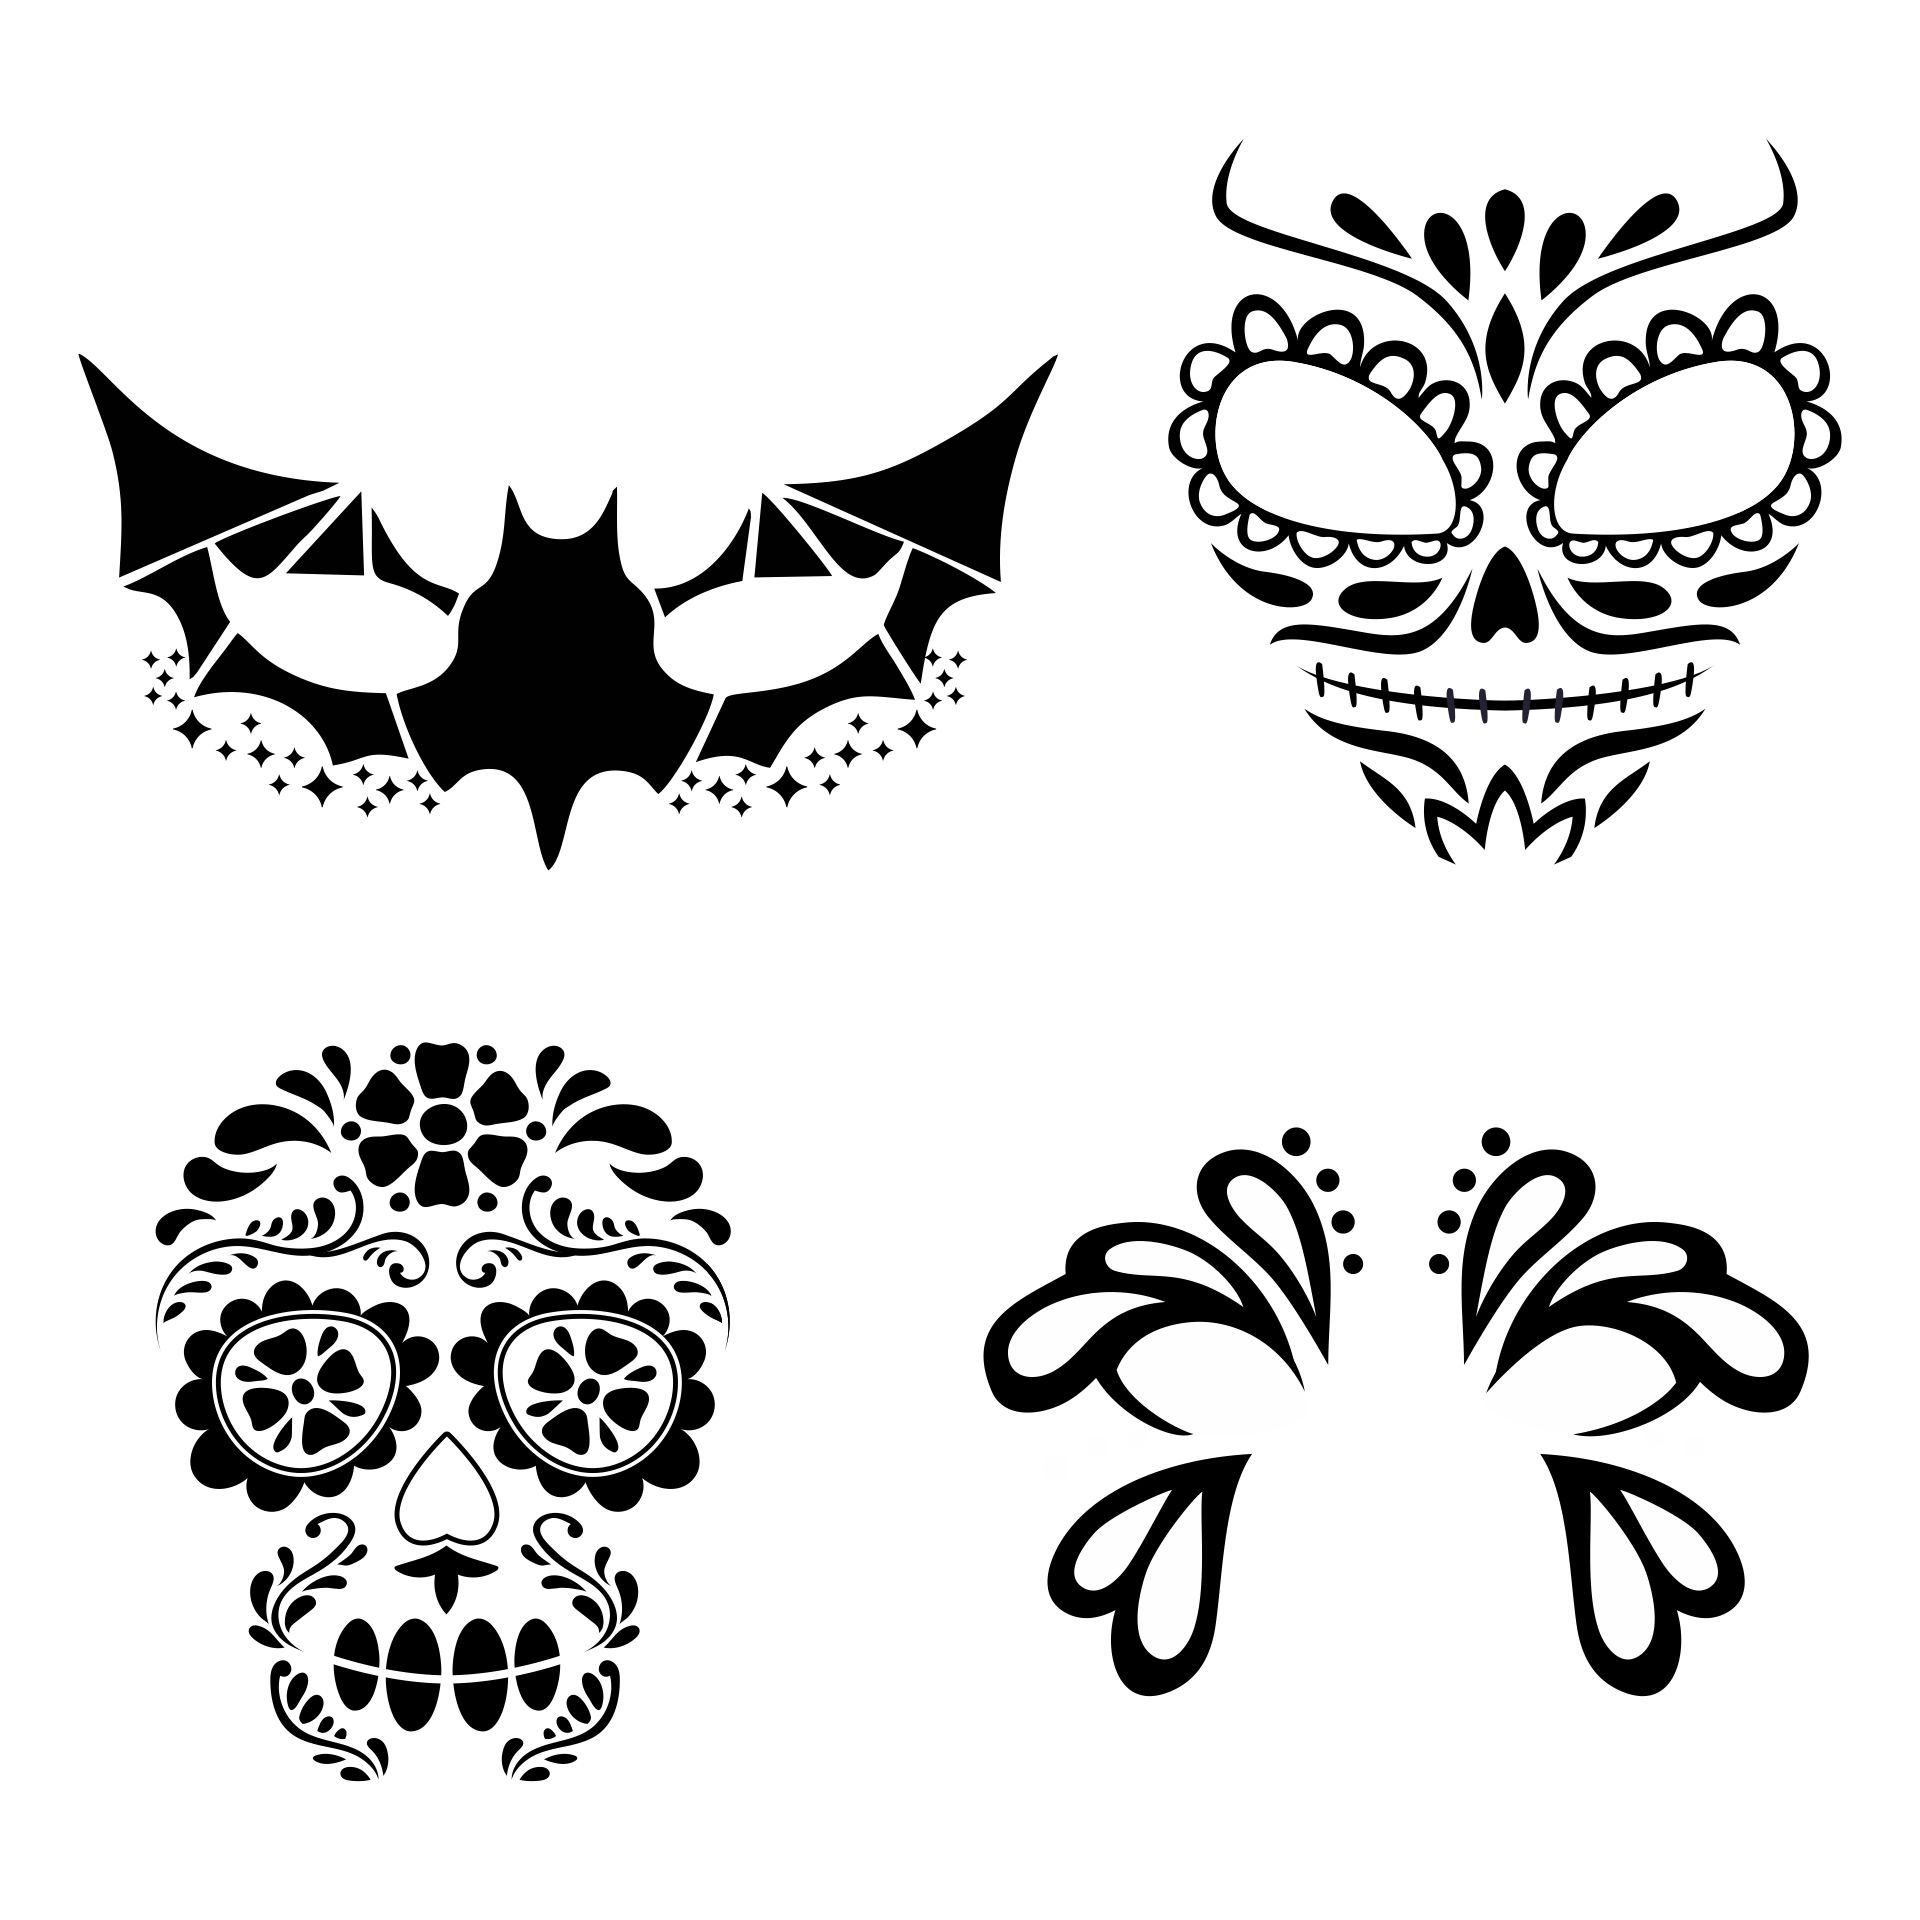
The short answer is yes, these Halloween-themed stencils can definitely be used for face painting. Using these stencils for face painting is quite simple. Here's a step-by-step guide to help you achieve a great face paint design using stencils:
- Start by choosing a Halloween stencil that matches the design you want to create.
- Place the stencil on the desired area of your face and hold it firmly in place.
- Gently press face paint onto the stencil using a sponge or brush, making sure every cutout area gets full, even coverage.
- Carefully remove the stencil from your face to reveal the design.
- Touch up any areas that may need more paint or detailing to complete the look.
Are Halloween Stencils Reusable?
Of course, many Halloween-themed stencils are indeed reusable! As long as you take good care of your stencils and clean them after each use, you can enjoy using them for multiple projects. Simply wash the stencil with soap and water, or gently wipe it clean with a damp cloth, and it will be ready to use again and again.
There are several benefits to using reusable Halloween-themed stencils. Not only can you save money by reusing the same stencils for multiple projects, but you can also reduce waste by not having to purchase new stencils for each craft. Additionally, reusable stencils are often made from durable materials that can withstand repeated use, ensuring that they will last for many Halloweens to come.
Halloween Stencils
Printable Halloween Stencils: A Treat for Art and Craft Lovers
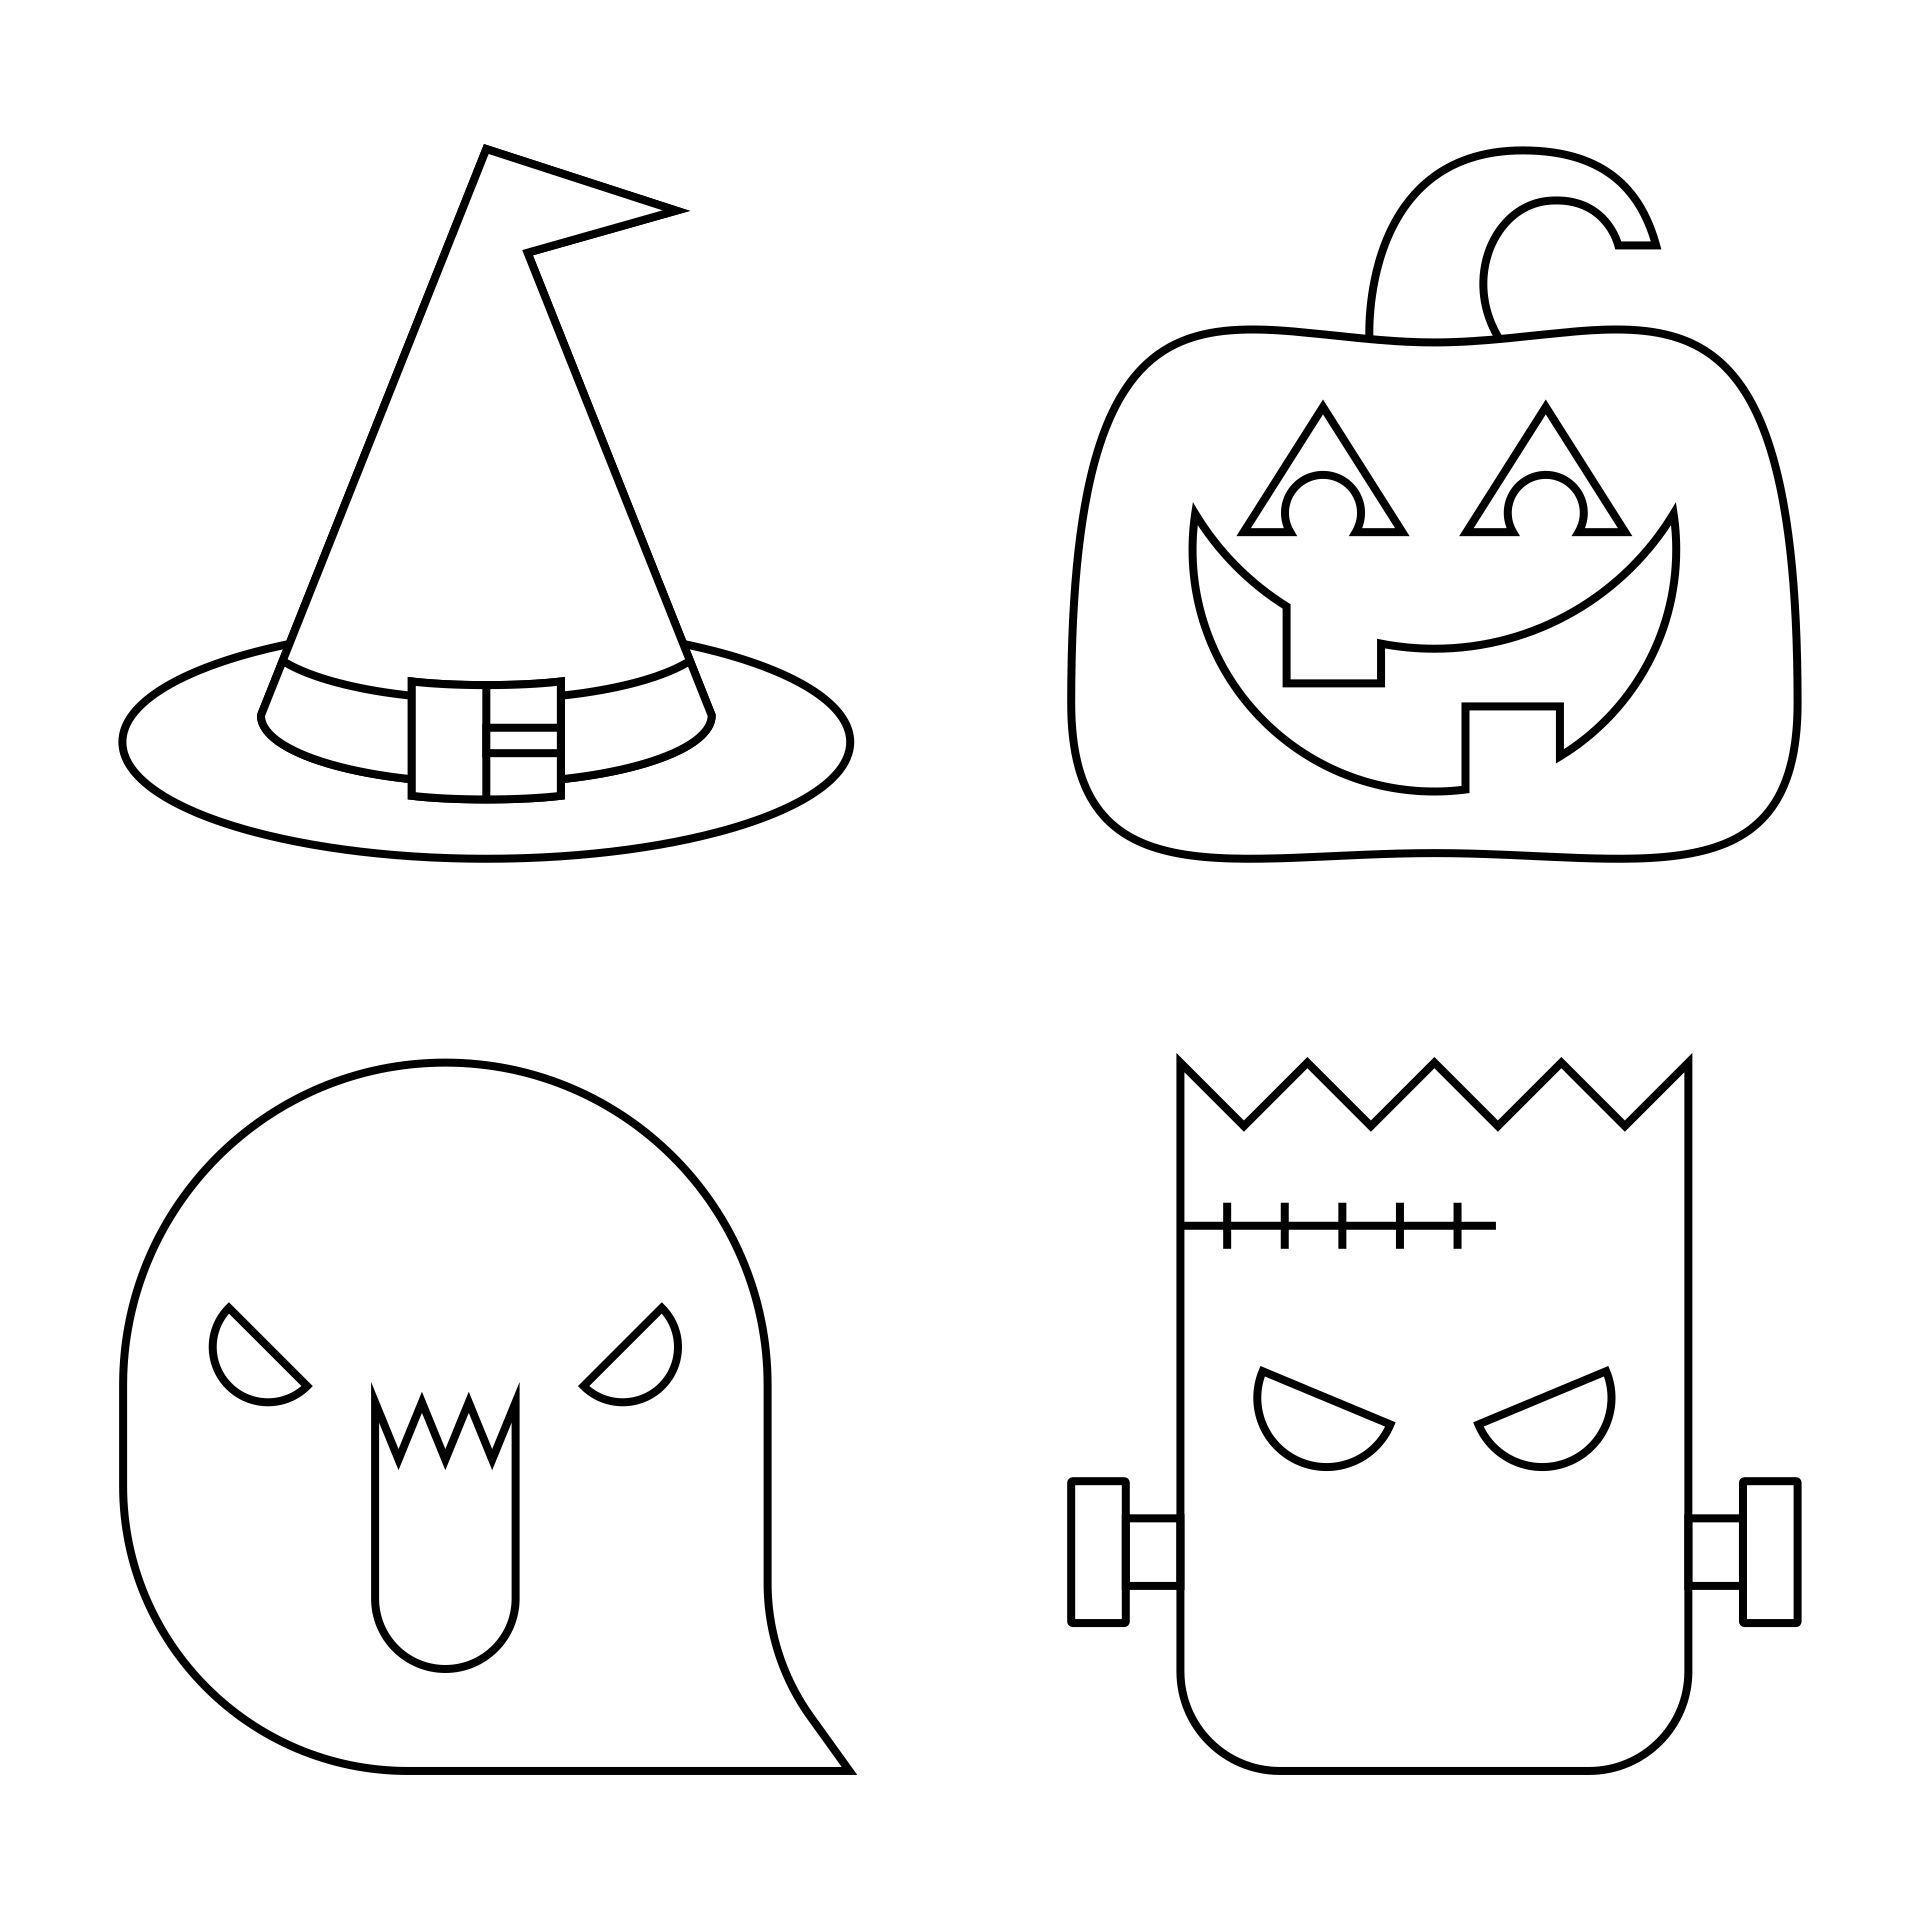
These versatile printable Halloween stencils, with a variety of designs from pumpkins to witches, are must-haves for those passionate about arts and crafts. They're perfect for crafting spooky cards, pumpkin art, or home decorations and can bring a creative burst to your Halloween projects.
Halloween Stencils: Creative Fun for Young Children
These printable Halloween stencils add a creative twist to the festive season for young children. Perfect for parents and caregivers, they provide children an avenue to explore artistic interests and create Halloween-themed masterpieces.
 Halloween Templates Stencils

 Printable Halloween Stencils for Kids

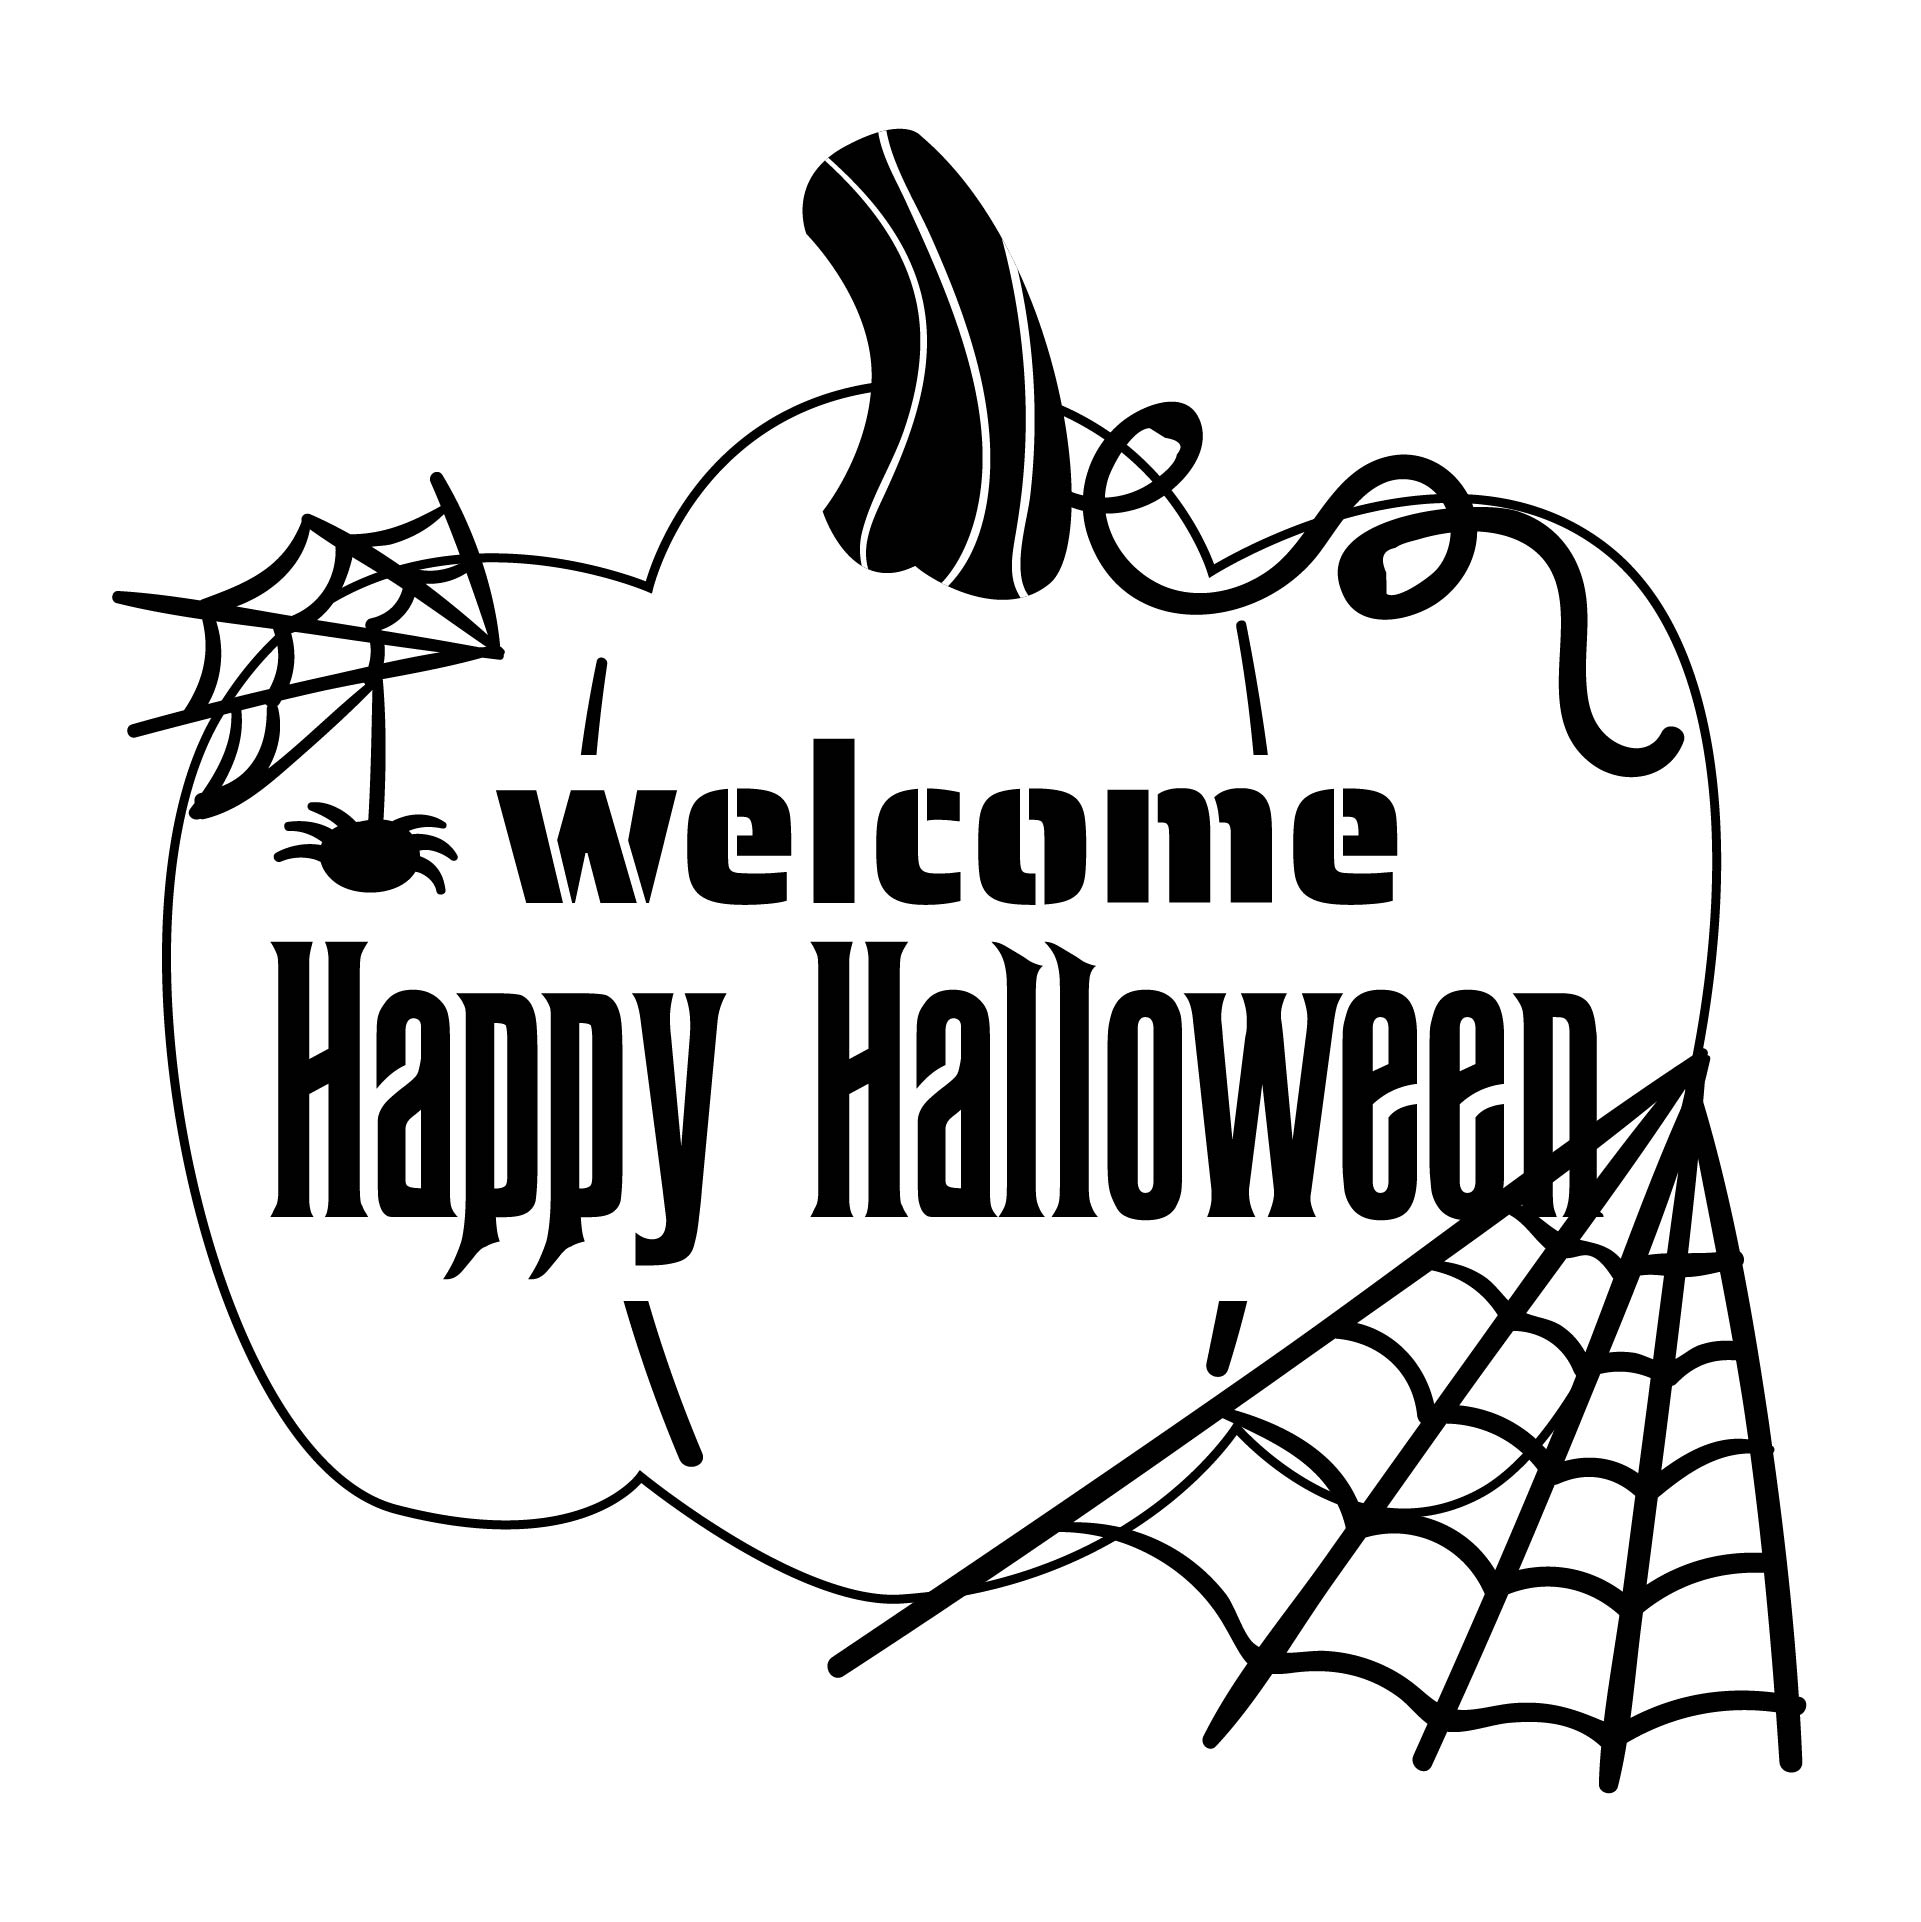
 Happy Halloween Pumpkin Stencils Printable

 Printable Halloween Stencils

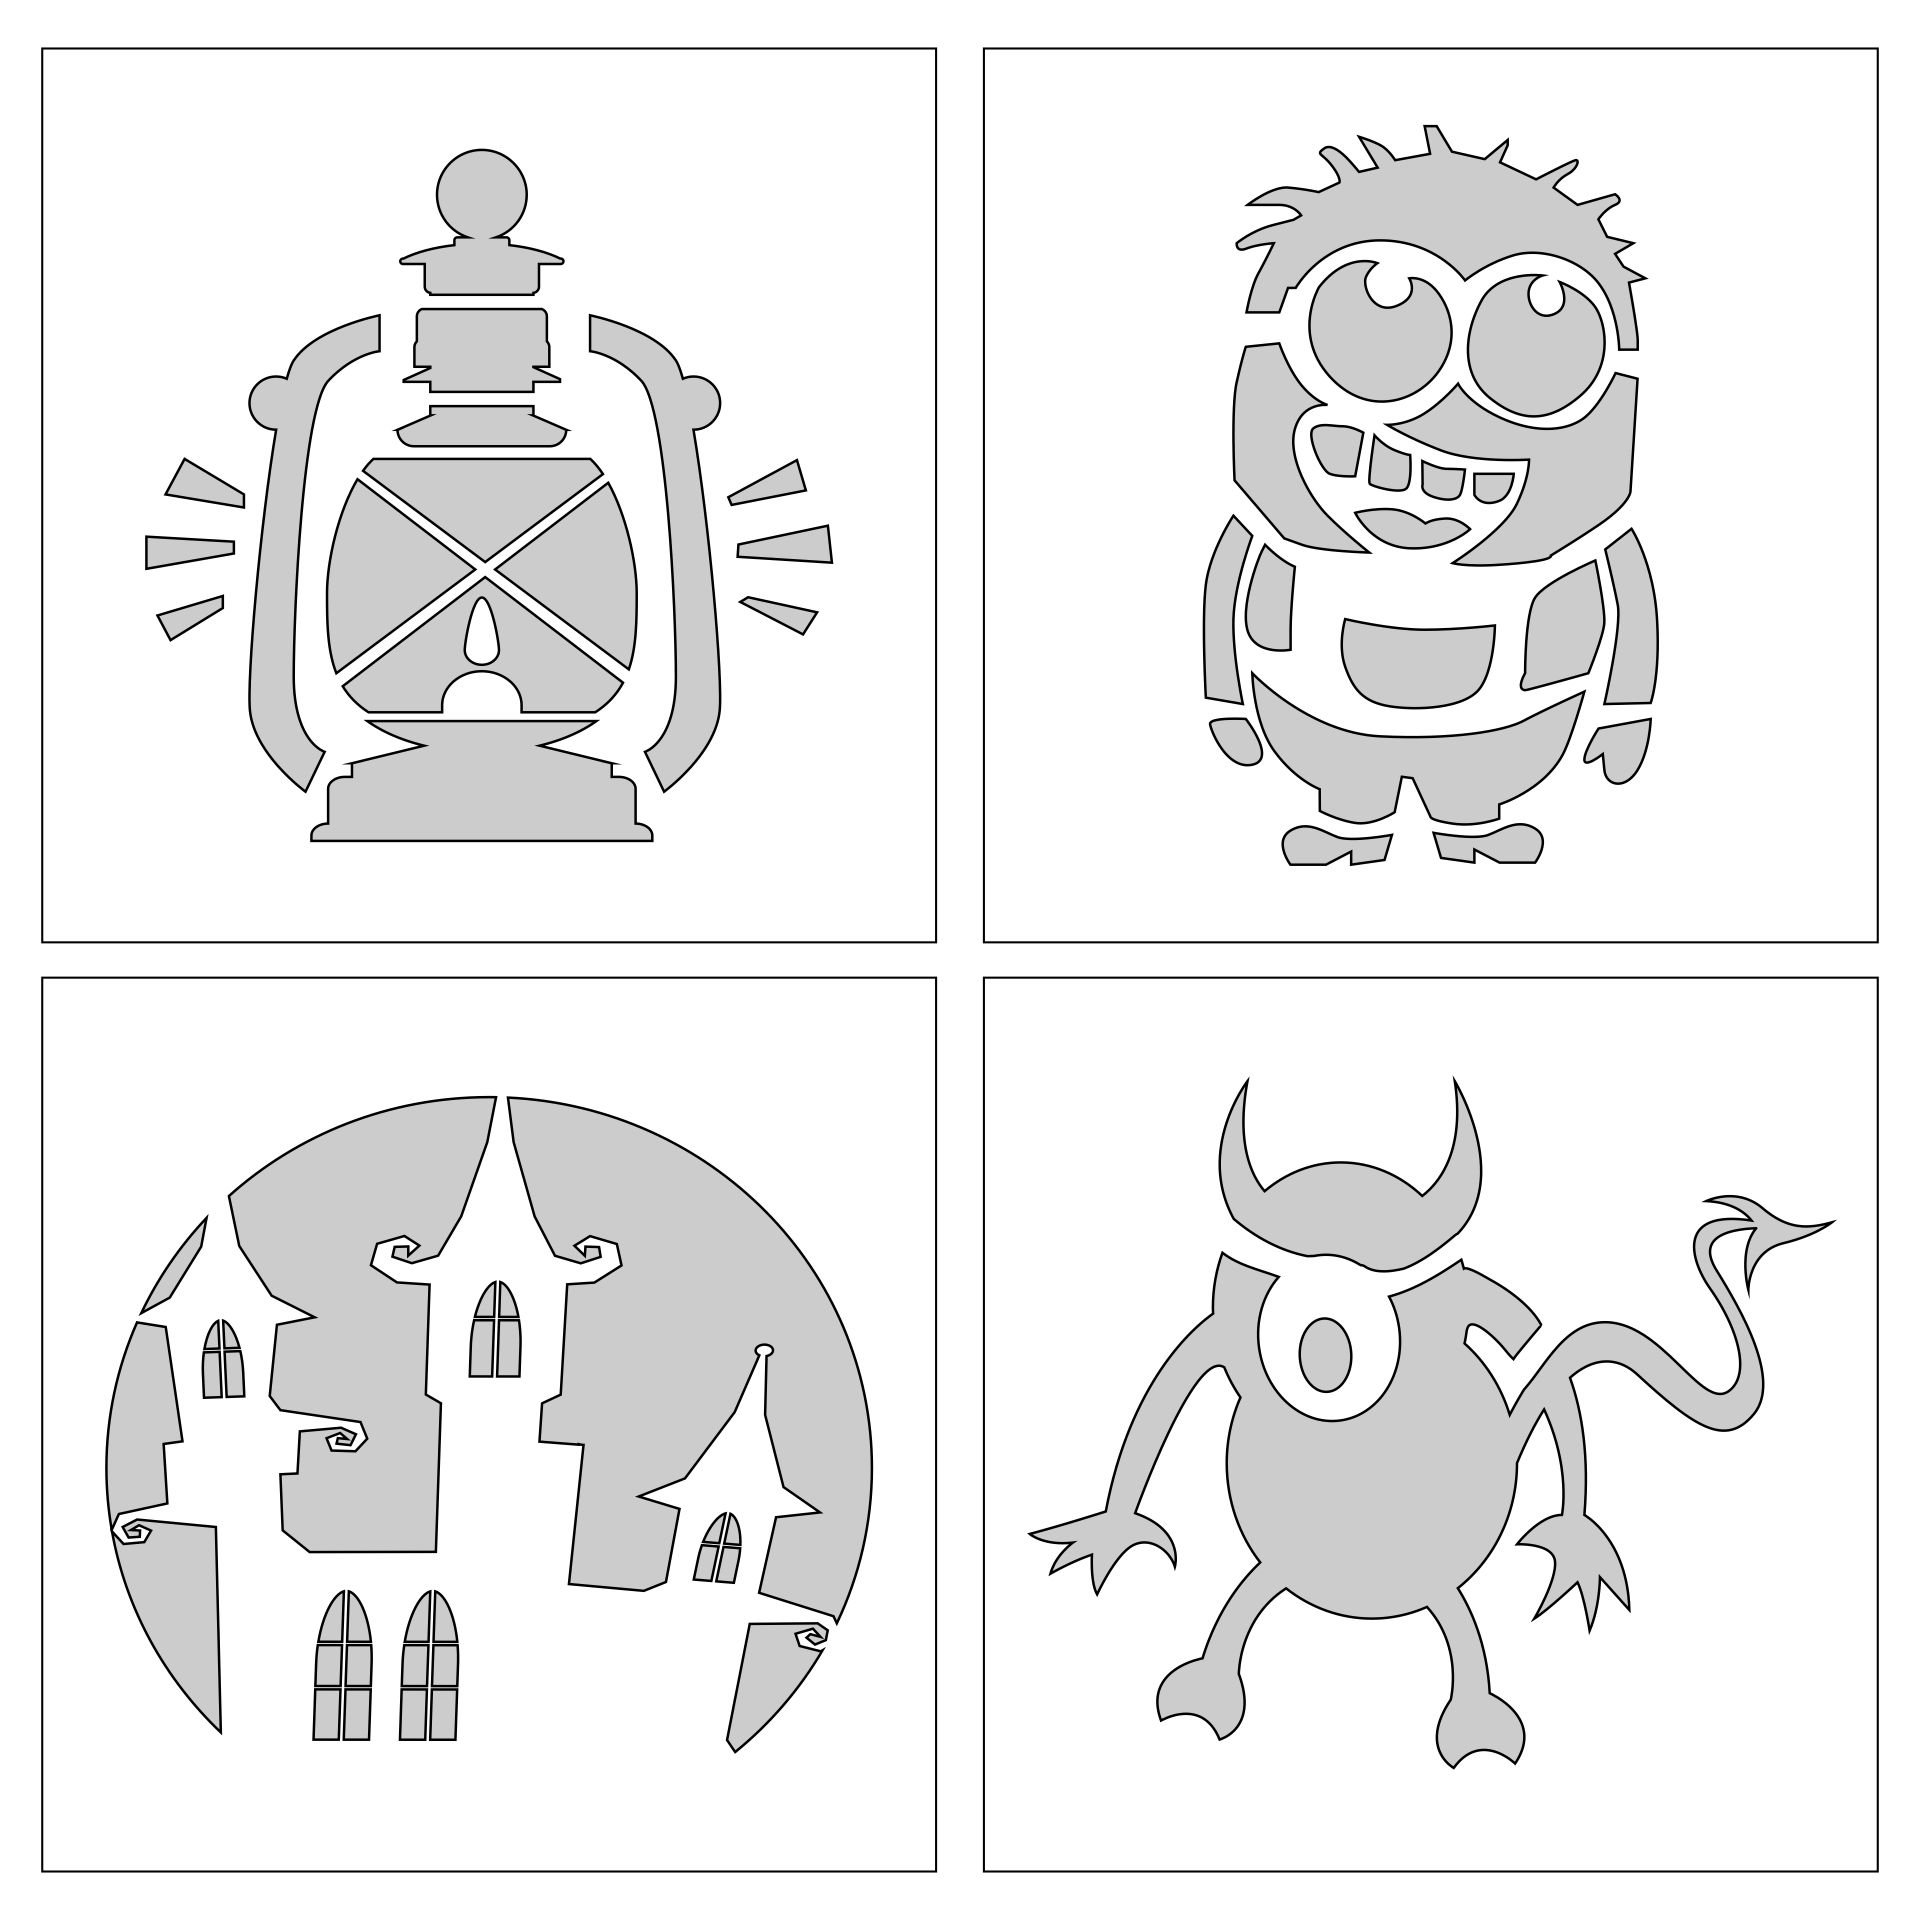
 Printable Pumpkin Carving Stencils

 Printable Pumpkin Stencils Easy

 Free Printable Pumpkin Stencils Scary

 Printable Halloween Stencils For Pumpkins

 Printable Pumpkin Painting Stencils

 Printable Halloween Stencils For Painting

 Printable Halloween Face Painting Stencil Template

 Printable Zero Nightmare Before Christmas Pumpkin Template

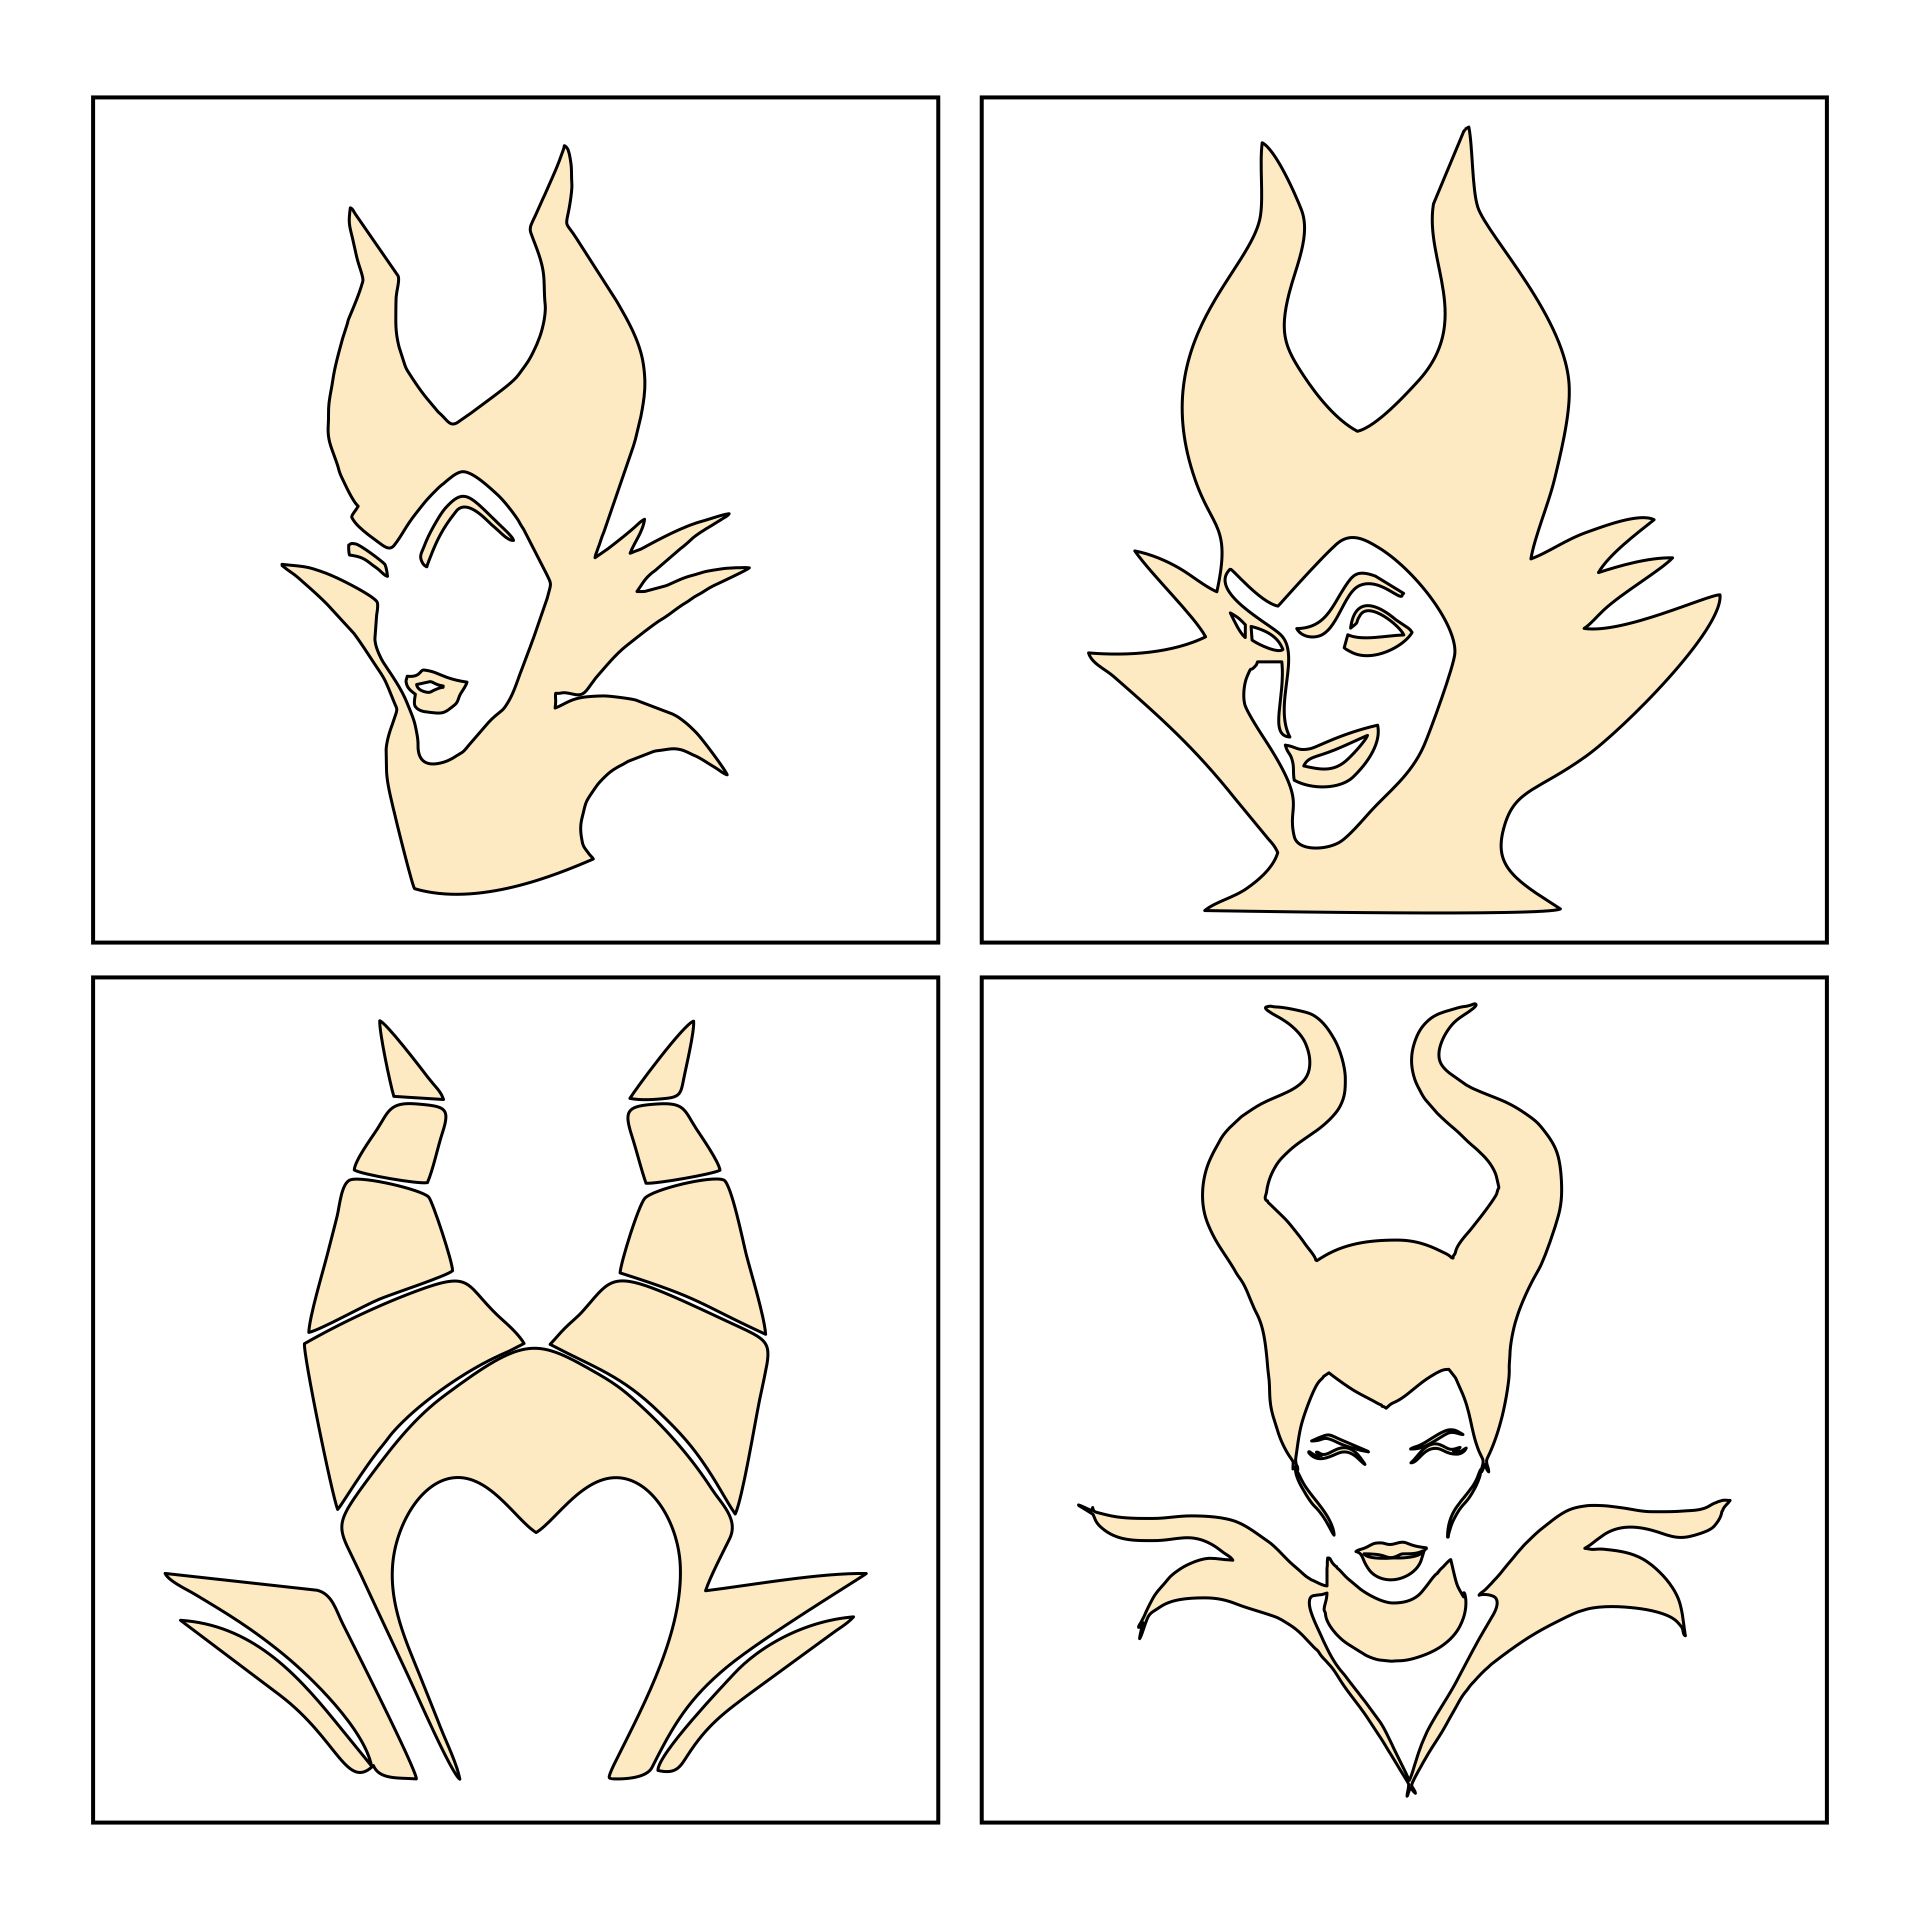
 Printable Maleficent Halloween Stencil

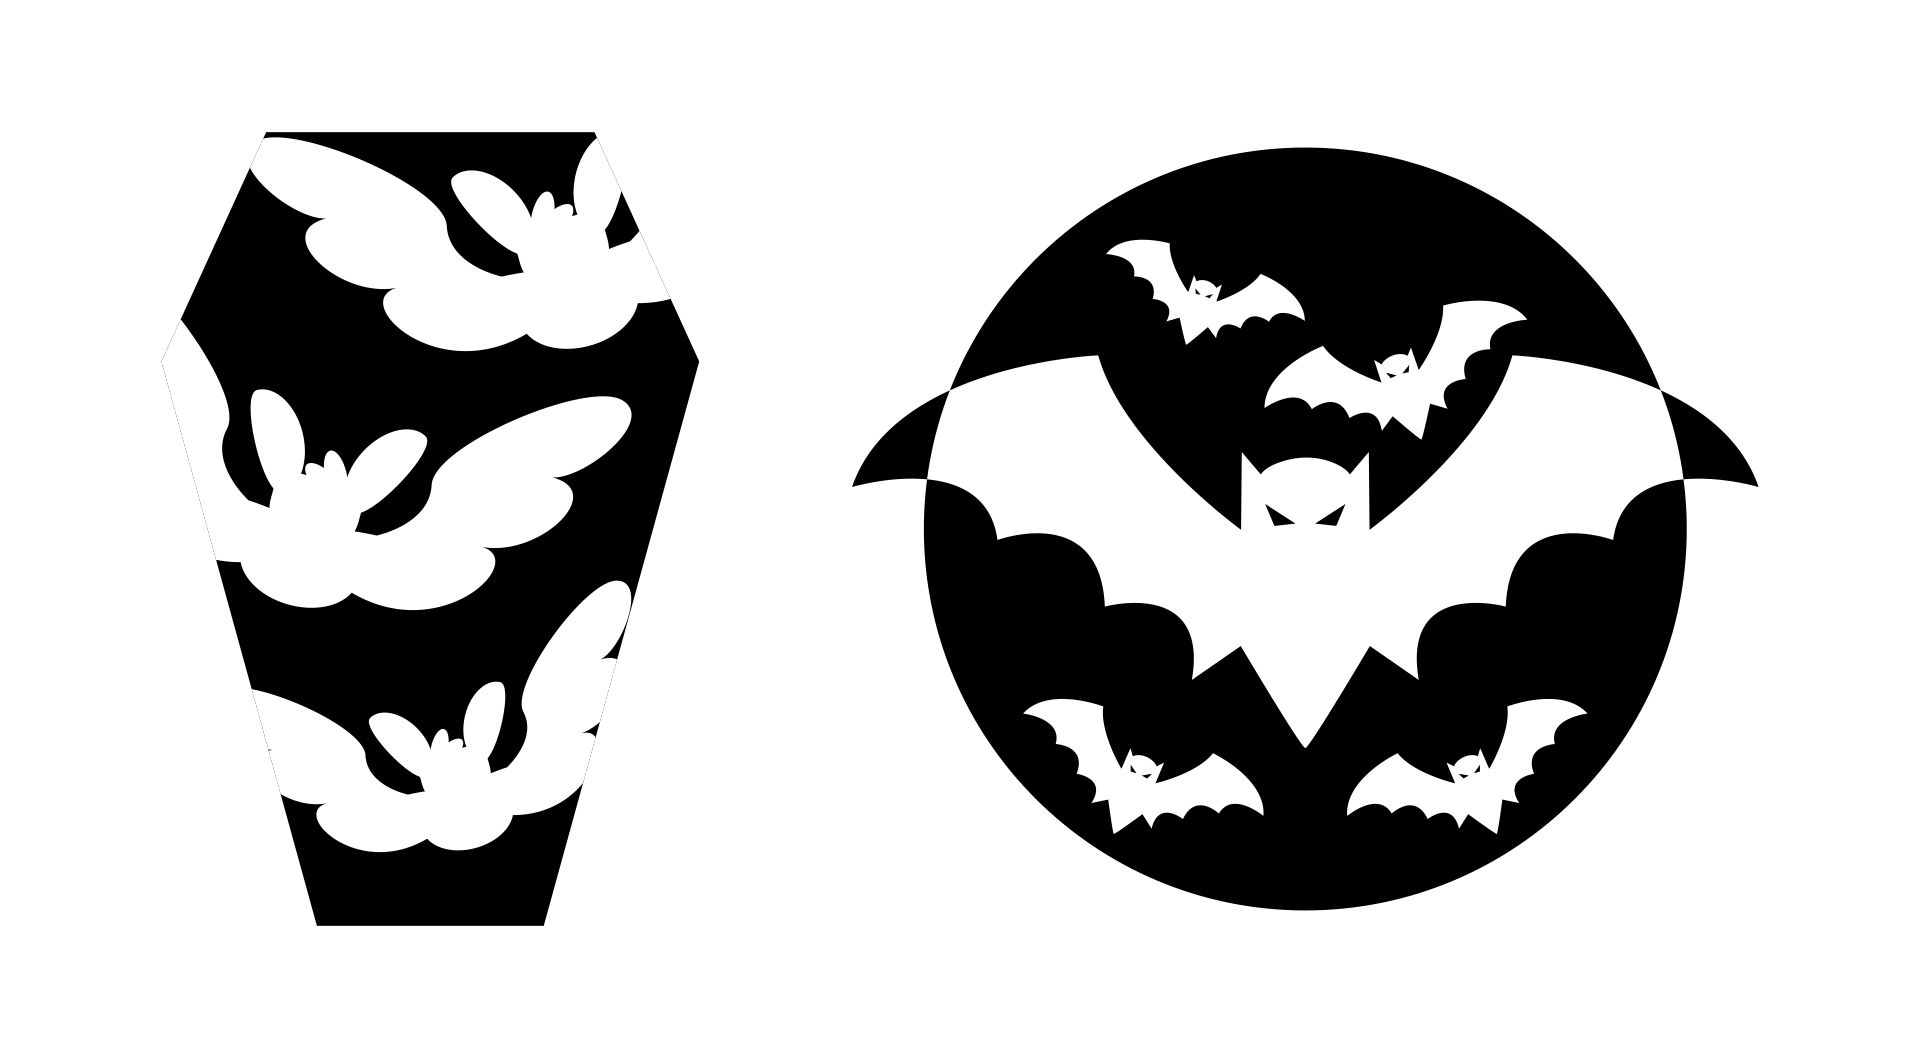
 Bat Pumpkin Stencil Printable Crafts

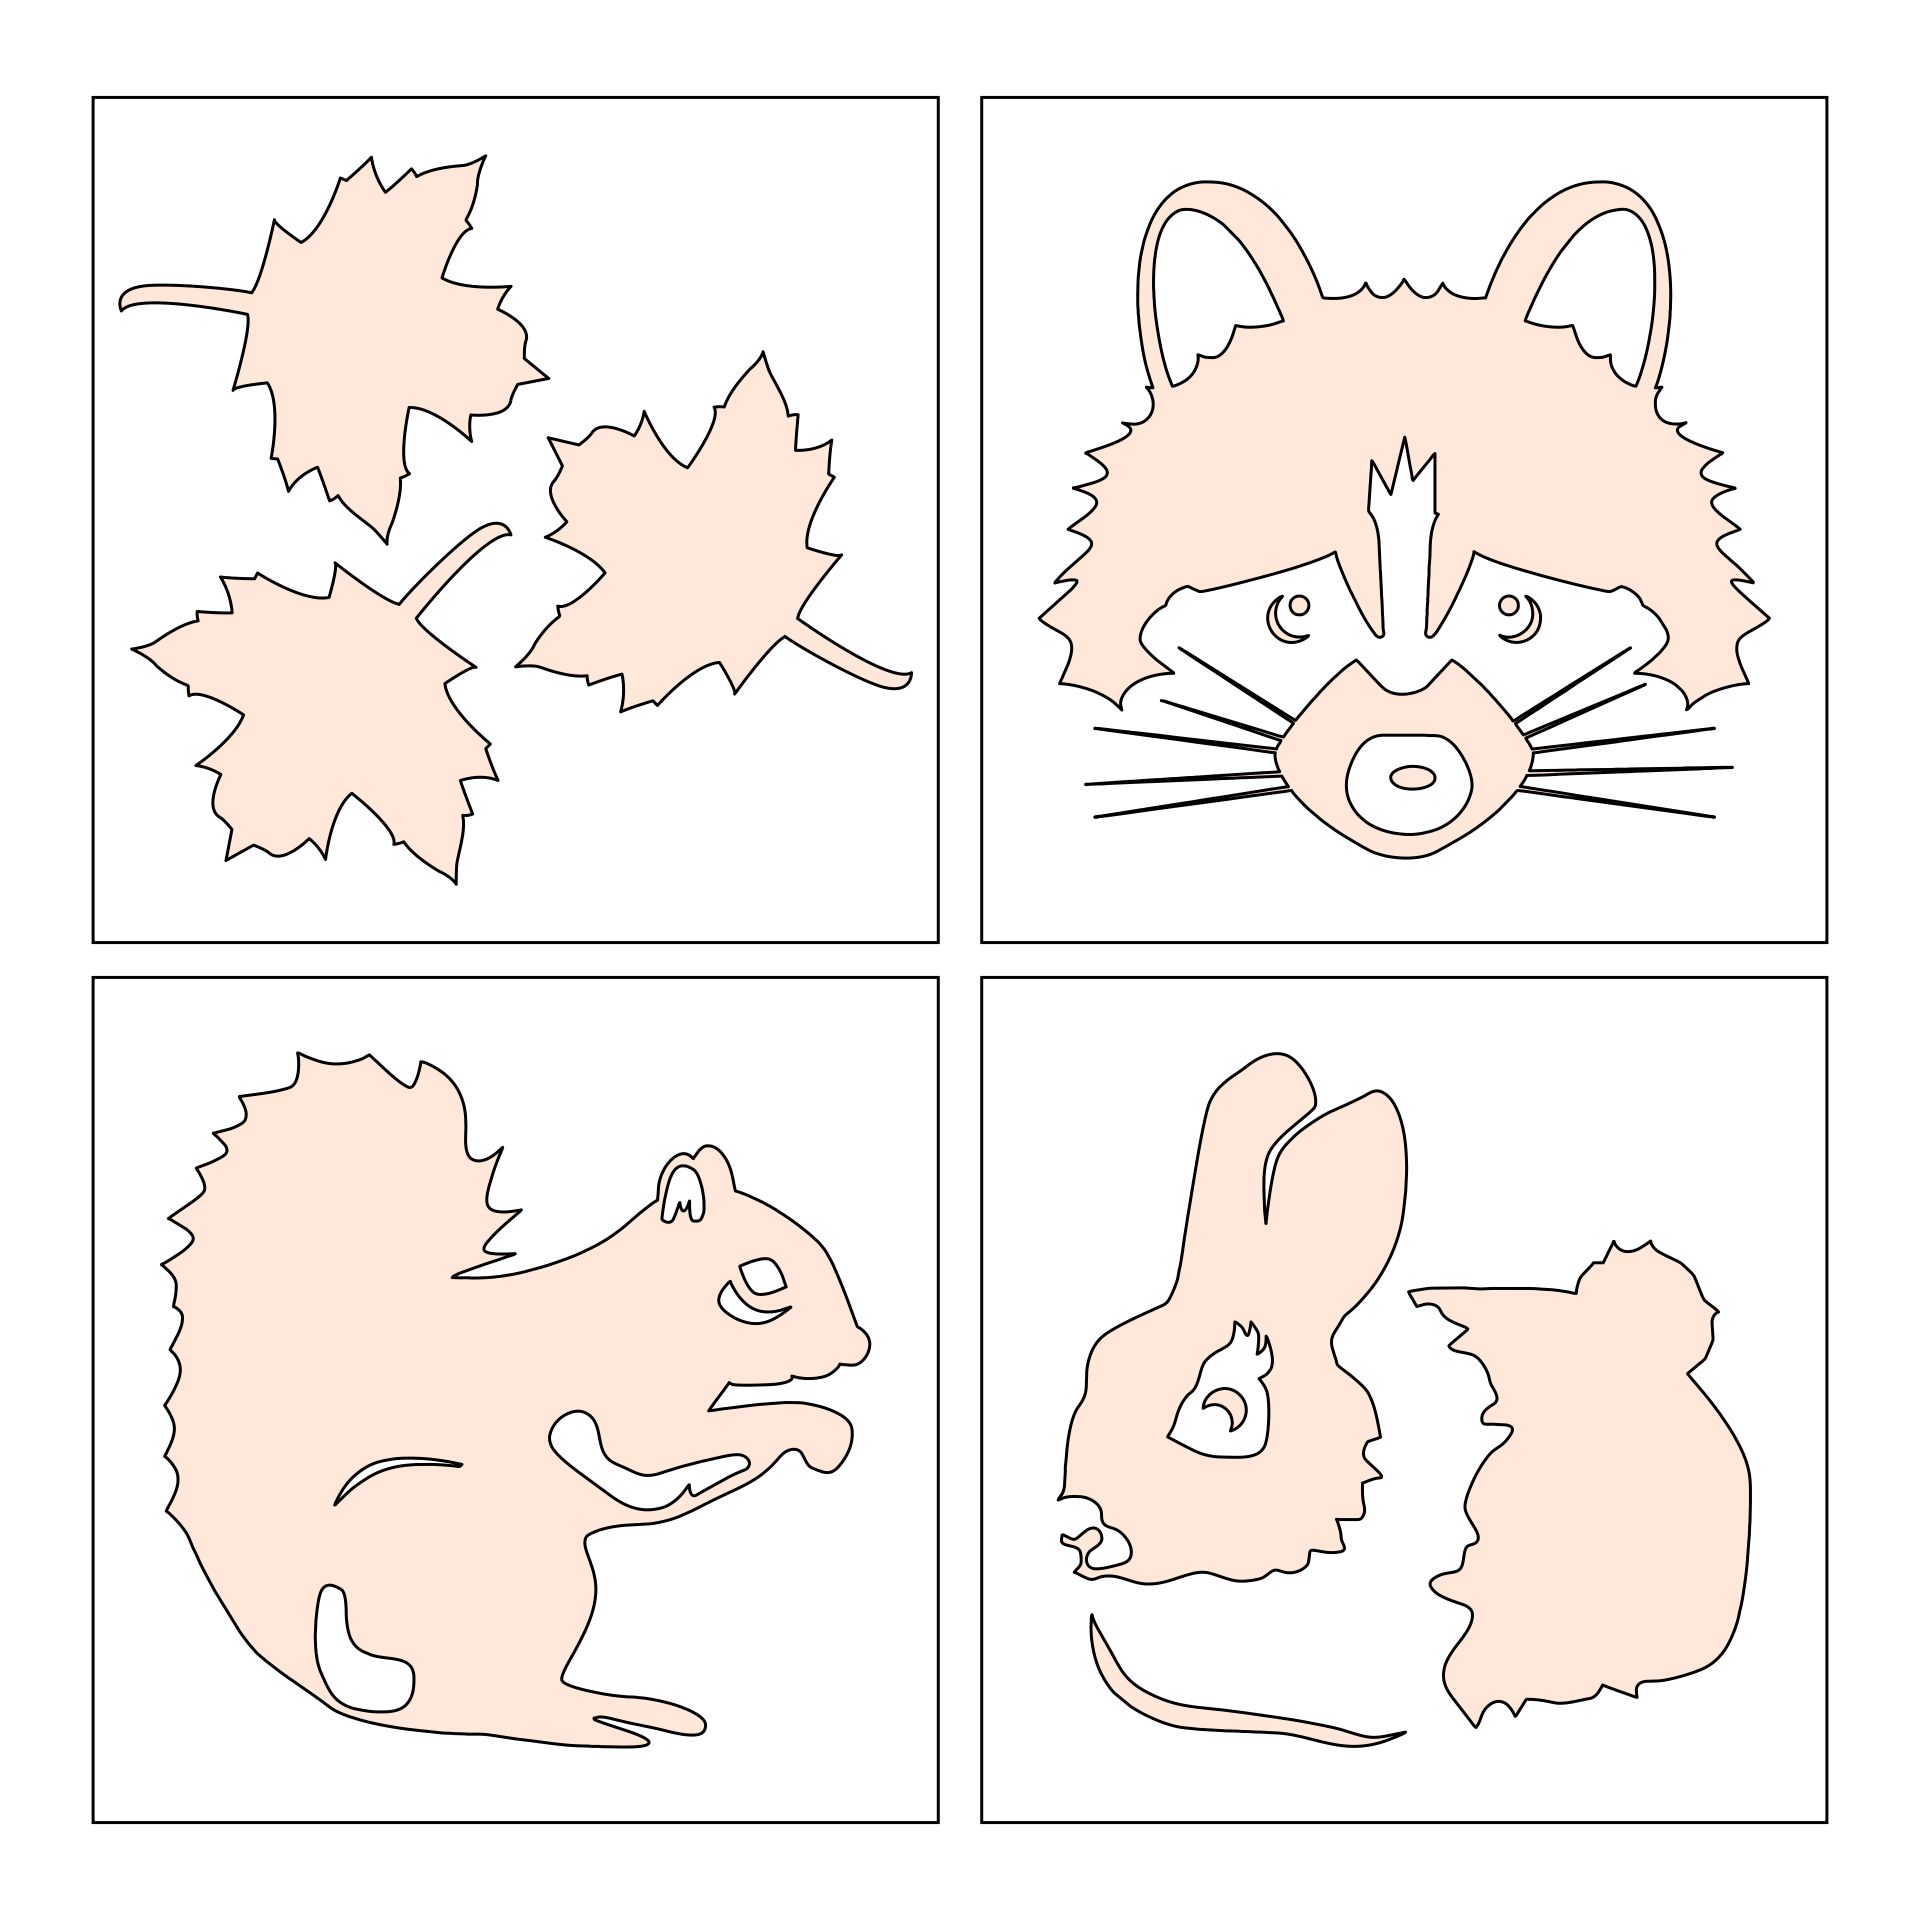
 Printable Woodland Creature Pumpkin Stencils

Classroom Creativity Boost with Halloween Stencils
With designs of pumpkins, ghosts, and witches, printable Halloween stencils could be an exciting addition to classroom crafts and activities. They engage students in interactive, hands-on learning while nurturing their artistic skills, bringing a blend of education and Halloween fun.
Enchanting Decorations with Halloween Party Stencils
Planning a Halloween party? Bring a spooktacular touch to your decorations with these printable. Easy to use on pumpkins, banners, and table settings, they can transform your venue into a captivating Halloween wonderland tailored to your theme.
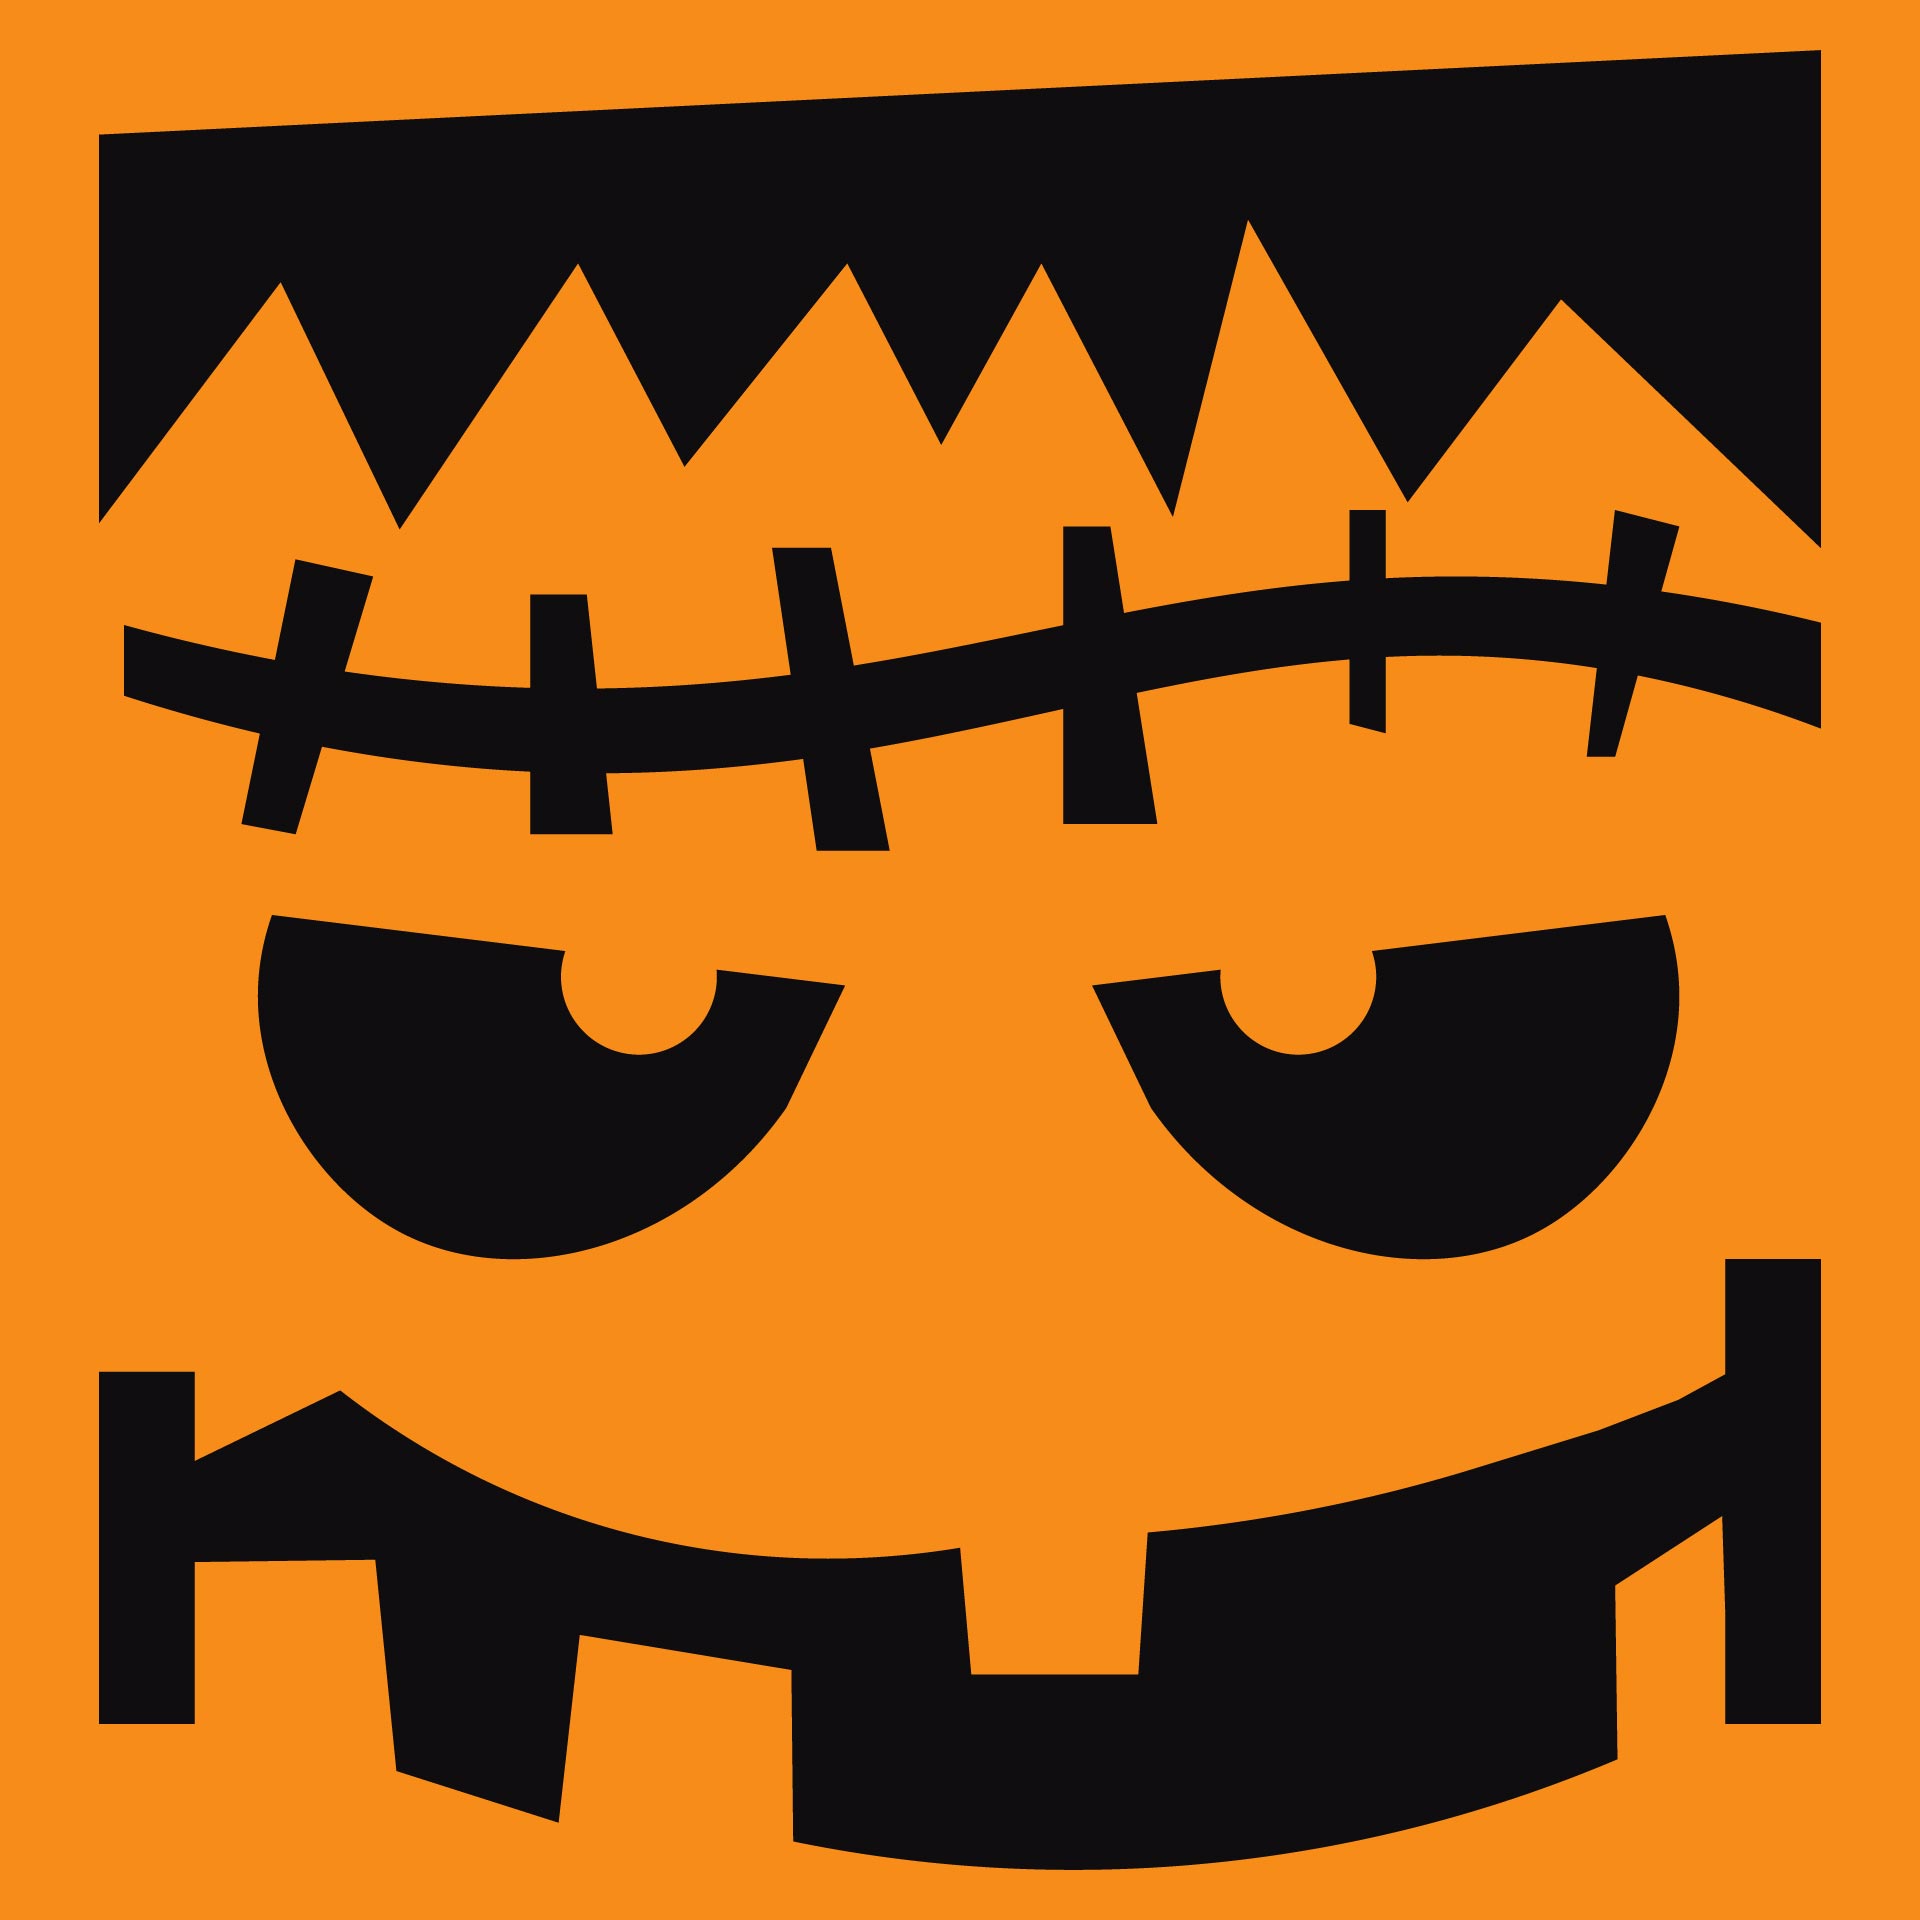
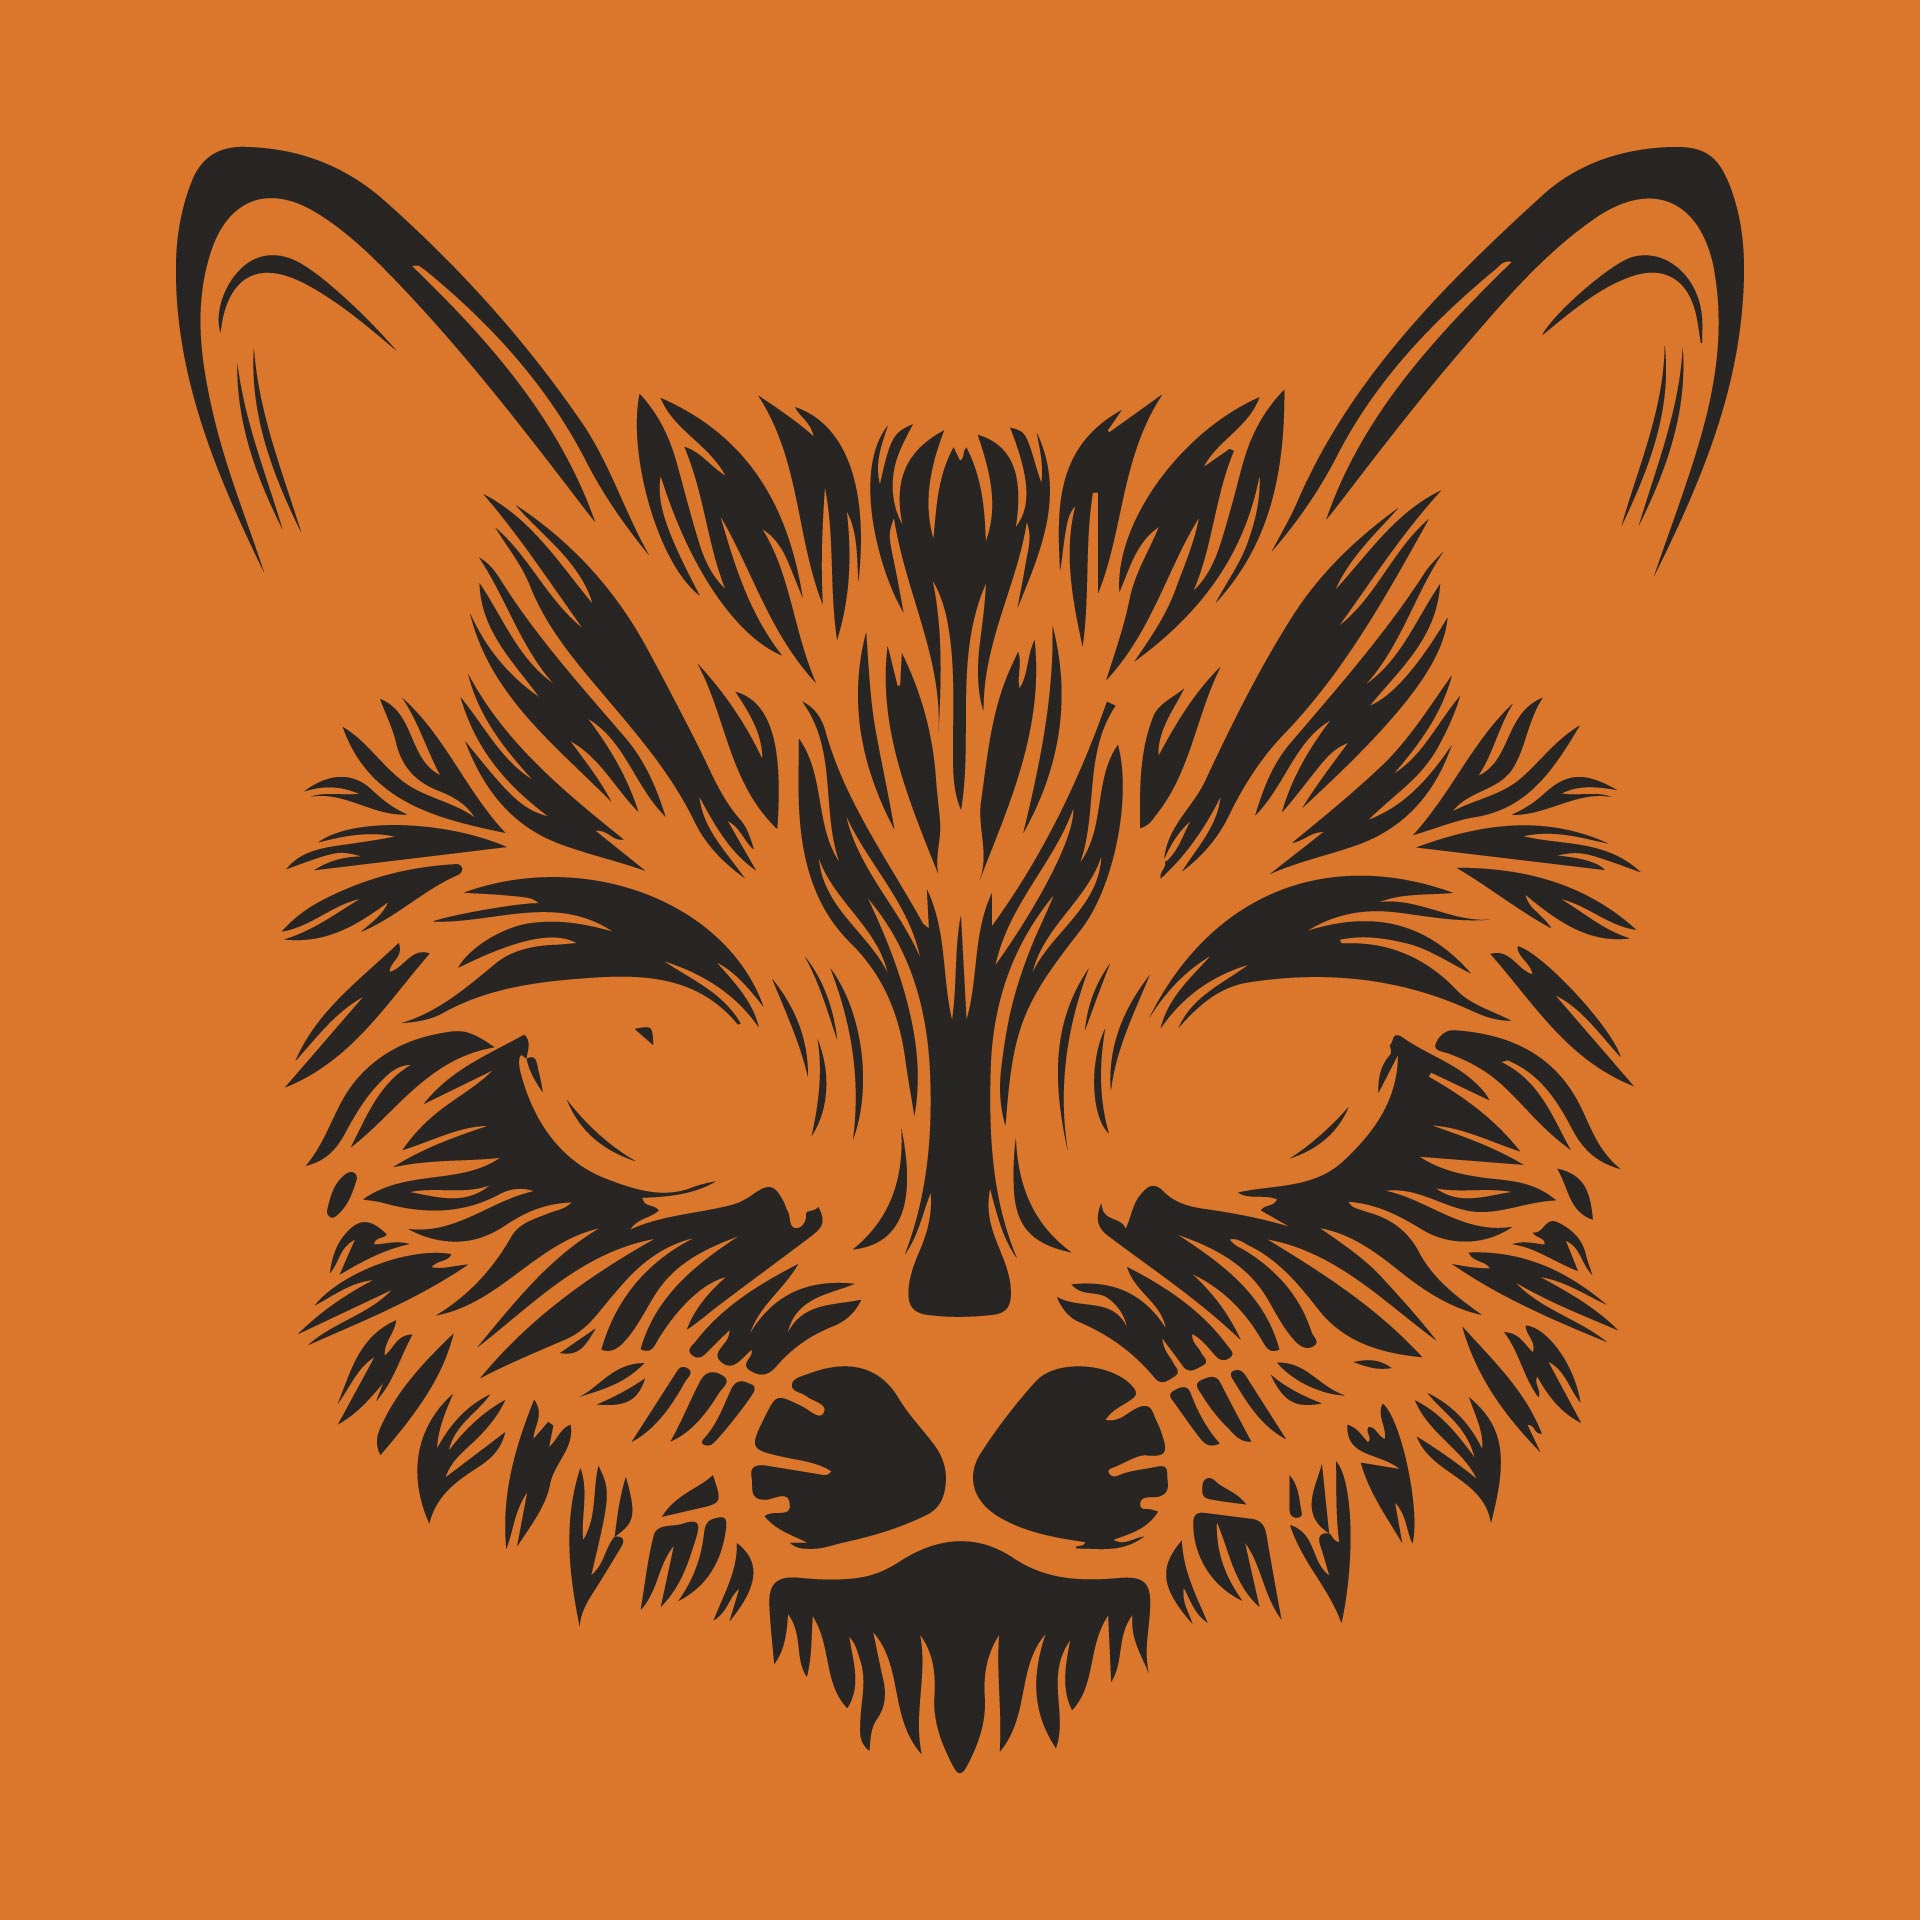
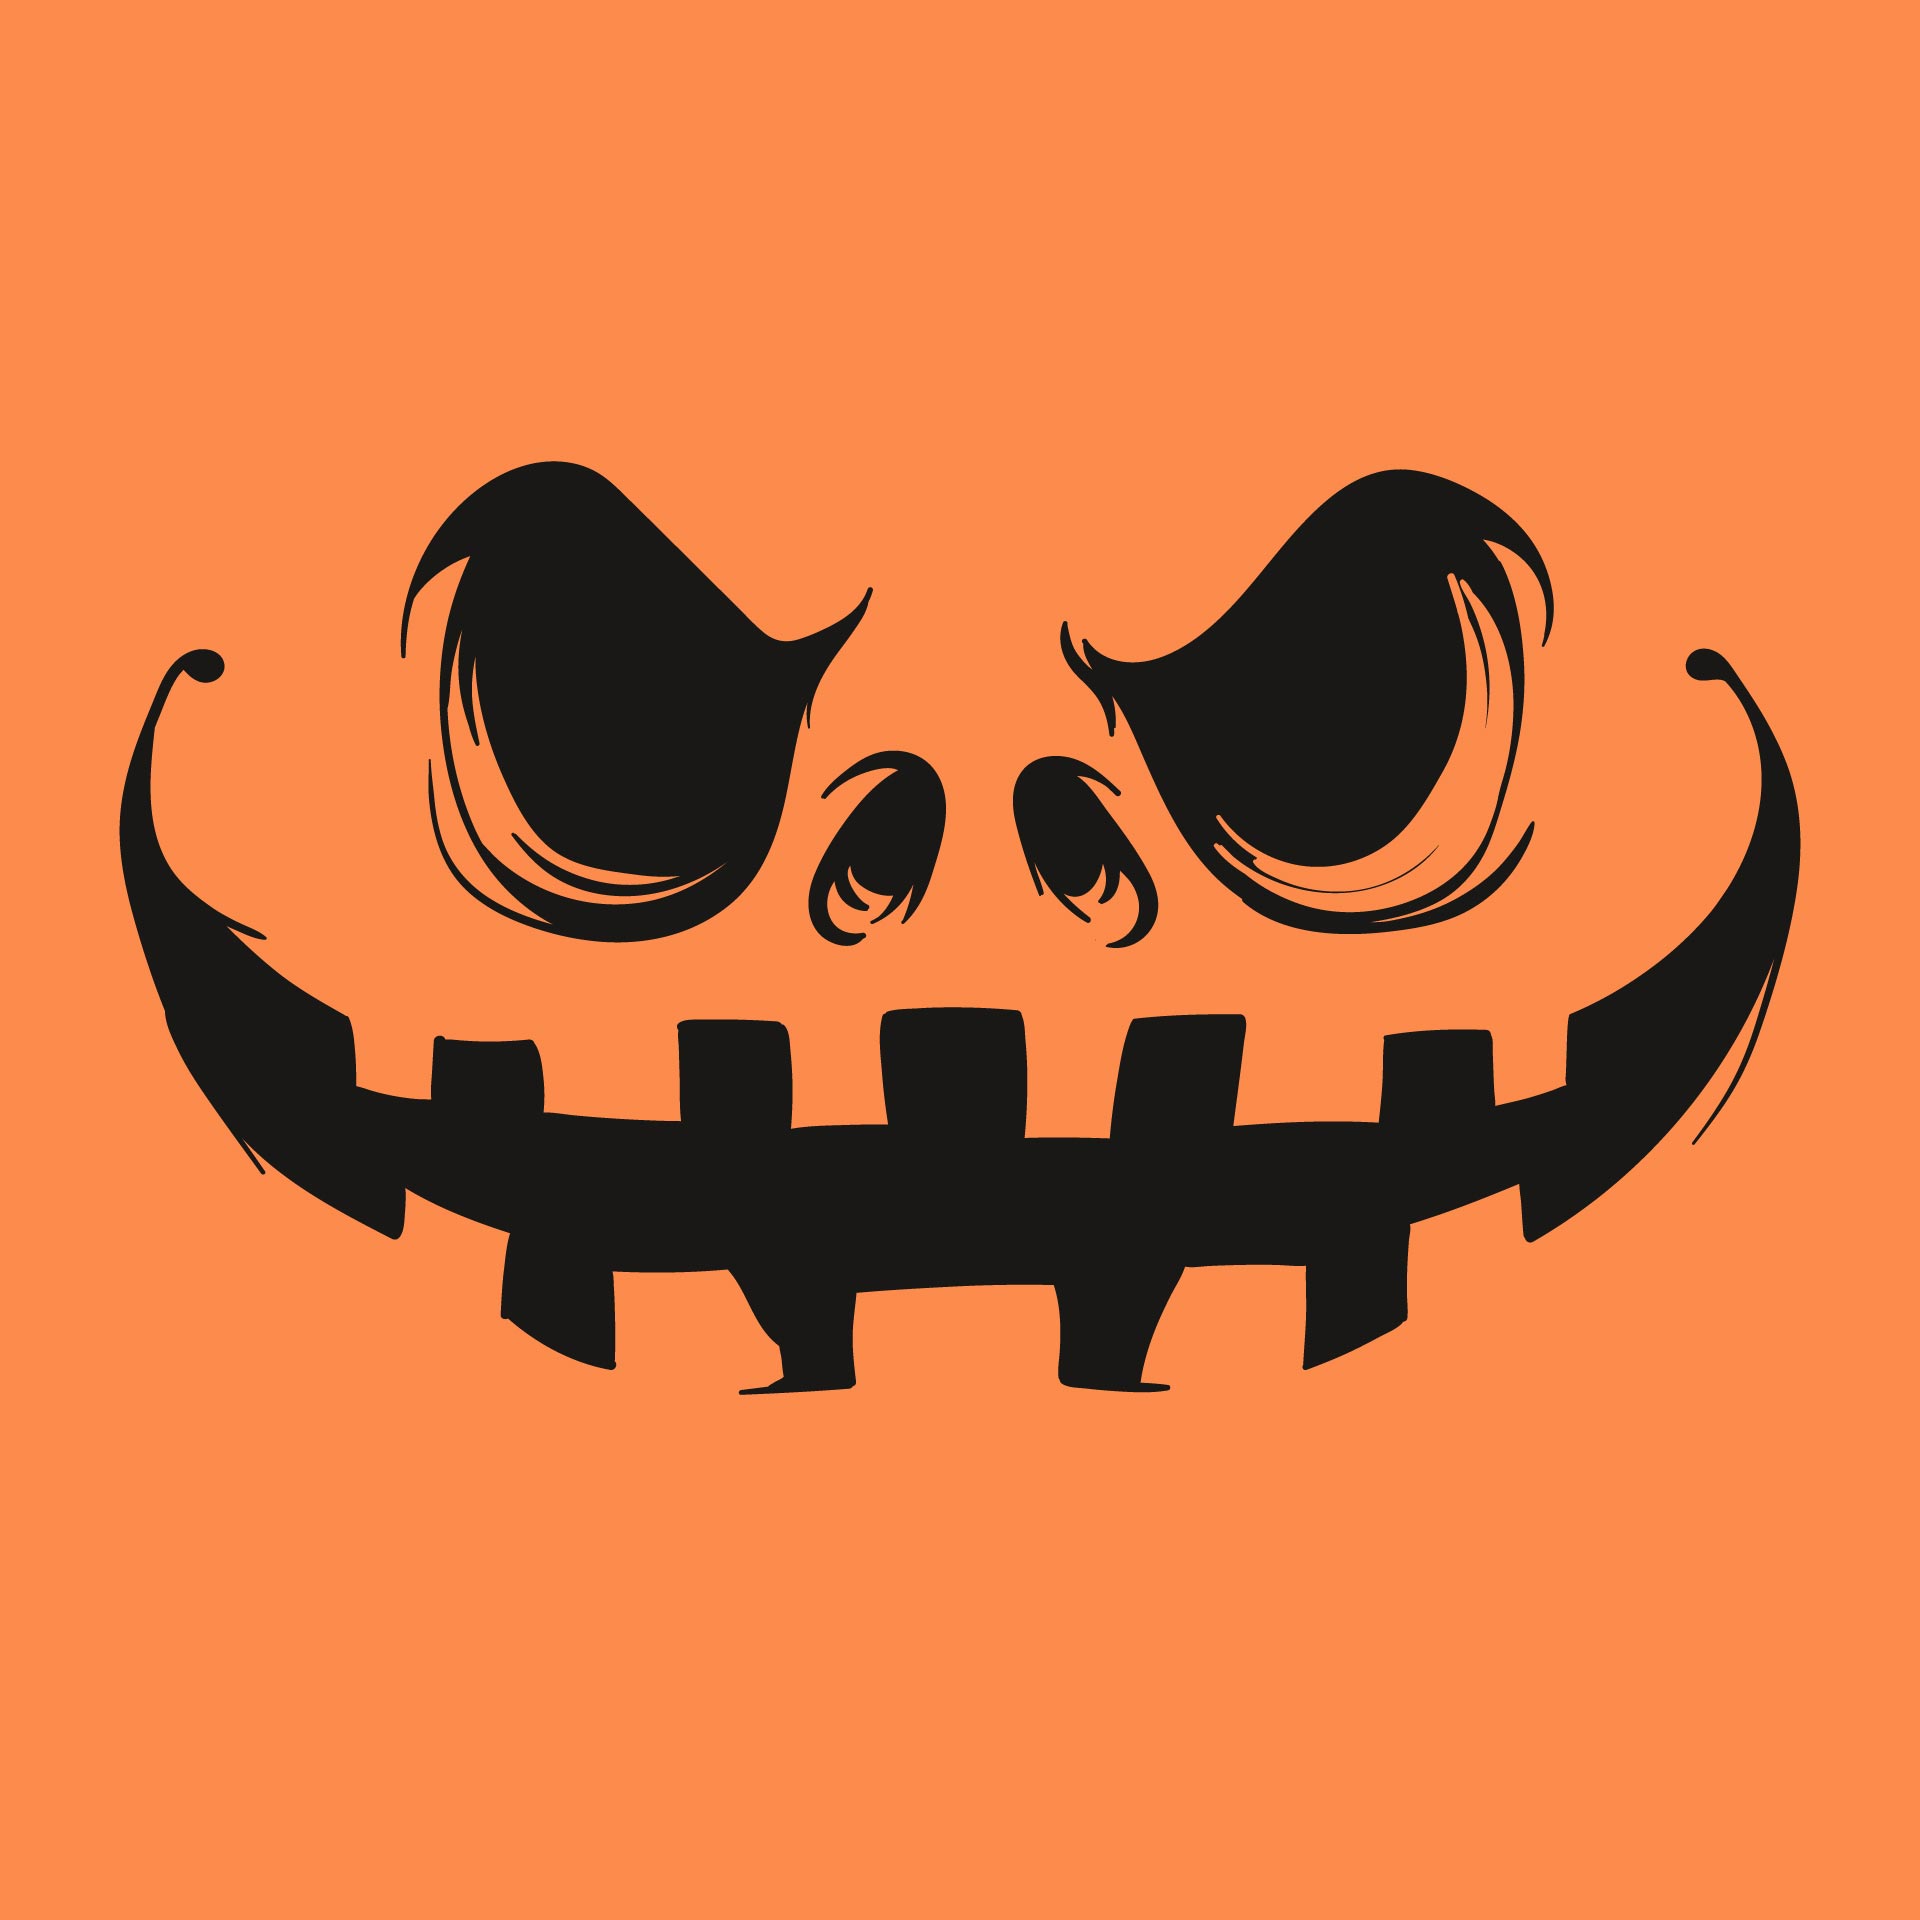
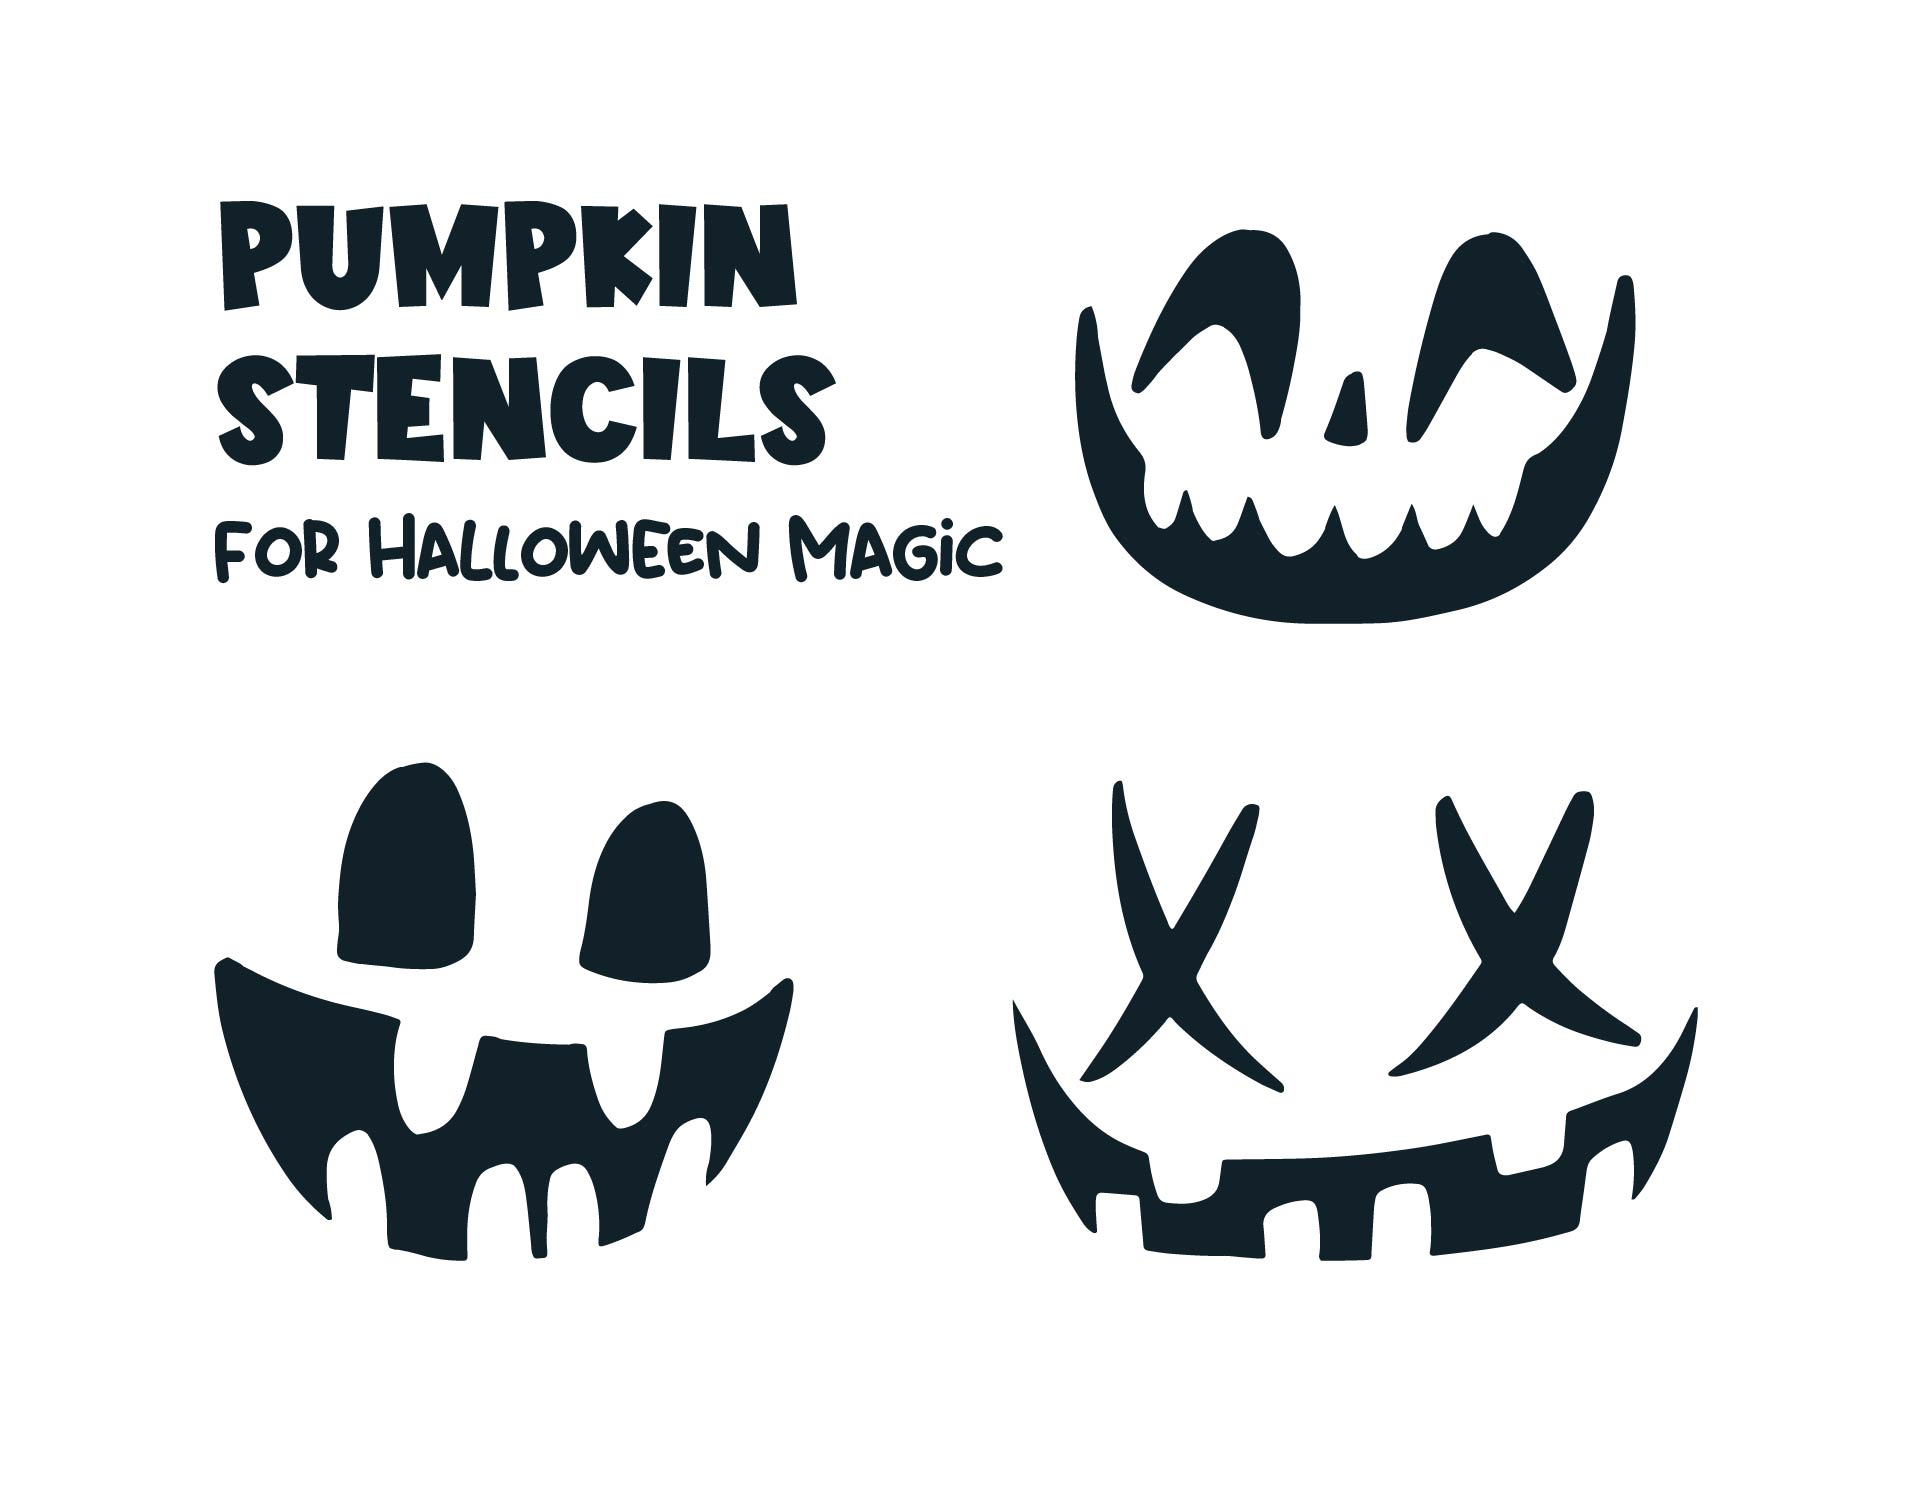
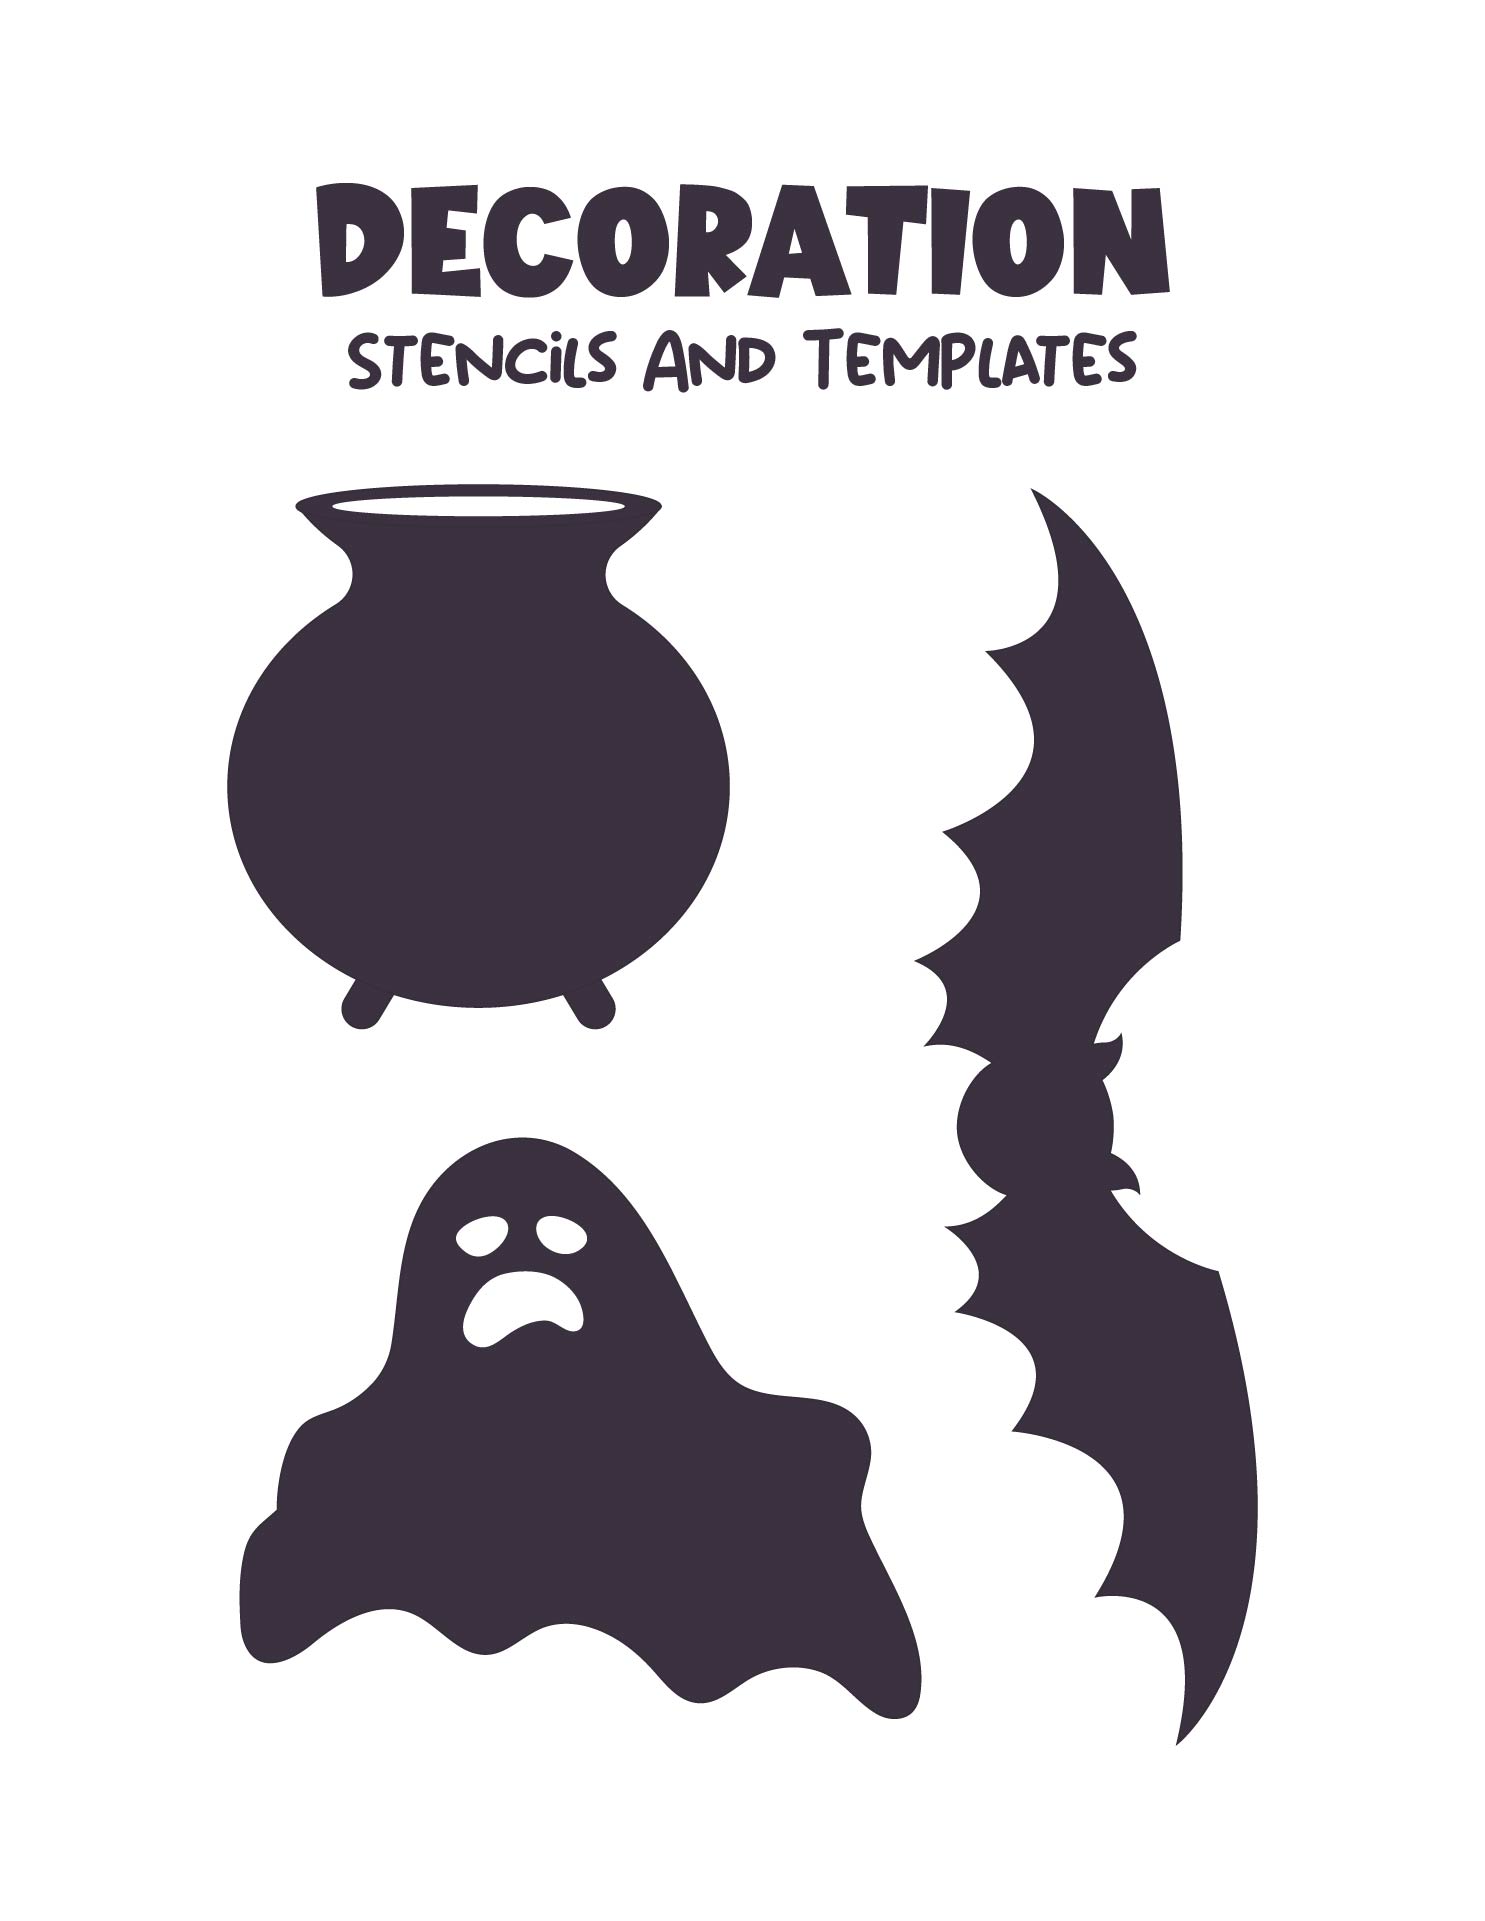
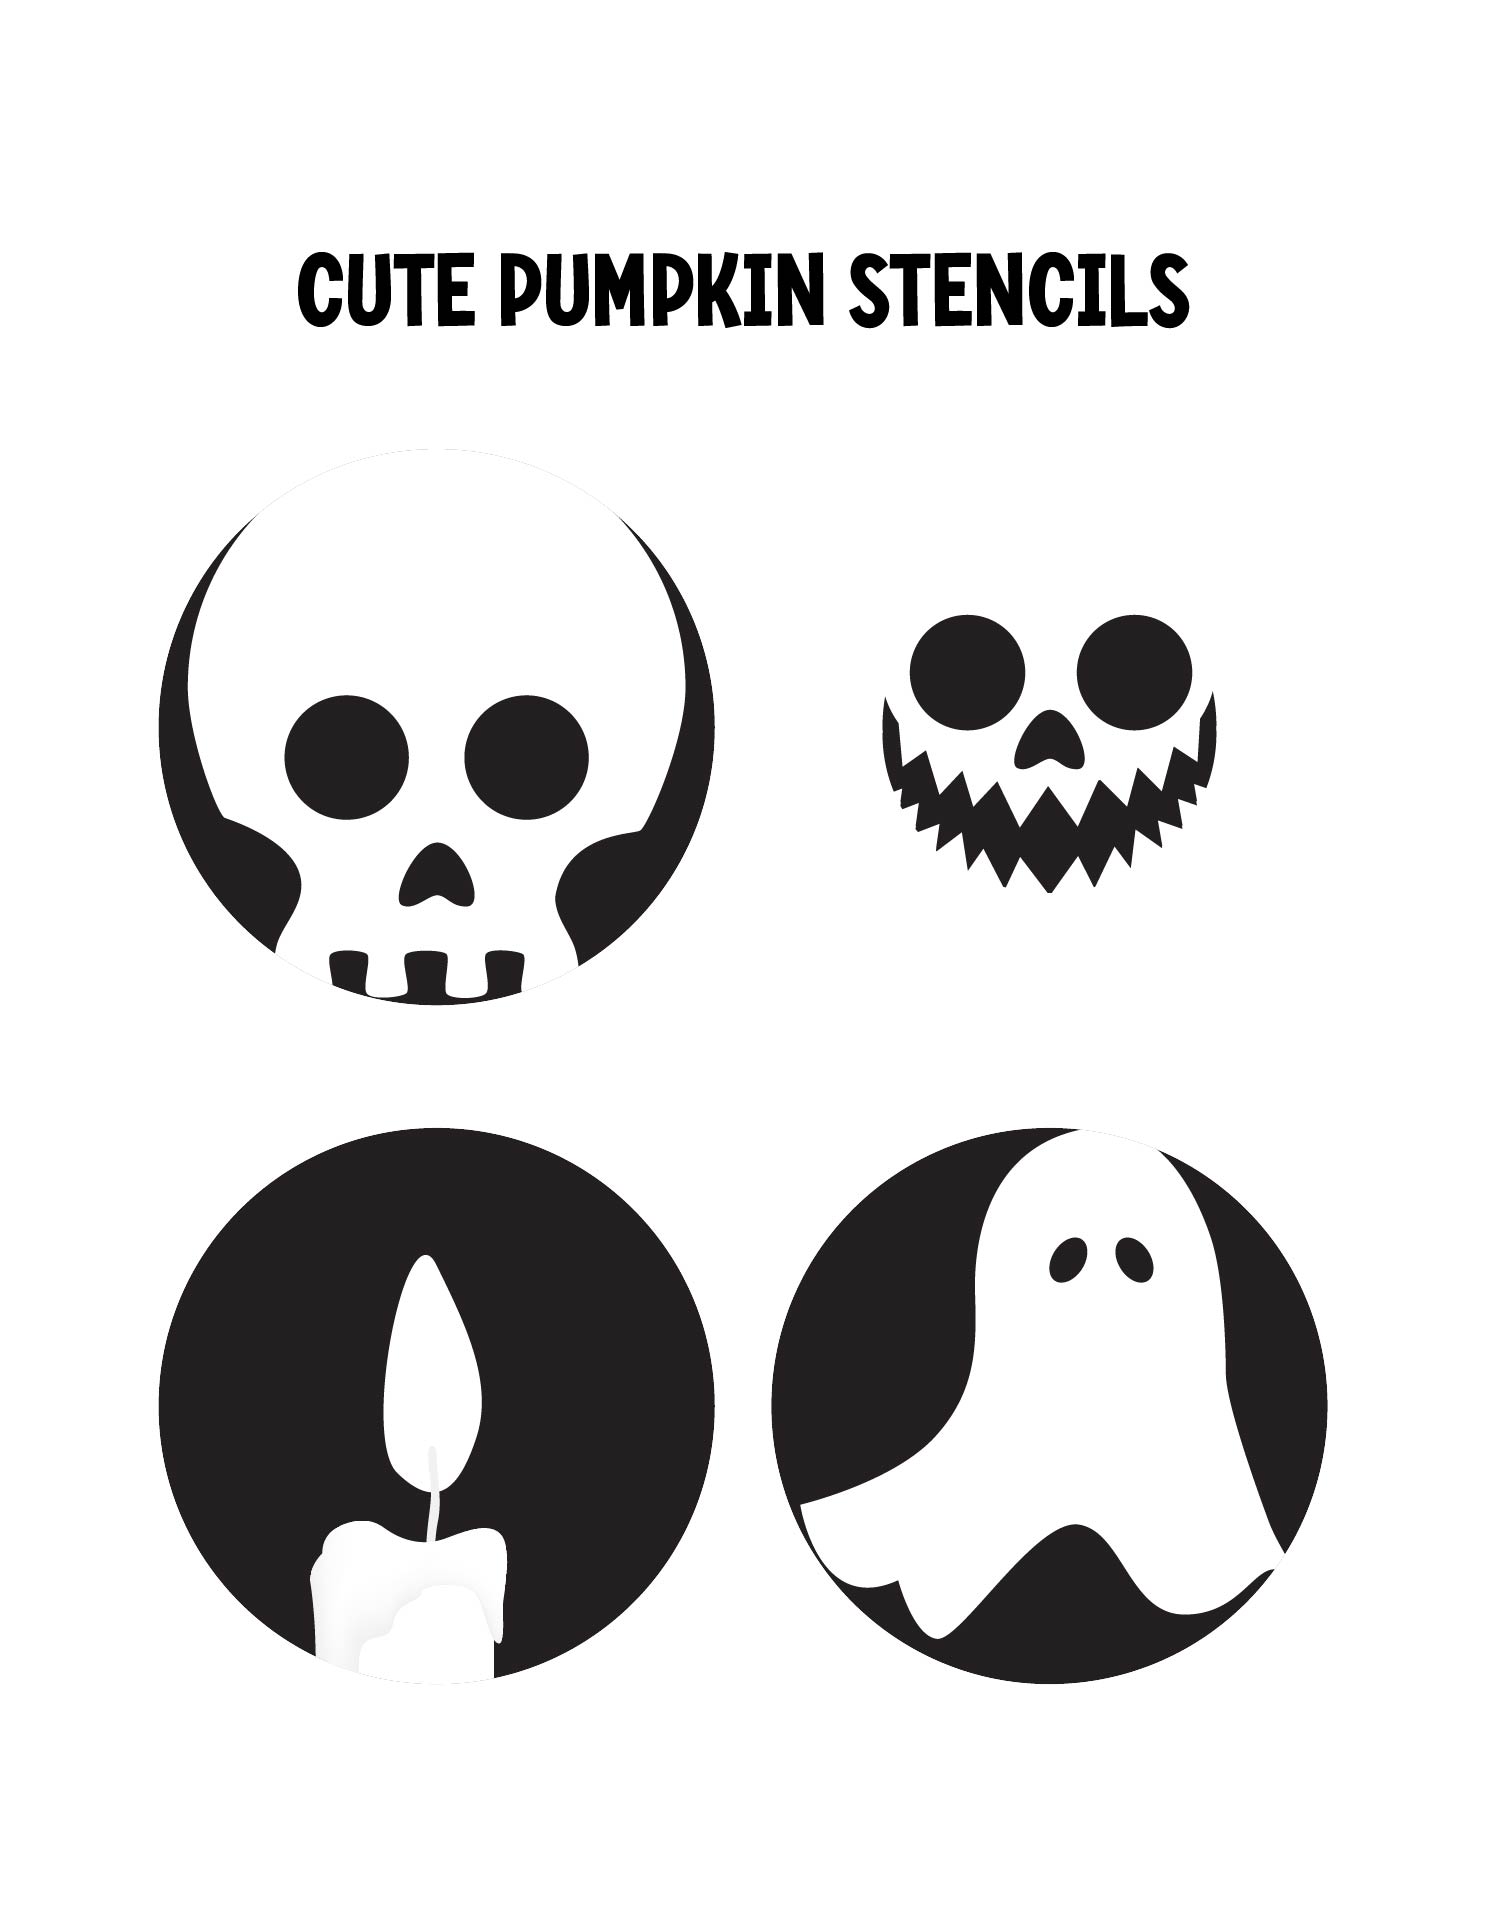
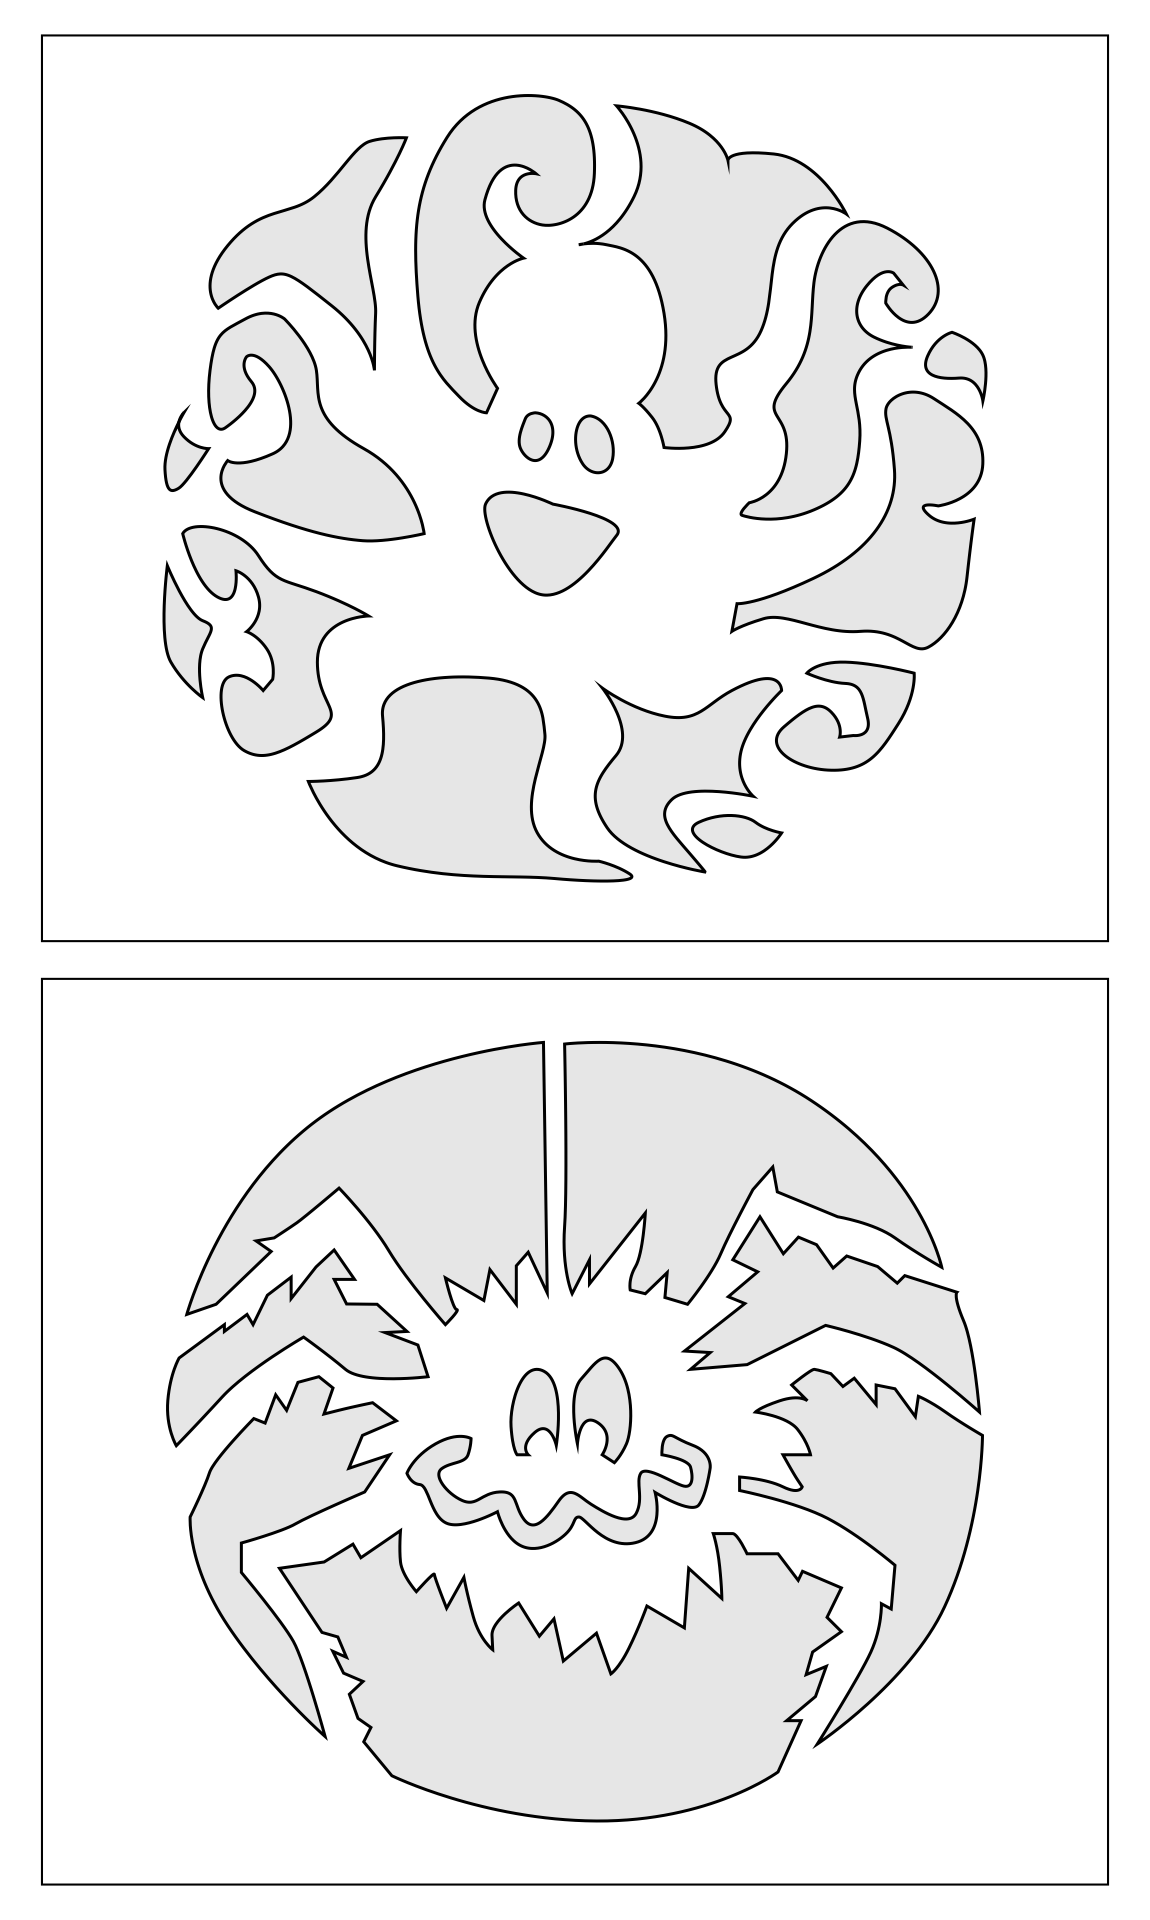
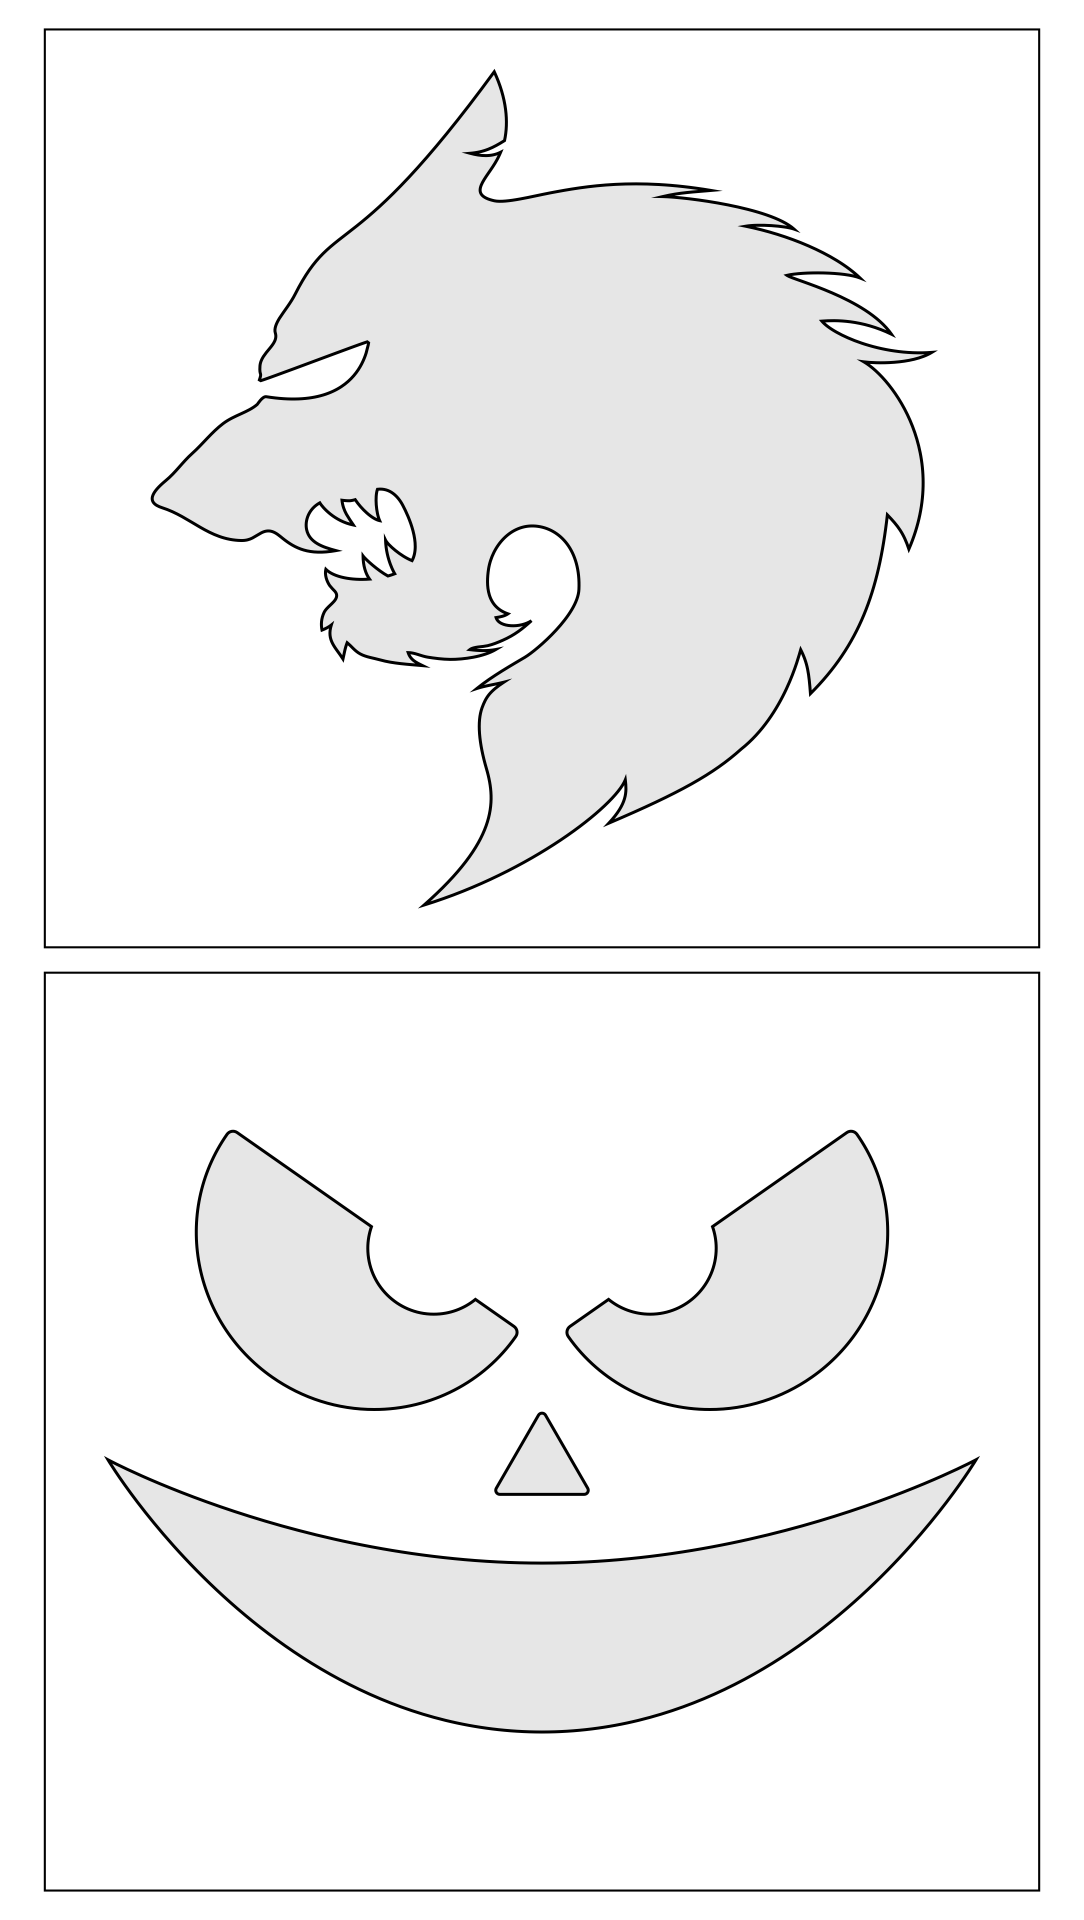
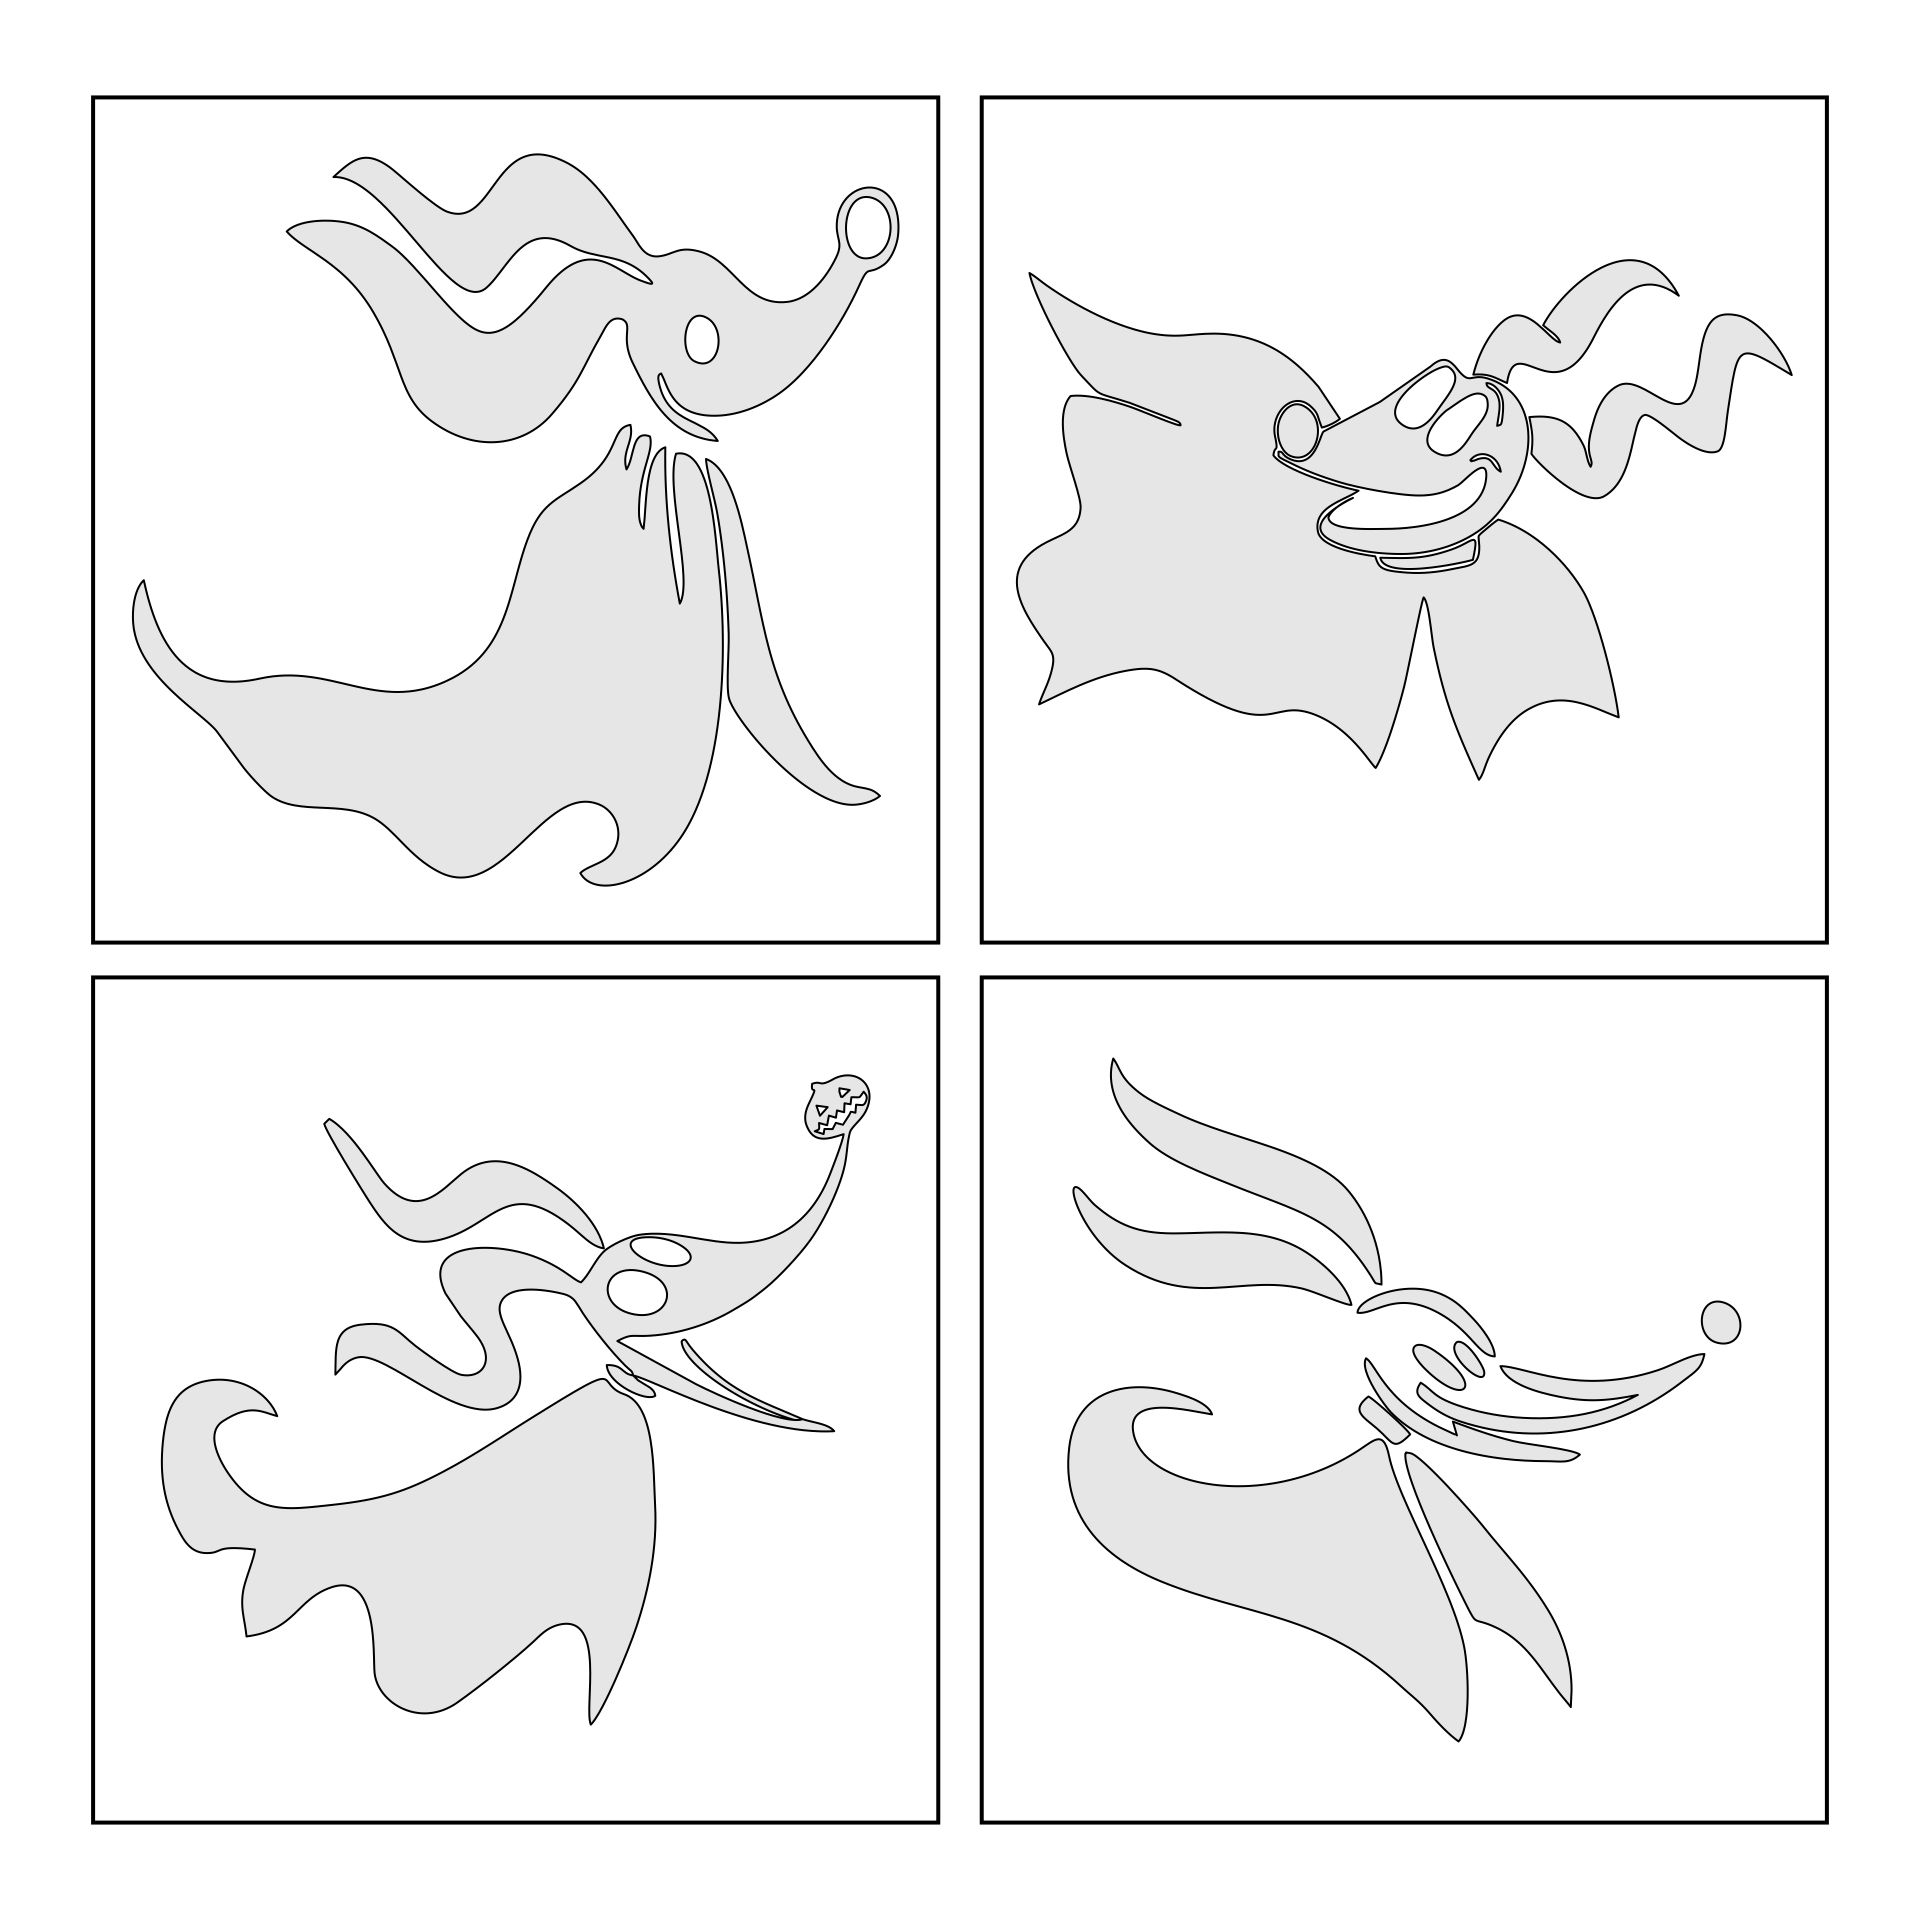
Printable Halloween stencils are a great resource for adding spooky and fun designs to your Halloween decorations. These stencils feature various Halloween-themed shapes, such as bats, pumpkins, witches, and ghosts, that you can easily print out and trace onto any surface. Whether you want to create a homemade Halloween costume or decorate your home with festive artwork, these printable stencils make the process easy and enjoyable.




Have something to tell us?
Recent Comments
Printable Halloween stencils offer creative individuals a convenient and cost-effective way to add spooky and festive designs to their crafts or decorations, making it easy to personalize and enhance their Halloween celebrations.
Printable Halloween stencils offer a convenient and cost-effective way to bring spooky creativity to life, allowing you to easily decorate pumpkins, windows, or any other surface with intricate and detailed designs.
Printable Halloween stencils are a convenient and cost-effective way to add a festive touch to your decorations or crafts, allowing you to easily create spooky designs without the need for artistic skills.