A Minnie Mouse printable template can streamline your party planning process. It allows you to create personalized invitations, decorations, or activities aligned with a Minnie Mouse theme. Such a template saves time, ensuring your DIY projects look professional, captivating your guests or delighting your children. With customizable options, your creativity can flourish, making your event memorable and unique.

 Minnie Mouse Printable Template
 Minnie Mouse Bow Template Printable

 Minnie Mouse Bow Template Printable

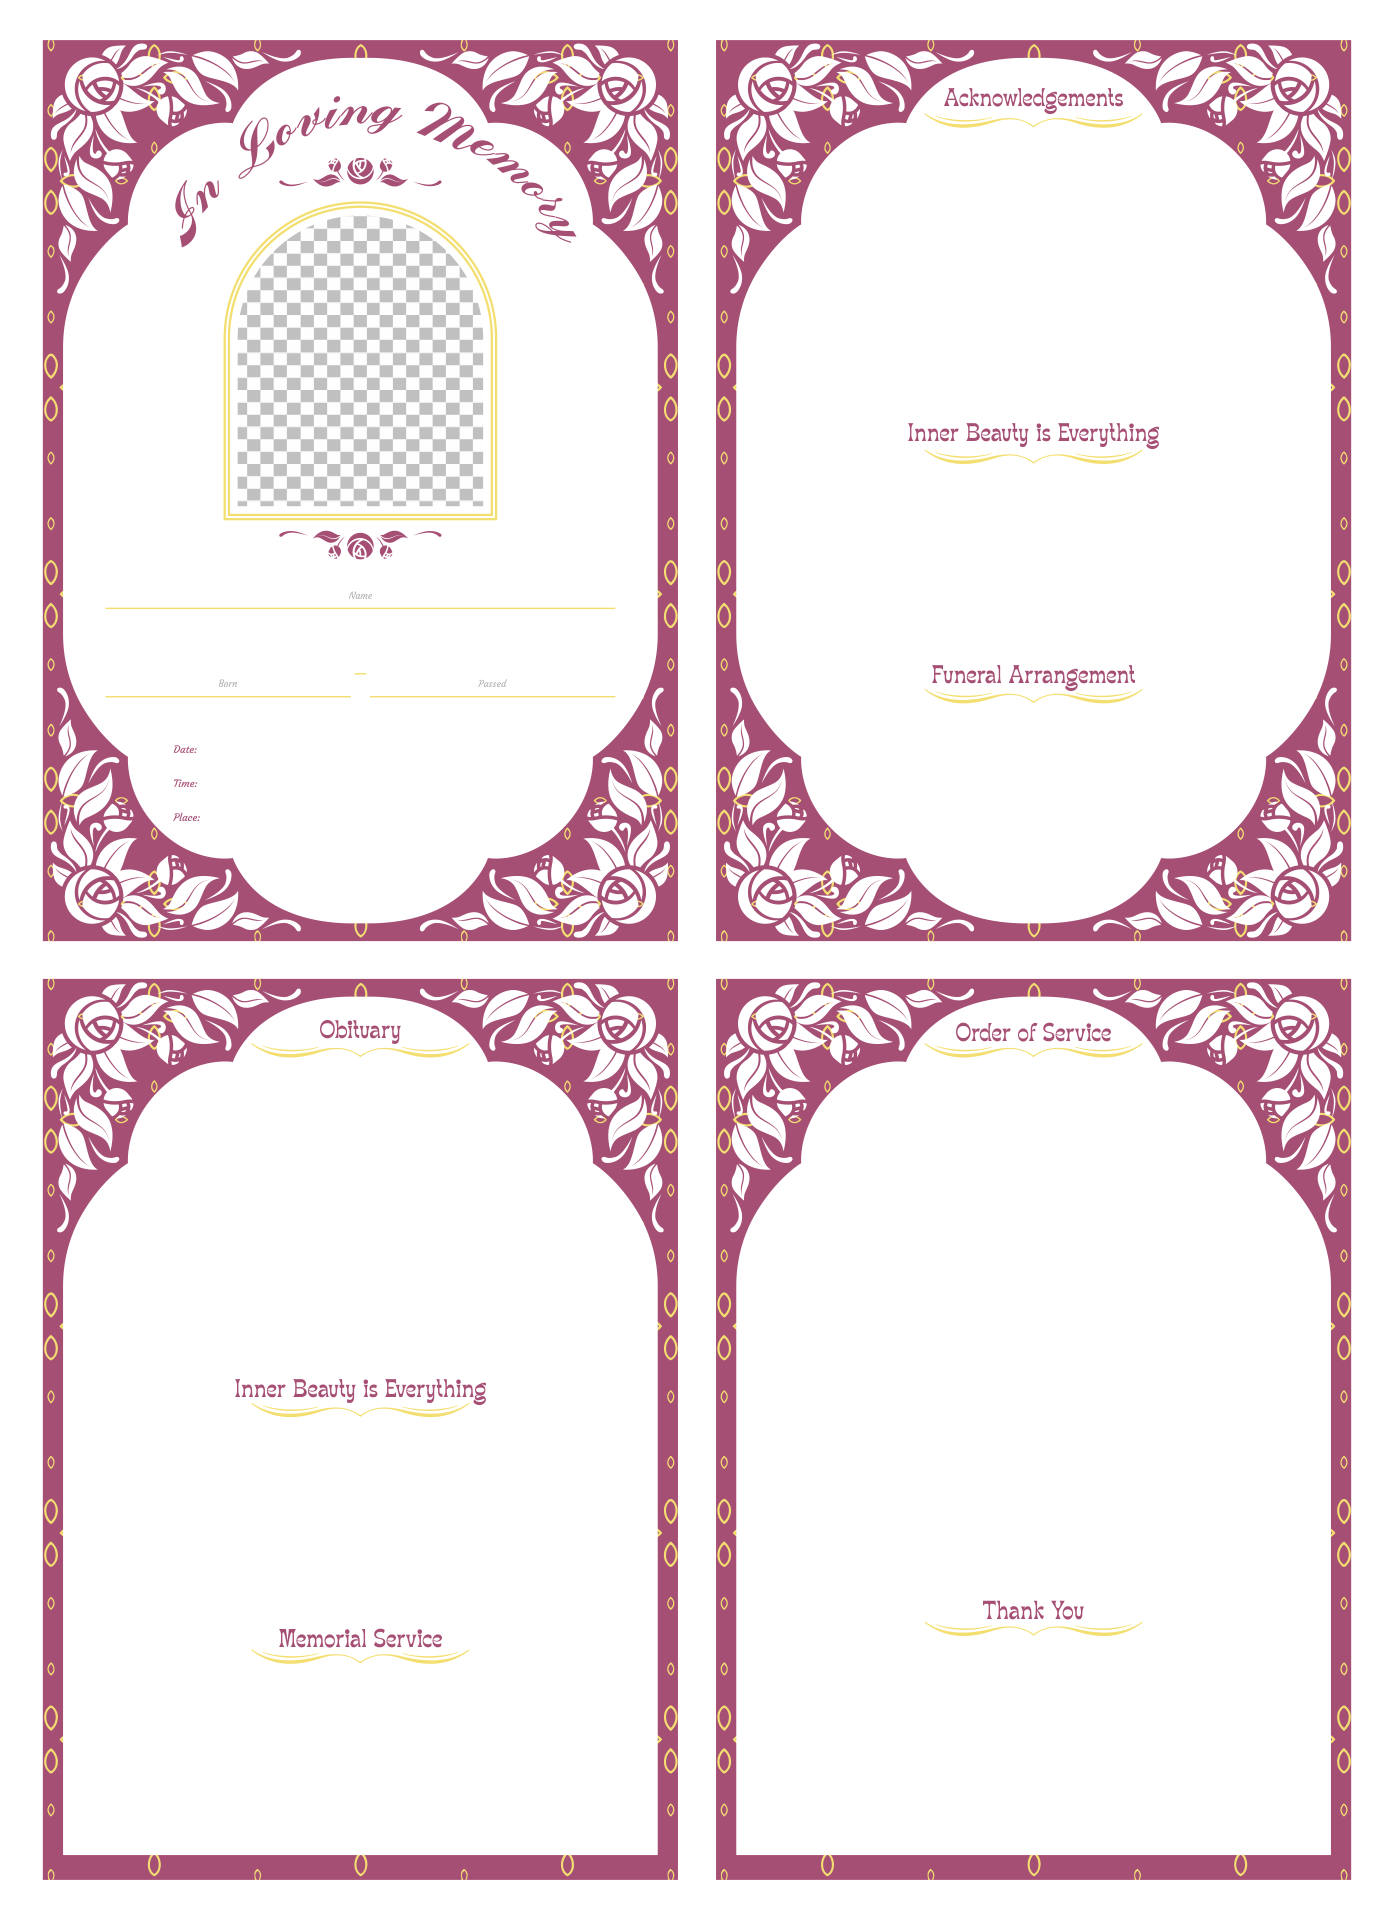
 Minnie Mouse Invitations Templates Free

 Minnie Mouse Pumpkin Stencil Free

 Mickey Mouse Ears Template

 DIY Mickey Mouse Ears Template

 Mickey Minnie Mouse Head Silhouette

 Minnie Mouse Bow Template Printable

 Free Printable Minnie Mouse Template

 Minnie Mouse Bow Template Printable

 Minnie Mouse Coloring Sheets

 Minnie Mouse Educational Activity Sheets

 Minnie Mouse Valentine’s Day Cards

 Minnie Mouse Baby Shower Decorations

 Minnie Mouse Birthday Party Invitations
Creating invitations for a themed event can be simplified using Minnie Mouse invitation templates. These designs allow you to customize your invites with personal details, ensuring your celebration has a unique touch while saving on design costs. Perfect for birthday parties or any Minnie Mouse-themed gatherings, you'll find a design that captures the enchantment of this beloved character.
Embrace the festive spirit with a Minnie Mouse pumpkin stencil. Carving your pumpkin using these stencils can provide a fun, family-friendly activity, while adding a magical Disney touch to your Halloween decor. Easy to download and use, these stencils are suitable for various skill levels, ensuring your pumpkin stands out with Minnie's iconic silhouette.
For crafting enthusiasts or anyone planning a Disney-themed event, a Mickey Mouse ears template can be incredibly handy. It allows you to create your own Mickey ears for costumes, decorations, or party favors. This easy-to-follow template empowers you to bring a bit of the Magic Kingdom into your DIY projects, making your celebration or crafting session even more memorable.


Have something to tell us?
Recent Comments
I really appreciate this Minnie Mouse printable template! It's simple yet cute, and it's great for crafting with kids. Thank you for sharing!
The Minnie Mouse printable template allows children to creatively customize their artworks, invitations, or party decorations, providing an interactive and engaging experience.