Halloween Chalkboard chalkboard art printables offer an effortless way to elevate your holiday decor with a classic, spooky touch.
You can instantly download and print these designs to create captivating displays around your home or office. They serve as a cost-effective and creative solution for adding that Halloween spirit to any space, allowing for personalized decorations that can be reused year after year. Perfect for party backdrops, door signs, or just an added touch of seasonal cheer, these printables allow you to bring a bit of Halloween magic into your surroundings without the need for extensive preparations or expenses.


 Printable Halloween Chalkboard Art

 Printable Halloween Chalkboard Art

 Chalkboard Printables Halloween

 Chalkboard Printable Kitchen Art Quote

 Printable Halloween Chalkboard Art

 Printable Halloween Eat Drink and Be Scary

 Fall Chalkboard Art Printables Free

 Halloween Chalkboard Art Trick Or Treat

 The Very Witching Time Of Night Halloween Chalkboard Art

 Happy Halloween Chalkboard-style Art Print Printable

 Halloween Printables Id Turn Back If I Were You Printables

 Halloween Pumpkin Chalkboard Art Printables

 Printable Halloween Monster High Chalkboard Art

 Fall Farmhouse Chalkboard Art Printable

 Printable Contemporary Halloween Art For Tasteful Holiday Decor
Transform your space into a spooky haven with Halloween printables featuring the eerie message "I'd Turn Back If I Were You." These designs add a fun yet ominous touch to your Halloween decor, perfect for setting the mood at parties or greeting trick-or-treaters.
Elevate your Halloween decorations with printable chalkboard art. This versatile option allows you to effortlessly infuse your home with a classic, vintage vibe, making your Halloween setup uniquely eye-catching and inviting to guests.
For a creative twist on traditional pumpkin decor, Halloween pumpkin chalkboard art printables offer a mess-free alternative. These printables can grace your walls or party tables, injecting your Halloween festivities with a charming and artistic flare without the need for carving.
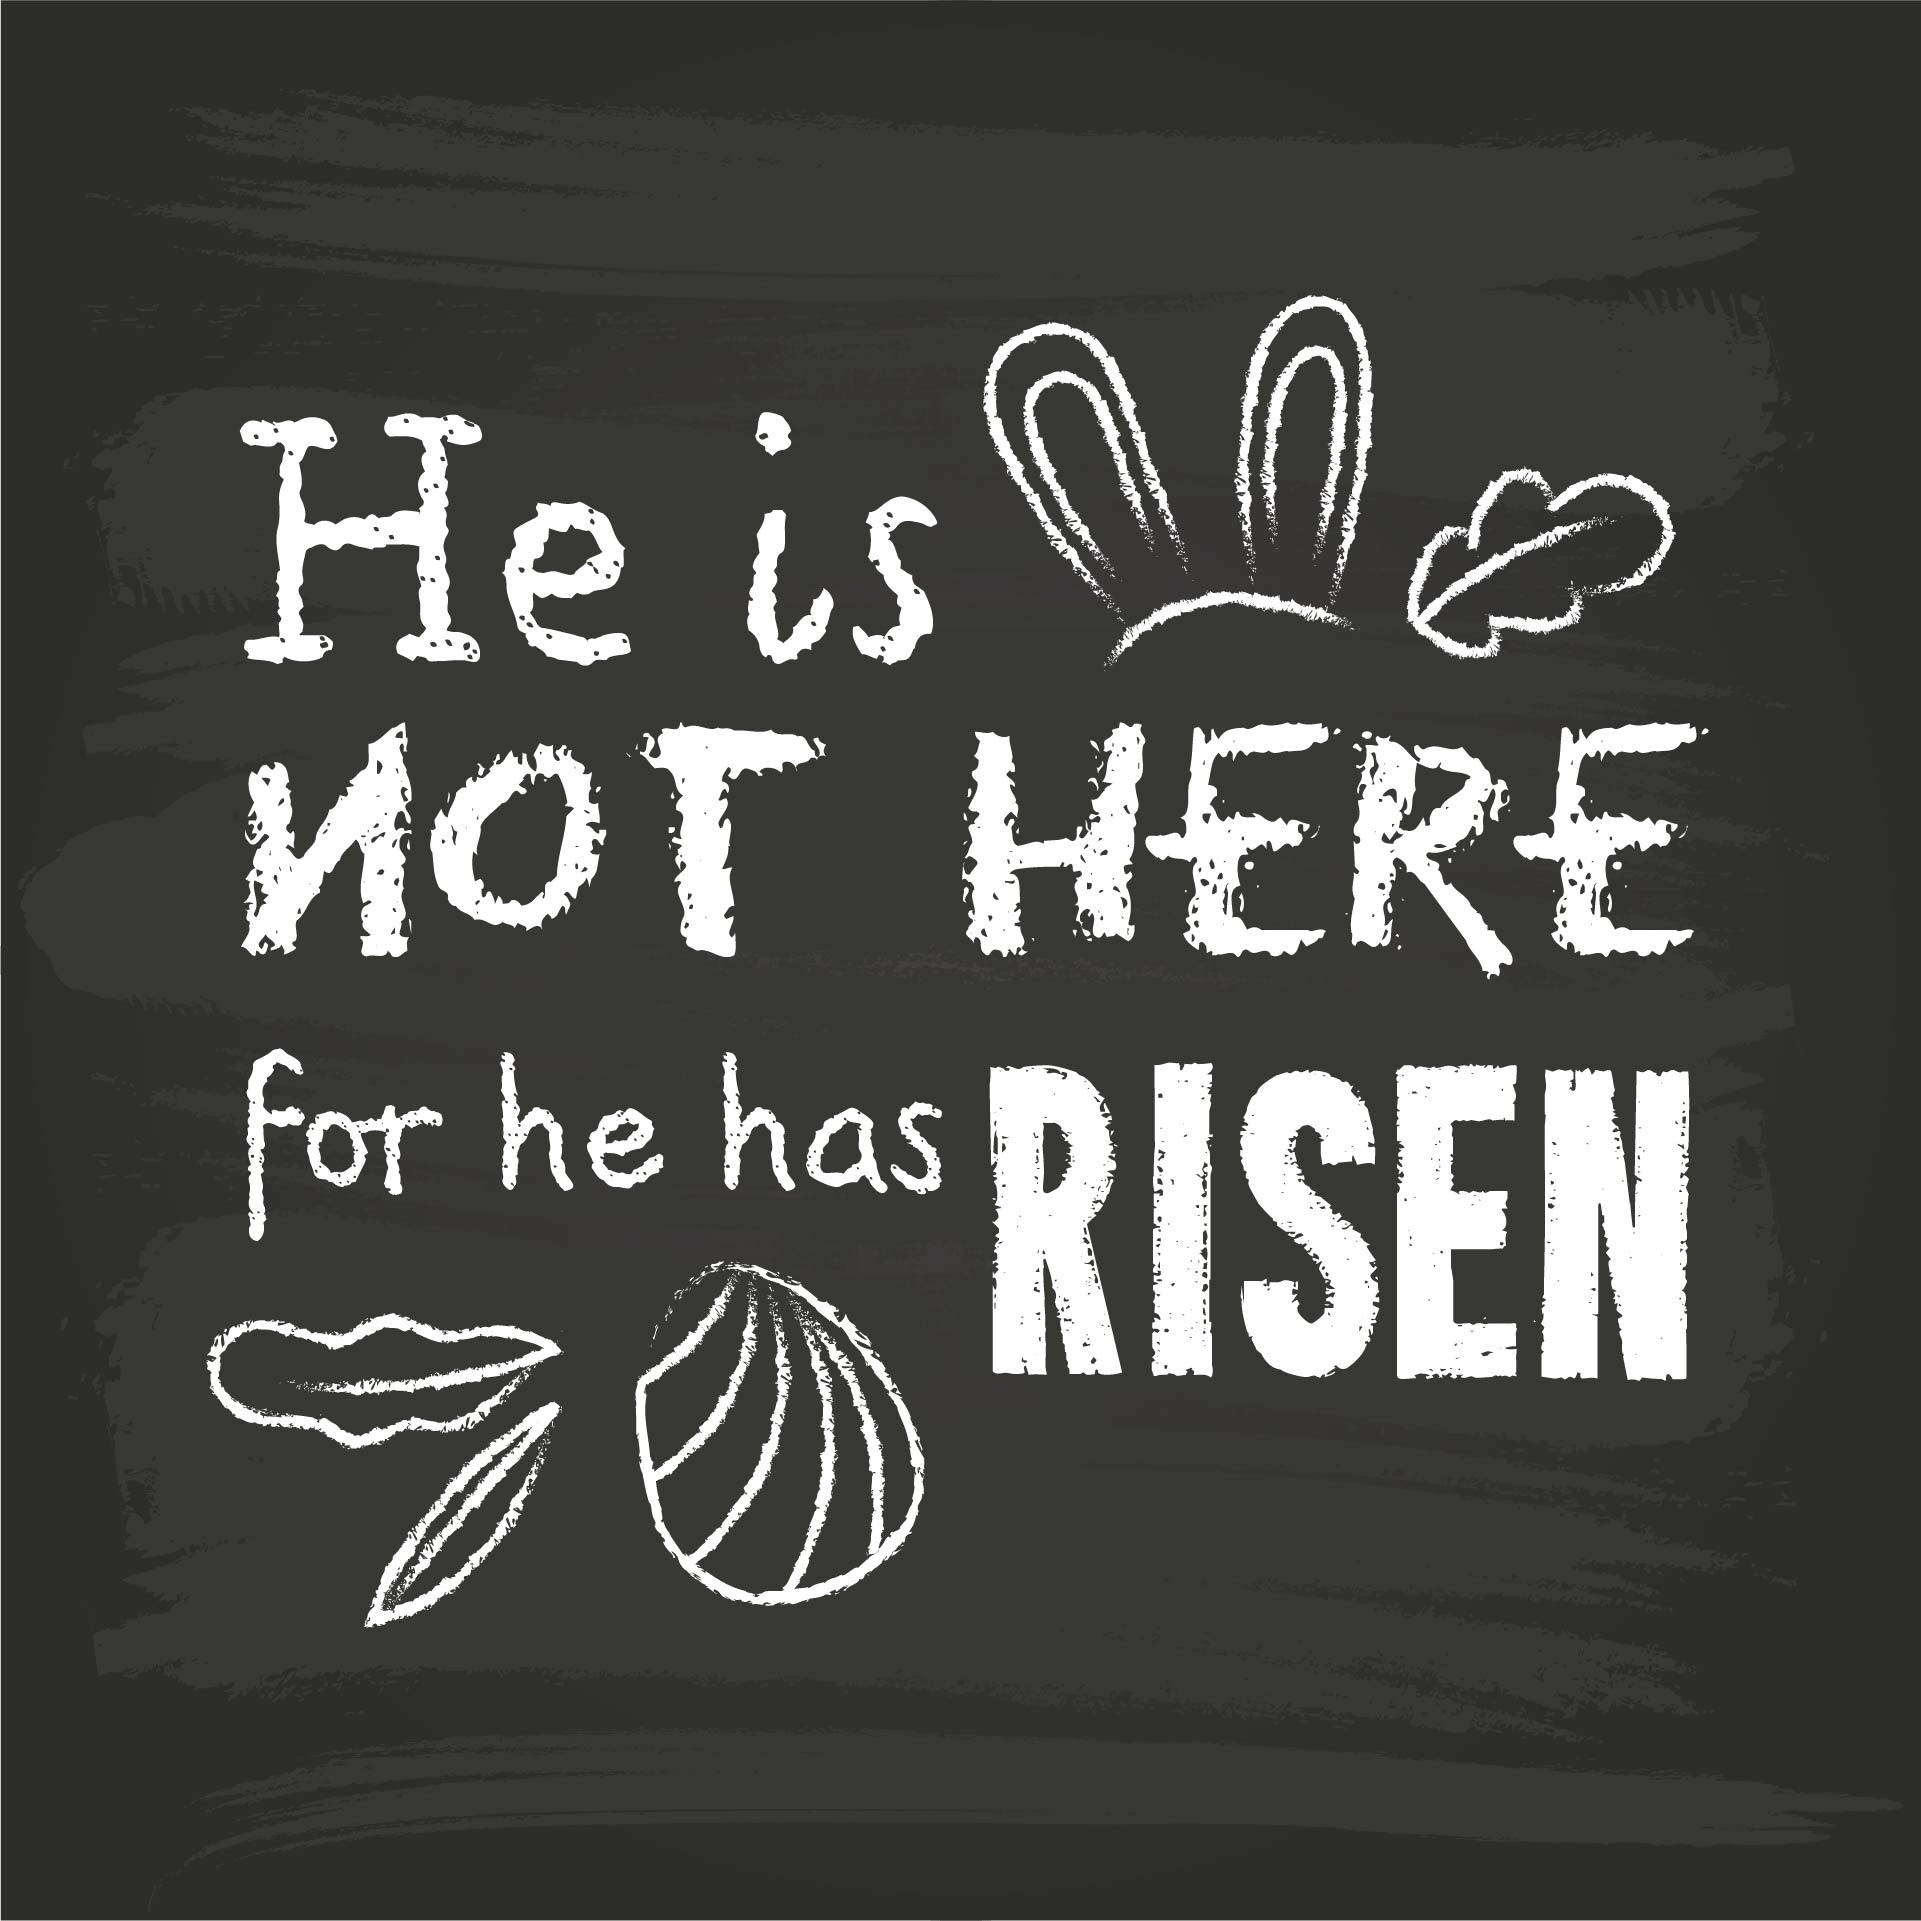
Our Halloween chalkboard art printables are great for adding festive Halloween spirit to your home. With assorted spooky sayings and designs, these prints can be easily printed, framed and placed around your home for instant Halloween ambiance.

 Printable Halloween Chalkboard Art

 Printable Halloween Chalkboard Art

 Printable Halloween Eat Drink and Be Scary

 Printable Halloween Chalkboard Art

 Valentines Day Chalkboard Printables

 Chalkboard Printables Halloween

 Printable Halloween Chalkboard Art

 Printable Halloween Chalkboard Art

 Printable Halloween Chalkboard Art

 Halloween Spider Chalkboard Printable Wall Art

 Printable Halloween Chalkboard Art Decoration

 Printable Halloween Chalk Art Bat In The Night

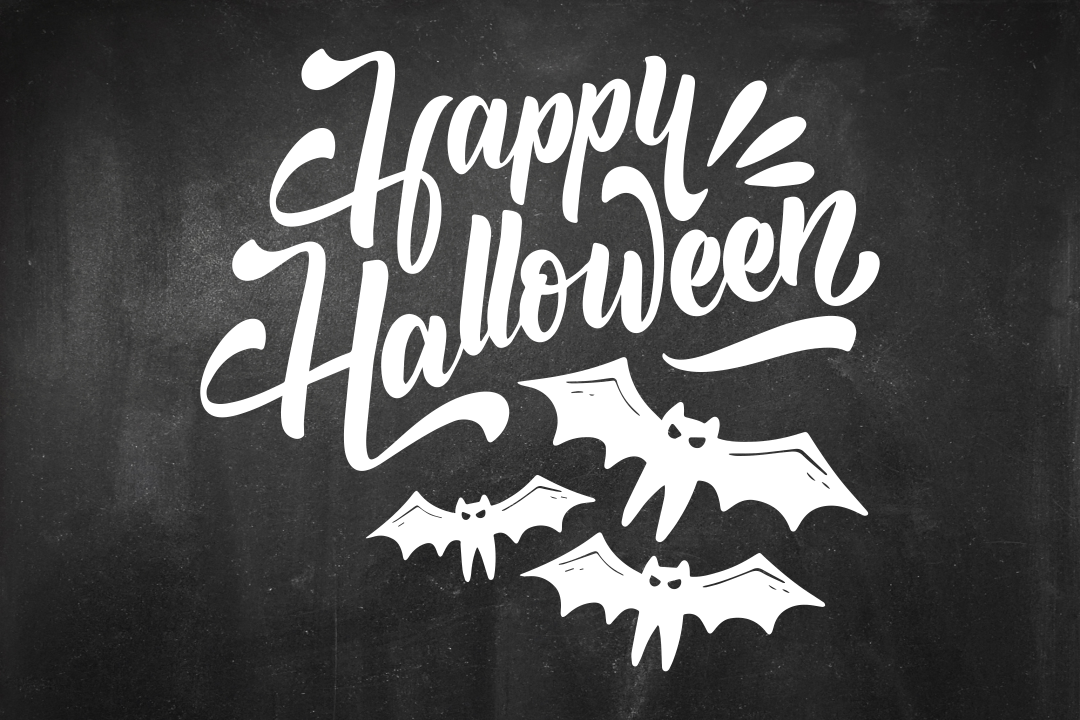
 Printable Happy Halloween Spooky Chalkboard Art

 Printable Halloween Chalk Art For The Mantel

 Scary Halloween Chalkboard Art Printable
Craft lovers can use Halloween chalkboard art printables to creatively and easily decorate their homes for Halloween. From eerie messages to haunted scenes, these printables are perfect for adorning dining tables or front porches with a seasonal touch.
Teachers can imbue their classrooms with Halloween spirit using Halloween chalkboard art printables. It's easy to find a design that matches your Halloween theme, ideal for dressing up your bulletin boards or classroom walls.
Our Halloween chalkboard art printable can seamlessly add a spooky factor to your home decor. This stylish printable can serve as an impressive addition to any Halloween display, just print, frame and let it enhance your Halloween decoration.
To create chalkboard art, specifically for Halloween decorations, you will need chalk and a chalkboard or blackboard. This task can be challenging, particularly for those not accustomed to hand-drawing.
Creating neat and artistic chalkboard writing, as needed for Halloween decorations, involves more than just writing or drawing. It requires prior planning, including measuring the board, deciding on a concept, sketching it on paper, and then replicating it on the chalkboard.


Have something to tell us?
Recent Comments
Get into the Halloween spirit with free printable chalkboard art that adds a festive touch to your home décor or crafts. Enjoy the convenience and creativity of easily incorporating spooky and stylish designs into your celebrations.
I love these Free Halloween Chalkboard Art Printables! They are a fun and creative way to decorate for the season. Thank you for sharing!
These Halloween Chalkboard Art Printables are a charming and cost-free way to add festive flair to my home decor. Thank you for providing such a creative and fun resource!