Parents can utilize free printable alphabet letters as an engaging activity for their young children's early literacy development. These printables, available as coloring pages or tracing sheets, make learning fun and educational.
Preschool and kindergarten teachers can incorporate free printable alphabet letters into activities and lesson plans for letter recognition, phonics practice, and alphabet charts creation.

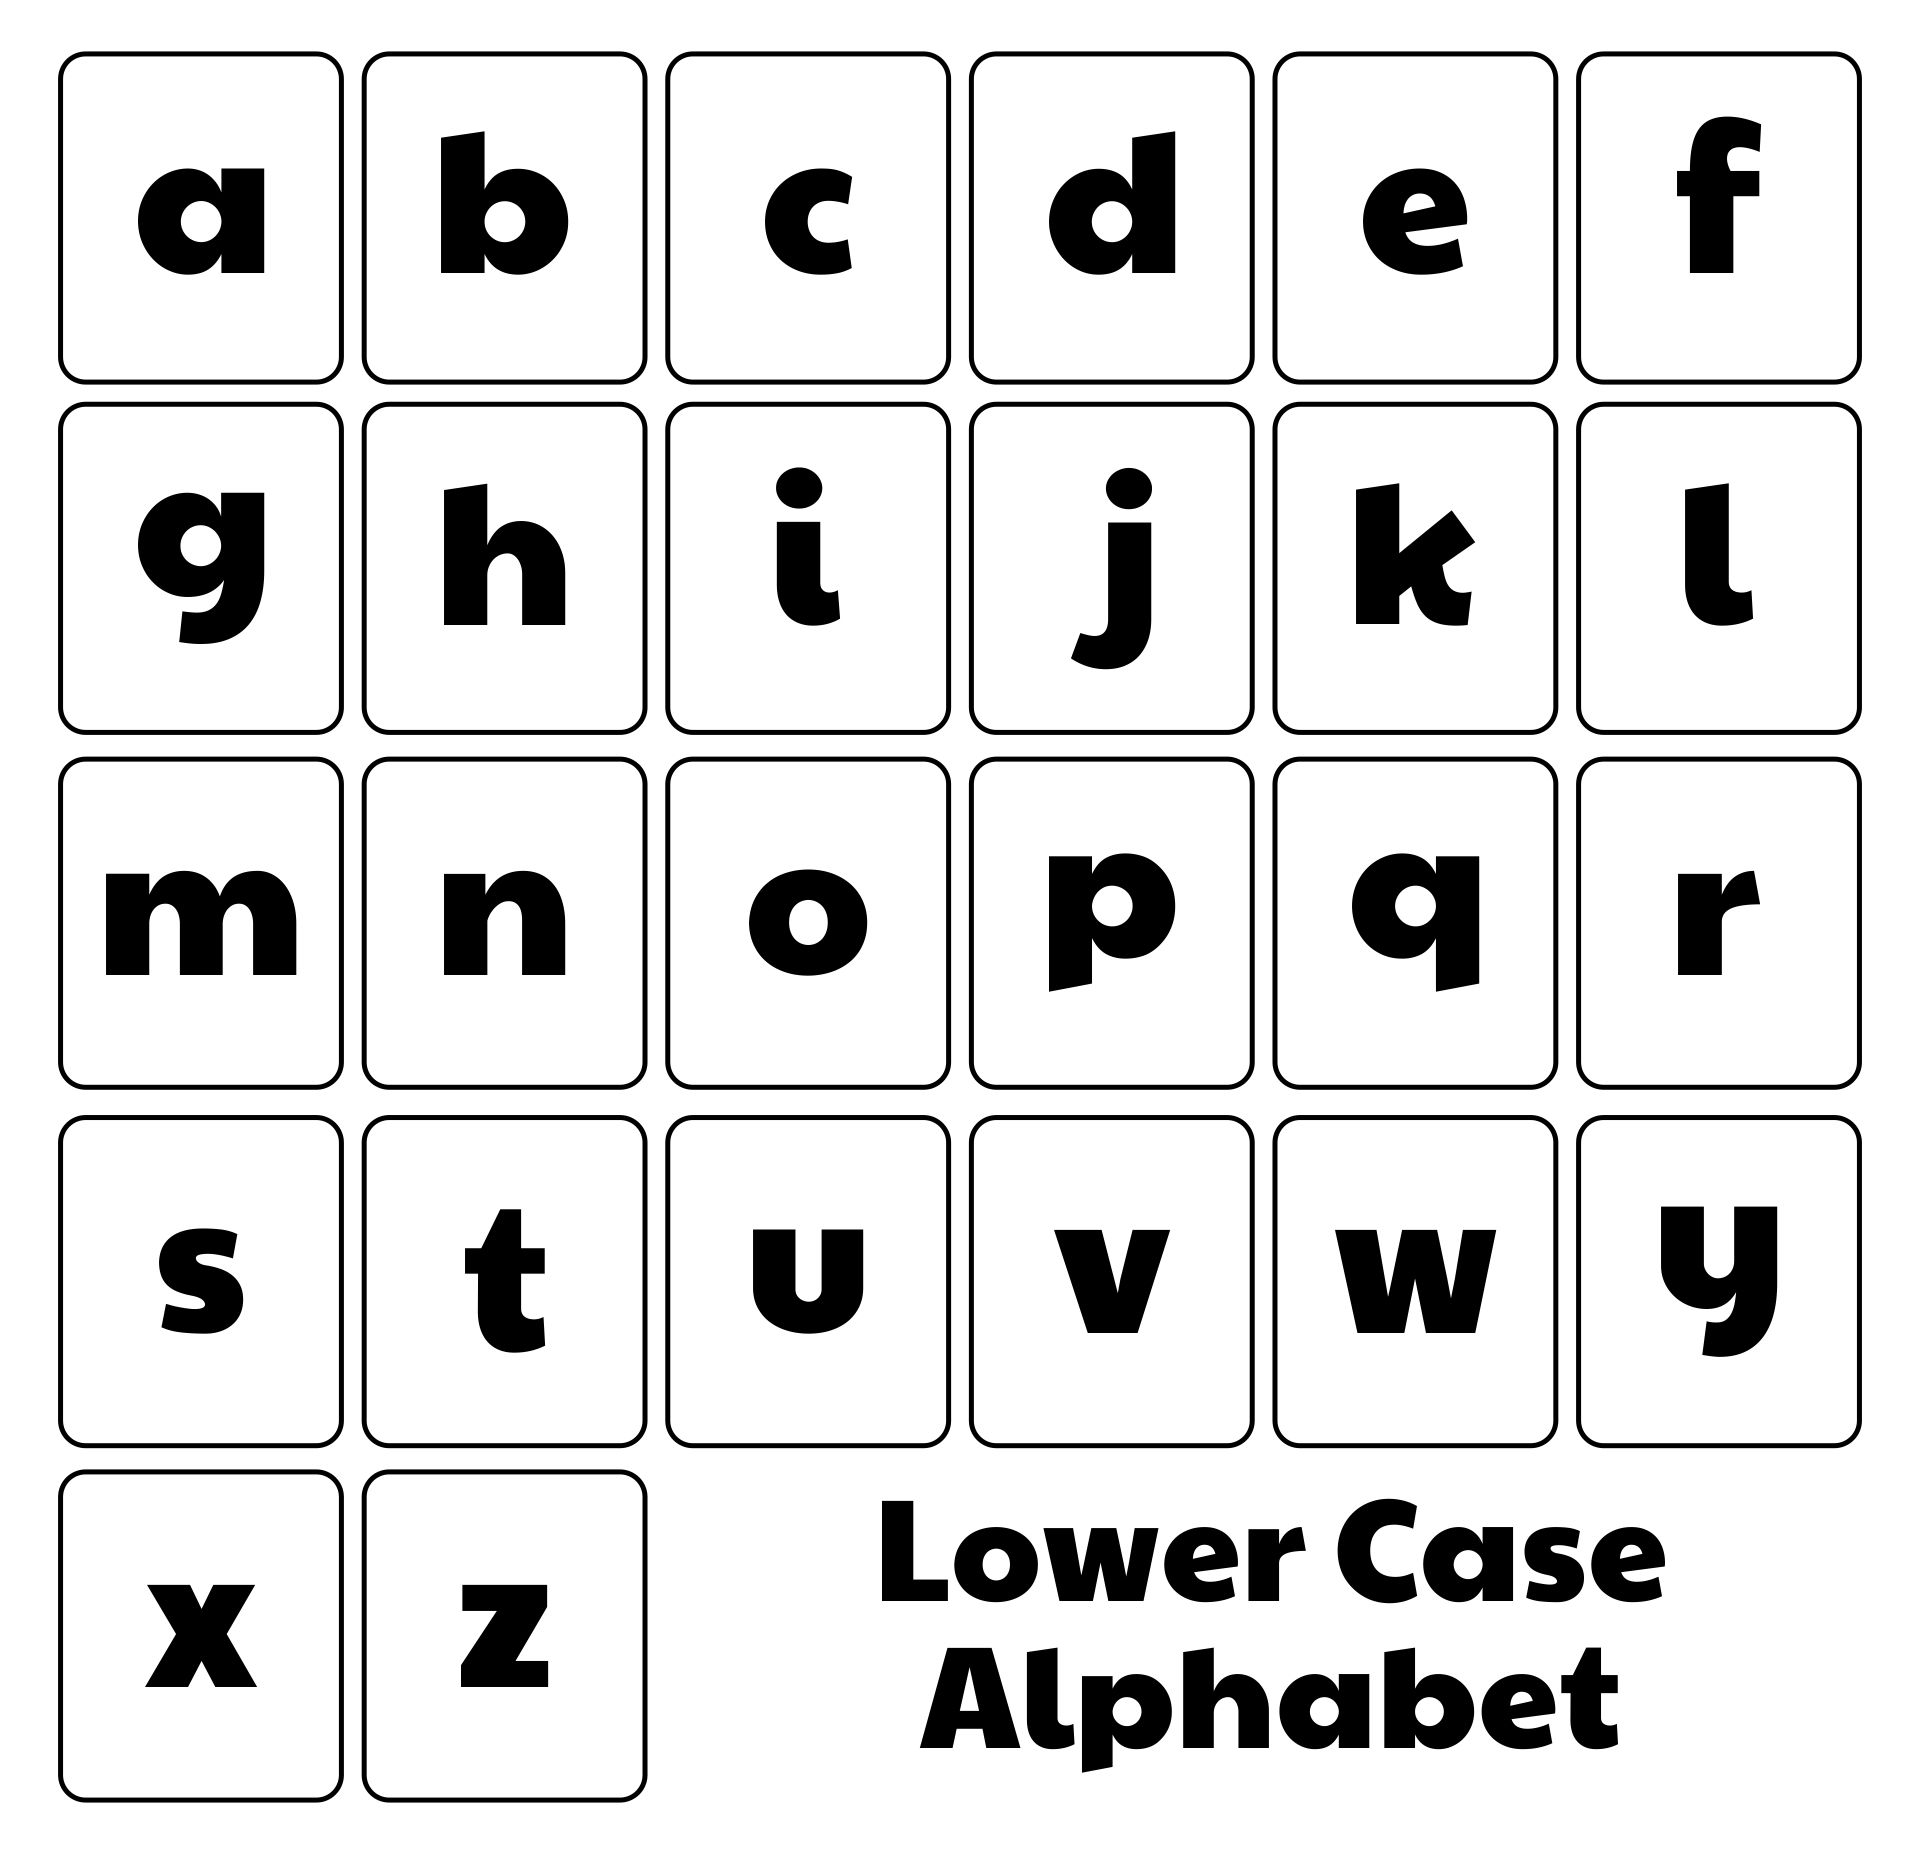
 Alphabet Letters to Trace and Cut Out

 Large Size Alphabet Letter Printable Template

 Large Printable Alphabet Letter P Template

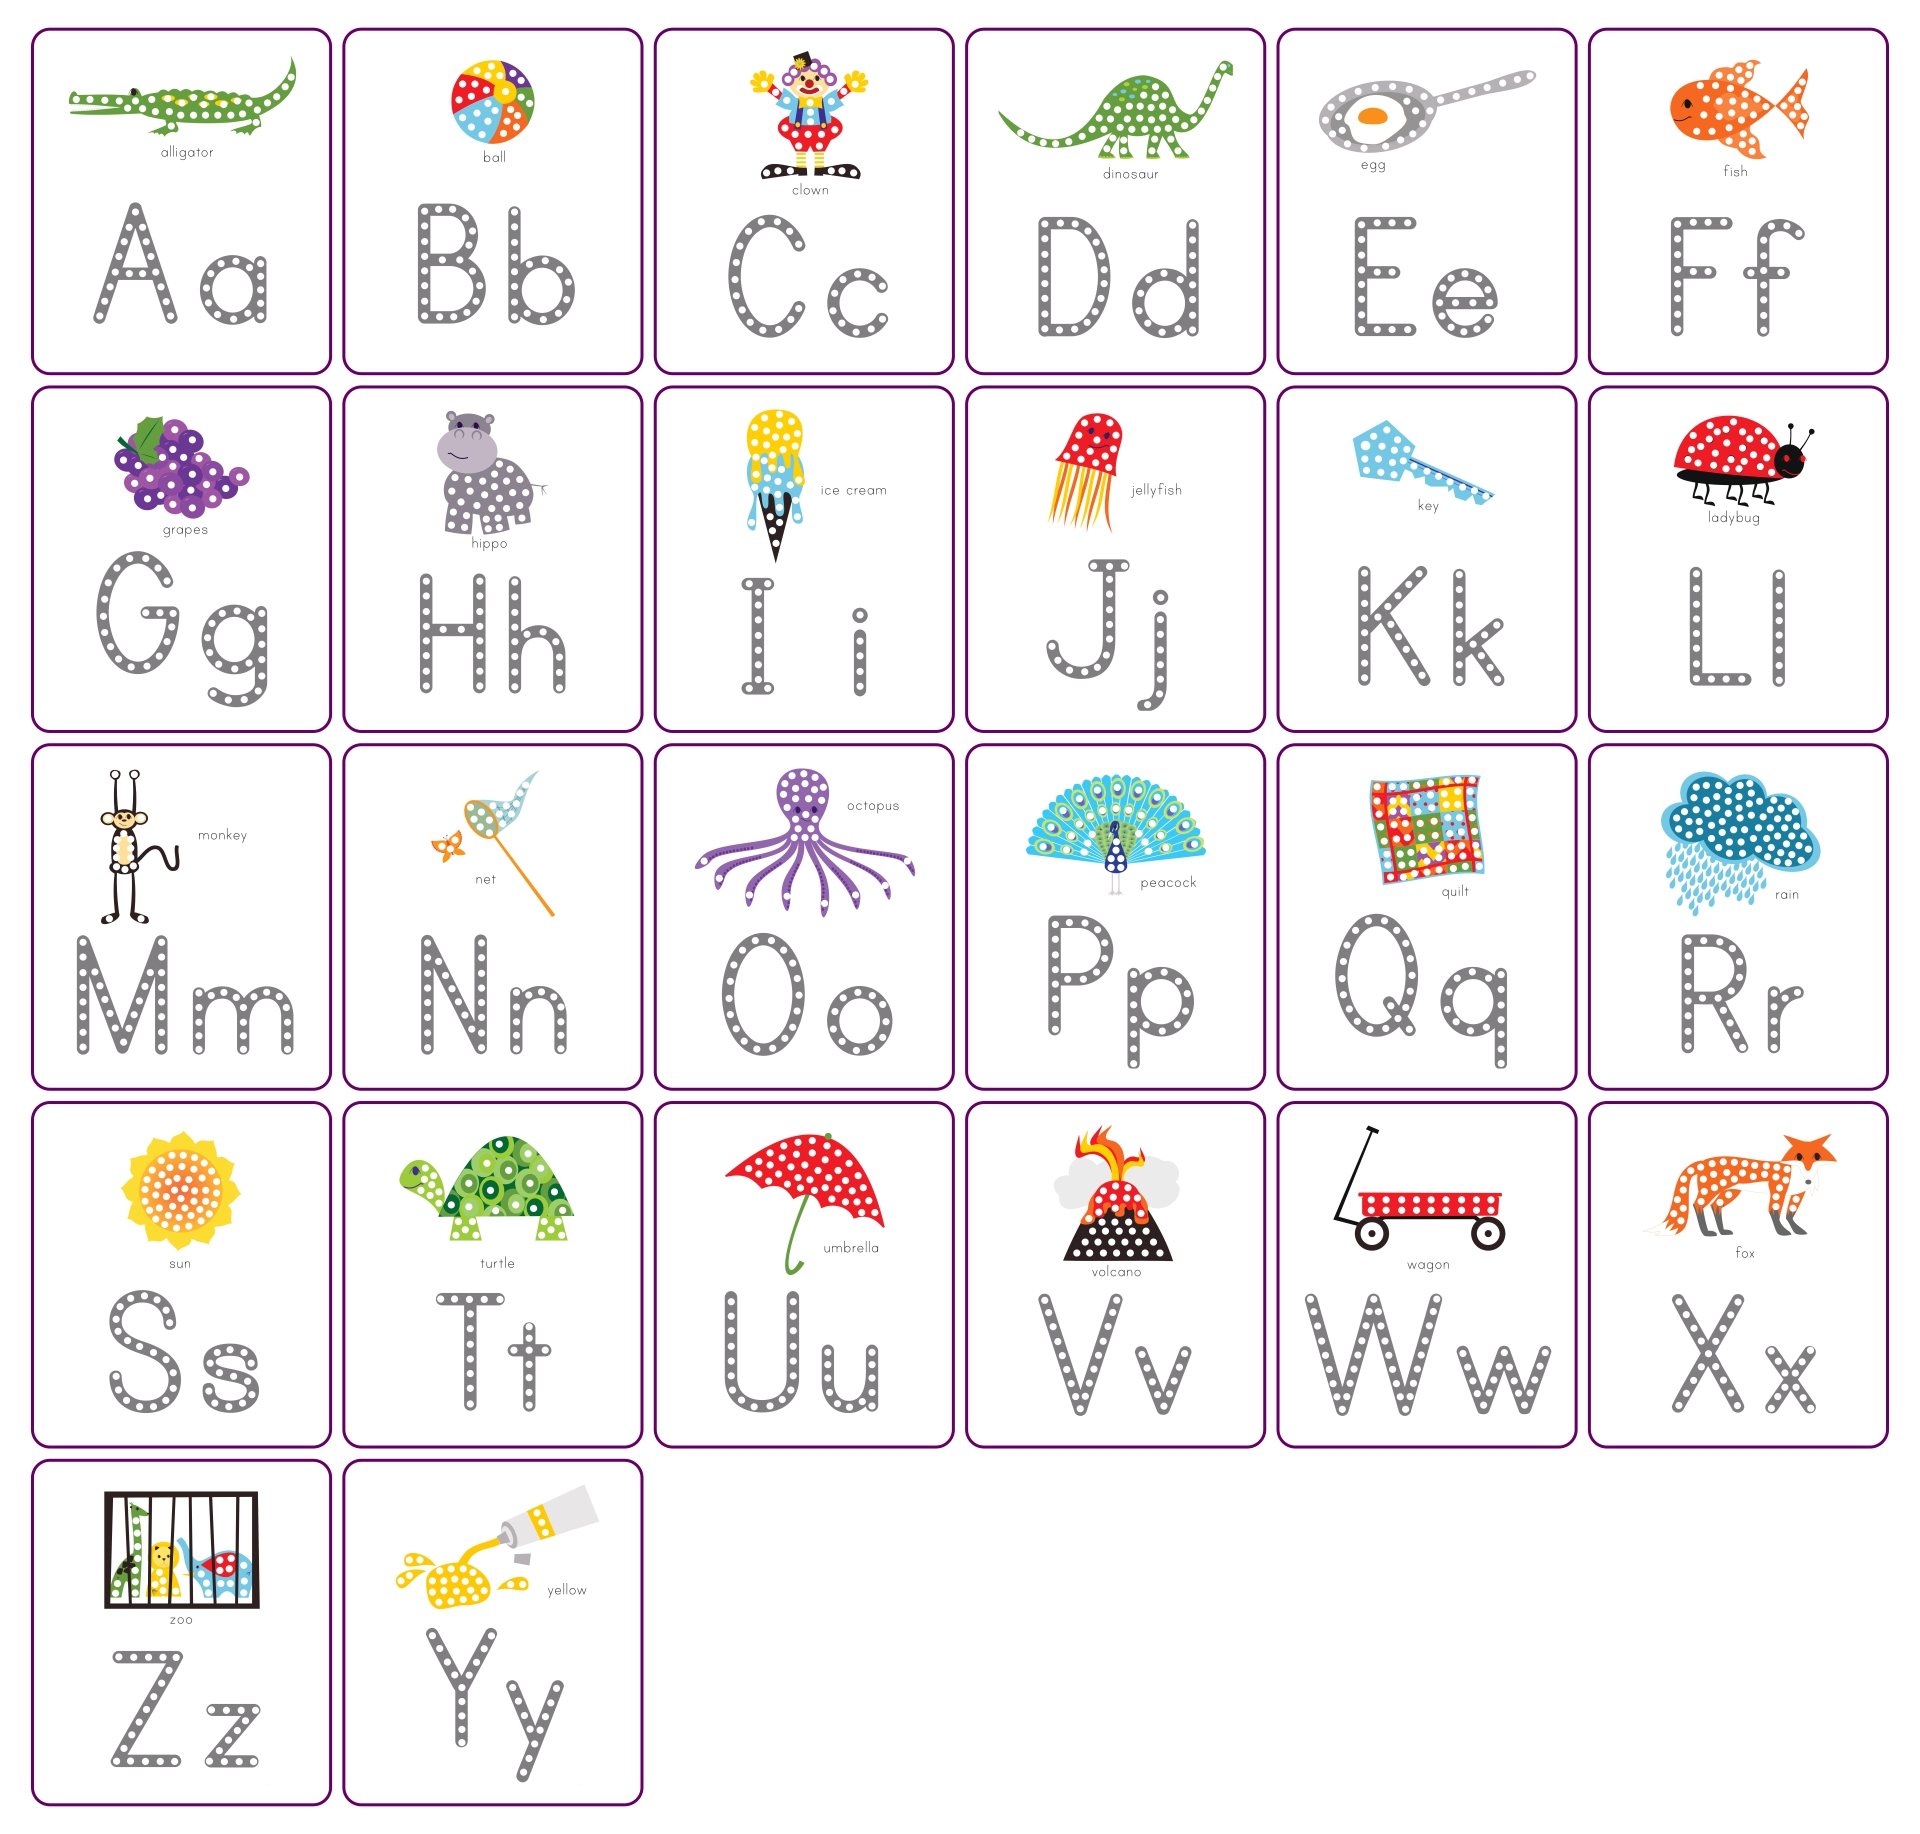
 Printable Alphabet Letter Templates

 Printable Large Alphabet Letter Templates

 Printable Alphabet Letters A4 Size

 Massive Alphabet Letters Printable

 Extra Large Printable Alphabet Letters

 Large Printable Alphabet Letters

 Printable Block Letters Large Size

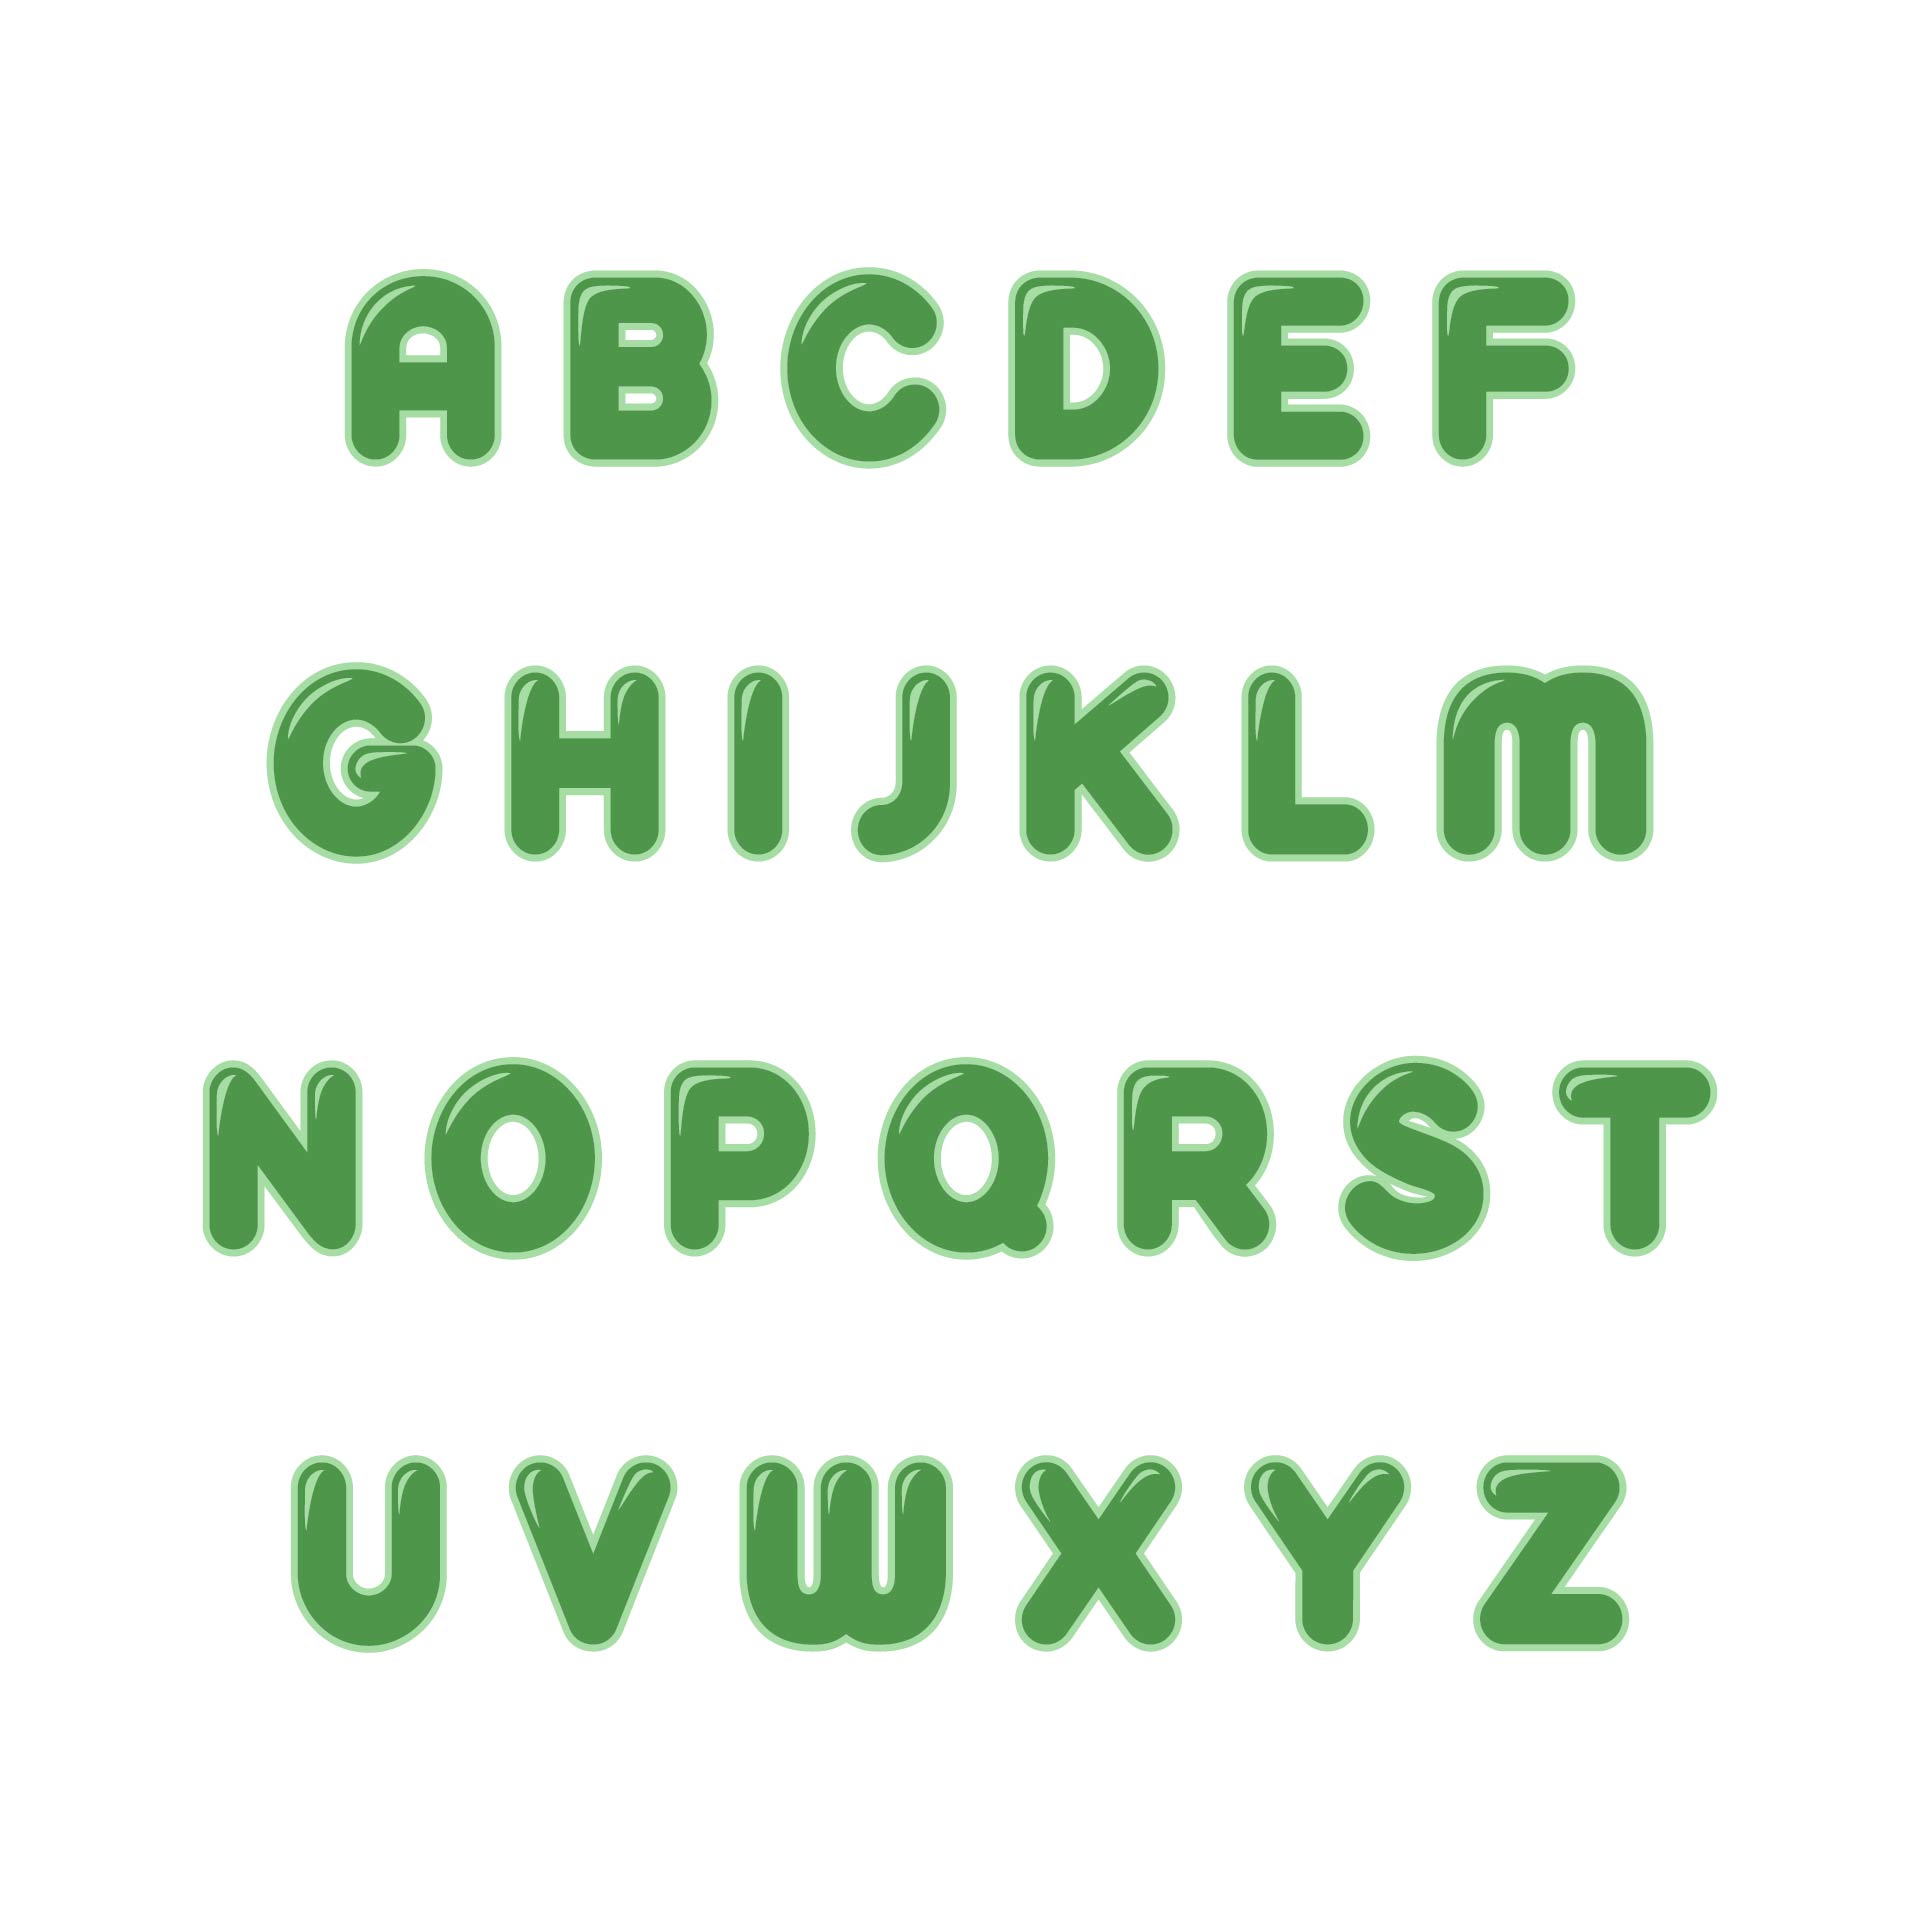
 Printable Bubble Letters Full Page

 Large Alphabet Letters for Wall Printable
Homeschooling families are advised to utilize free printable alphabet letters. These tools are accessible online, come in different sizes and fonts, and can support interactive and fun learning styles.
Craft enthusiasts can use free printable alphabet letters in their projects. These letters, available in many designs and sizes, can be used to personalize items like scrapbooks, cards, and home decor.
Printable letters in alphabet sizes are a useful resource for various educational and creative projects. They can be used for letter recognition, spelling practice, and creating personalized crafts. You can easily find printable alphabet letters in different sizes online that you can print and use for your desired purpose.


Have something to tell us?
Recent Comments
Printable alphabet letters in free letter-size format are a versatile and convenient resource for various purposes, like creating personalized banners or educational activities, making it easier than ever to enhance creativity and learning in an accessible and cost-effective way.
I love how this resource provides free printable letters in various sizes. It's a great tool for crafts, teaching, and decorating projects. Thank you for making these printable letters accessible and free!
Printable alphabet letters in size are a convenient and versatile resource, allowing you to easily create personalized crafts, organize educational activities, or enhance visual displays, making learning and creativity enjoyable and accessible for all.