Creating projects, making engaging educational materials, or decorating for a party becomes more fun and interactive with 3 Inch-inch printable bubble letters.
You can effortlessly personalize your space or materials, adding a vibrant touch that stands out. By using these letters, you streamline your DIY process, ensuring uniformity and neatness in your designs. They're perfect for banners, signs, learning aids, and even crafting with kids, making your efforts both enjoyable and visually appealing.

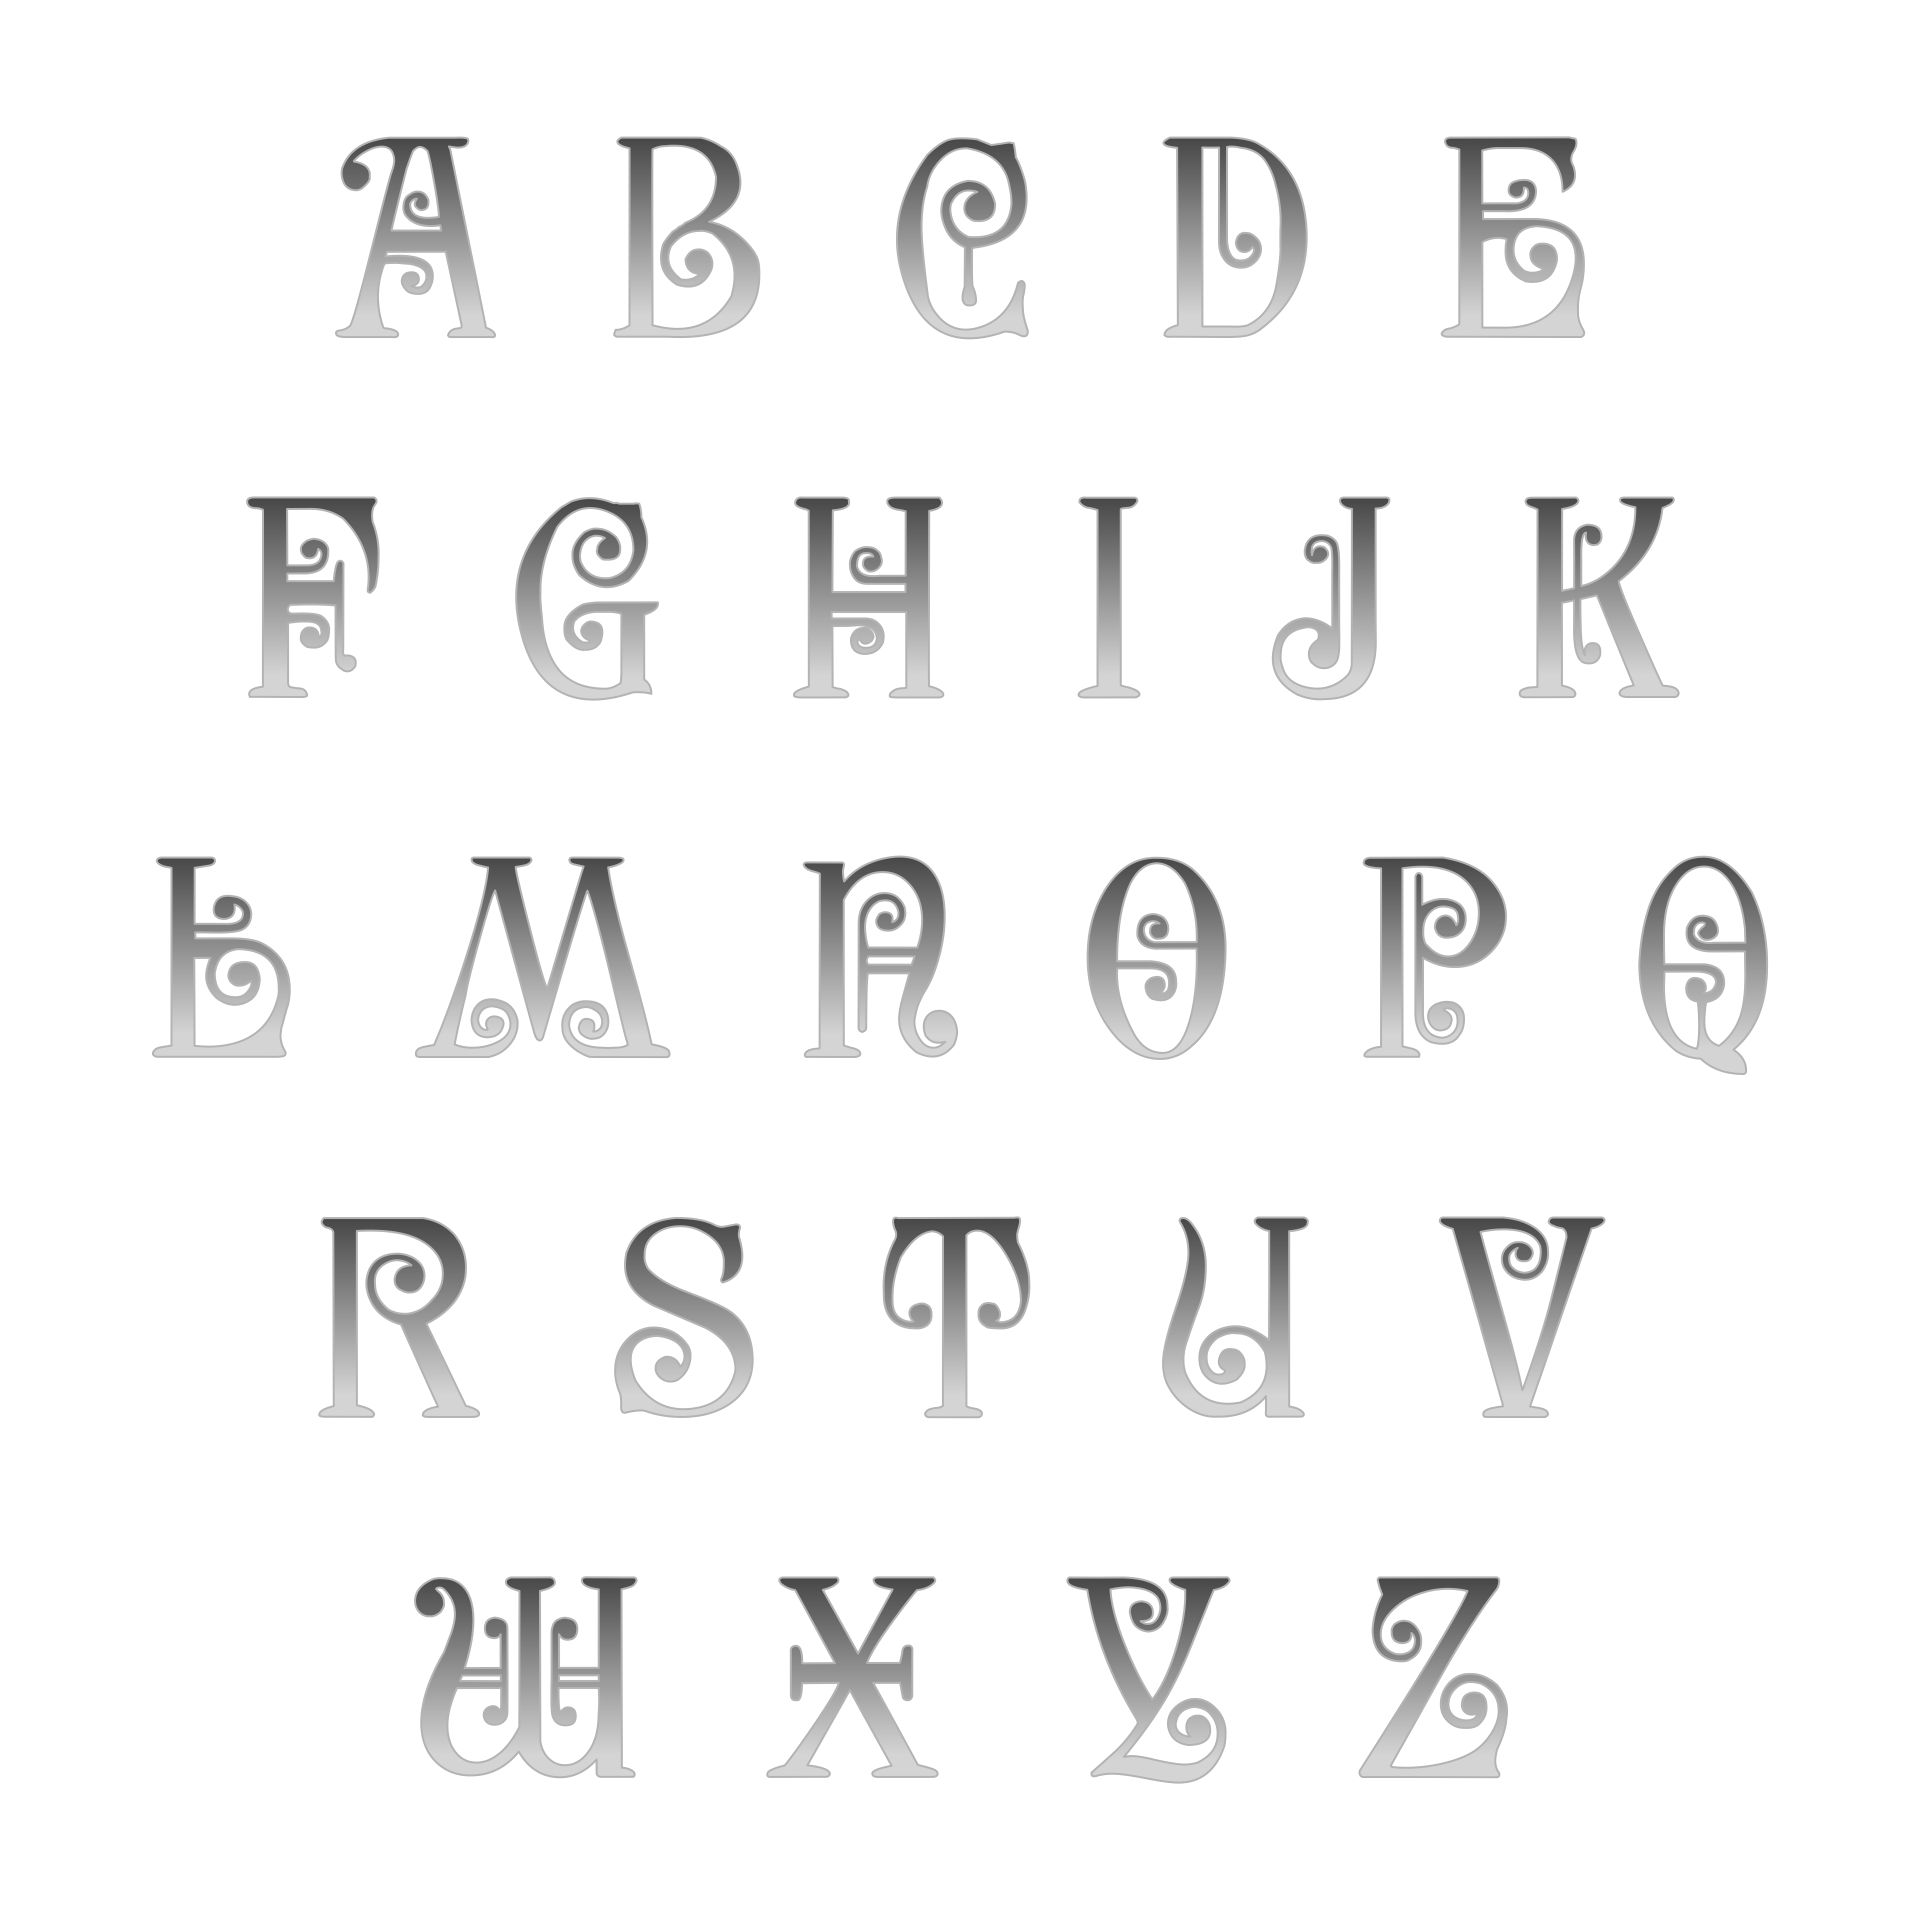
 Printable Bubble Letters

 Printable Bubble Letter C

 Number 3 Stencils Printable

 3 Inch Letter Stencils Printable

 3 Inch Block Letter Stencils Printable

 Printable Number Stencils 3

 Printable Stencil Letters 12 Inch Uppercase

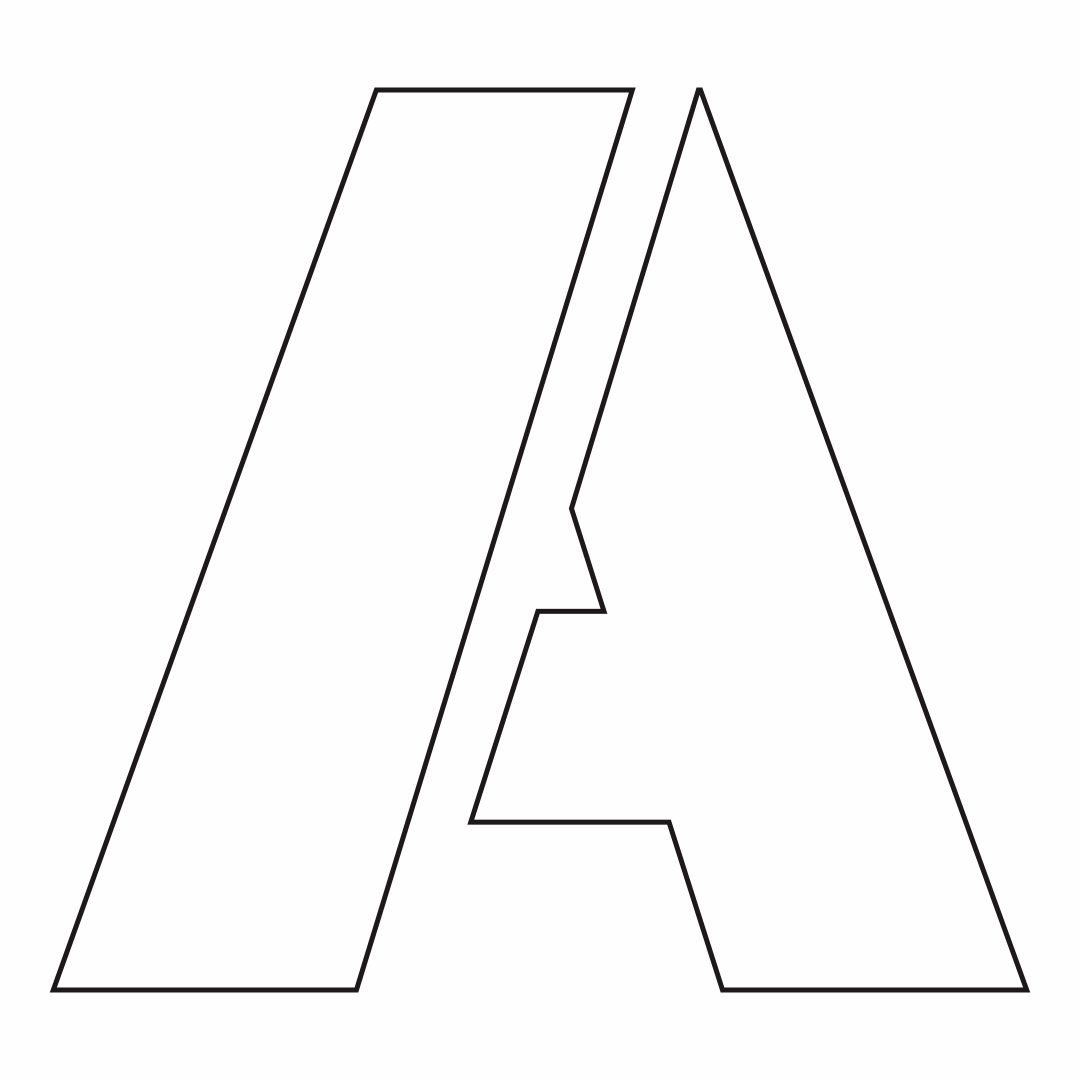
 Printable Alphabet Letters Template Cut Out

 Printable Bulletin Board Letters Template

 Printable Classroom Display Lettering 3 Inch Bubble A-Z
These printable stencils offer a straightforward solution for all your crafting and decorating needs, providing clear, concise lettering for signs, banners, or educational purposes. With their uniform size, you can create consistent, visually appealing messages or art projects.
Enhance your classroom's visual appeal and foster an engaging learning environment with these 3-inch bubble letter printables. Perfect for bulletin boards, labels, and educational activities, they help capture students' attention and make learning fun.
Create impactful signage or decor with 12-inch uppercase stencil letters, ideal for large spaces. Easy to print and cut, they are perfect for banners, event decorations, or making a bold statement in any project.


Have something to tell us?
Recent Comments
This printable resource for 3-inch printable bubble letters is a great tool for adding a touch of creativity to any project. It's simple, versatile, and perfect for all your crafting needs.
Printable 3 inch bubble letters are useful for various craft and educational projects, allowing easy customization and enhancing visual appeal.
I love the simplicity and clarity of these 3 inch printable bubble letters! They are perfect for crafting and DIY projects. Thanks for making it easy to add some fun to my designs!