Gift Box box with lid template printables allow you to create personalized and unique packaging for presents, adding a special touch to any gift.
These templates are easy to follow and can be customized to fit any occasion, from birthdays to weddings.
You can choose from a variety of designs and sizes, ensuring your gift stands out. Crafting your own gift box not only saves money but also allows you to add a personal flair that recipients will appreciate and remember.


 Printable Paper Box Templates

 Cupcakes Boxes Templates Printable Free

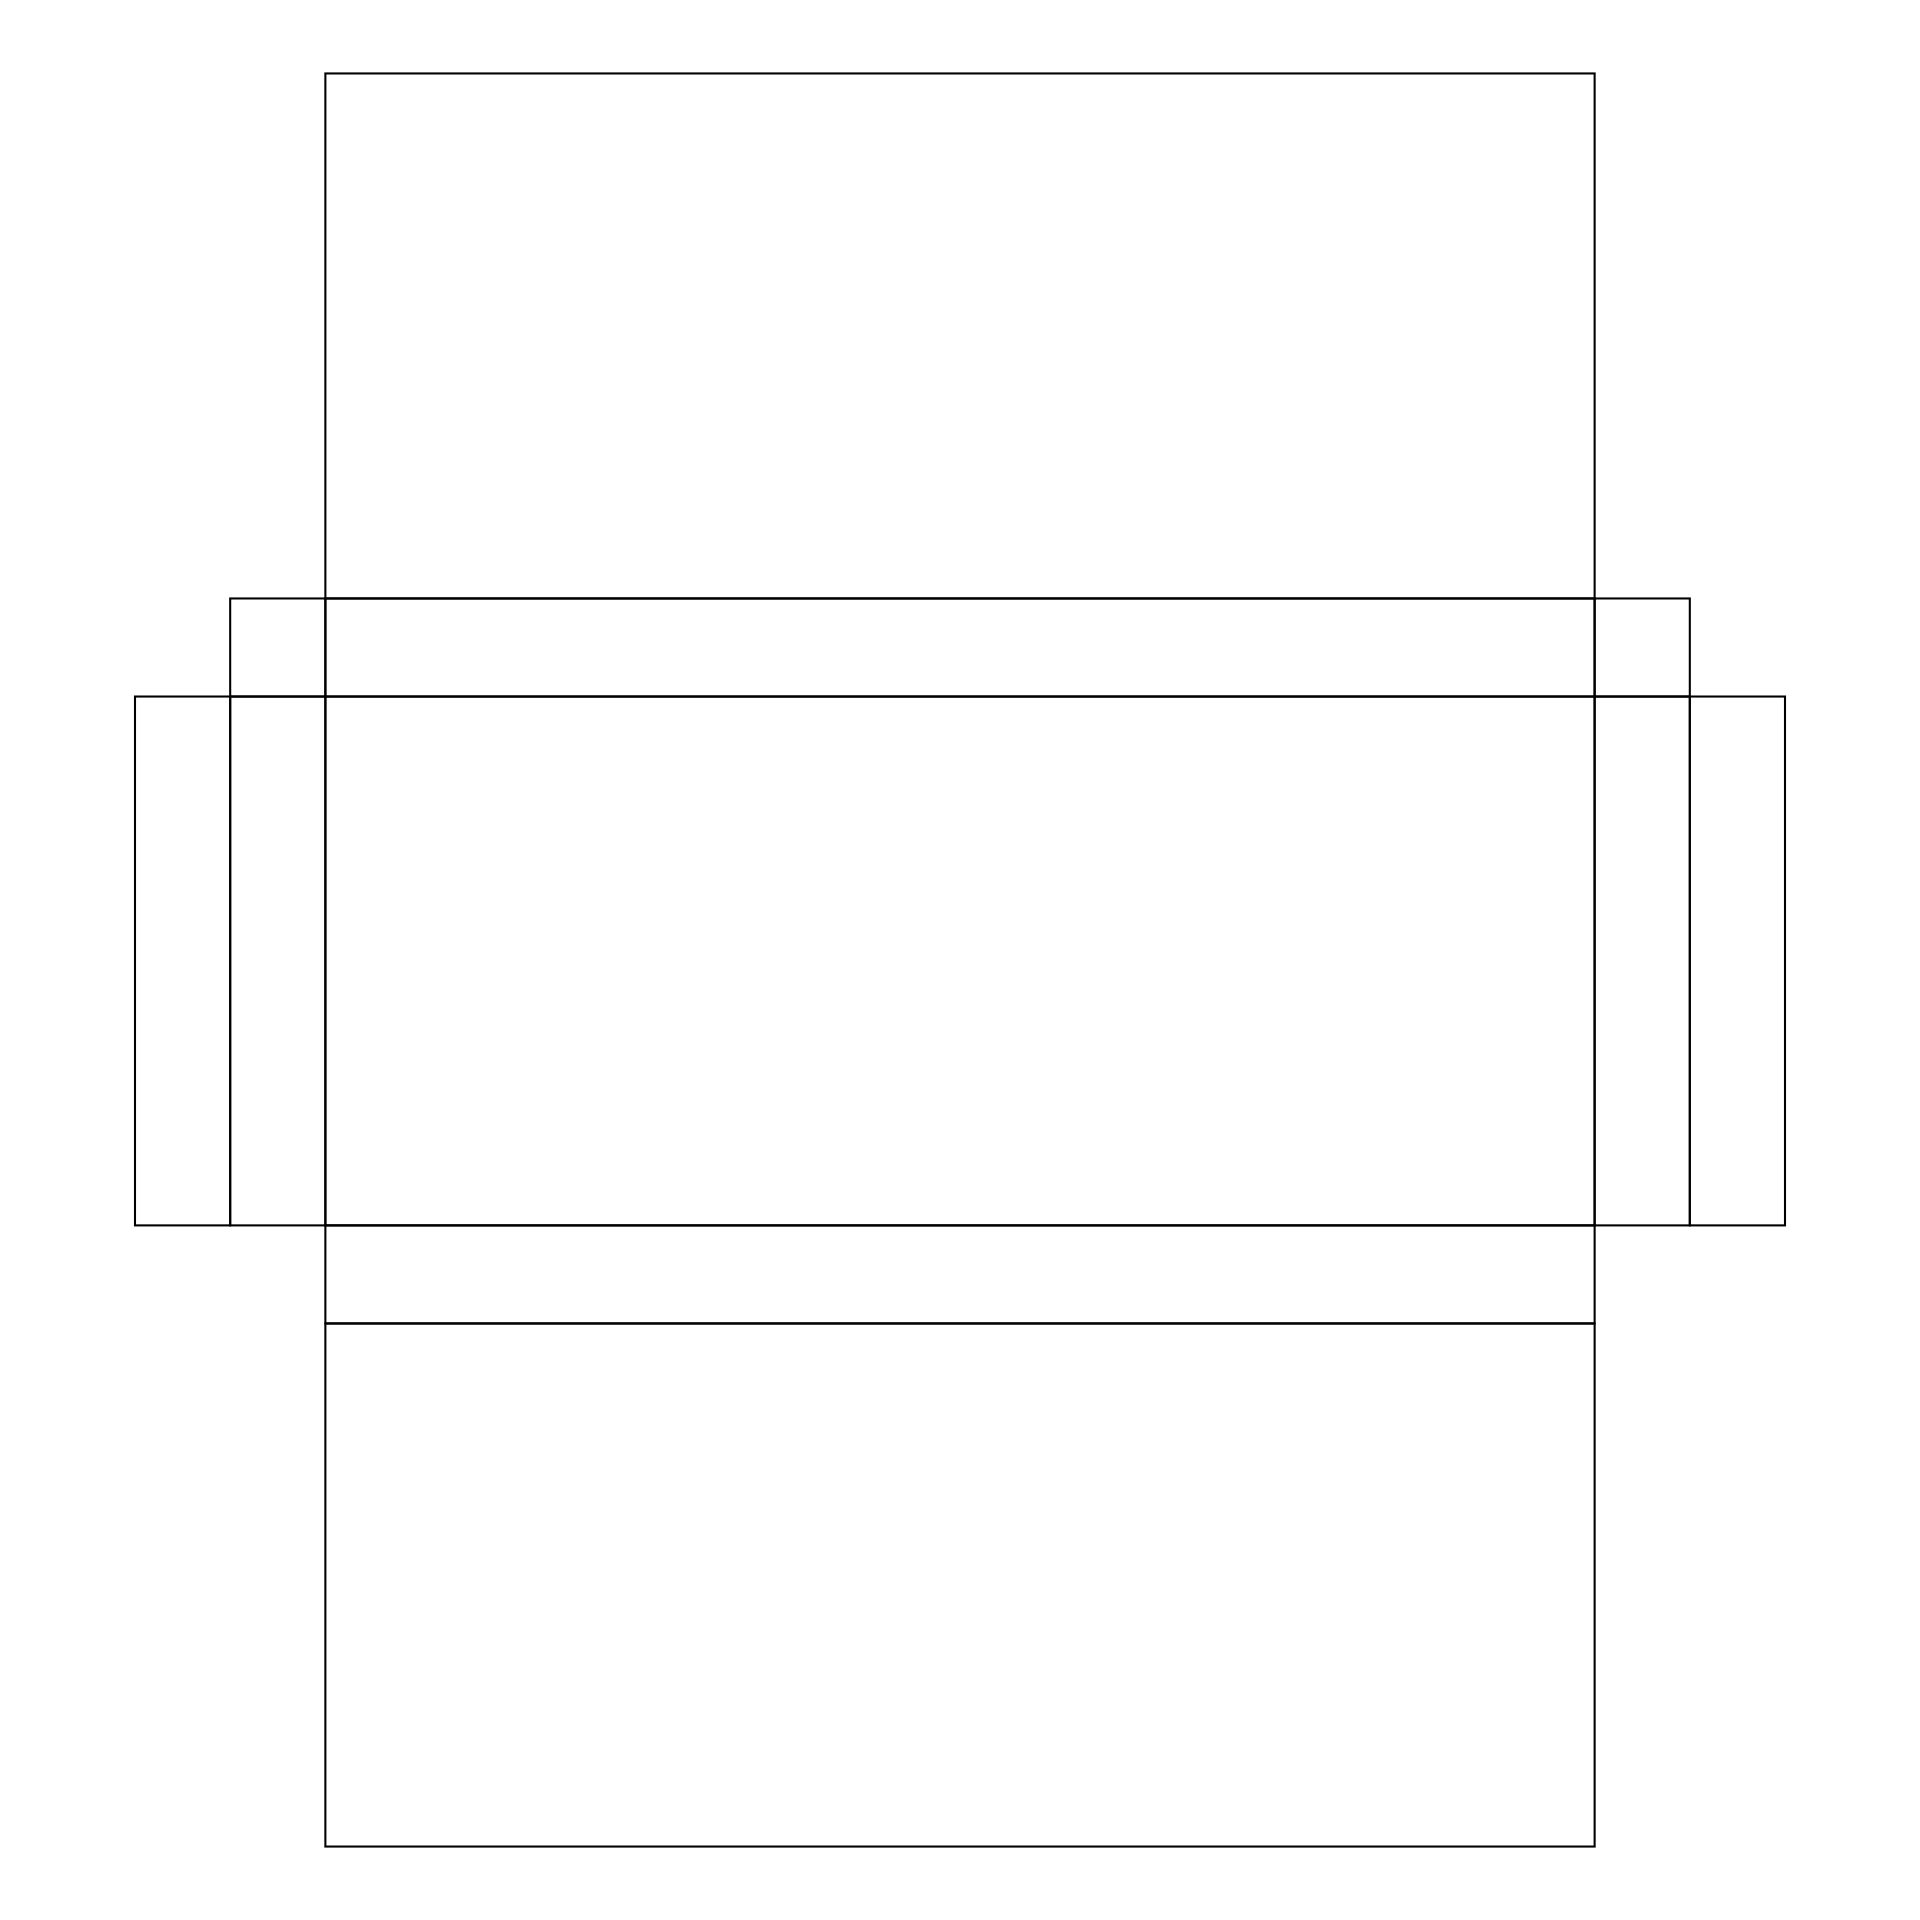
 Printable Box Template with Lid

 Gift Box with Lid Template

 Printable Box Template with Lid

 Square Gift Box With Lid Template Printables

 Template For Small Gift Box With Lid Printables

 Christmas Gift Box Template Free Printable

 Paper Gift Box Template Printables

 Rectangular Gift Box With Lid Template Printables
Crafting a custom box for gifts or storage is easier with a printable box template with lid. You can pick the perfect size and design, ensuring your items are secured stylishly. This template helps you save time, allowing for more creativity in decorating your box.
Presenting your cupcakes in beautifully designed boxes elevates their appeal, and with free printable cupcake box templates, you can achieve this without extra cost. These templates offer a variety of designs, enabling you to package your baked goods professionally for any occasion.
For those who love DIY projects, paper gift box template printables are a treasure. These templates enable you to create unique and personalized gift boxes for any event, adding a touch of personal flair to your presents. They're ideal for making your gifts stand out.


Have something to tell us?
Recent Comments
I really appreciate the simplicity and functionality of these gift box templates. They make my gift wrapping process so much easier and add a beautiful touch to any gift. Thank you!
Printable gift box with lid templates offer convenience and affordability, allowing you to create personalized and visually appealing gift boxes easily at home, saving time and money on traditional store-bought options.
Printable gift box with lid templates offer convenience and ease of use, making it effortless to create beautifully customized gift boxes, making your gift-giving experience truly special.