A toolbox printable template can significantly streamline your DIY projects or organizational tasks. By using it, you can custom-design your tool storage solutions, ensuring that each tool has a designated spot, which not only saves time during clean-up but also makes it easier for you to find what you need without unnecessary searching. Ideal for both home and professional settings, this type of template can be tailored to match specific tool dimensions and preferences, enhancing efficiency and productivity in your workspace.


 Tool Belt Coloring Page

 Tool Box Card Templates Printable

 Tool Box Coloring Page

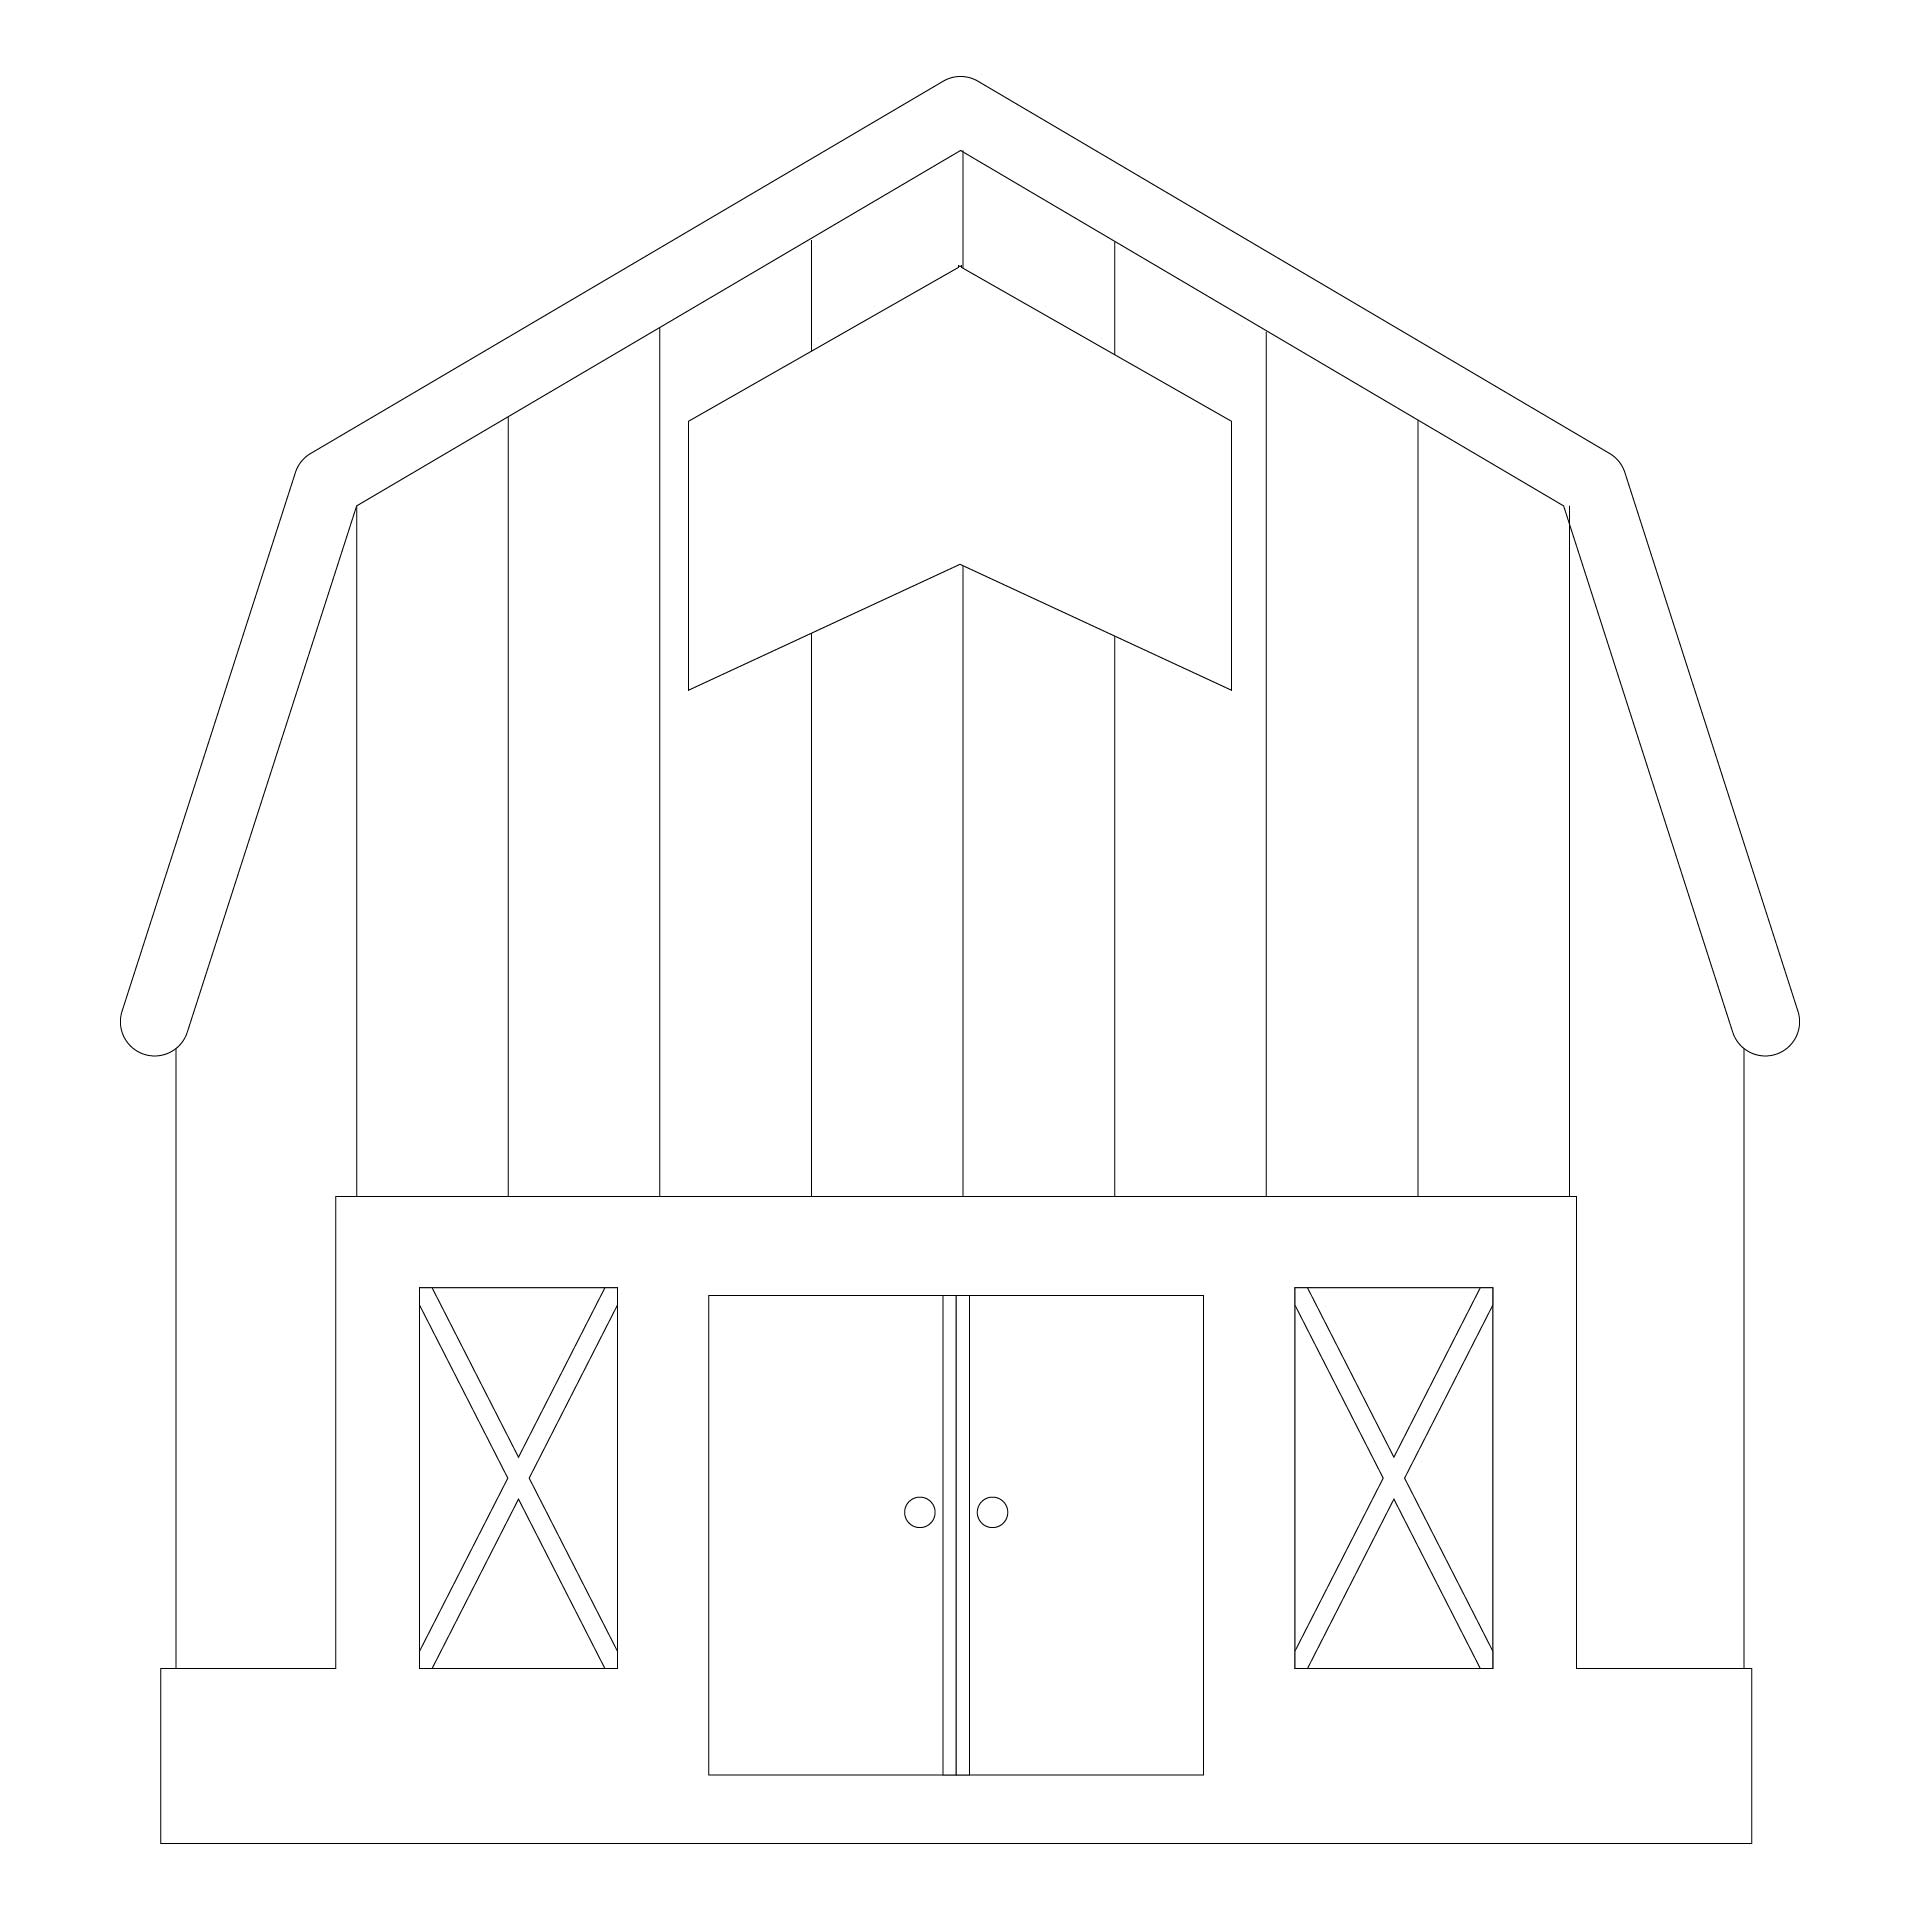
 Tool Box Template

 Tool Box Card Templates Printable

 Tool Box Card Templates Printable

 Papercraft Tool Box

 Printable Fathers Day Coloring Pages

 Gift Box Tool Box From Cardboard Template

 Father Day Toolbox Craft Template

 Felt Toolbox Template

 Tool Box Coloring Template For Kids
Engage your children in creating personalized gifts for Father’s Day with printable coloring pages. These pages offer a fun and creative way for your kids to express their love, making the holiday more memorable. They can tailor their artwork to their father's interests, ensuring a heartfelt and unique present.
Tool box card templates provide an innovative way to craft a unique greeting for someone special. Perfect for Father’s Day, birthdays, or as a thoughtful gesture for the handy person in your life, these printable templates allow you to personalize your message, adding a creative touch to your gift-giving.
Creating a papercraft tool box is not only a delightful project for craft enthusiasts but also serves as an imaginative gift box or decorative storage option. It allows for customization in design and size, fitting perfectly the intended use, whether for gifting, organizing small tools, or as an engaging activity for kids and adults alike.


Have something to tell us?
Recent Comments
The Tool Box Printable Template is a practical and well-designed resource that will surely help me stay organized. Thanks for making such a handy tool available!
This printable tool box template allows you to create customizable and easy-to-use tool boxes, making organizing and storing your tools a breeze.
This Tool Box Printable Template is such a helpful and versatile resource! It's great for organizing and storing all my tools neatly. Thank you for making DIY projects even more enjoyable!