Halloween envelopes printable templates are a fun and creative way to add a spooky touch to your Halloween correspondence, party invitations, or greeting cards. By utilizing these templates, you can craft unique and thematic envelopes that captivate the imagination and enhance the festive mood of your Halloween celebrations.
They not only assist in personalizing your messages but also save time and effort in finding themed stationery. Your crafted envelopes will make your invitations stand out and give recipients a memorable first impression of your Halloween event.

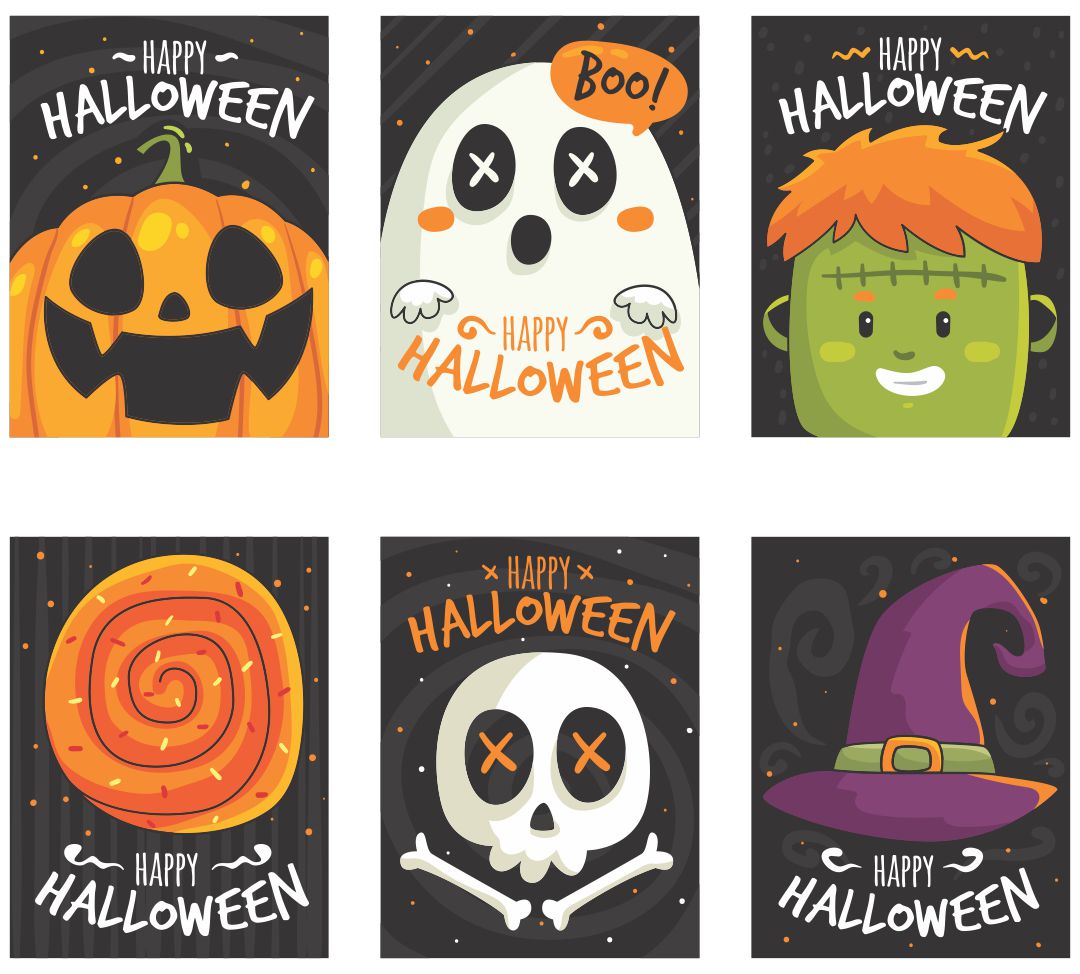
 Halloween Envelopes Printable Templates
 Halloween Envelope Printable

 Printable Christmas Envelopes Templates

 Halloween Printable Menu Templates

 Printable Envelope Template

 Printable Halloween Invitations Templates

 Halloween Envelope Printable Free

 Printable Halloween Cash Envelopes

 Witch-ed Awesome Halloween DIY Envelope Template Free Printable

 Spider Halloween Mail Art Printable Envelopes

 Halloween Envelopes And Blank Labels Witch Skull Cross Bones

 Handmade Envelopes Printable Templates

 Printable Monster Envelopes

 Haunted Mansion Mail Art Printable Envelope

 Halloween Tea Bags Printable Envelopes

 Envelope Template Halloween Pattern Printable
Embrace the fun of spooky season with printable monster envelopes, perfect for party invitations or giving a unique touch to your Halloween greetings. These imaginative designs can add an element of surprise for your recipients, making your messages more memorable. Ideal for personal projects or themed events, these envelopes ensure your correspondence stands out.
Transform your Halloween mailings with themed envelopes and matching blank labels featuring witch, skull, and crossbones motifs. These designs are great for customizing party invites, greetings, or any October event correspondence, giving a festive and eerie vibe that captures the essence of Halloween. Customizable options allow you to add a personal touch to your mail, enhancing your event or message.
For those looking to add a personal touch to their letters and invitations, a printable envelope template is a versatile tool. You can customize templates to fit various occasions, from weddings to birthdays or even business correspondence. Easy to use and tailor to your needs, these templates provide a straightforward solution for creating professional-looking envelopes from the comfort of your home.


Have something to tell us?
Recent Comments
Printable Halloween envelopes templates are a practical and convenient way to add a festive touch to your mail, allowing you to easily create personalized, spooky envelopes for Halloween cards or party invitations. They save time and effort while enhancing the overall Halloween spirit.
Halloween envelopes printable templates allow you to personalize your festive greetings and invitations, adding a unique touch that stands out and creates a memorable experience for recipients.
I love the Halloween Envelopes Printable Templates! They add a fun and spooky touch to my Halloween gifts and cards. Thank you for making my Halloween season even more enjoyable!