People love making clothes at home, putting effort and creativity into every stitch. Problem is, homemade clothes often miss that professional touch like a brand label. It's hard to find good labels that can be customized and printed easily at home. Need a simple solution to add that final professional touch to homemade creations.
We understand the need for personal touch in sewing projects. So, we come up with unique designs for printable sewing labels. They are easy to customize and add a signature style to handmade items. These labels give creations a professional finish and make handmade gifts even more special.

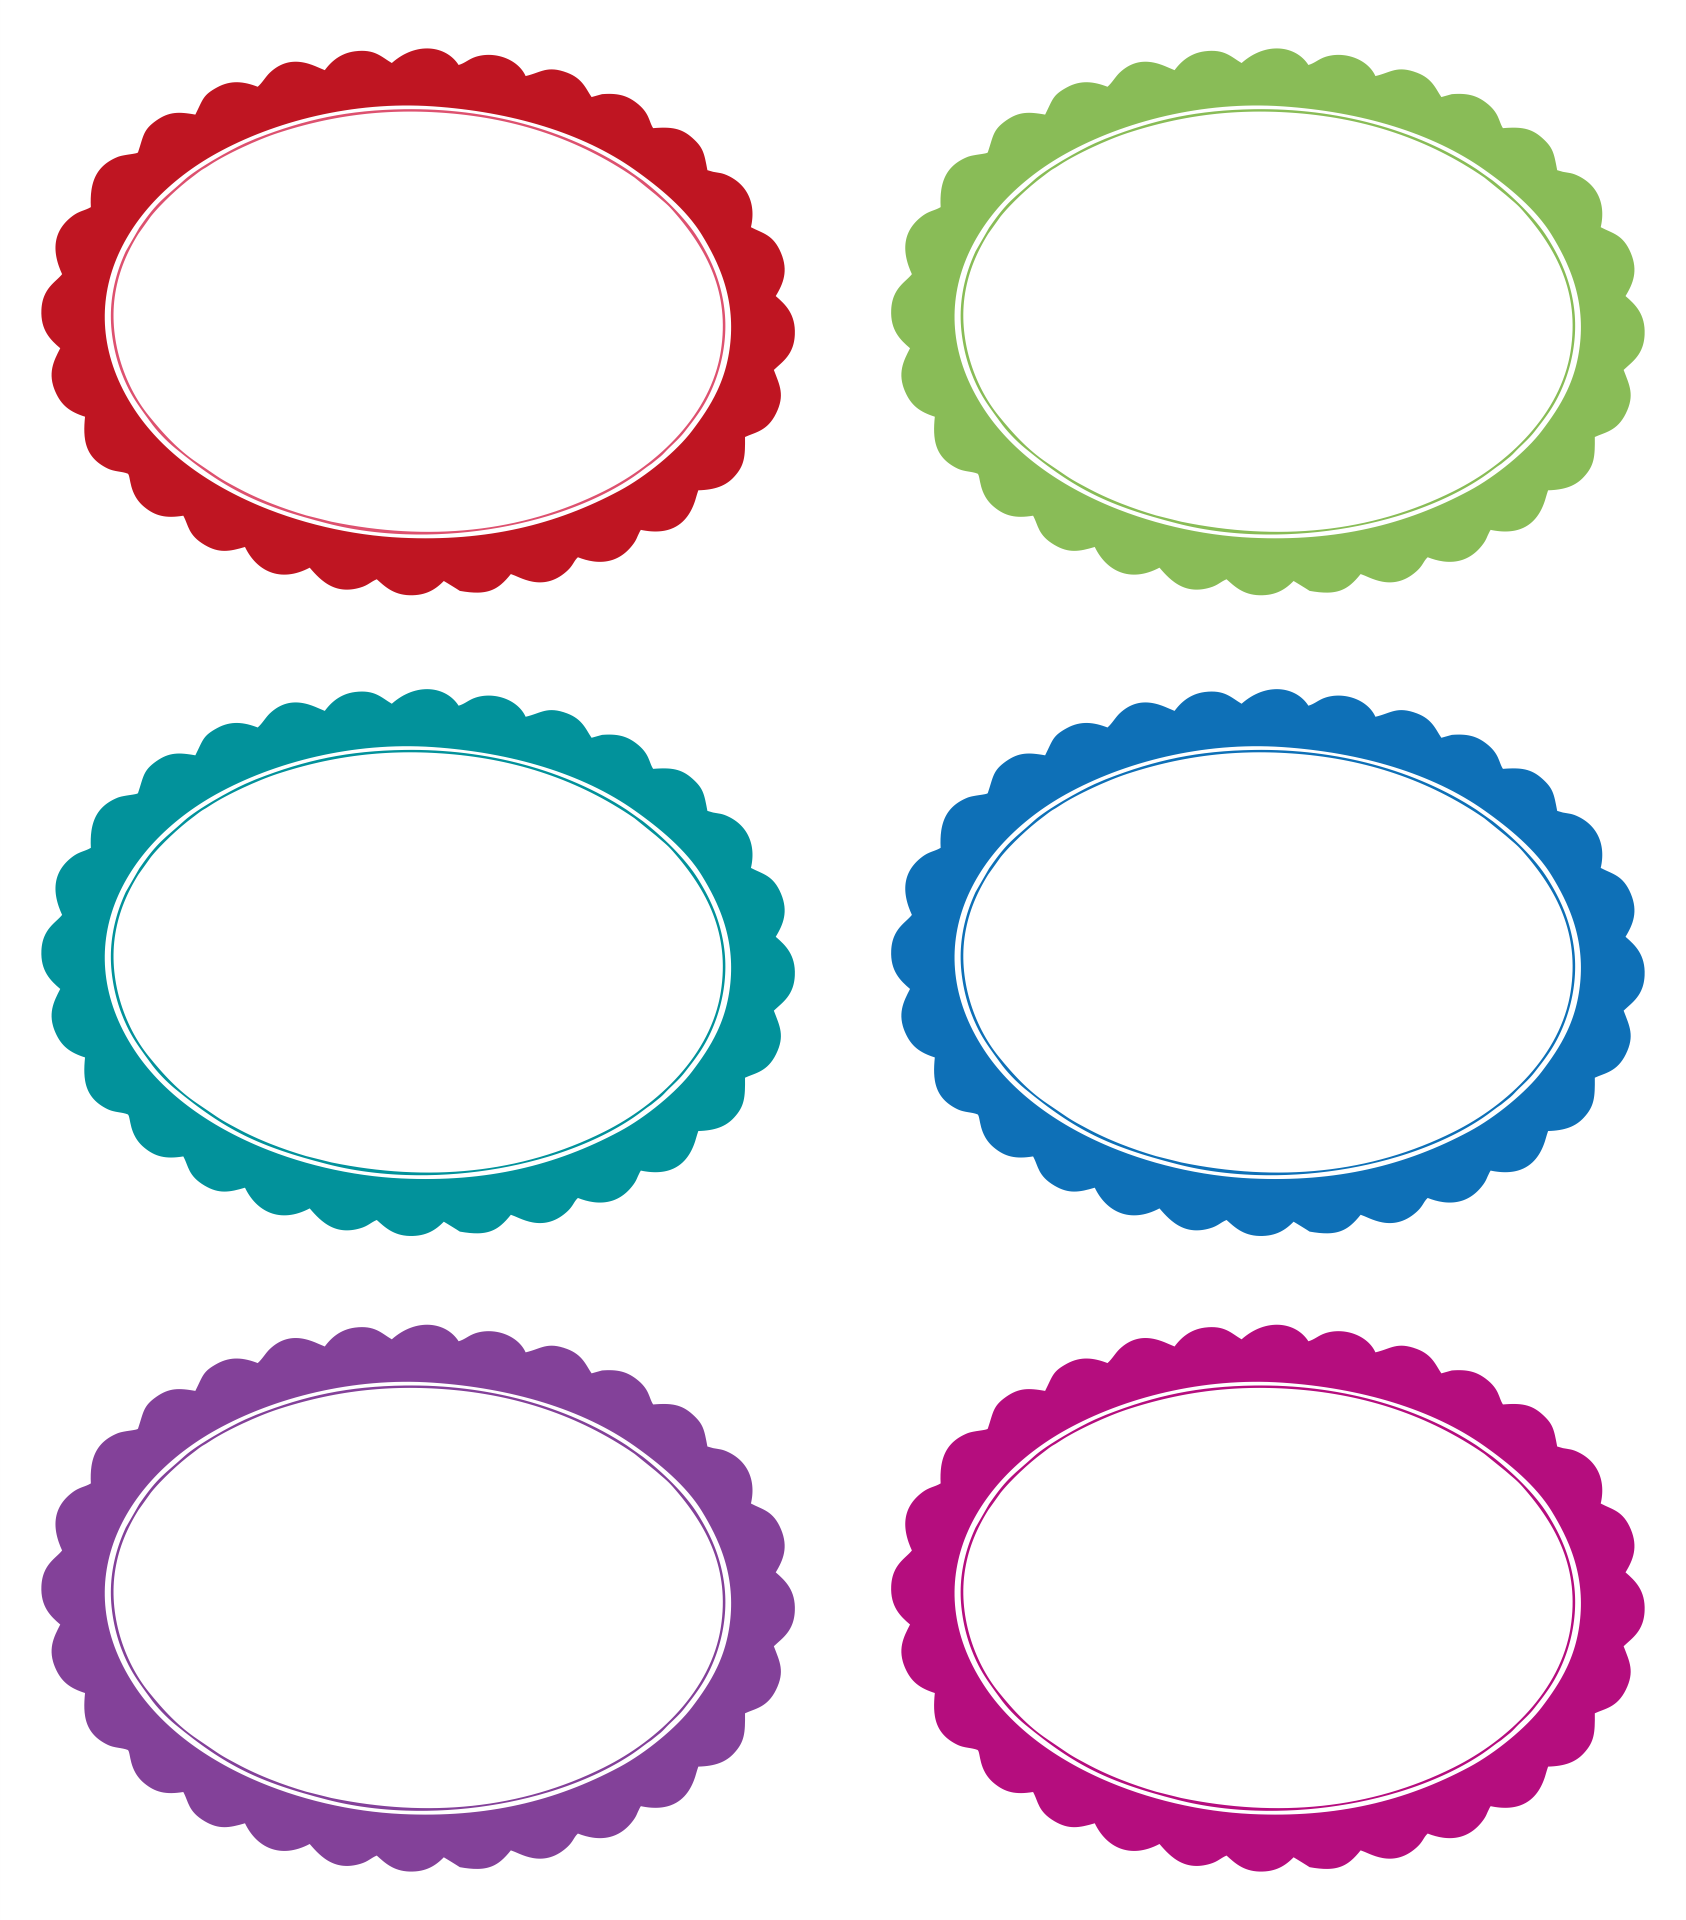
 Printable Vintage Sewing Labels

 Sewing Room Printable Labels

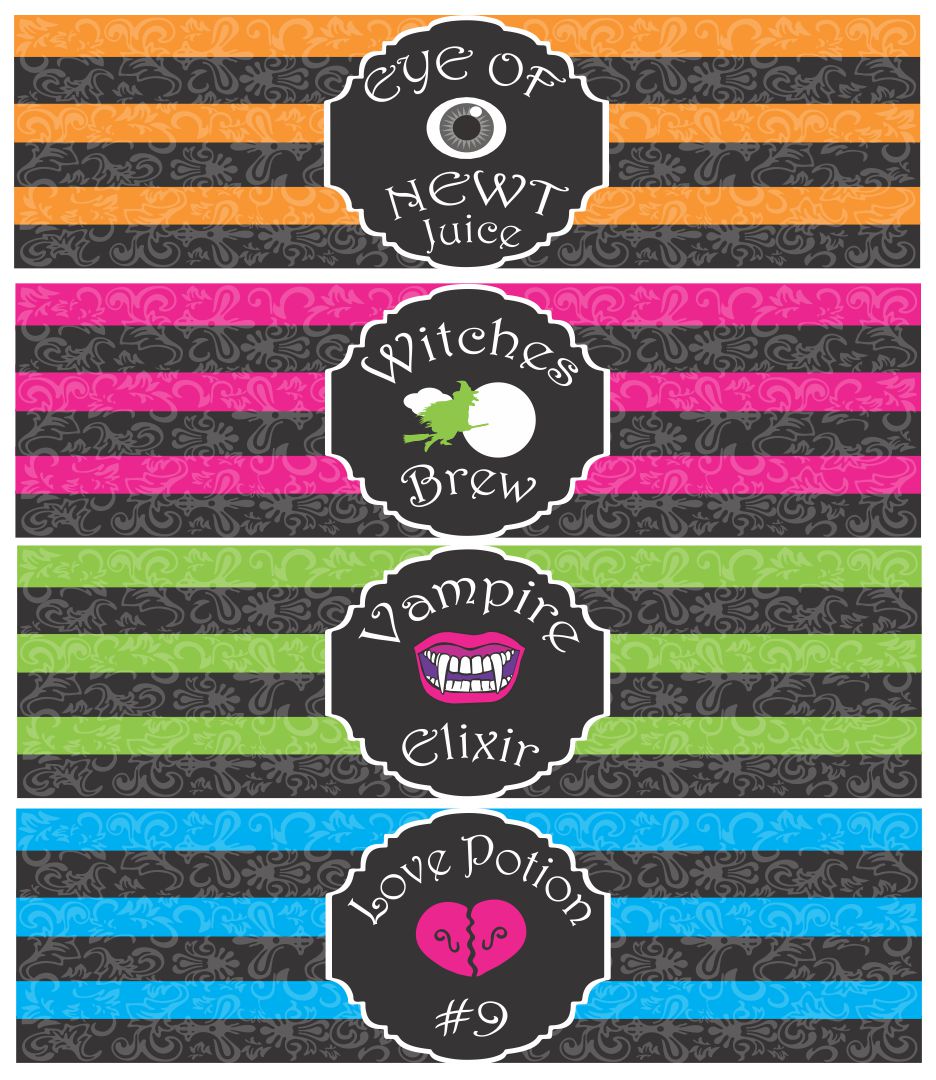
 Printable Heart Labels

 Printable I Love Sewing

 Quilt Label Sayings

 Printable Sewing Label

 Printable Sewing Labels

 Printable Handmade by Labels

 Handmade For You Printable Fabric Labels

 Printable Made With Love Tags For DIY Gifts
Add a professional and stylish touch to your DIY projects with functional and free printable sewing labels. Beyond aesthetics, these labels provide recipients with useful information like care instructions or the item’s name. They are suitable for various creations such as clothing, accessories, or home decor. For exemplary and detailed patterns, explore the vast archive of Printable Sewing Free Patterns.
Sewing hobbyists can use free printable sewing labels to create a personalized feel to their handmade items. These customizable labels can bear your name or logo and can be printed using a regular home printer, adding a professionalism to your finished products.
Free printable sewing labels offer a professional and personalized impact on crafters' handmade items. They not only display your name or logo for better brand visibility, but also help organize and track your crafts, particularly useful if selling or gifting items. For more detailed sewing patterns, check out our article on Free Printable Sewing Patterns.
Home sewers can utilize free printable sewing labels to stay organized. They help categorize fabric and project stash, making items easily accessible. Various designs and styles are available to match your sewing space aesthetics and project styling, thereby enhancing your overall sewing experience.


Have something to tell us?
Recent Comments
Printable sewing labels are a convenient and cost-effective option for crafters, allowing them to easily label their handmade creations and add a professional touch to their sewing projects.
Thank you for sharing these free printable sewing labels! They're a wonderful and practical resource that will surely add a personal touch to my sewing projects. I can't wait to use them and showcase my creations with their beautiful designs. Grateful for your generosity!
I absolutely love these Free Printable Sewing Labels! They add a perfect touch of professionalism and organization to my handmade creations. Thank you for providing such a helpful resource!