Creating your own Halloween Signs signs can add a spooky or fun touch to your decorations, setting the mood for your festivities.
You can easily print these signs at home, choosing from endless designs like "Beware of the Witch" or "Enter if You Dare." This provides a personalized touch to your Halloween setup, helps in guiding guests during parties, or simply adds to the overall ambiance of your home during the season. With printable signs, you also have the flexibility to adjust the size and color to match your decorating theme, making your Halloween celebration uniquely yours.

 Printable Halloween Signs To Print
 Printable Halloween Sign

 Printable Halloween Door Sign

 Printable Halloween Sign

 Printable Halloween Boo Sign

 Printable Halloween Signs

 Free Halloween Trick-or-Treat Signs For Candy

 Free Halloween Wall Art Decor

 Free No Trick Or Treaters Signs To Print

 Free Printable Halloween Decorations To Spruce Up Your Holiday

 Halloween Candy Printable Sign

 Halloween Boo Sign Printable

 No Trick Or Treaters Sign Printable

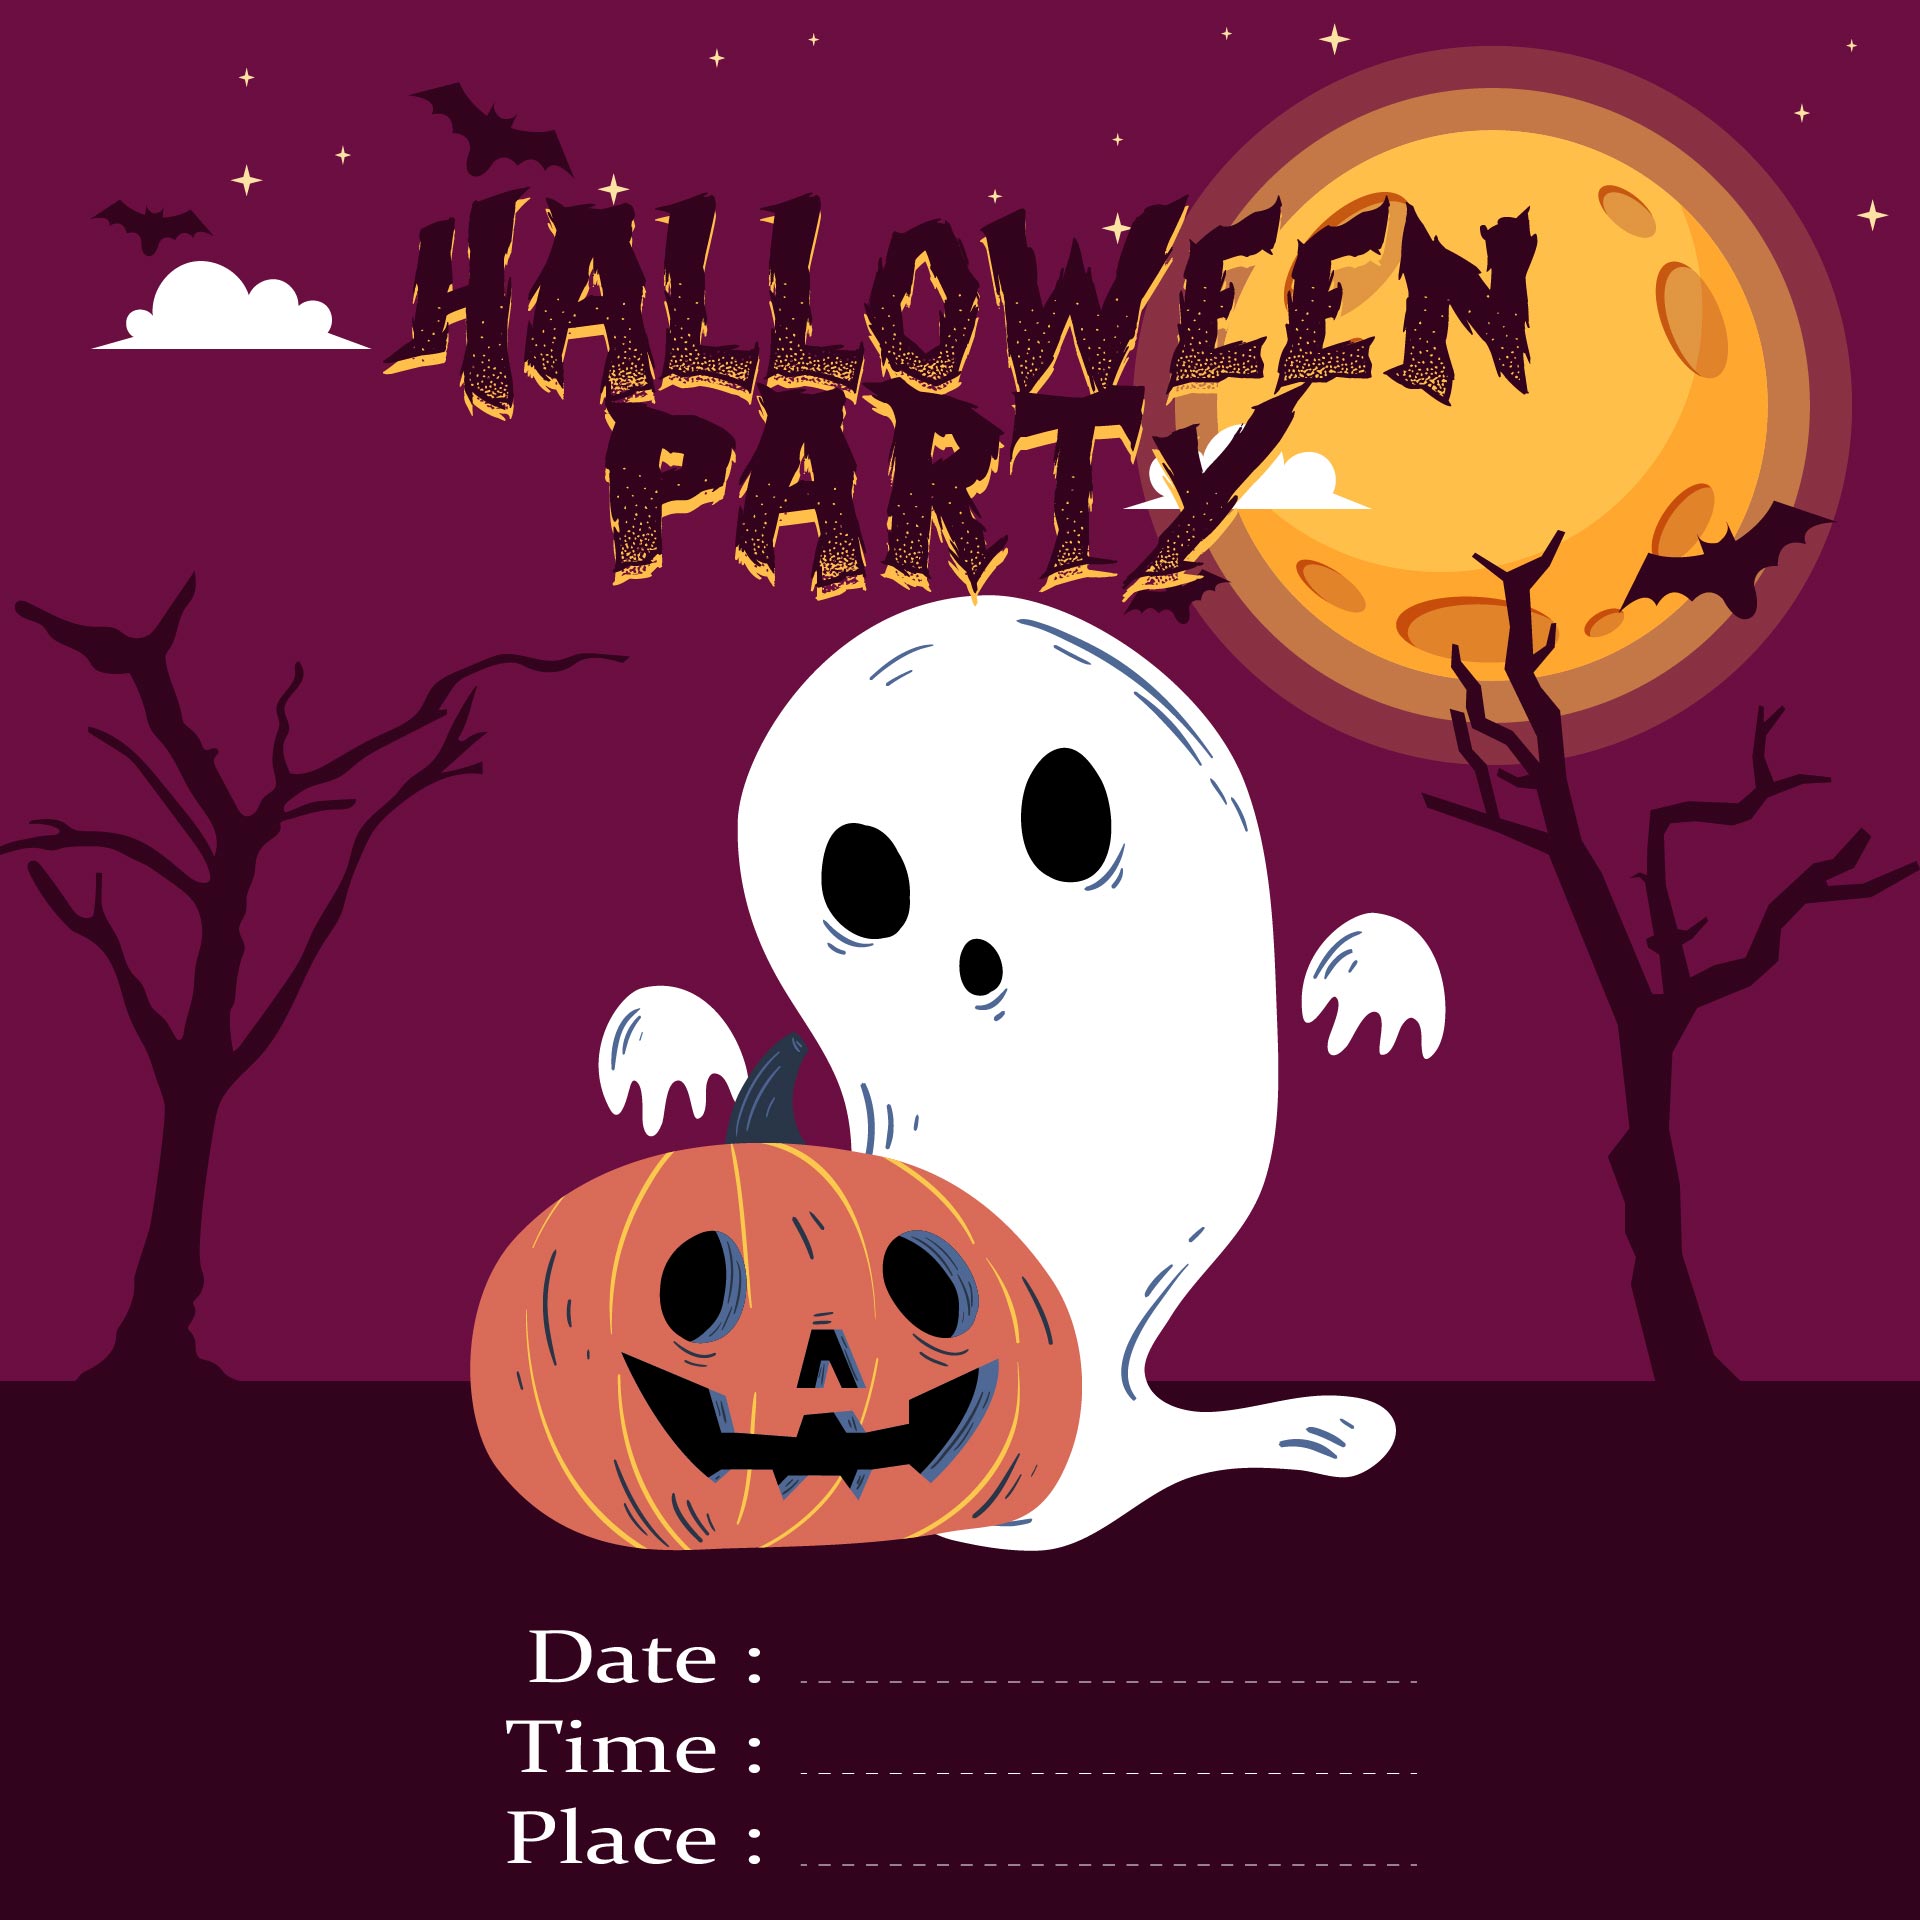
 Door Sign For The Halloween Party Printable

 Printable Please Take One Halloween Sign

 Halloween Candy Bowl Printable Sign

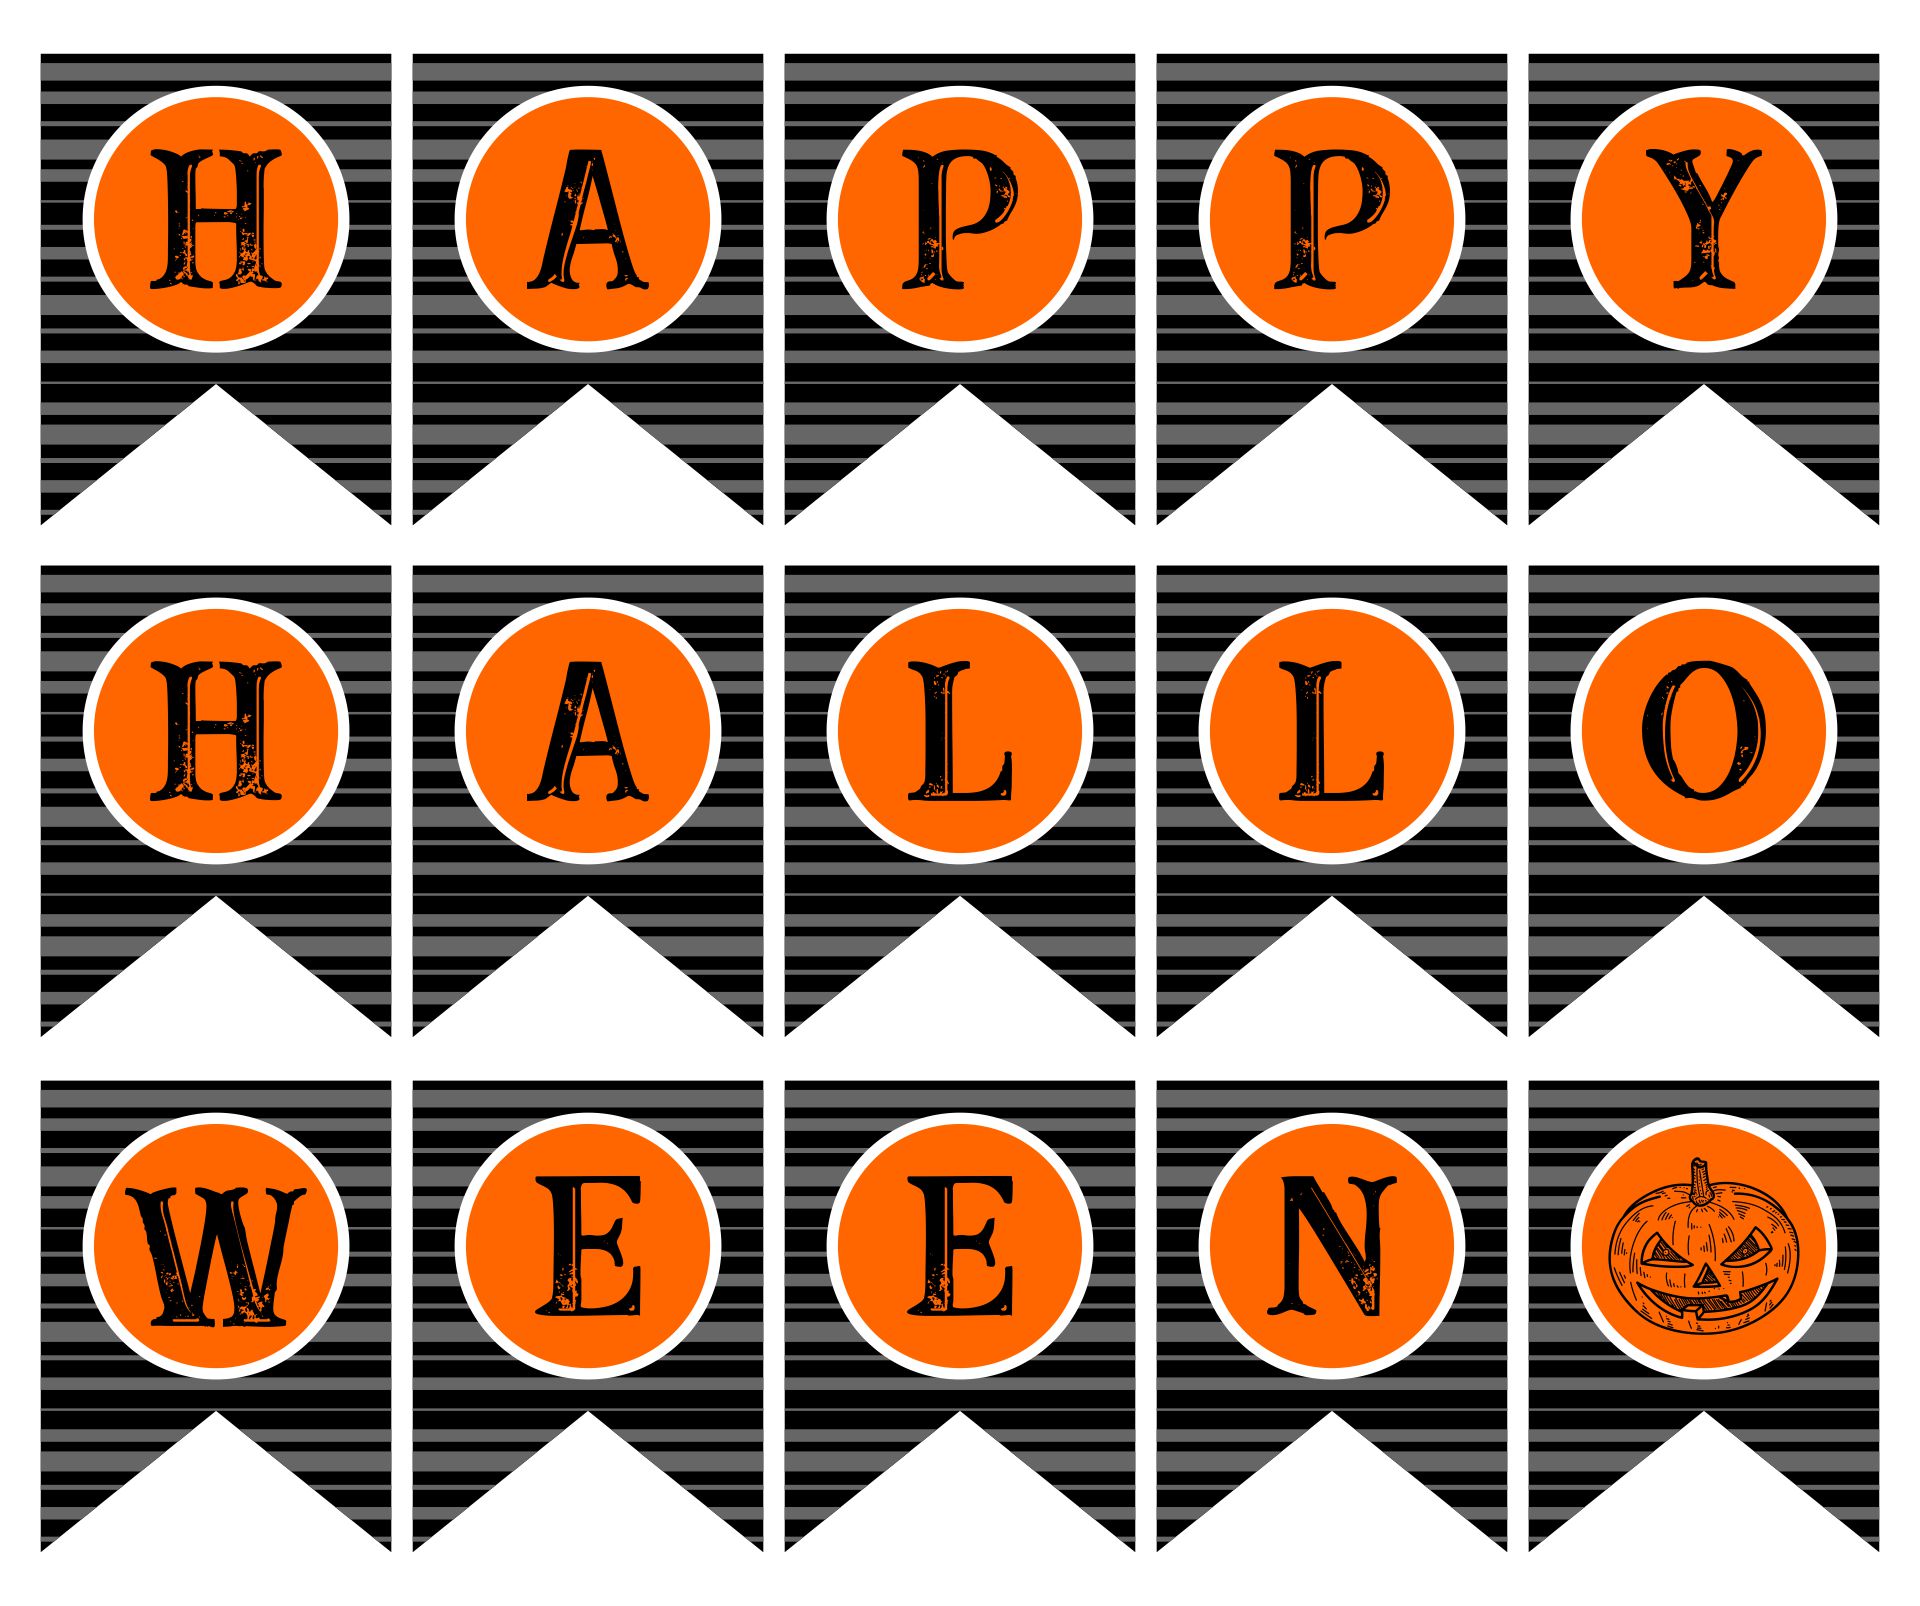
 Happy Halloween Sign Take One Candy Bowl Sign
Creating a welcoming or spooky entrance for trick-or-treaters and guests is easy with printable Halloween door signs. You can select from a variety of designs to match your Halloween theme, ensuring your door decor stands out and sets the mood for a night of frights and fun.
Your Halloween celebration can be enhanced with printable signs that add to the ambiance and guide guests. These signs can indicate different themed areas, like photo booths or food stations, helping to organize your space and add a touch of creativity to your party setup.
For those who might not be home on Halloween, a candy bowl printable sign is perfect to leave out with treats. It informs trick-or-treaters that they're welcome to take candy, adding a friendly touch to your offering and ensuring everyone gets their share of sweets even in your absence.


Have something to tell us?
Recent Comments
Printable Halloween signs are a useful and convenient way to decorate your home or office for Halloween without any added cost, allowing you to easily create a festive and spooky atmosphere.
Love these free printable Halloween signs! Just what I needed to add a festive touch to my home decor. Thank you for sharing!
These printable Halloween signs are a great find! They're a fun and festive way to add some spooky charm to any Halloween event. Thank you for providing them for free!