Add a Halloween touch to your decoration with printable signs featuring festive messages like "Beware of Ghosts" and "Trick or Treat". An easy way to create a spooky atmosphere for your kids or for Halloween parties.
Use printable eerie Halloween signs to create a haunting atmosphere for your elementary school celebrations. Ensure the decorations are age-appropriate, with designs like haunted house warnings and spooky graveyard signs.

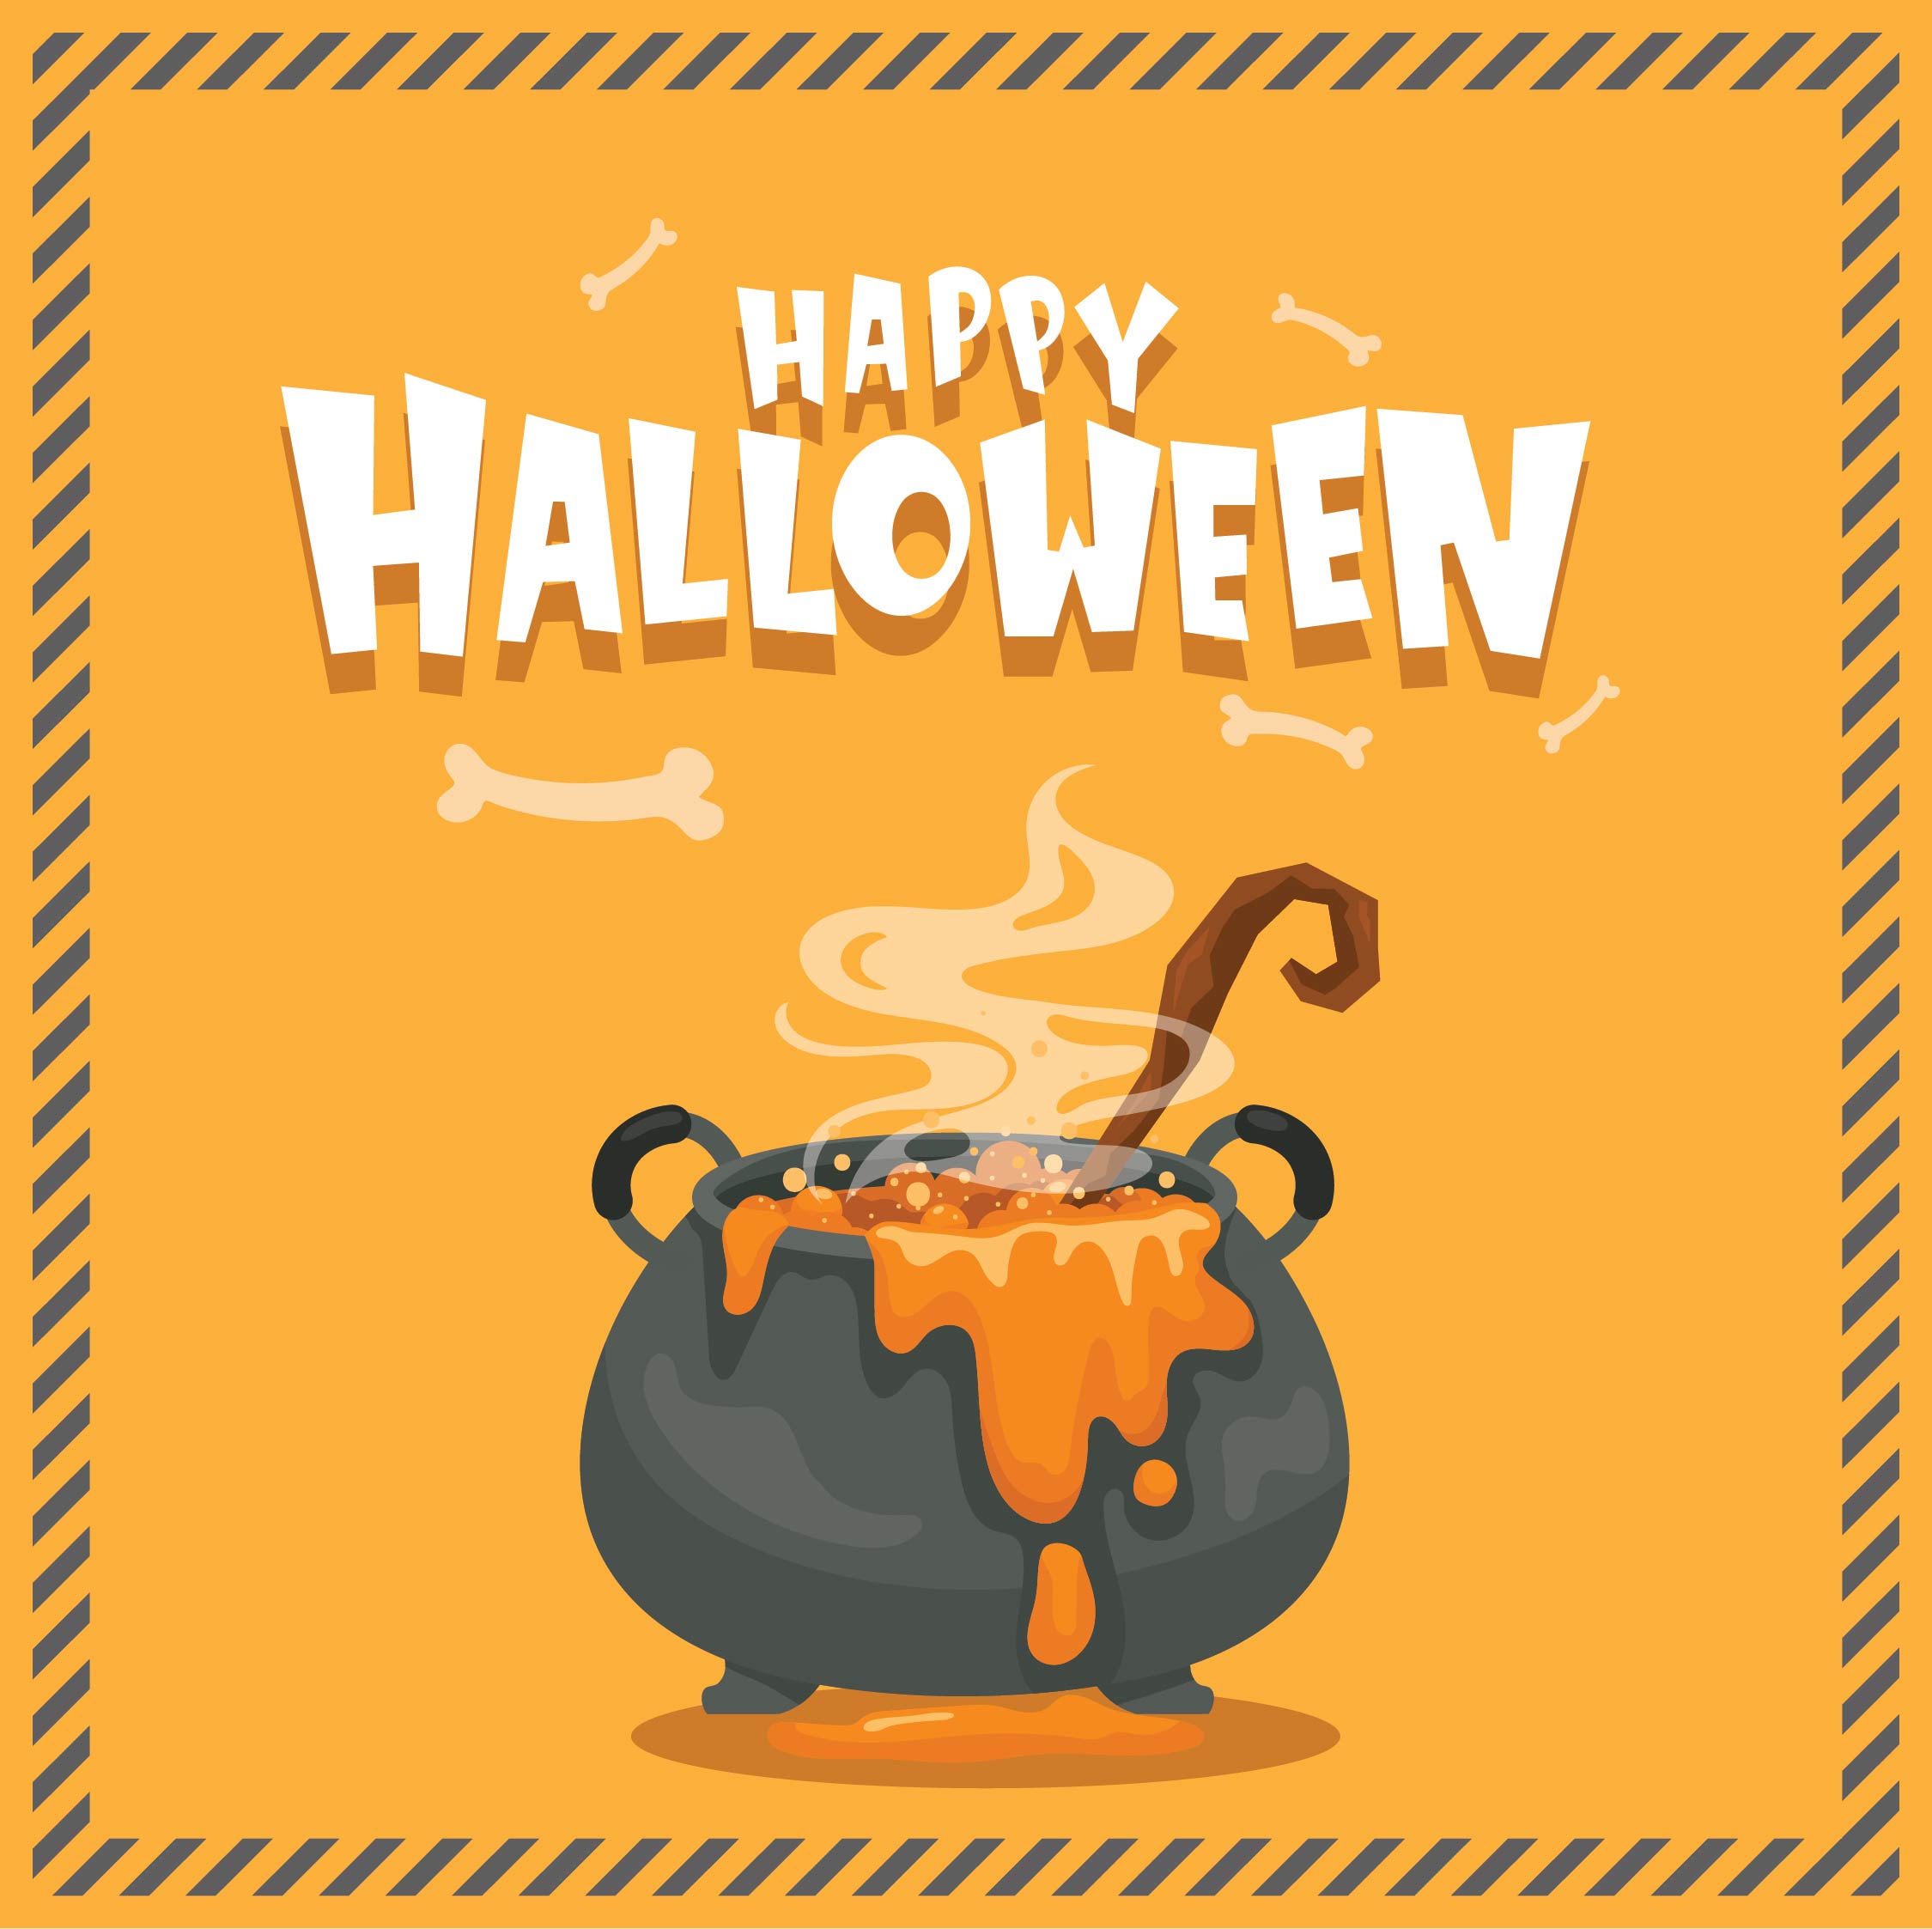
 Scary Halloween Signs Printable
 Scary Happy Halloween Signs Printable

 Halloween Enter If You Dare Sign

 Black and White Halloween Signs Printables

 Printable Halloween Subway Art

 Scary Signs For Halloween Printable

 Scary Halloween Sayings For Signs Printable

 Cool Halloween Signs For Indoors And Outdoors

 Scary Signs And Skeletons To Ward Off Evil

 Halloween Outdoor Decorations Yard Signs For Scary Outdoor Decor Halloween Props

 Scary Halloween Hanging Signs

 Halloween Scary Welcome Sign Printable

 A Sign Of The Monster Frankenstein Halloween Printable

 Printable Halloween Decorations Signs

 Something Wicked Halloween Printable Signs

 Eat Drink And Be Scary Sign Halloween Sign Printable Halloween
Enhance the vibe of your Halloween party with printable signs featuring eerie messages like "Beware of Zombies" and "Haunted House Ahead". Simply download, print, and display in strategic locations for a truly frightening celebration.
Spice up your home with our selection of spooky Halloween signs featuring creepy witches and haunted houses. An easy, affordable way to incorporate Halloween decor, just print, frame, and hang to add some festive flair to your space.
Looking for some scary Halloween signs to decorate your home or party? Look no further! You can find a variety of printable signs that will add a spooky touch to your Halloween festivities. Simply download and print the signs, and you'll be ready to create a haunting atmosphere.


Have something to tell us?
Recent Comments
Just what I was looking for! These Halloween signs will add the perfect touch of spookiness to my decorations. Thank you for providing this printable resource!
The Scary Halloween Signs Printable is a fantastic resource that adds a spooky touch to my Halloween decorations. Love how easily I can print and use them to create a creepy atmosphere!
Printable scary Halloween signs are a convenient and affordable way to add a spooky touch to your decorations, allowing you to effortlessly create a chilling ambiance for your Halloween party or haunted house.