So, you got this activity where we need to design our own cereal boxes, yeah? Sounds fun but kinda tricky because not all of us are wizards with design tools or software. Plus, finding the right size and shape for the template, that's another puzzle. It's like we're trying to be both artists and engineers at the same time without the manual.
We craft a cereal box template that's ready to print, making it a fun project for anyone looking to get creative. It includes space to design the front panel, nutrition facts on the side, and a fun activity for the back. This way, you can personalize every part of the cereal box, whether for a school project or just for fun at home. Kids and adults alike enjoy designing their brand, making breakfast time a little more interesting.

 Cereal Box Template Printable
 Cereal Box Book Report Template

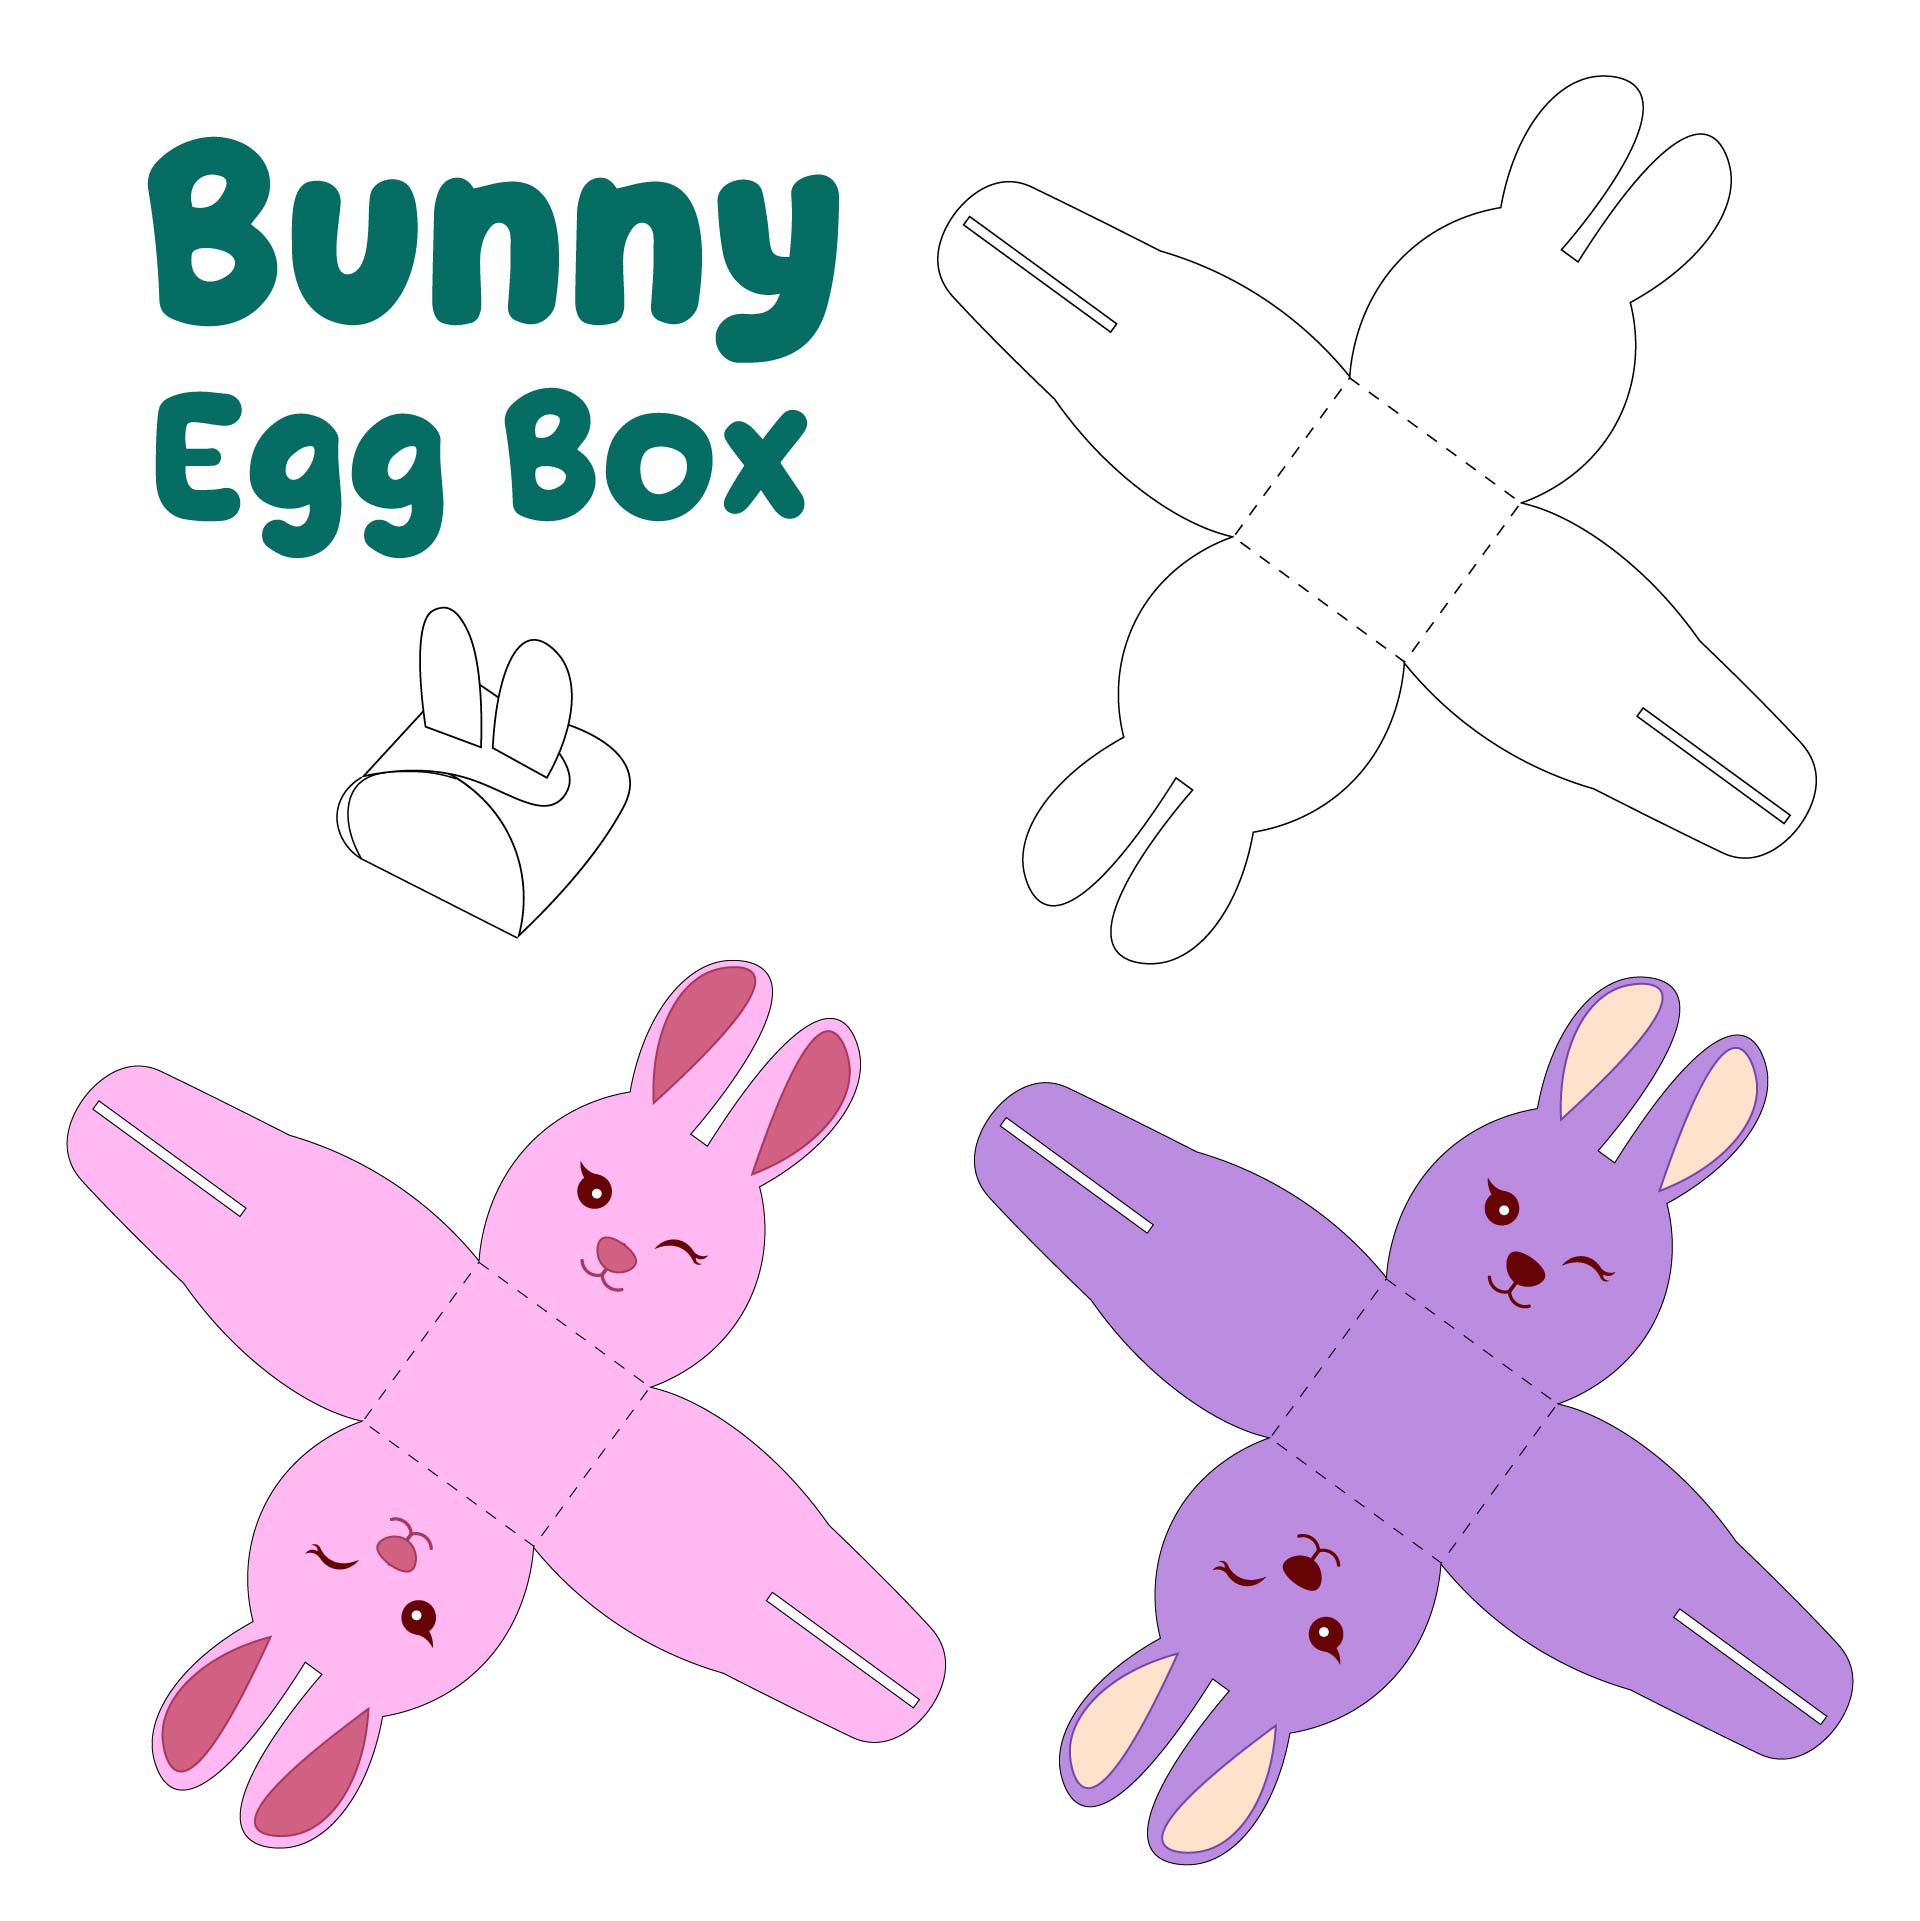
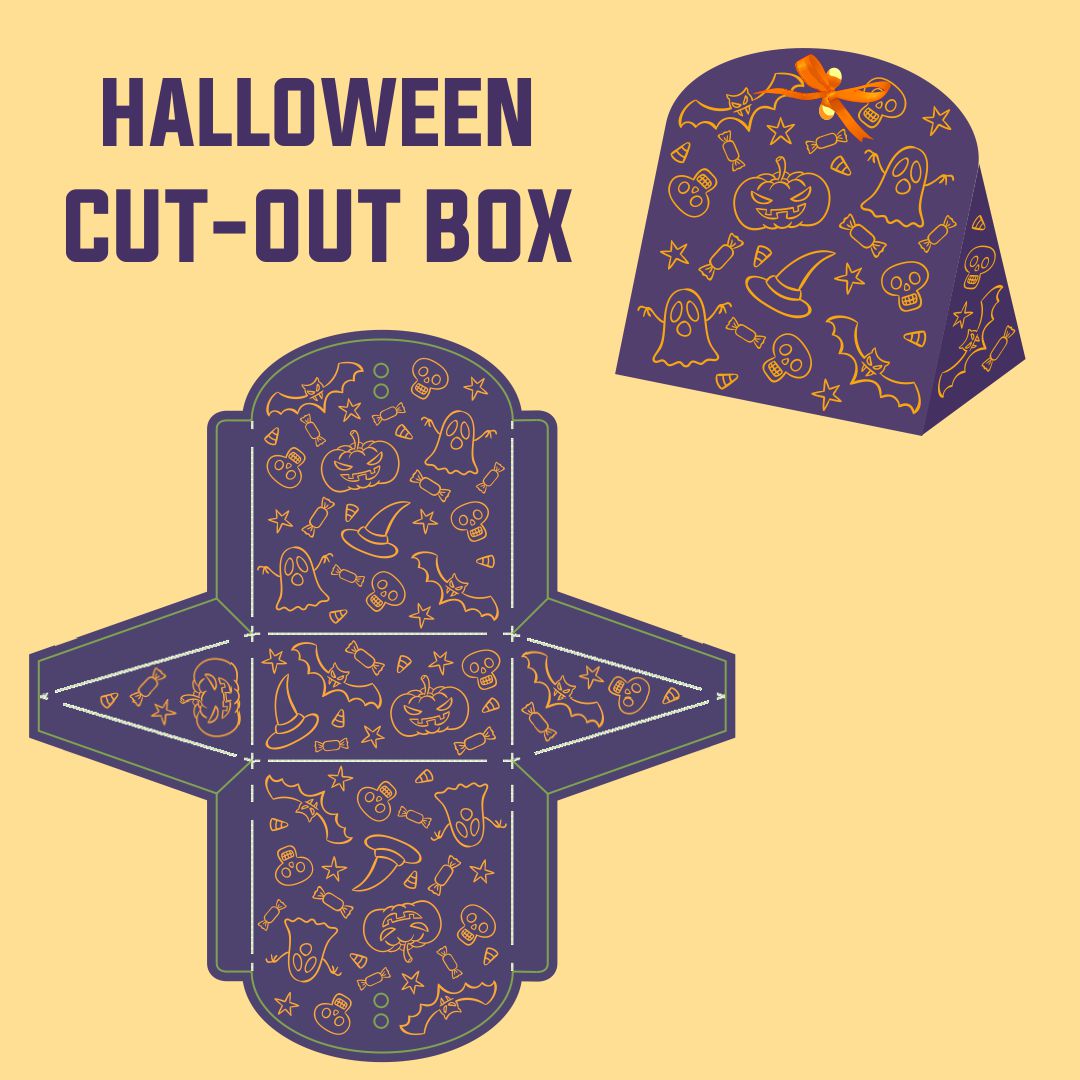
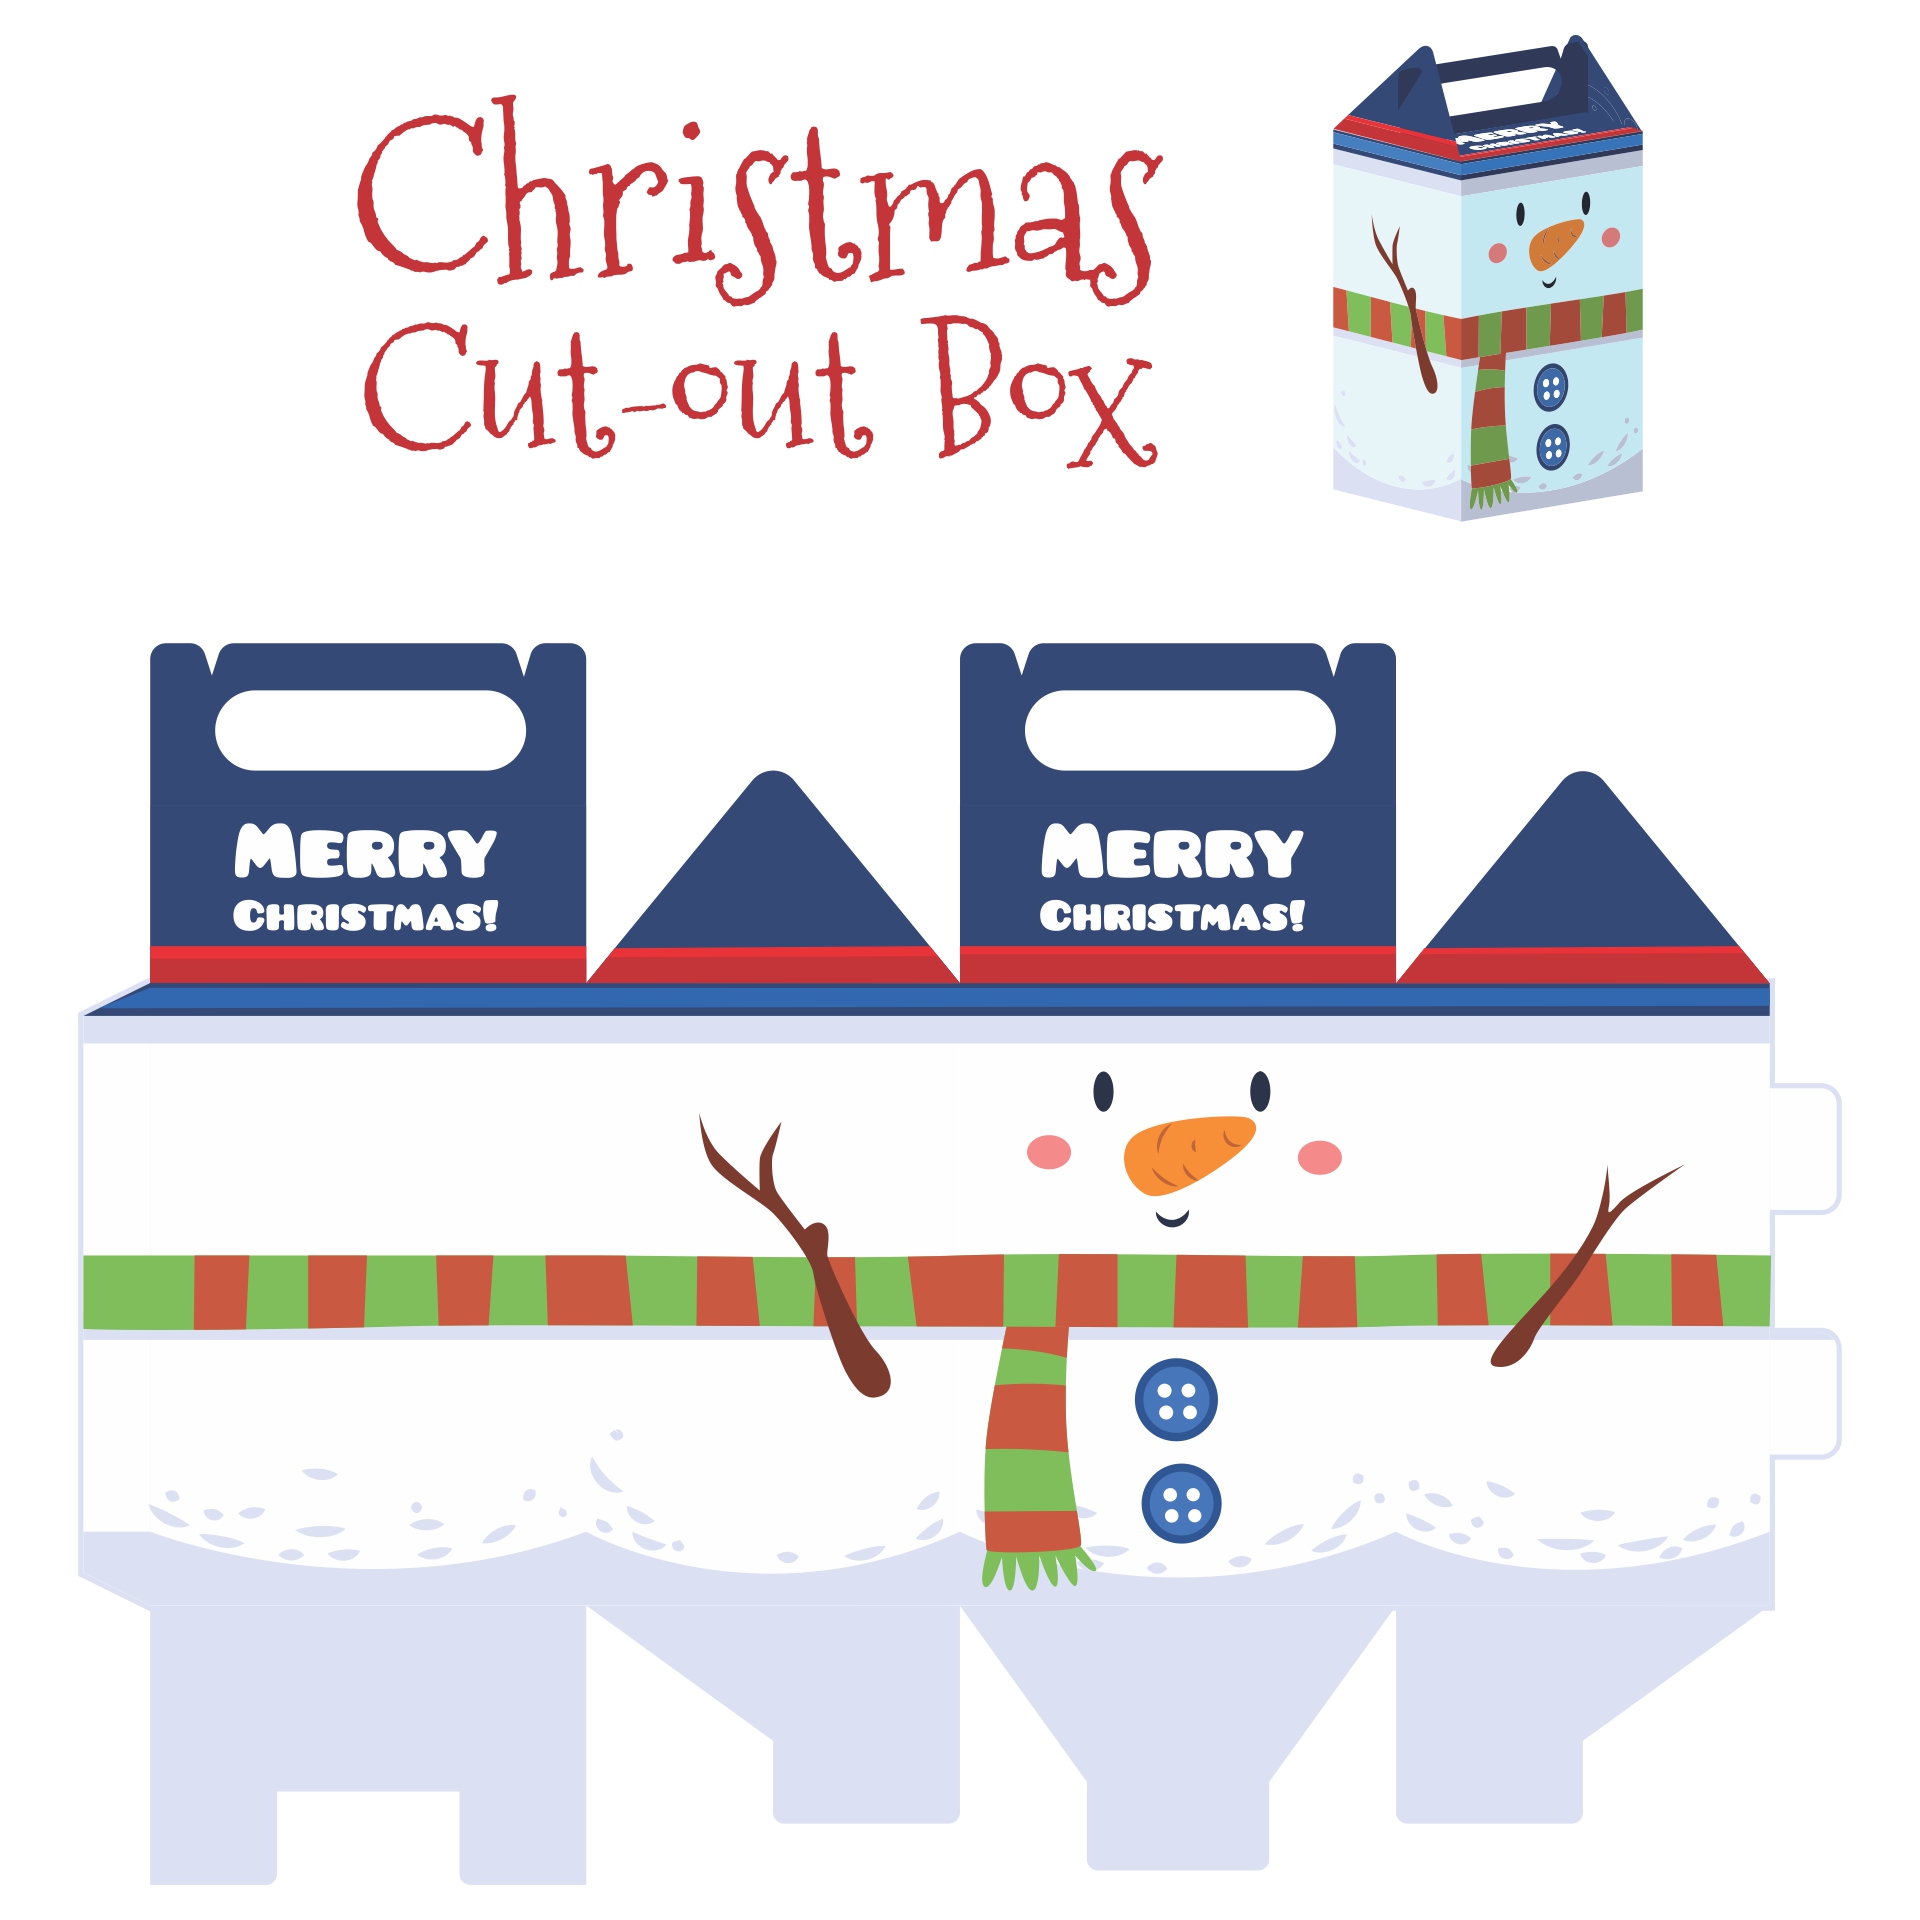
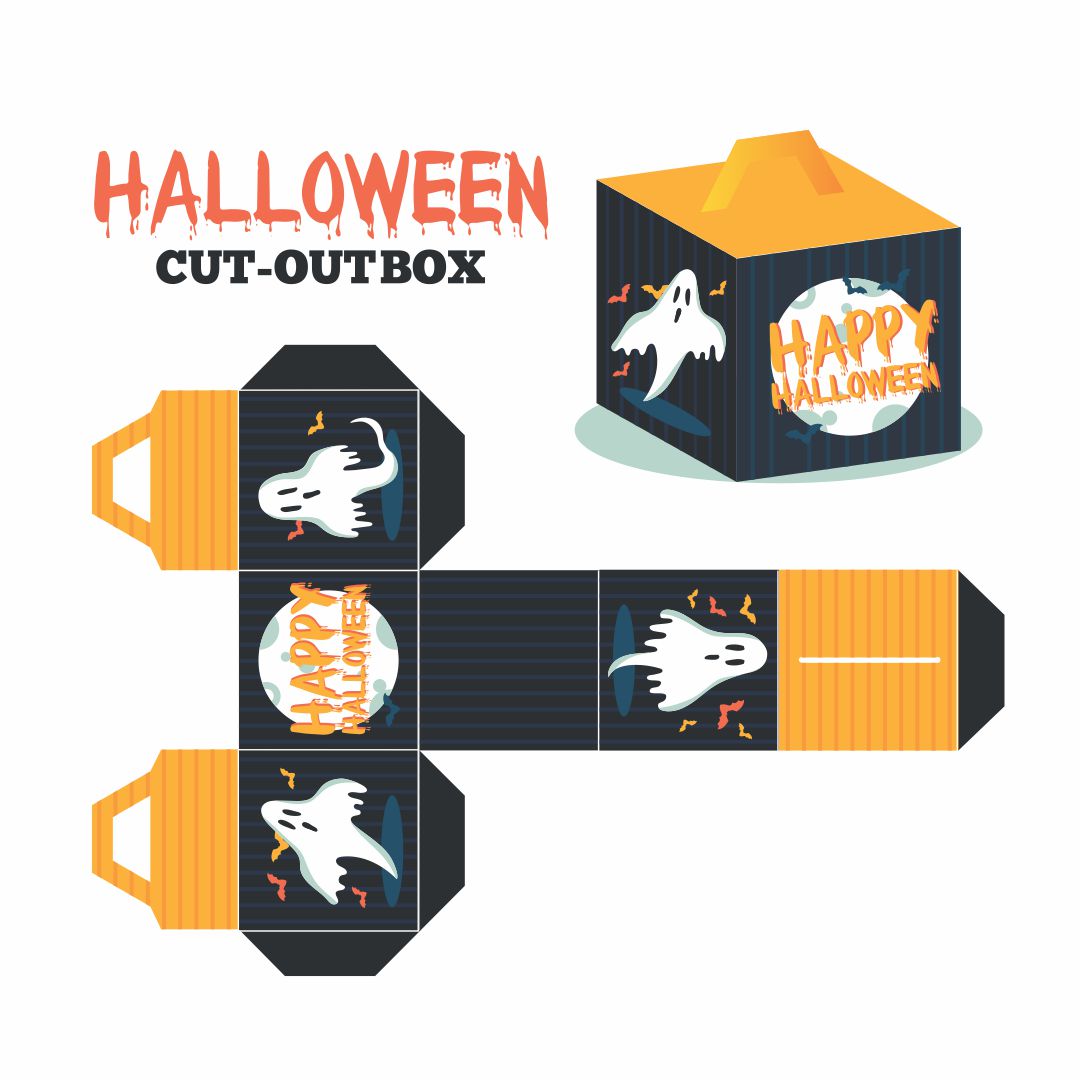
 Cereal Box Template

 Cereal Box Book Report Template

 Cereal Box Book Report Template

 Mini Cereal Box Template

 Blank Cereal Box Template

 Cereal Box Template

 Blank Cereal Box Template Printable

 Mini Cereal Box Template Printable

 Blank Cereal Box Template Snack Box
Cardboard boxes are versatile and readily available, making them excellent materials for recycling and repurposing. Instead of tossing them into the recycling bin, consider giving these boxes a new lease on life by transforming them into useful and creative items.
From storage solutions to fun DIY projects, you'll discover the endless possibilities of repurposing cardboard boxes while reducing waste and contributing to a greener planet.
One of the simplest and most practical uses for cardboard boxes is turning them into storage organizers or tool box. Whether you need to declutter your workspace, organize your kitchen, or tidy up your children's toys, cardboard box organizers are a cost-effective solution.
To create a tool box, gather several cardboard boxes of different sizes. Then, use the tool box template to create it. Cut off the flaps and reinforce the edges with tape. Then, arrange the boxes in a desired configuration, gluing them together to form compartments.
You can also cover the boxes with decorative paper or fabric for a more polished look. Now, you have a customizable storage solution to suit your specific needs.
If you have a collection of magazines or newspapers lying around, repurposing a cardboard box into a magazine holder is a practical and stylish option. Start by cutting one side of the box diagonally, creating a slanted surface. Trim the box to your desired size and shape, ensuring the remaining sides are tall enough to hold the magazines securely.
Next, reinforce the edges with tape or additional cardboard strips. Decorate the holder with colorful paper or fabric to match your home decor. With this simple project, you can keep your reading materials organized and easily accessible.
Transforming a cardboard box into a playhouse can provide endless entertainment for children. Begin by selecting a large cardboard box and cutting out windows and a door. Use markers or paints to add colorful details such as curtains, flowers, or even a mailbox.
Inside the playhouse, you can create a cozy space with pillows and blankets. Encourage your child's imagination by letting them decorate the interior with drawings or stickers. This project not only promotes creativity but also teaches the importance of reusing materials.
By transforming cardboard boxes into practical and creative items, we can reduce waste and contribute to a more sustainable lifestyle. From storage organizers to playhouses and pet beds, the possibilities are endless.


Have something to tell us?
Recent Comments
Practical and versatile template for creating unique and customized cereal boxes. Great for arts and crafts projects, promoting creativity and imaginative play. A handy resource for DIY enthusiasts and educators alike!
I appreciate the simplicity and convenience of this printable Cereal Box Template. It's a great resource for crafting and sparking creativity!
This printable cereal box template is a fantastic tool for unleashing creativity and imagination in crafting unique and personalized cereal boxes. It's a simple yet effective resource that sparks joy and encourages a fun and engaging DIY project. Highly recommended!