Creating a Printable Easter Bunny Wreath can add a festive touch to your home or office, bringing in the cheerful spirit of the season.
You can personalize this DIY project with choices of colors and patterns, making it an engaging activity for family crafting time.
It serves as an excellent opportunity for kids to develop their creativity and motor skills while preparing for the Easter celebrations. Plus, it's an economical way to decorate, allowing you to have a unique piece without the high cost of store-bought decorations.

 Easter Crochet Wreath Pattern

 Easter Bunny Wreath Tutorial

 Easter Bunnies Coloring Pages Printable

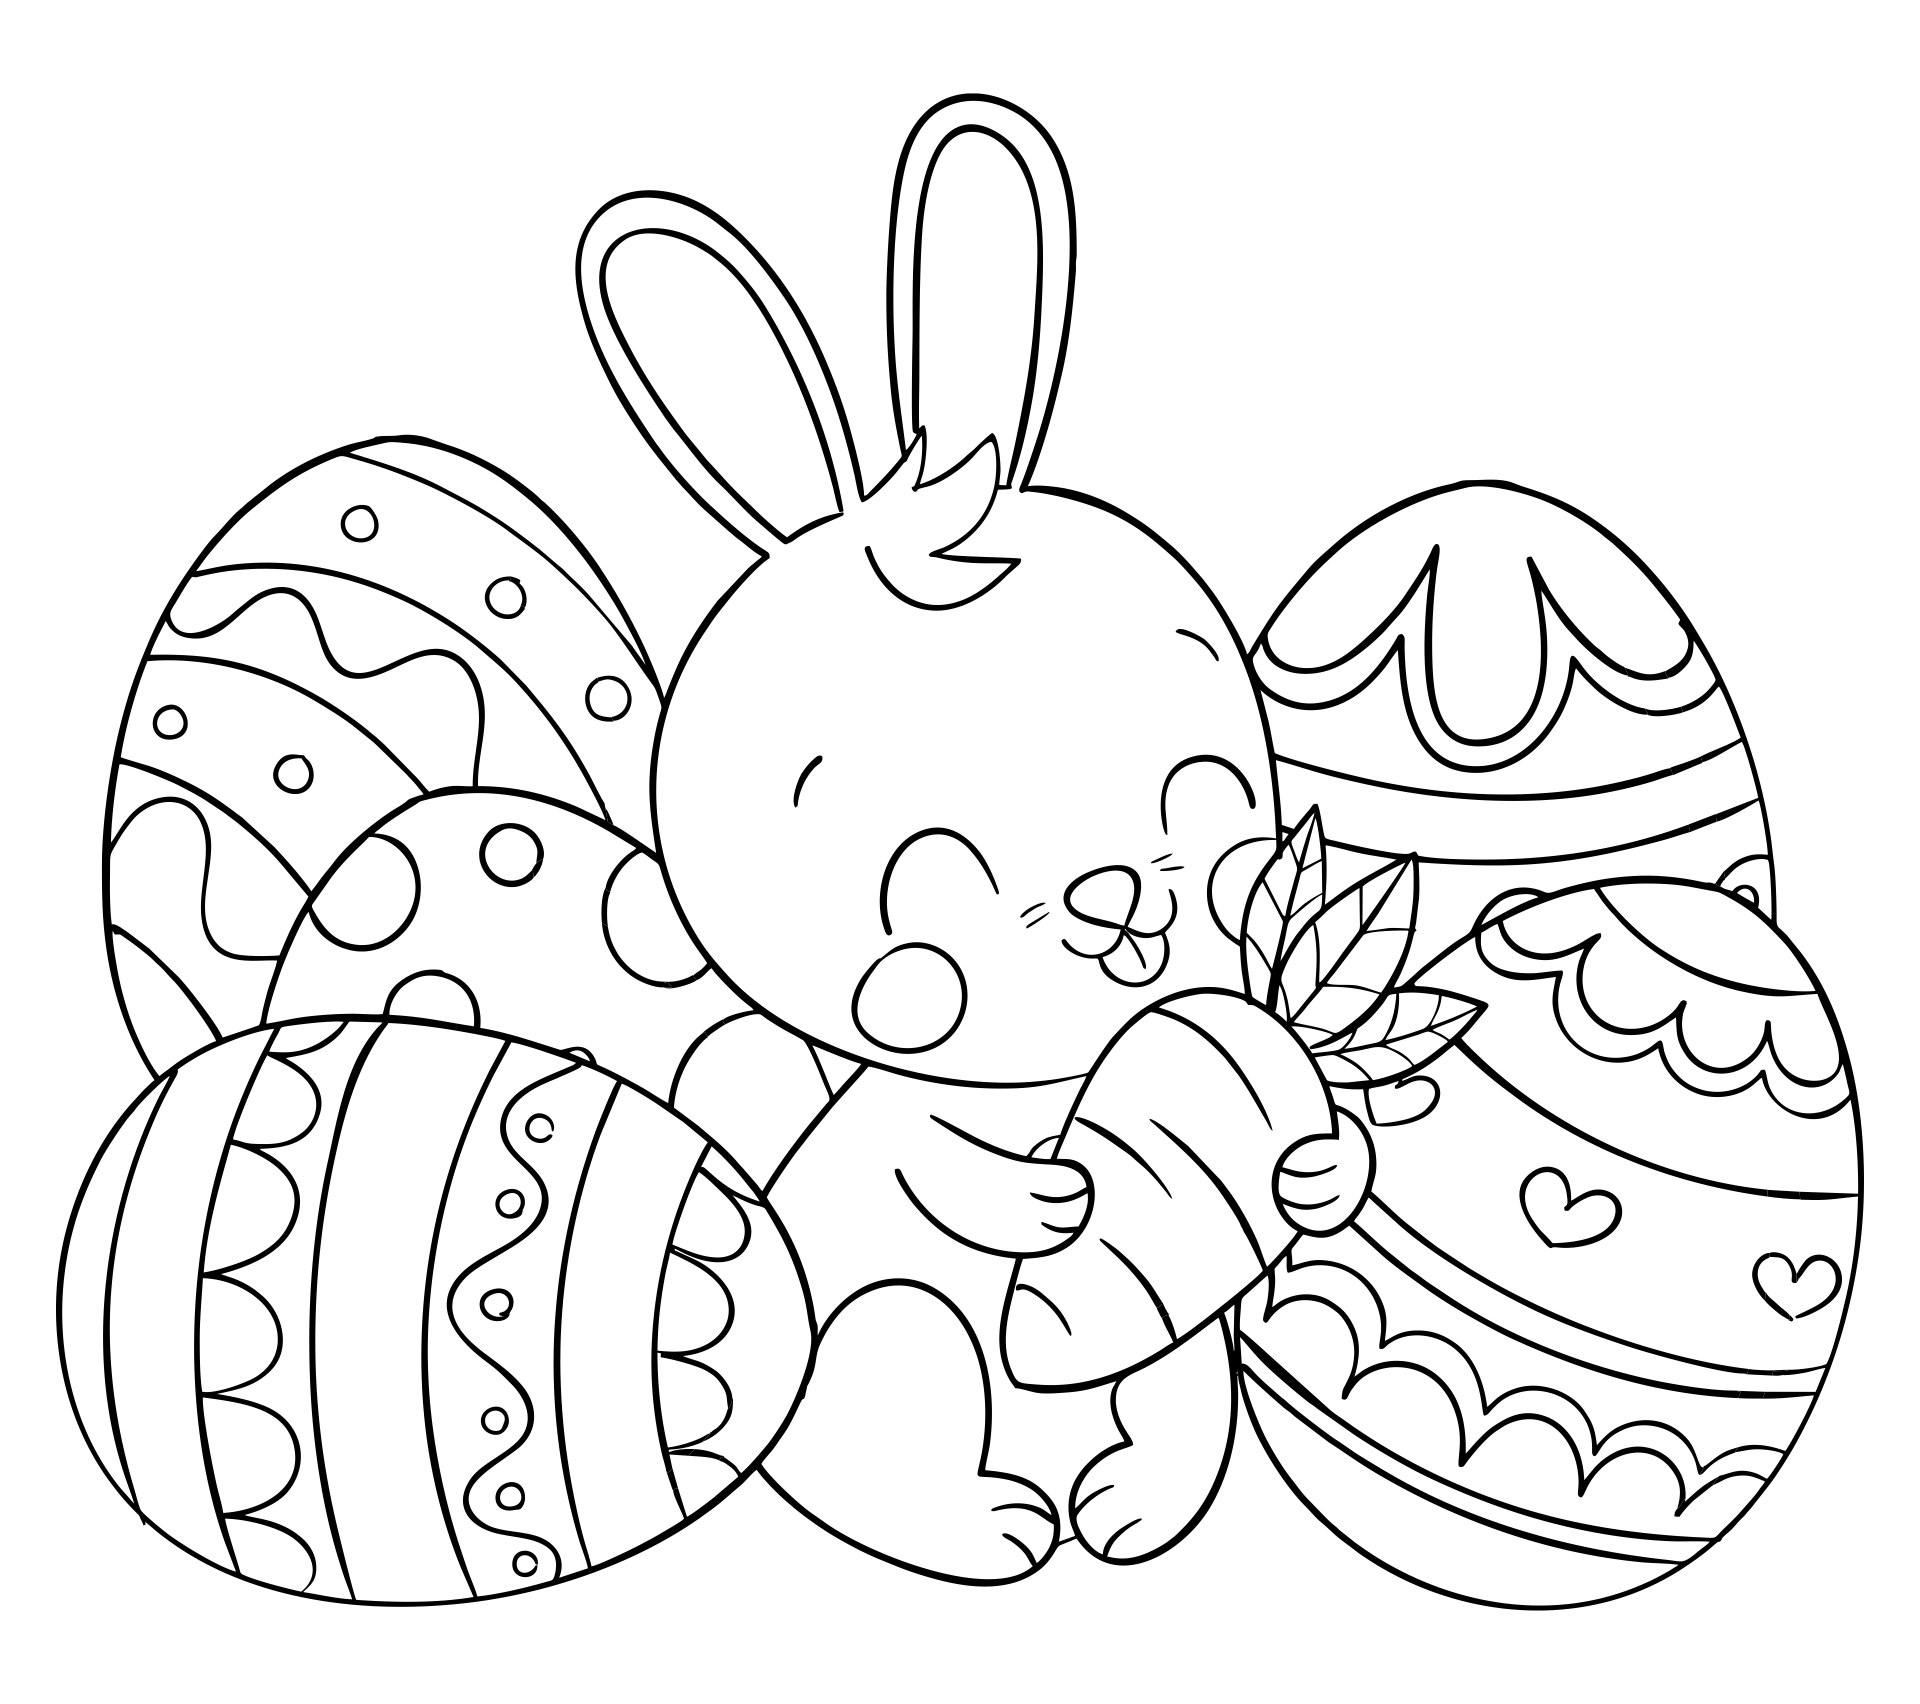
 Printable Easter Bunny Coloring Sheets

 Printable Easter Bunny Coloring Page

 Easter Egg Hunt Party

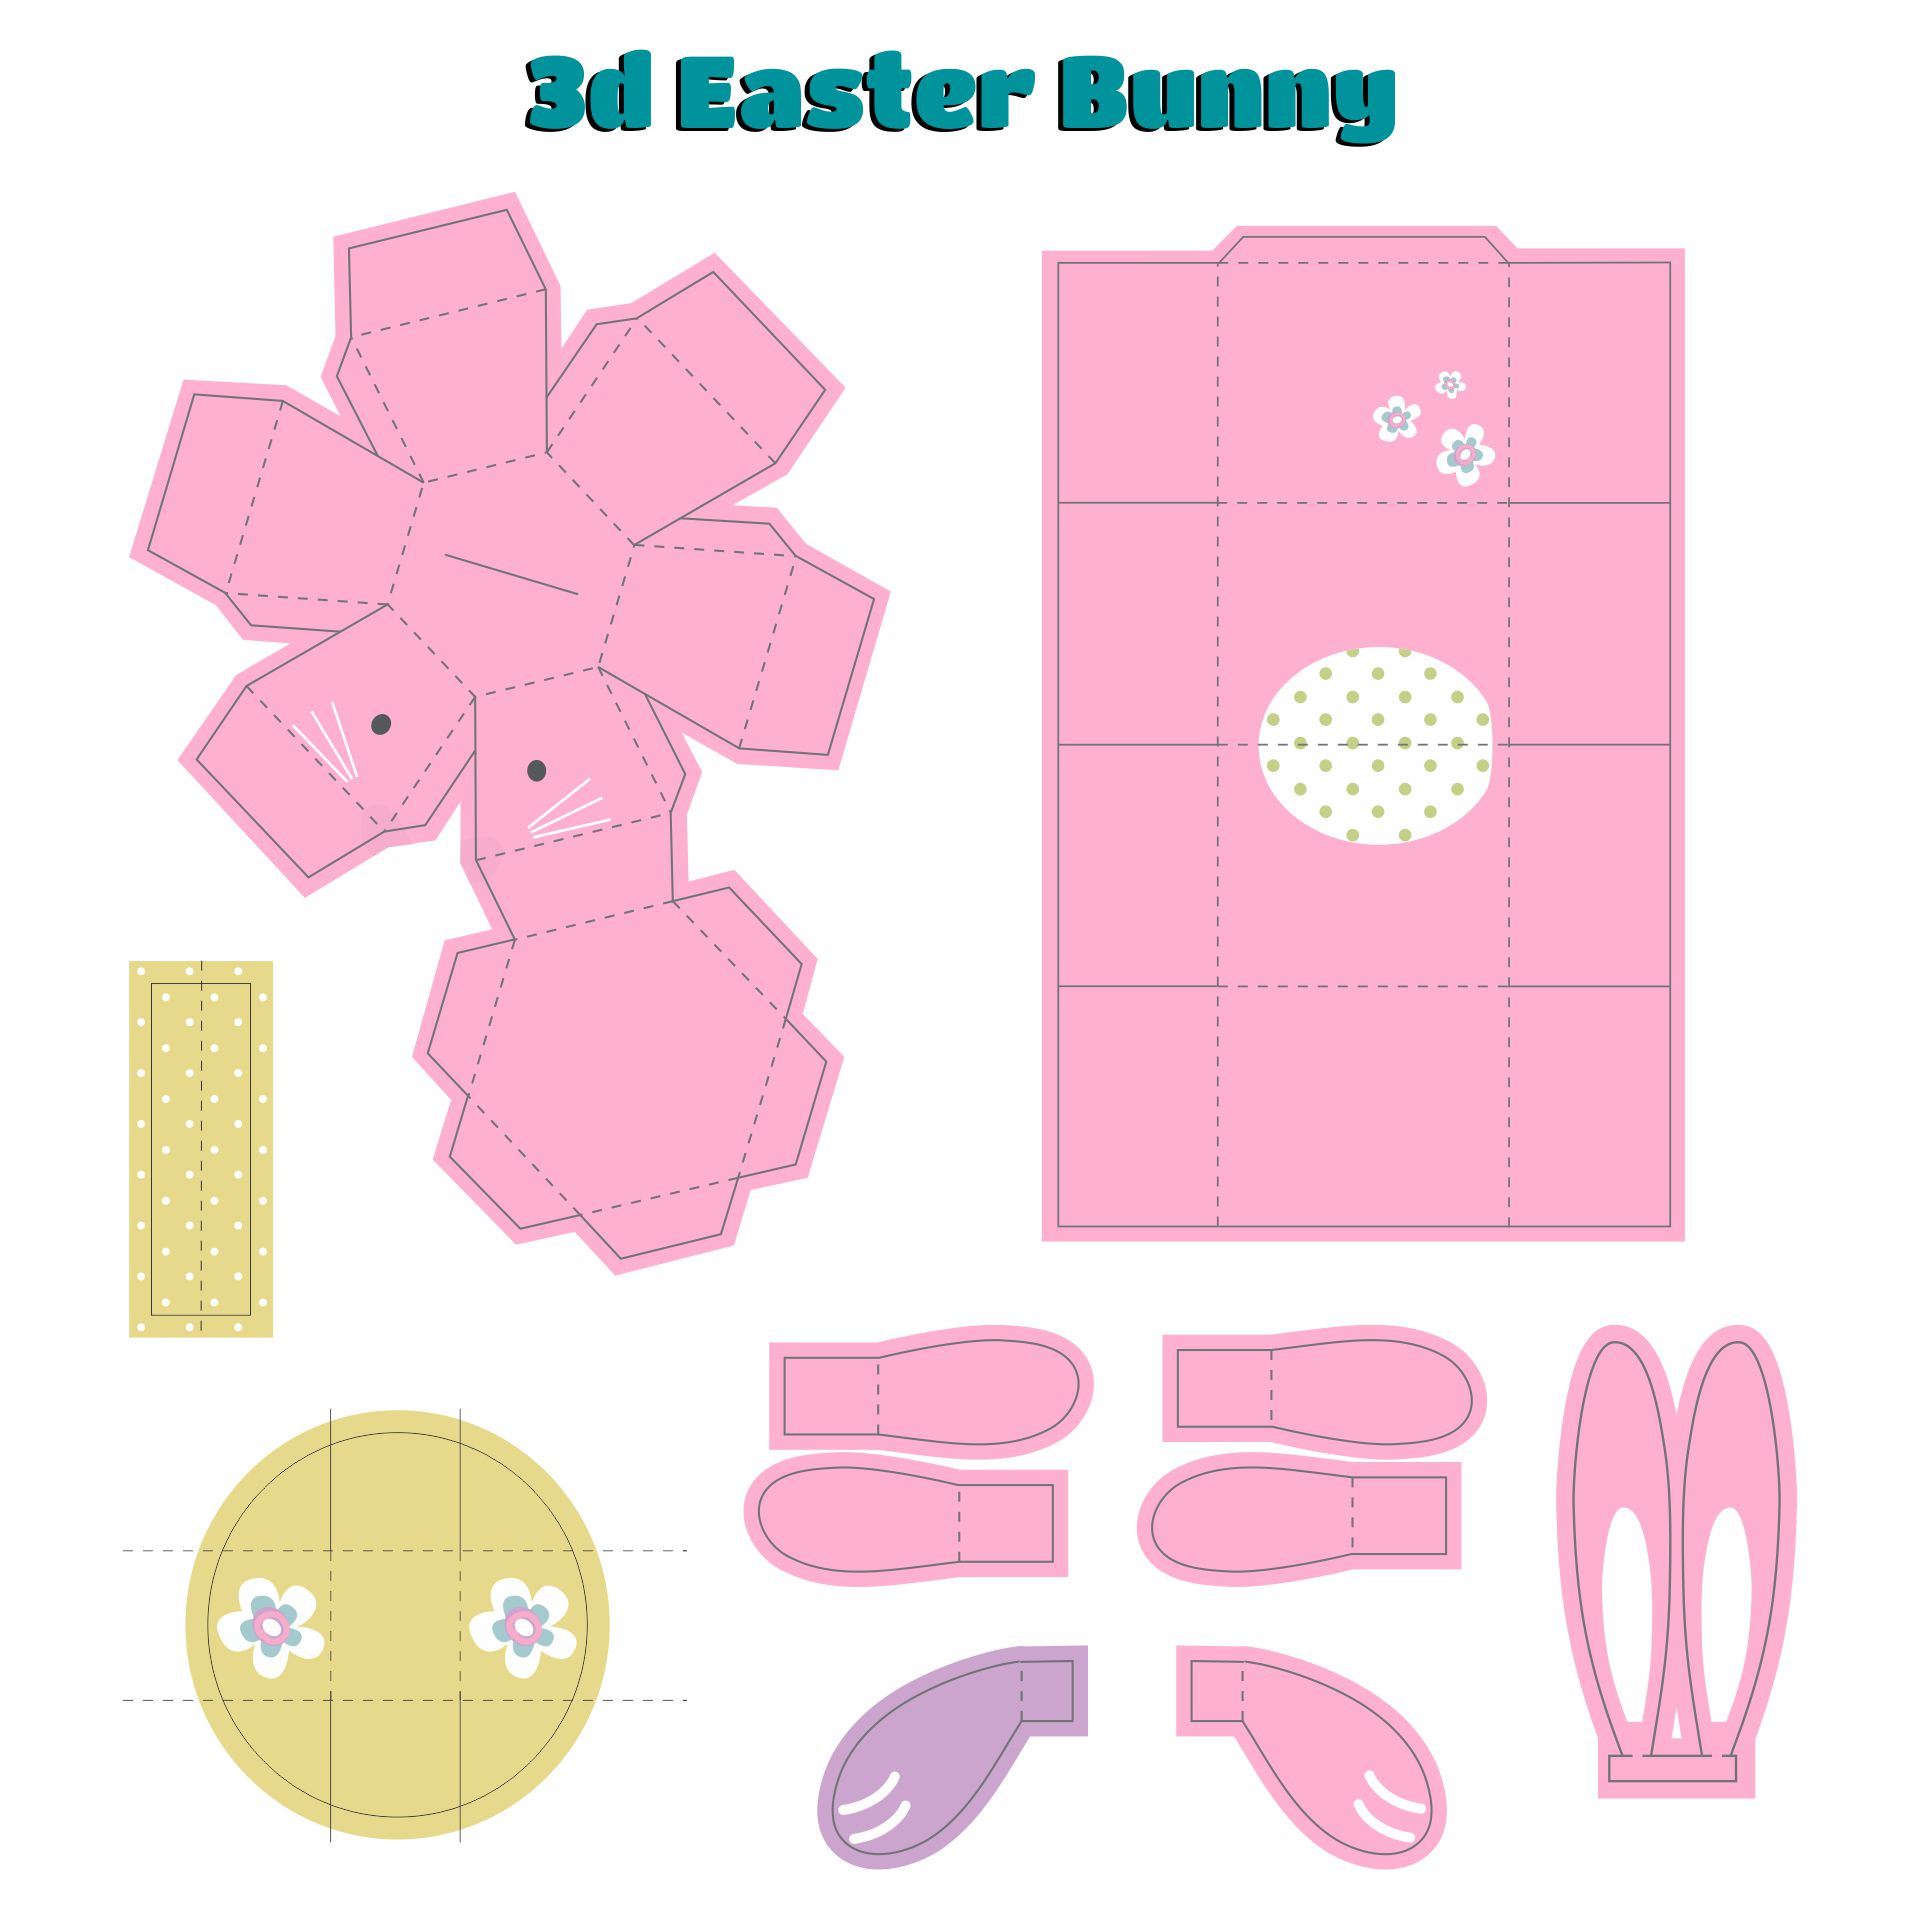
 Easter Bunny Wreath Pattern Printable

 Kids Easter Bunny Wreath Project Printables

 Spring Bunny Wreath Printable Guide

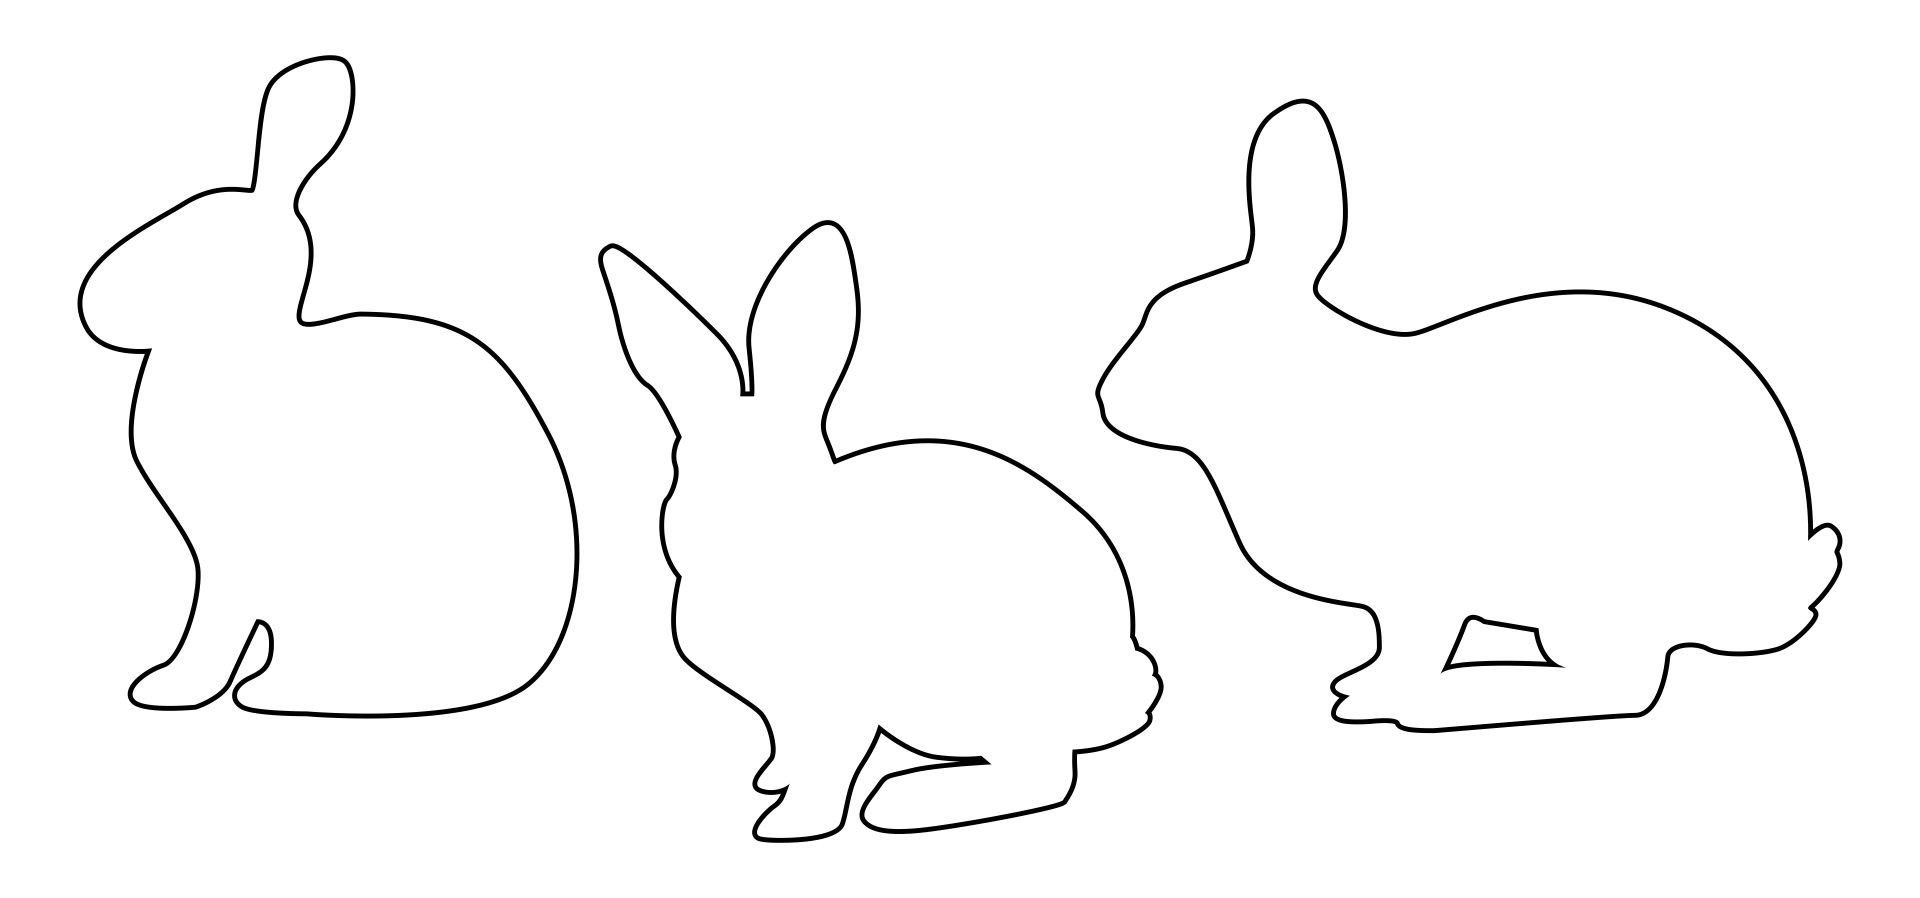
 Printable Cut-out for Easter Bunny Wreath

 Easter Bunny Wreath Making Printables

 Printable Easter Bunny Door Decoration

 Easter Bunny Wreath Craft Printable
Create a welcoming Easter atmosphere at your doorstep with this easy-to-follow Easter Bunny Wreath Tutorial. This guide helps you craft a charming wreath using materials you can easily find at home or your local craft store. In just a few steps, you’ll have a festive decoration that captures the spirit of Easter, perfect for greeting your guests.
Dive into this Easter Crochet Wreath Pattern to add a handmade touch to your Easter decorations. This pattern suits crocheters at various skill levels, allowing you to personalize your project with colors and Easter-themed embellishments. Your finished product will be a unique, cozy addition to your Easter decor, showcasing your crafting talents.
Keep the kids entertained and foster their creativity with a Printable Easter Bunny Coloring Page. This activity is not only a fun way to engage your children in the Easter celebrations but also helps in developing their fine motor skills and color recognition. Print as many as you like for an easy and mess-free holiday activity that the whole family can enjoy.


Have something to tell us?
Recent Comments
Thank you for this adorable Printable Easter Bunny Wreath! It's a simple and creative way to add a festive touch to our home during the holiday season.
Love this printable Easter Bunny Wreath! It's a simple and fun activity that adds a festive touch to our home. Thank you for the creative resource!
I appreciate how simple and well-designed this Printable Easter Bunny Wreath is. It's a fun and creative way to decorate for the holiday. Thank you for providing this handy resource!