A printable oval template is a useful tool for various crafts and projects. It can be used for drawing, tracing, or cutting ovals of different sizes. Whether you're working on designing a logo, creating an invitation, or decorating a bulletin board, having a printable oval template can save you time and help you achieve accurate shapes. Simply download and print the template to get started on your creative endeavors.
The origin word of oval comes from the latin ovum, which means egg. It is a closed curve in a plane. Like the origin name, it does look like an egg. Also, the appearance of an oval is like an elongated shape of a circle. Usually, oval appears in a 2D formation.


 Oval Shape Template Printable

 Oval Outline Template

 Oval Shape Template Printable

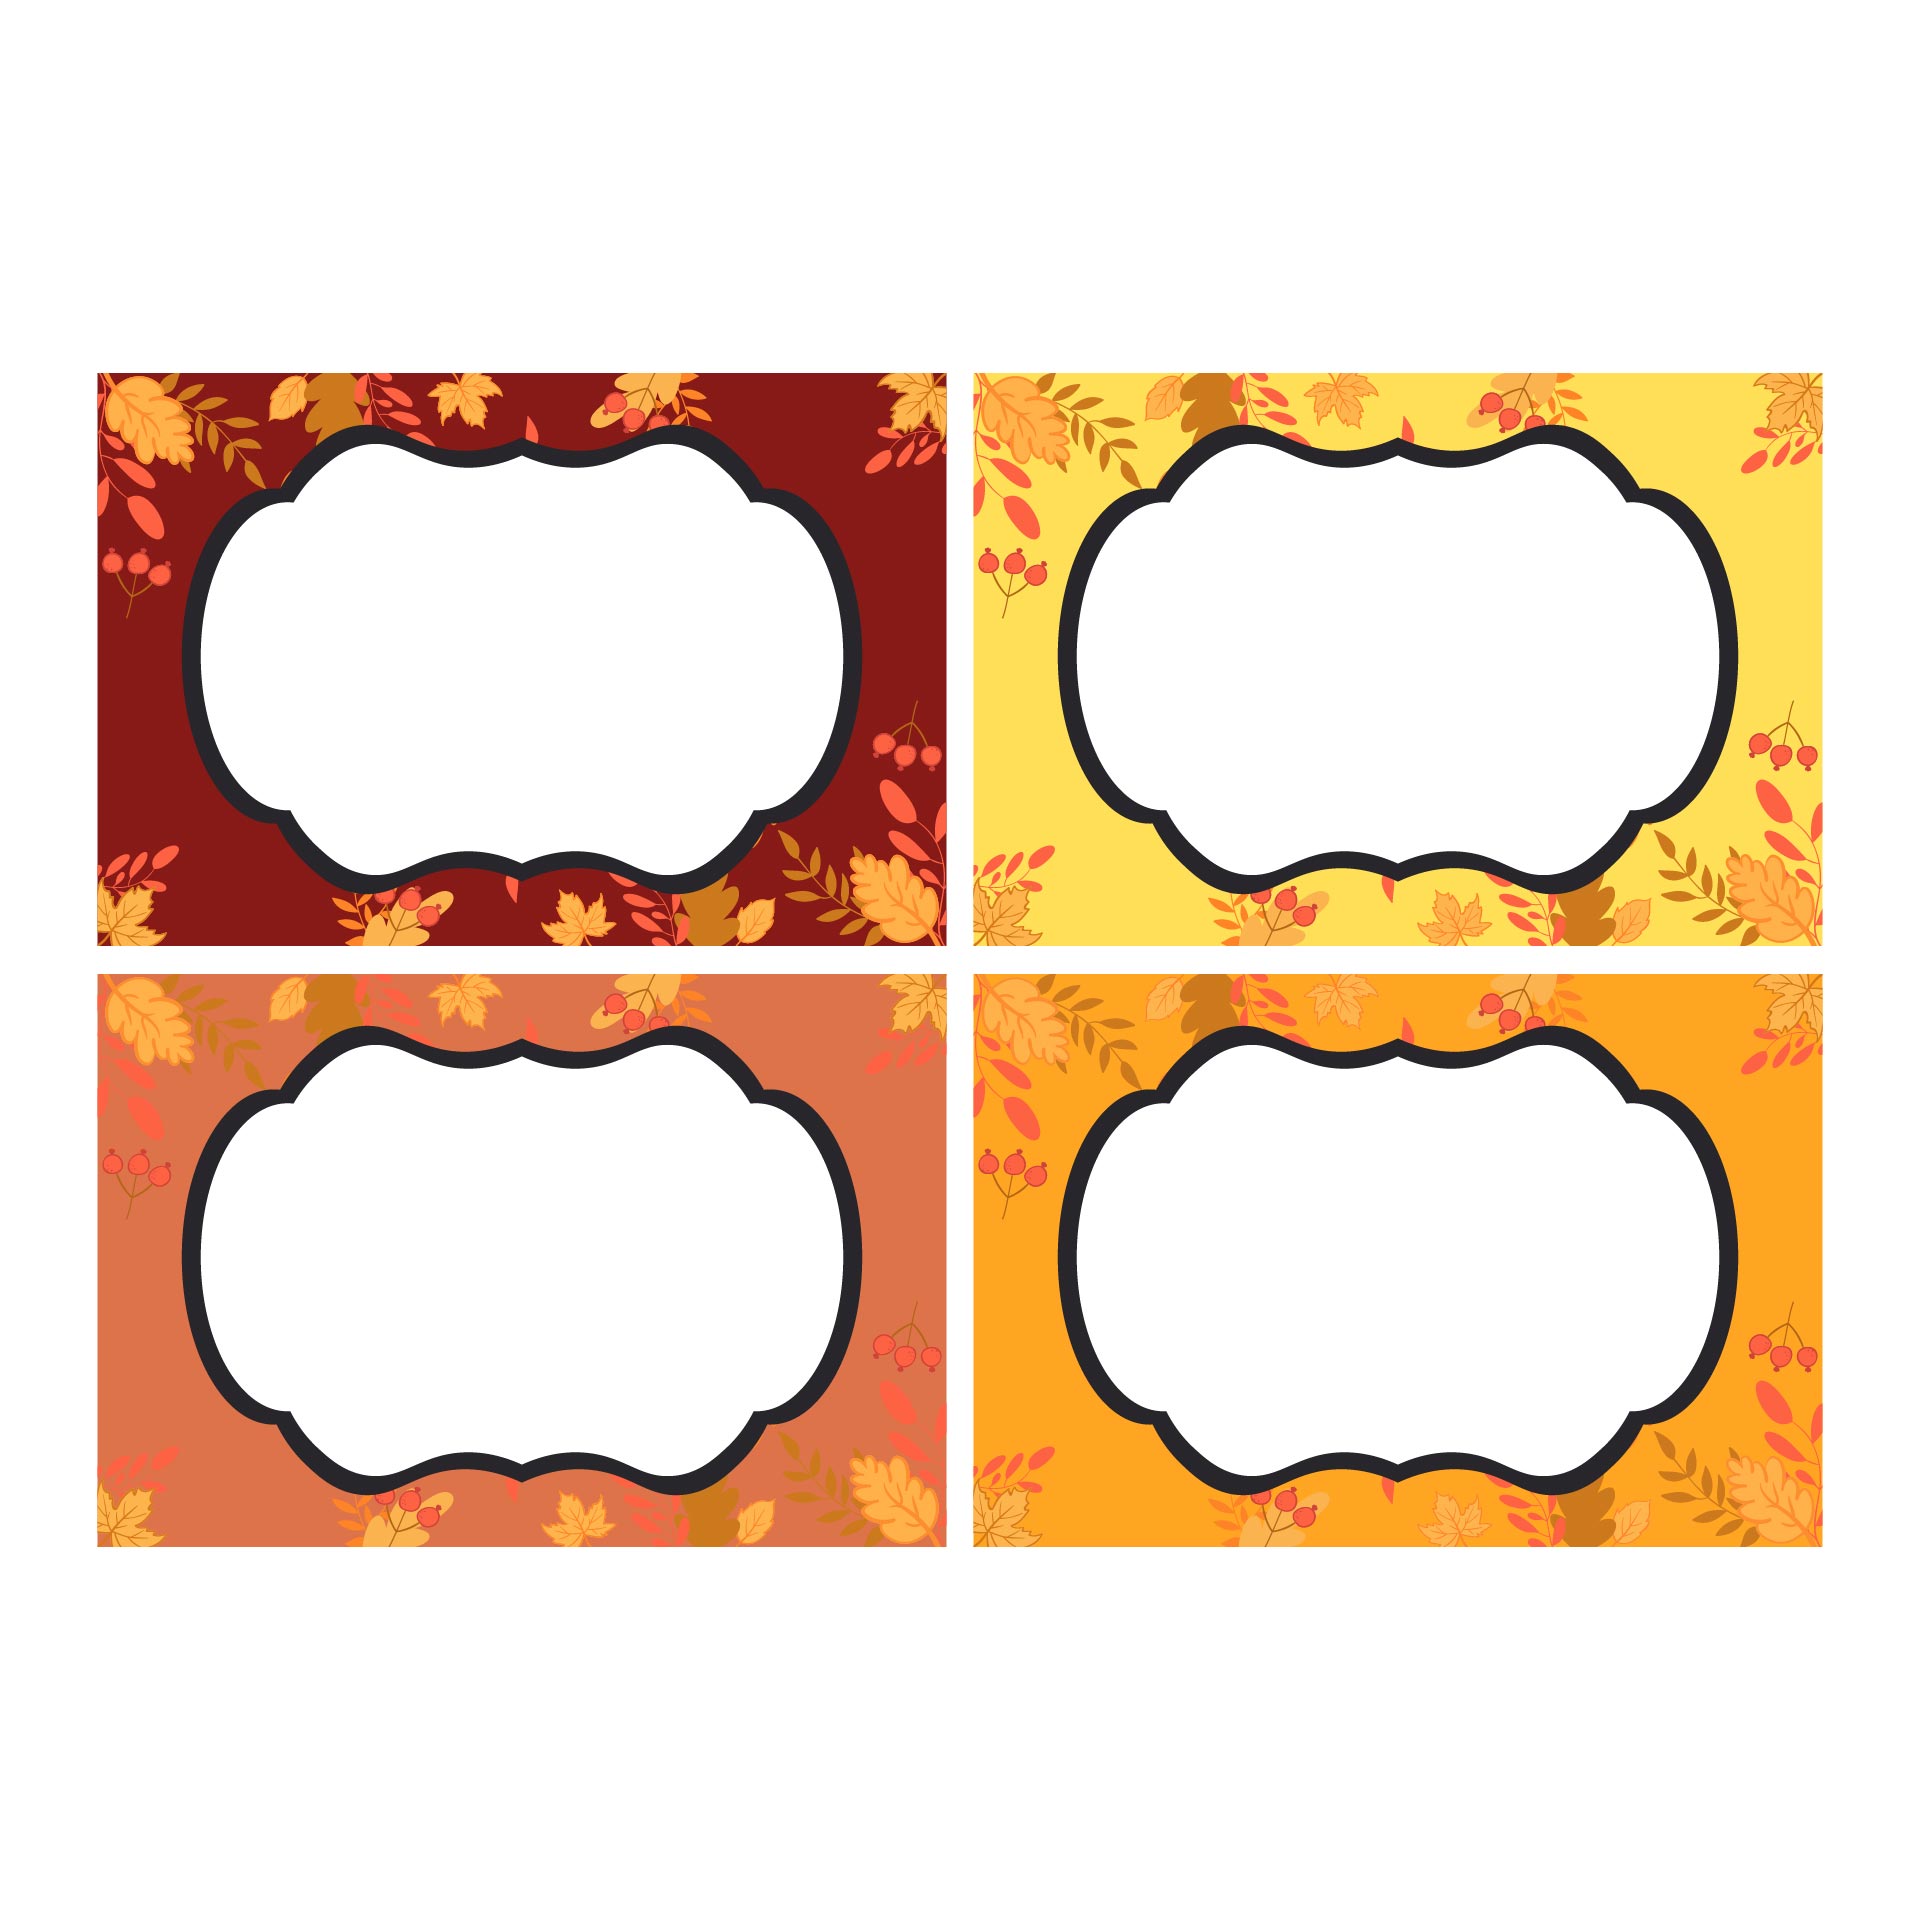
 Oval Tag Templates Printable Free

 Printable Gift Tags Templates

 Oval Shape Template Clip Art

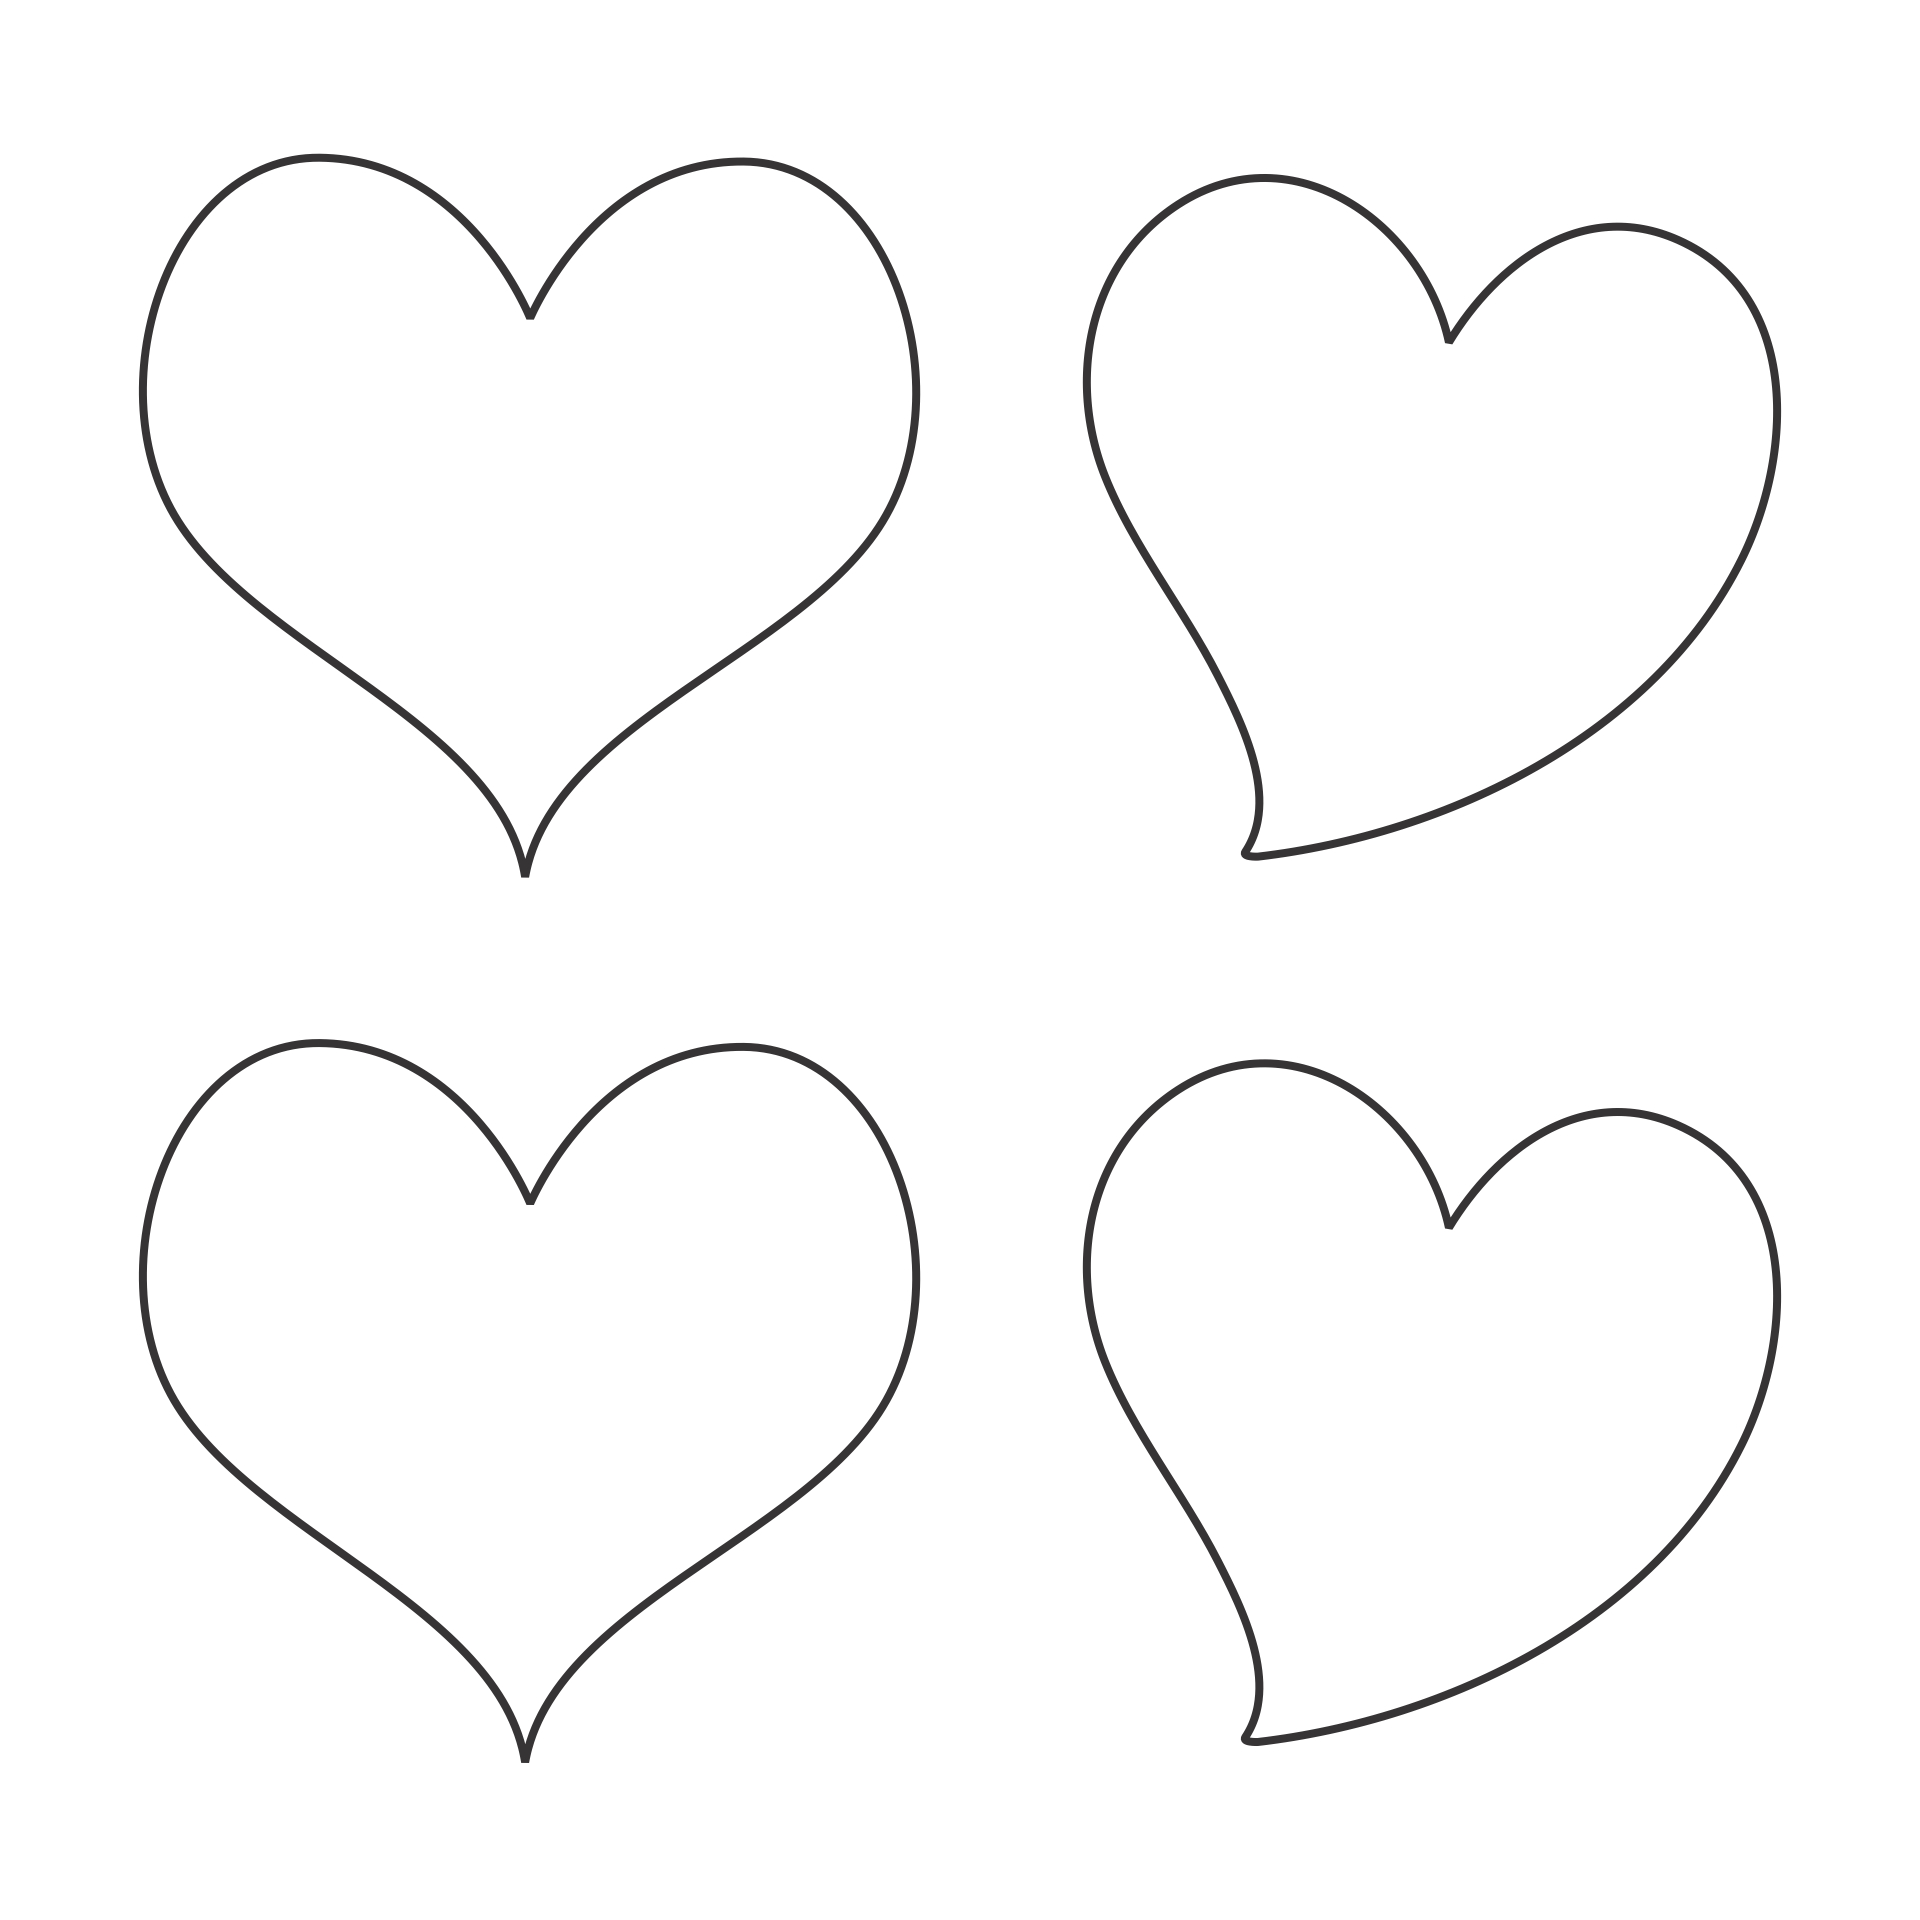
 Printable Oval Shape Pattern

 Printable Oval Shapes Templates

 Printable Oval Tail Light Template

 Small Oval Template Printable
This term is not actually defined precisely. As long as there is a shape that looks like an elongated circle, that can be included in the oval shape. Download oval template helps to define the clear shape of this 2D shape.
An ellipse is actually similar to an ellipse, it is curved in a plane. The ellipse is created from the intersection of a cone. Ellips contain a double axis of reflection. Since oval doesn't have a definitive mathematical explanation. Plus, oval can be shown in the form of a single axis of reflection symmetry. Thus, ellipse and oval are not the same.
There is no side in an oval. It doesn't even contain straight lines. The definition of the edge or side is when two lines that connect each vertex or point. We can't find a corner, edge, or even point in a connected-infinitive line that is formed in a curved line.


Have something to tell us?
Recent Comments
Thank you for sharing this helpful Free Printable Oval Template! It's perfect for my crafting needs.
I appreciate having access to the Free Printable Oval Template! It's a simple and handy resource that makes my creative projects easier. Thank you!
Loving this Free Printable Oval Template! It's super useful for my DIY projects and I appreciate the simplicity of the design. Thanks for making it available!