Discovering a range of Pumpkin Border border downloadable printable papers can add a creative touch to your fall-themed projects, letters, or decorations.
These designs are perfect for enhancing your Halloween party invitations, autumn festival announcements, or even crafting personalized thank you notes during the season.
You can easily print these on your home printer, providing a quick and cost-effective way to inject a bit of seasonal cheer into your correspondence or decor.

 Halloween Borders Pumpkins

 Halloween Pumpkin Border Clip Art

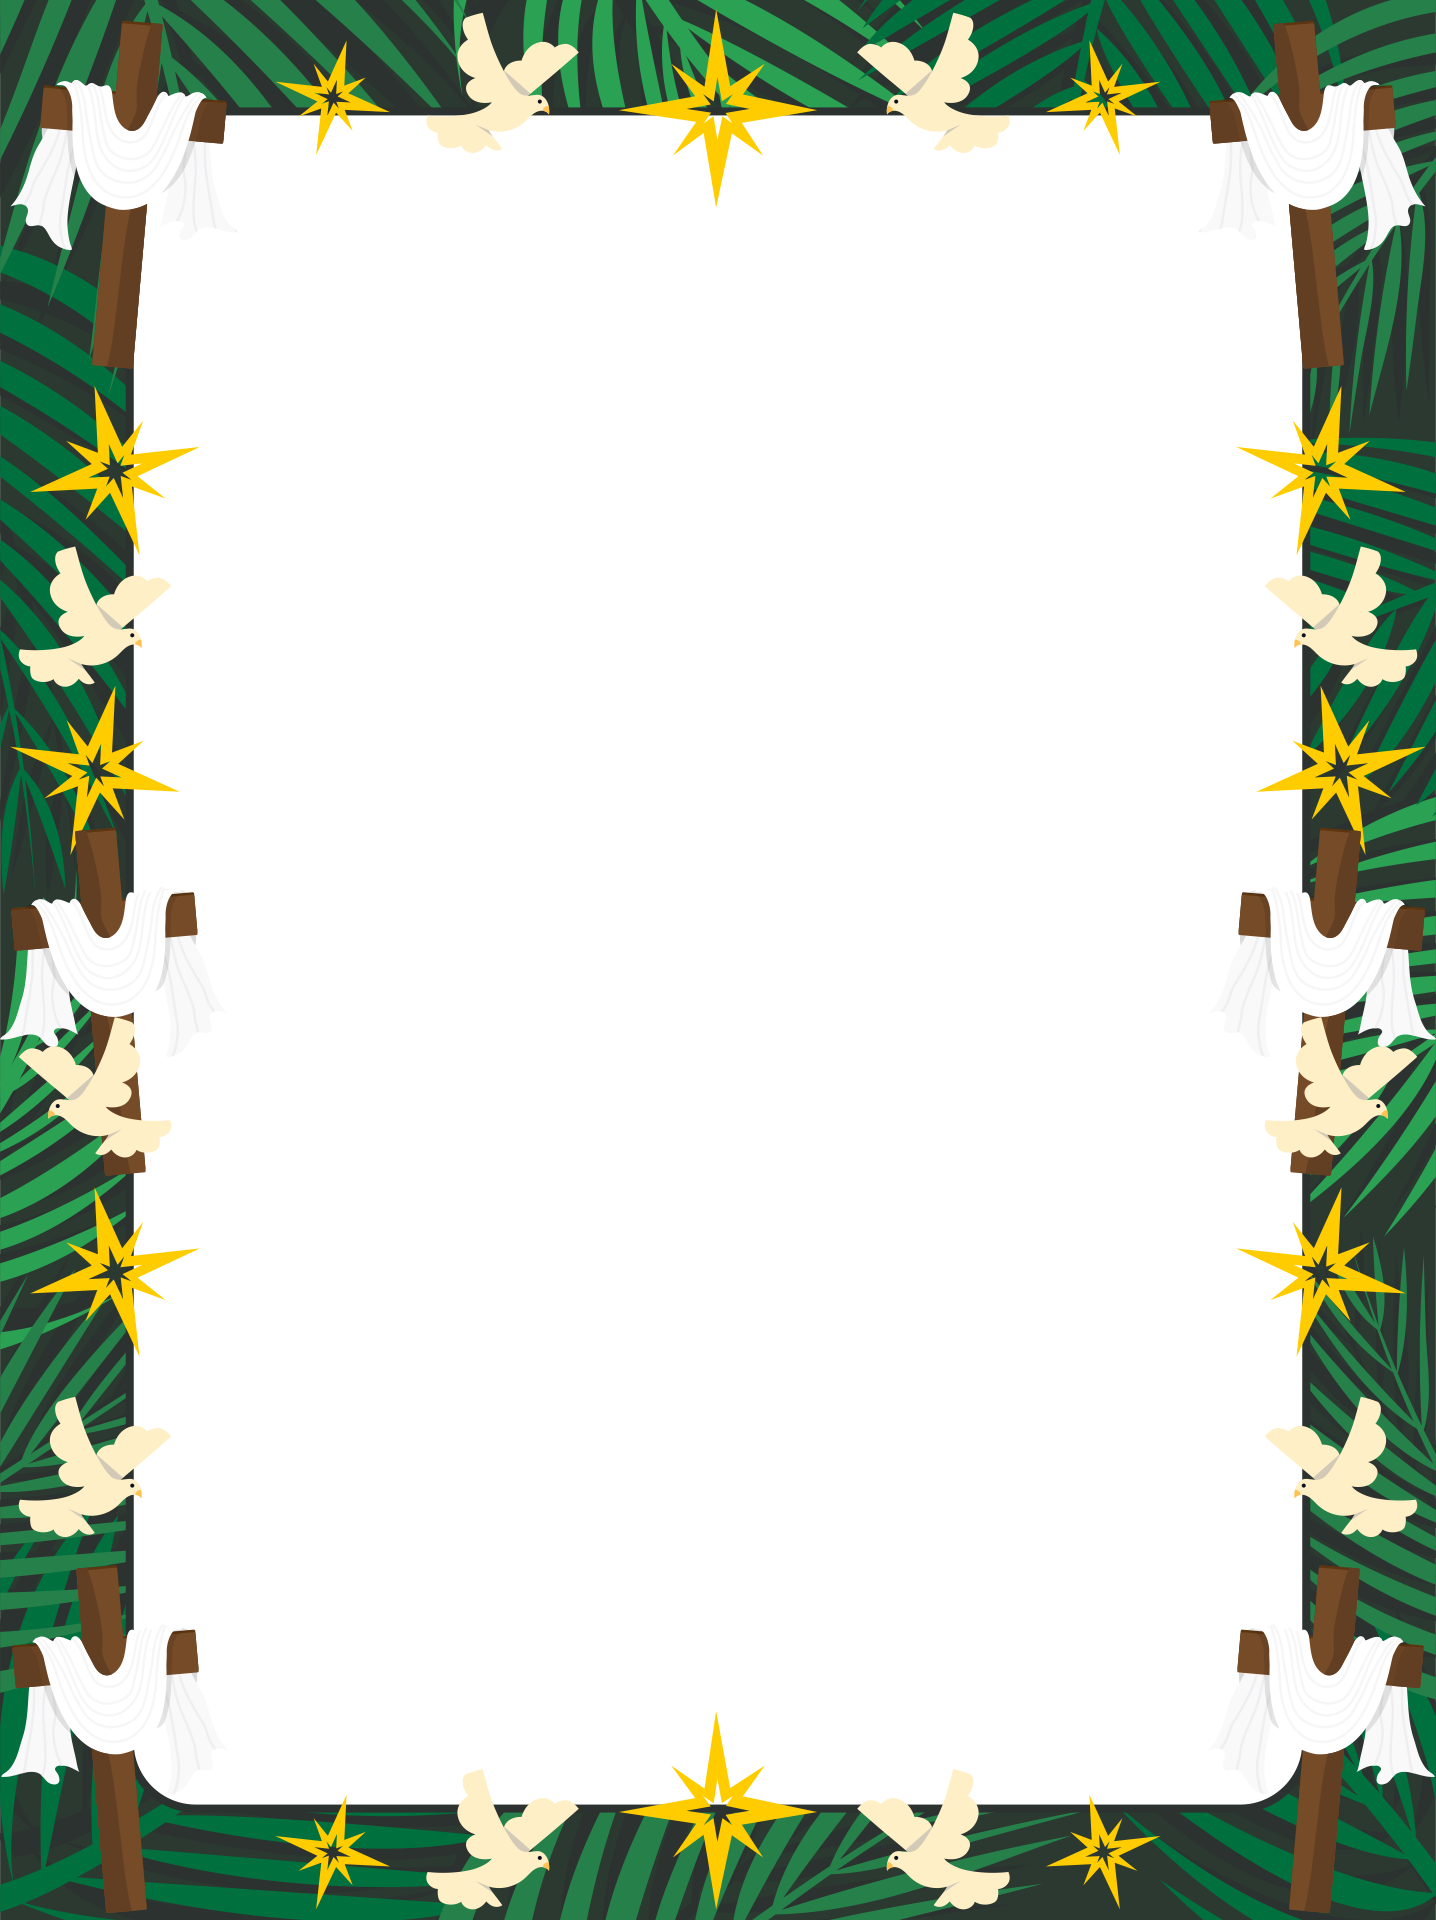
 Printable Star Border Paper

 Printable Thanksgiving Stationery Paper

 Printable Fall Stationery Borders

 Happy Thanksgiving Clip Art Borders Free

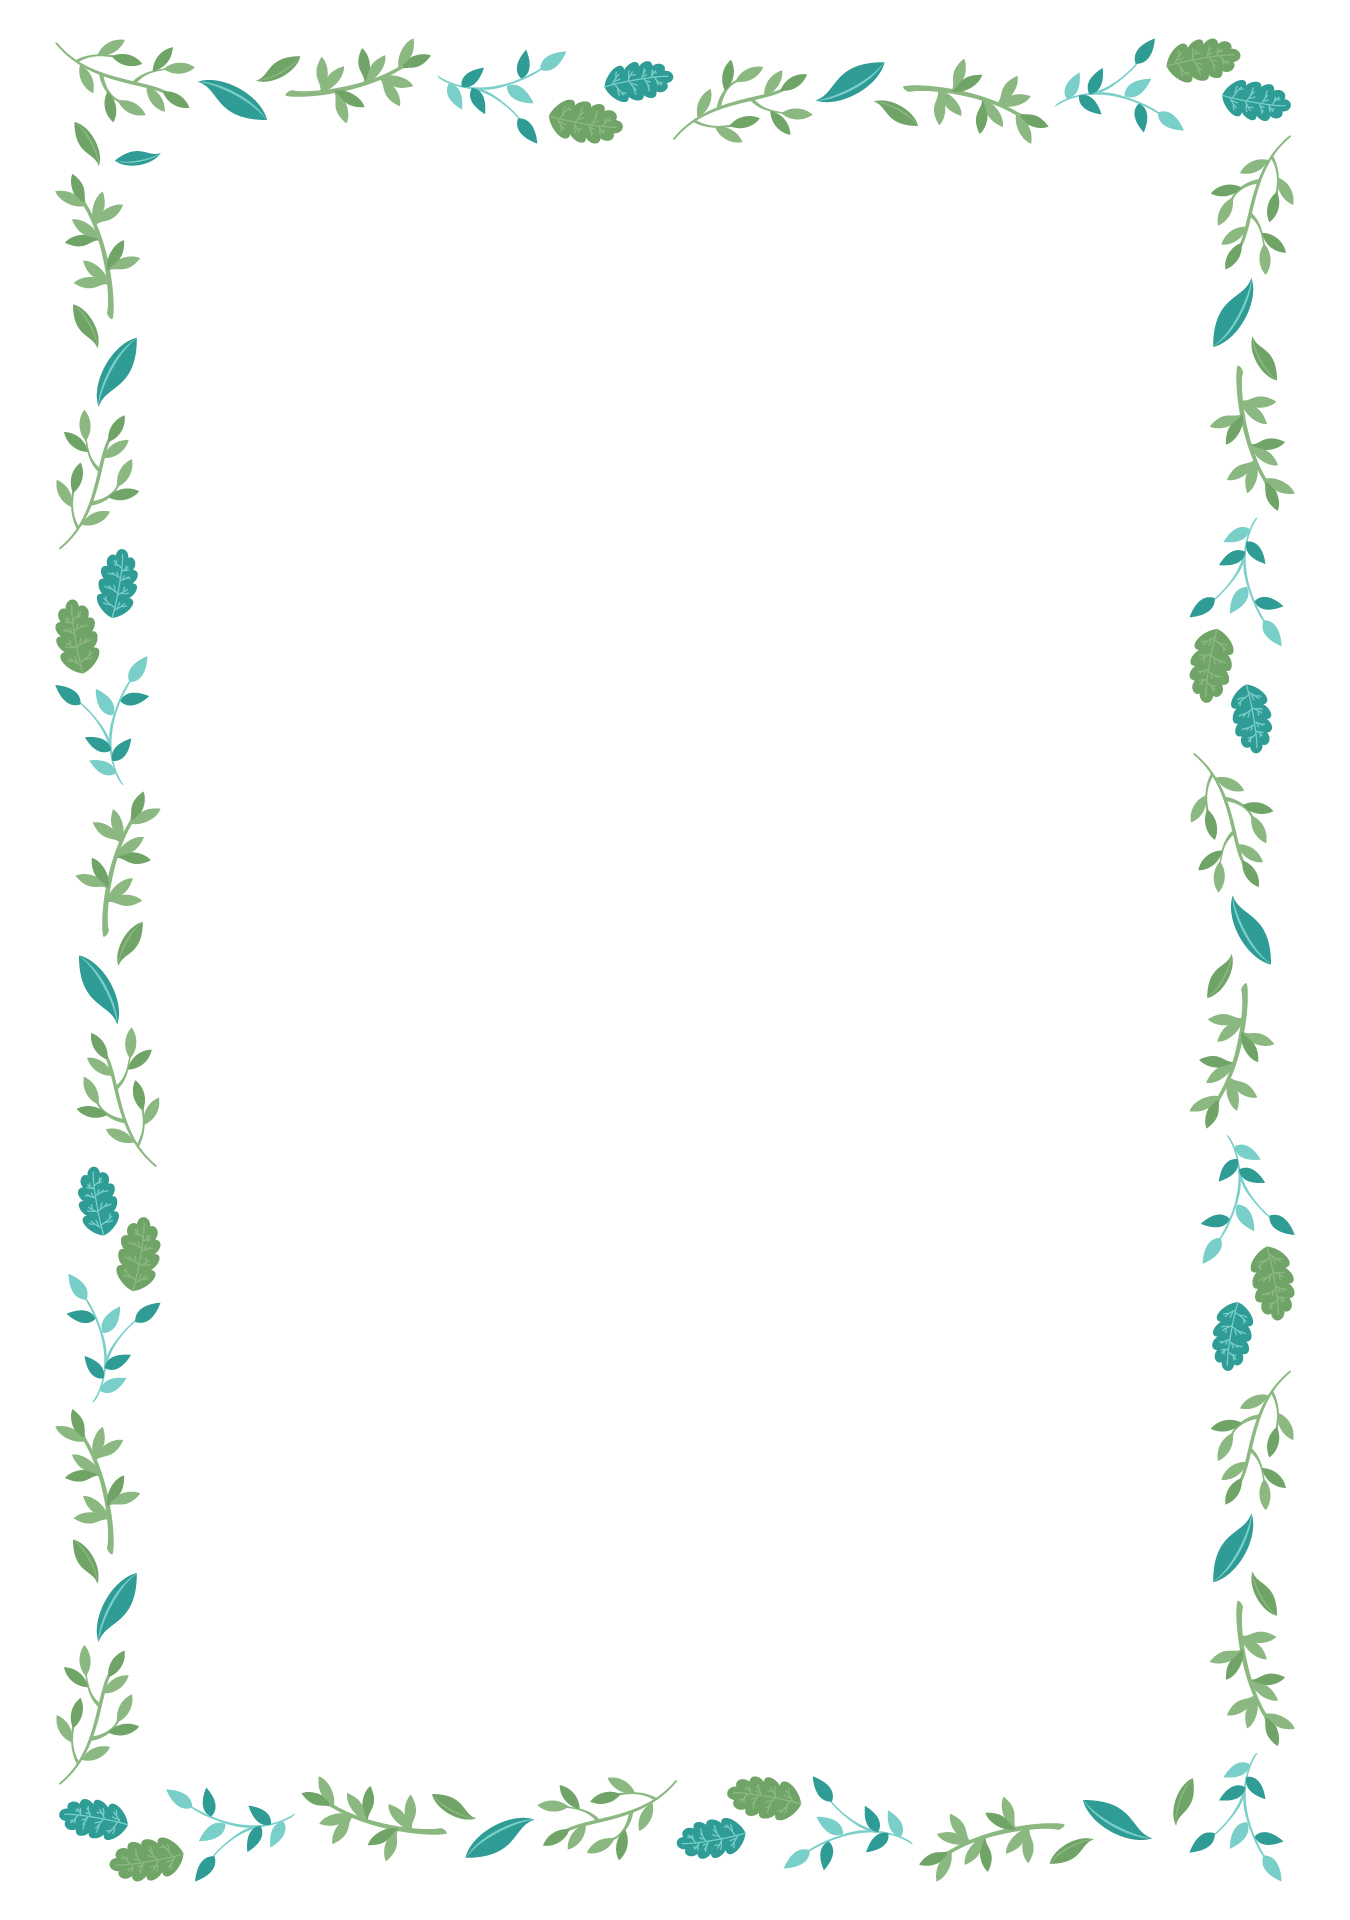
 Fall Leaves Border Clip Art
Decorate your Halloween invitations, posters, and party decorations with Halloween Pumpkin Border Clip Art. You can make your designs festive and eye-catching, bringing in the spooky season's vibe right to your invites and décor.
Adding Halloween Borders featuring Pumpkins to your documents and social media posts can set a festive mood. It’s a simple way to spice up your communications, making them more engaging and themed for the Halloween season.
Your letters and stationery can embody the essence of autumn with Printable Fall Stationery Borders. It's a delightful touch for personal or professional correspondence, adding warmth and a seasonal flair to your messages.


Have something to tell us?
Recent Comments
Great resource! Love the cute pumpkin design and the fact that it's free to download. Perfect for my Halloween crafts and decorations. Thank you!
This pumpkin border printable paper provides a delightful seasonal touch to your crafts or scrapbooking projects, allowing you to effortlessly enhance your designs with a festive touch.
This downloadable pumpkin border is a delightful addition to my crafting collection. It adds a festive touch to my projects without being overwhelming. Thank you for providing this free printable resource!