What are Halloween Puzzles 4th Grade?
Looking for a fun way to bring Halloween vibes into your 4th-grade classroom without skipping the learning? Halloween puzzles 4th grade are the perfect mix of spooky fun and brain-boosting challenges!
These engaging activities, like word searches, crosswords, mazes, and logic puzzles, come wrapped in a festive Halloween theme that keeps students excited and focused. But they’re more than just fun!
These puzzles help sharpen key academic skills, including vocabulary, critical thinking, and problem-solving, all while giving your classroom a dose of Halloween magic. Whether you’re prepping for a holiday center, early finisher activity, or just want to liven up your October lessons, Halloween puzzles are a classroom win. So grab some printables, pass out the pencils, and let the spooky learning begin!

Printable Halloween Puzzles 4th Grade
Halloween Crossword Puzzle for 3rd Grade

4th Grade Crossword Puzzles Printable Printable Halloween Mazes 4th Grade Crossword Puzzles Printable Printable Halloween Crossword Puzzle Free Printable Halloween Worksheets For 4th Grade Grade 4 Halloween Worksheet Printable 4th Grade Halloween Worksheets Free Printables Printable Halloween Activities For Children Halloween Mystery Math Worksheet Printable Printable Halloween Word Puzzle 4th Grade Printable Halloween Spelling Words 4th Grade Printable Halloween Math Maze Worksheet 2nd - 4th Grade Printable Halloween Pronouns Worksheet Language Printable Halloween Word Search Worksheet For 3rd - 4th Grade What Subjects Can Be Tied into Halloween Puzzles 4th Grade?
- Math: Math is a subject that can easily be integrated into Halloween puzzles for 4th graders. For example, students have to calculate the perimeter of a haunted house or solve multiplication problems to uncover a hidden Halloween image.
- Language Arts: Language arts is another subject that can be tied into Halloween puzzles for 4th graders. By incorporating language arts into Halloween puzzles, you can help students improve their reading and writing skills while celebrating the holiday season.
- Science: Science is a subject that can be easily integrated into Halloween puzzles for 4th graders. Students have to match the planets with their descriptions, or solve a word scramble of different types of scientific tools.
- Social Studies: Social studies is another subject that can be tied into Halloween puzzles for 4th graders. Students have to match famous landmarks with their countries, or solve a crossword puzzle of historical figures associated with Halloween.
What Types of Critical Thinking Skills are Built with Halloween Puzzles 4th Grade?
Critical thinking is a valuable skill that involves analyzing, evaluating, and problem-solving. When students engage with Halloween puzzles 4th grade, they are not only having fun but also developing a range of important skills. Let's take a closer look at the specific types of critical thinking skills that can be built with Halloween puzzles for 4th graders!
- Problem-Solving Skills: Halloween puzzles often require students to think critically and strategically to solve them. Whether it's a maze, a crossword, or a riddle, students must use their problem-solving skills to find the right solution. This process helps them develop a systematic approach to tackling challenges, a skill that is valuable both in and out of the classroom.
- Logical Reasoning: By engaging with Halloween puzzles, 4th-grade students can enhance their logical reasoning skills. Puzzles challenge students to break down tricky problems, encouraging them to use logic, patterns, and step-by-step thinking to find solutions. As students work through the puzzles, they learn to make connections, identify patterns, and draw conclusions based on evidence.
- Creative Thinking: Halloween puzzles can also nurture creative thinking skills in 4th-grade students. As students engage with the puzzles, they are encouraged to think outside the box, come up with innovative solutions, and explore different possibilities. This process helps students expand their creative thinking abilities and develop a more open and imaginative mindset.
What are Some Creative Ways to Use Halloween Puzzles 4th Grade?
- Planning a Halloween Puzzle Day: One creative way to use Halloween puzzles in your 4th grade classroom is to plan a Halloween Puzzle Day. Set up different puzzle stations around the classroom with a variety of puzzles for students to work on individually or in small groups. You can also organize a puzzle competition with prizes for the winners to add an element of excitement.
- Incorporating Puzzles into Lesson Plans: Another creative way to use Halloween puzzles is to incorporate them into your lesson plans across various subjects. For example, you can use Halloween-themed crossword puzzles to reinforce vocabulary and spelling skills in language arts. In math, you can create logic puzzles with a Halloween twist to enhance problem-solving abilities.
Can Halloween Puzzles 4th Grade Be Adapted for Different Learning Styles in Grade 4?
Yes, let's explore how teachers can customize Halloween puzzles 4th grade to cater to various learning preferences!
- Visual Learners: Visual learners absorb information best through images and visual aids. To cater to visual learners in Grade 4, teachers can incorporate colorful and engaging visuals into Halloween puzzles. This can include using vibrant colors, creative illustrations, and visually stimulating graphics to enhance the learning experience
- Auditory Learners: Auditory learners excel at absorbing information through listening and hearing. To adapt Halloween puzzles for auditory learners in Grade 4, teachers can incorporate sound elements into the puzzle activities. This can include reading out puzzle instructions verbally, playing Halloween-themed music in the background, or introducing interactive puzzles that require students to listen to audio clues to solve the challenges.
- Kinesthetic Learners: Kinesthetic learners thrive when they can move, touch, and actively engage with materials. To cater to kinesthetic learners in Grade 4, teachers can adapt Halloween puzzles by incorporating interactive and tactile elements. This can include using manipulatives such as puzzle pieces, props, or objects related to Halloween themes. Teachers can also create hands-on puzzle activities that require students to move around, manipulate objects, and solve puzzles through physical actions.
So, this Halloween, why not spice up your Grade 4 classroom with Halloween puzzles 4th grade that appeal to all types of learners?
More printable images tagged with:

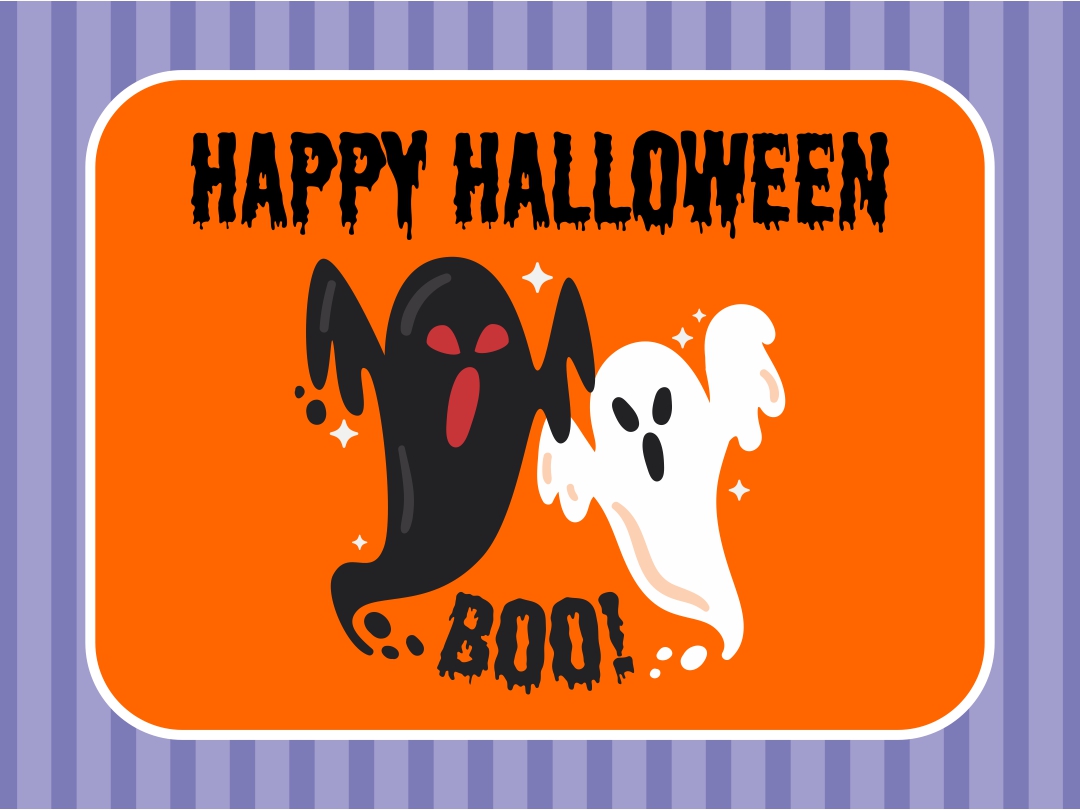
 Printable Halloween Puzzles 4th Grade
 Halloween Crossword Puzzle for 3rd Grade

 4th Grade Crossword Puzzles Printable

 Printable Halloween Mazes

 4th Grade Crossword Puzzles Printable

 Printable Halloween Crossword Puzzle

 Free Printable Halloween Worksheets For 4th Grade

 Grade 4 Halloween Worksheet Printable

 4th Grade Halloween Worksheets Free Printables

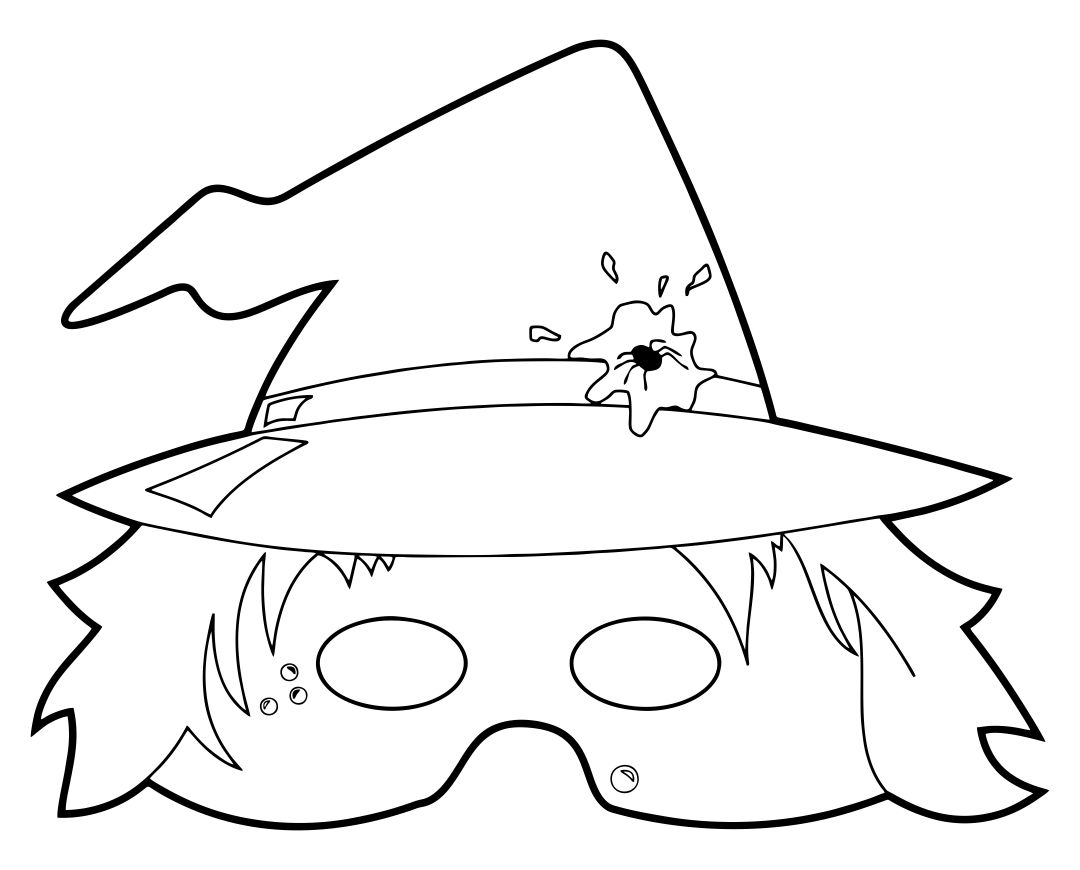
 Printable Halloween Activities For Children

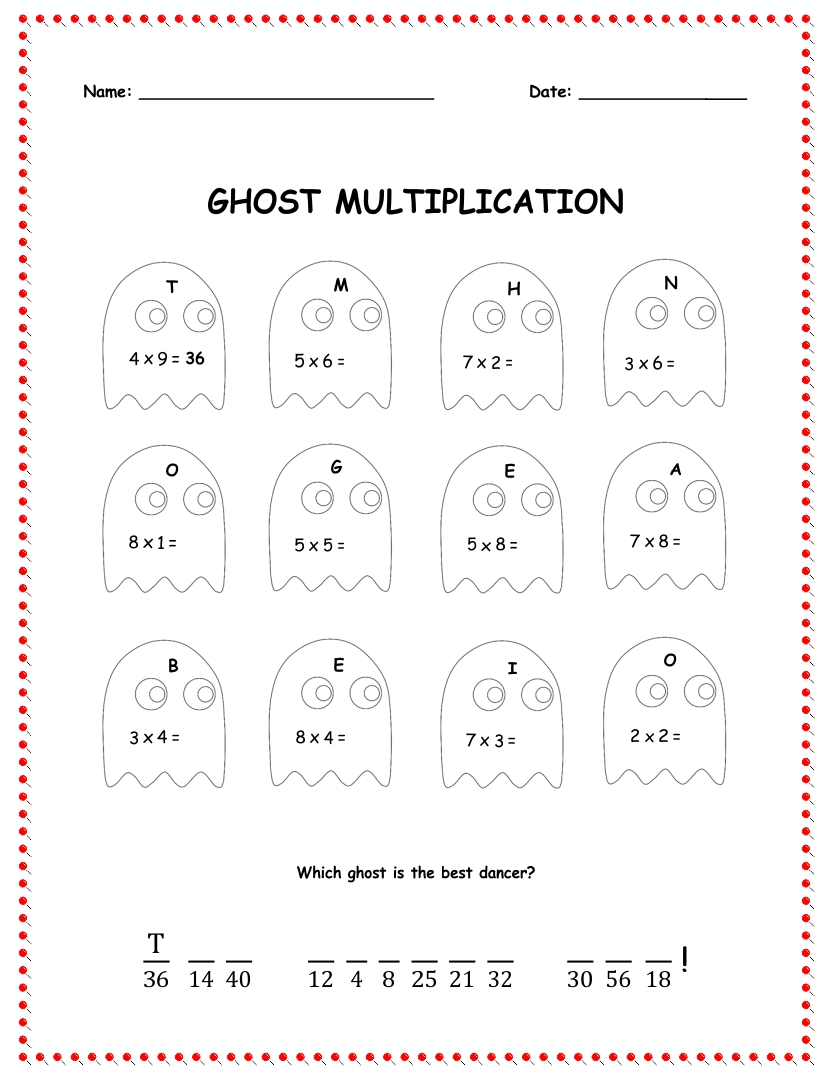
 Halloween Mystery Math Worksheet Printable

 Printable Halloween Word Puzzle 4th Grade

 Printable Halloween Spelling Words 4th Grade

 Printable Halloween Math Maze Worksheet 2nd - 4th Grade

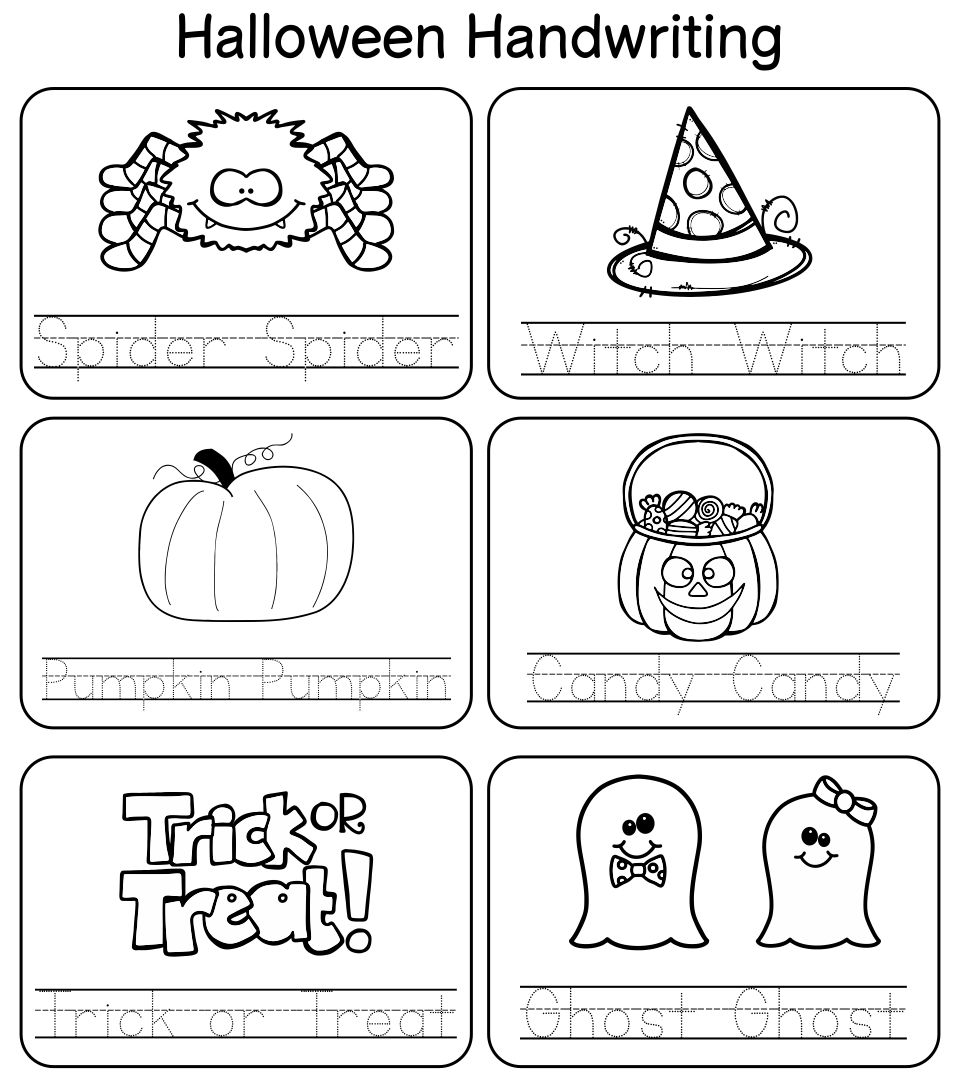
 Printable Halloween Pronouns Worksheet Language

 Printable Halloween Word Search Worksheet For 3rd - 4th Grade


Have something to tell us?
Recent Comments
I love using the Printable Halloween Puzzles for 4th Grade with my students! It's a fun and engaging way to reinforce learning during the Halloween season.
Printable Halloween puzzles for 4th graders are a valuable resource that engage children in critical thinking and problem-solving skills, providing a fun and educational activity for them to enjoy during the Halloween season.
Great resource! These Halloween puzzles were a perfect challenge for my 4th graders. They loved solving them and it added a fun twist to our Halloween-themed lessons. Thank you!