Friend decided to redecorate room. They love flowers a lot, want to add them on walls. Finding big flower stencils tough task. Need help for DIY project to make room beautiful.
We create large flower stencils that can be printed for your DIY projects. These designs are perfect for adding a floral touch to walls, furniture, or fabric. Each stencil offers a unique pattern, so you can make art that stands out. Easy to use and customizable for any size, they help bring your creative visions to life.


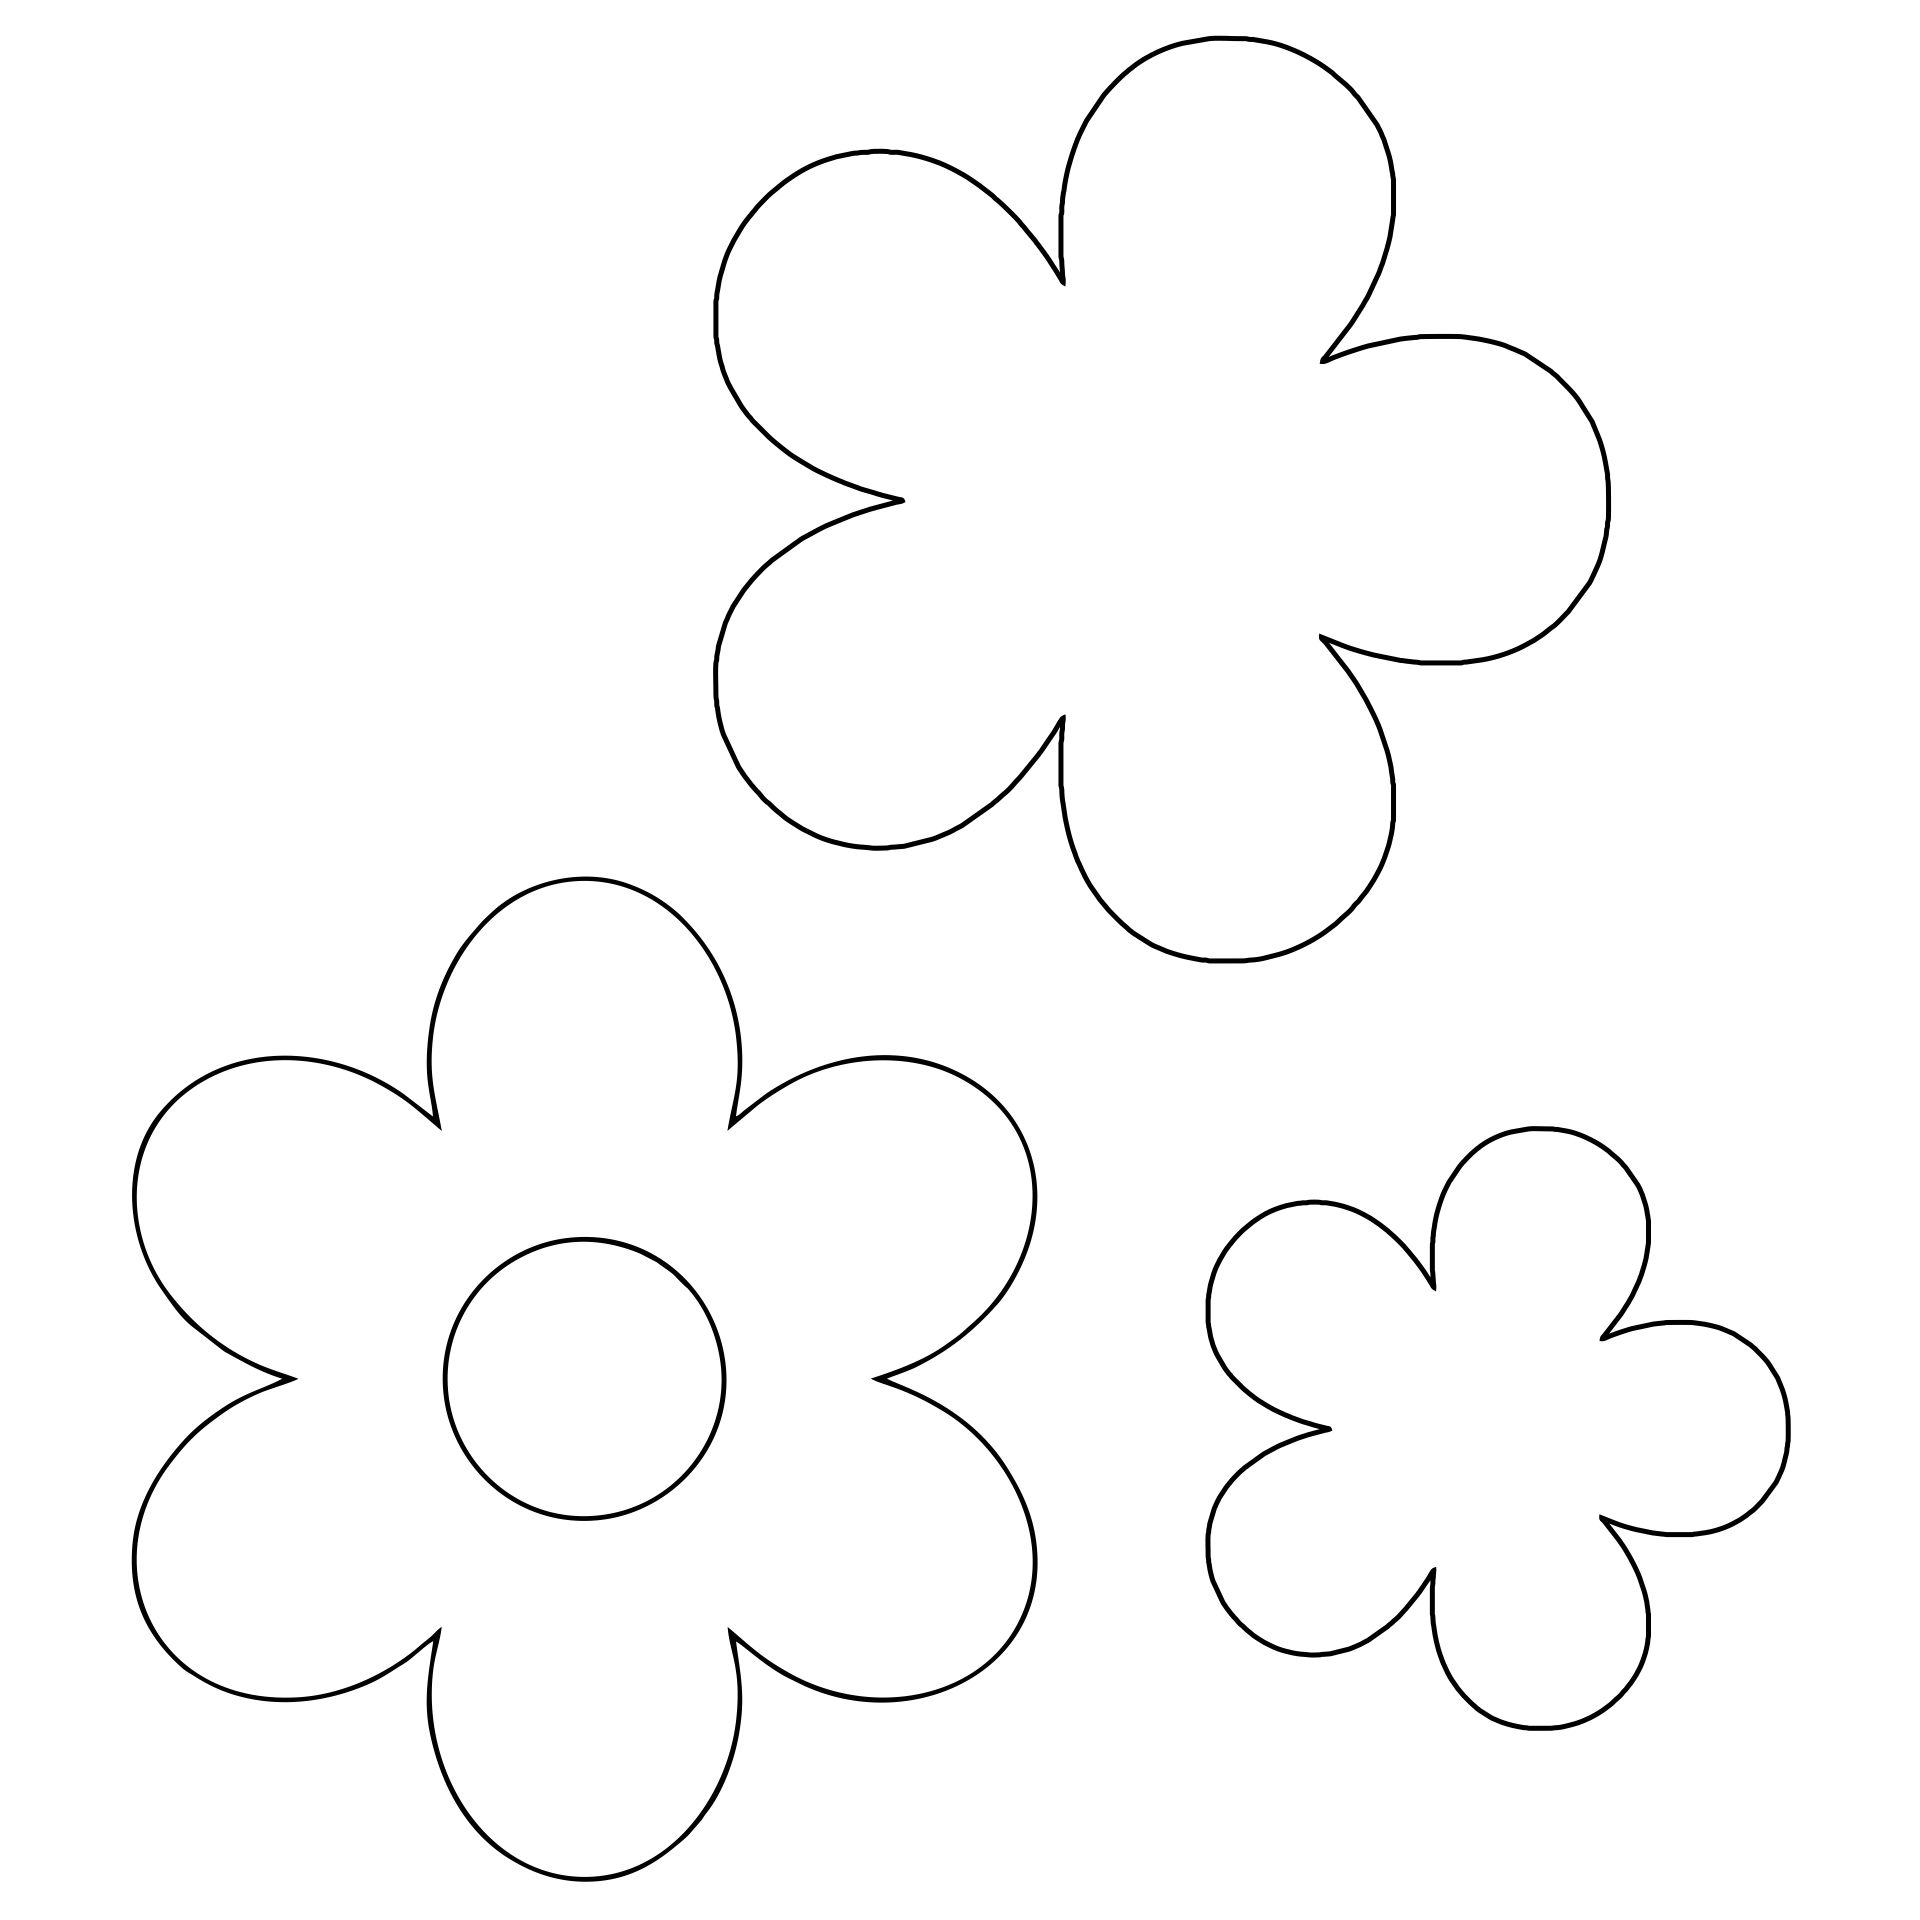
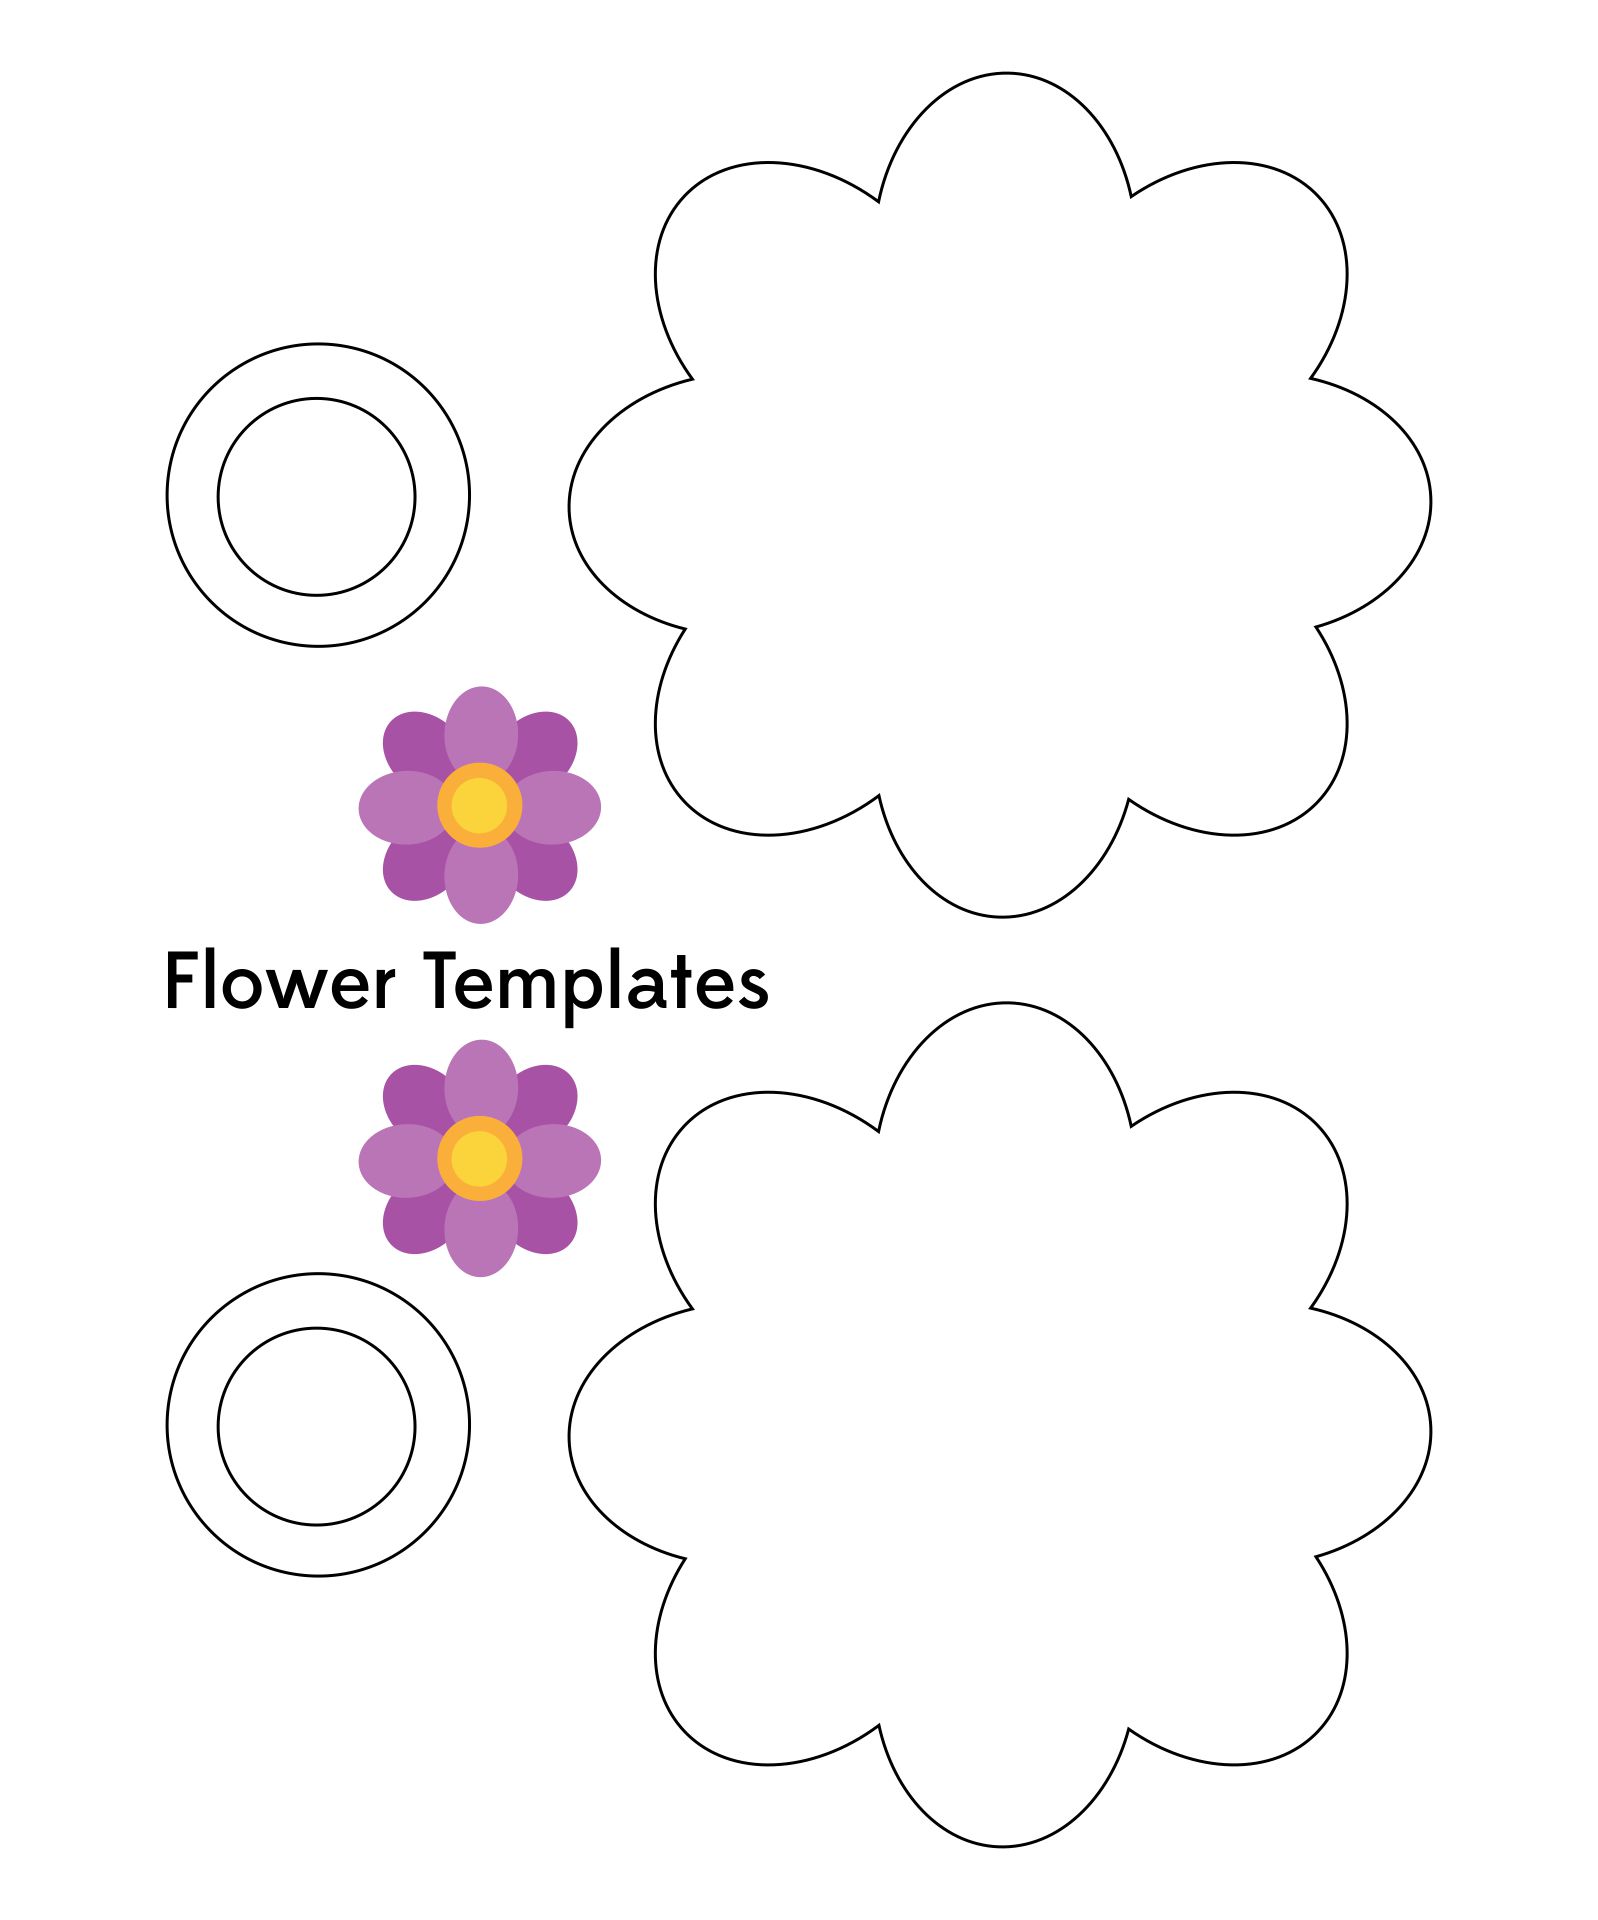
 Printable Large Flower Template

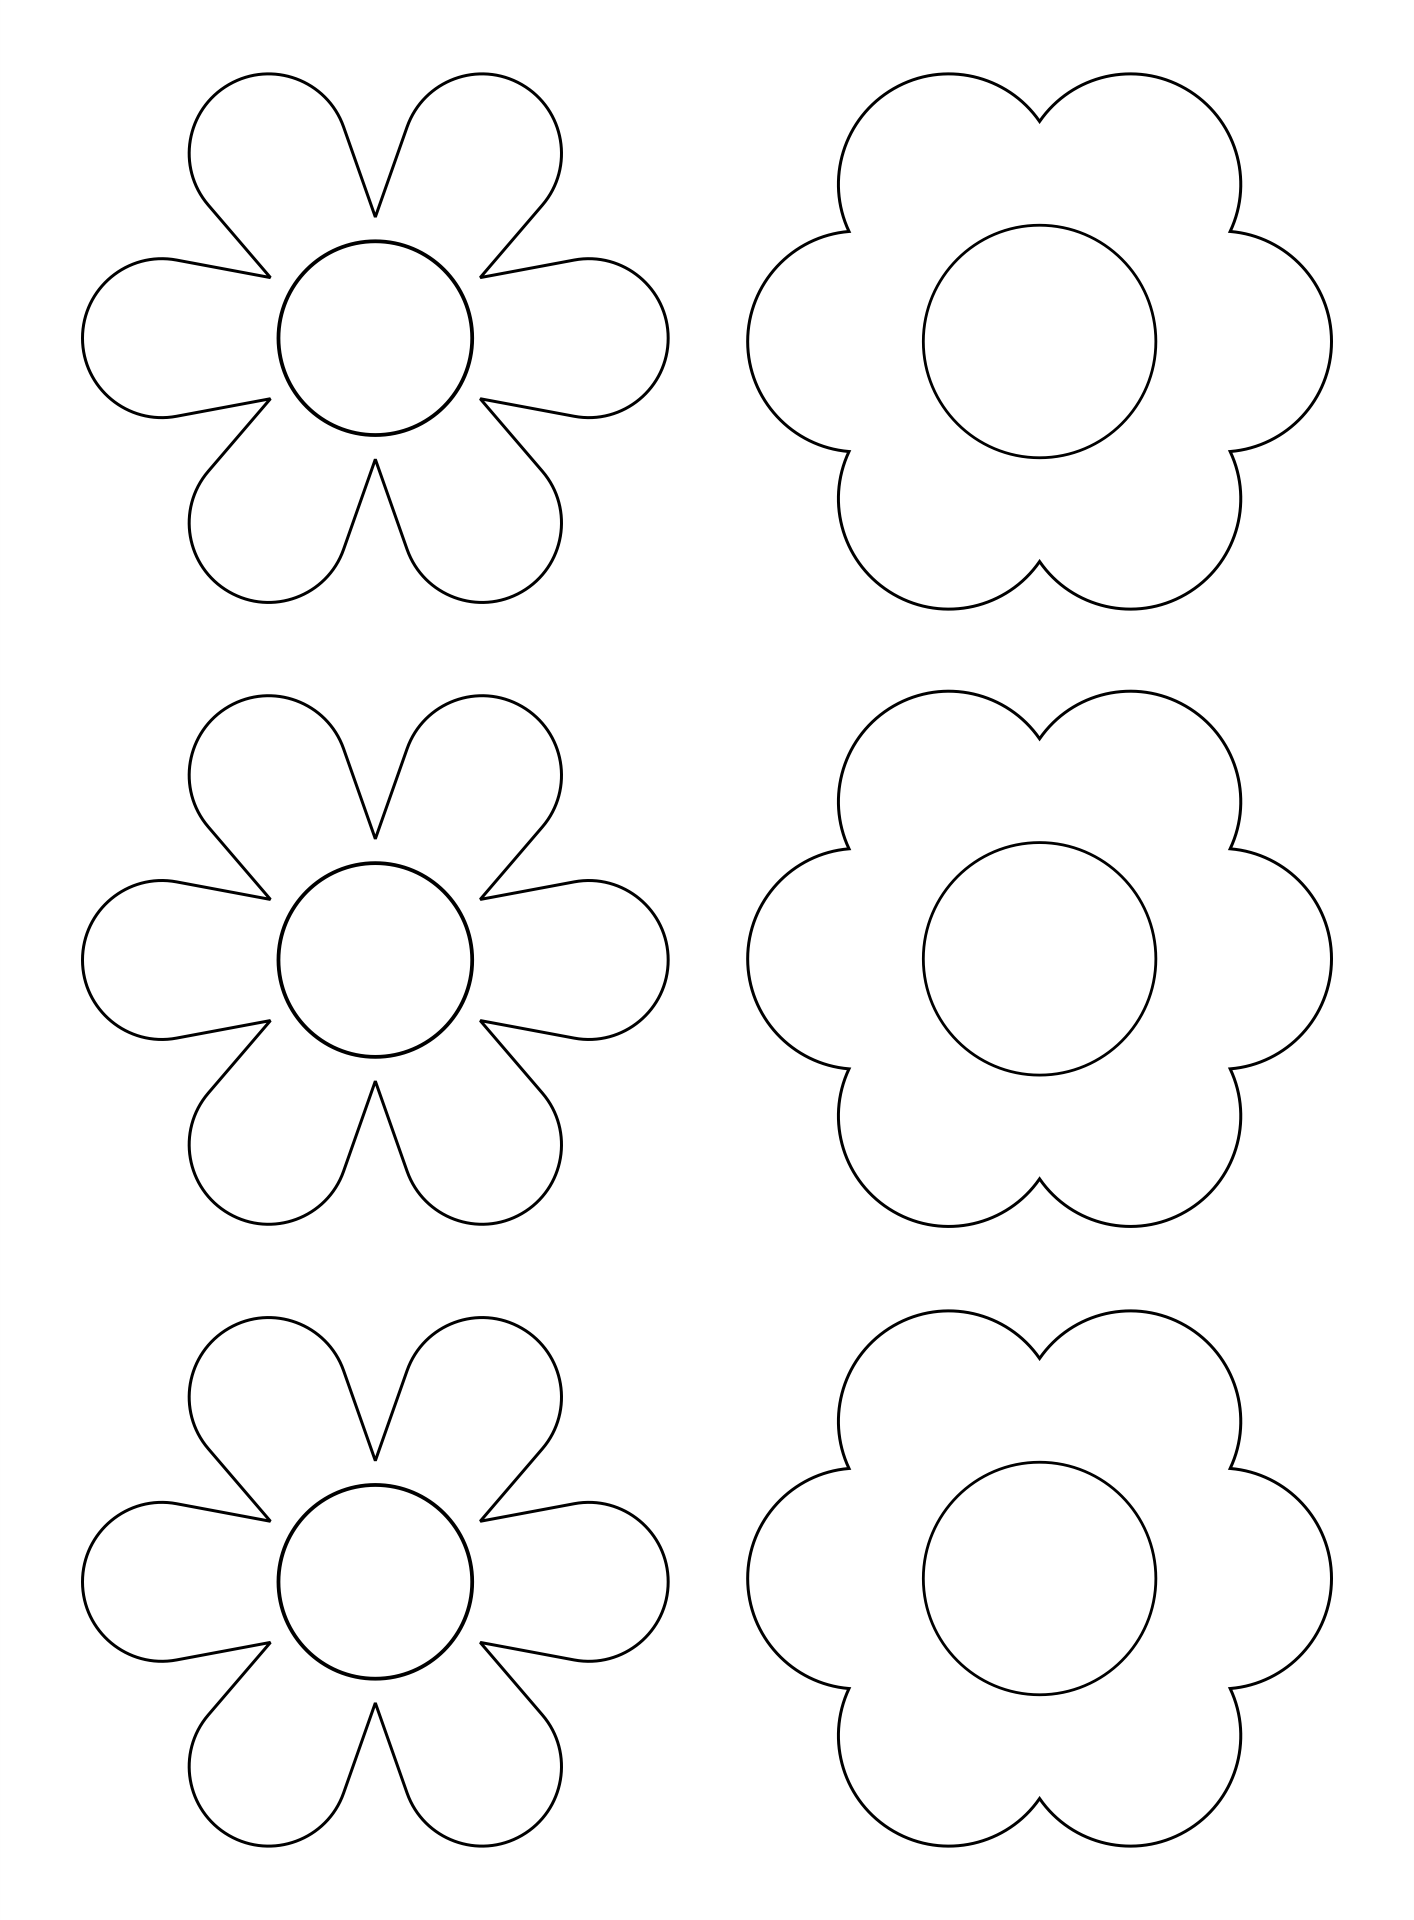
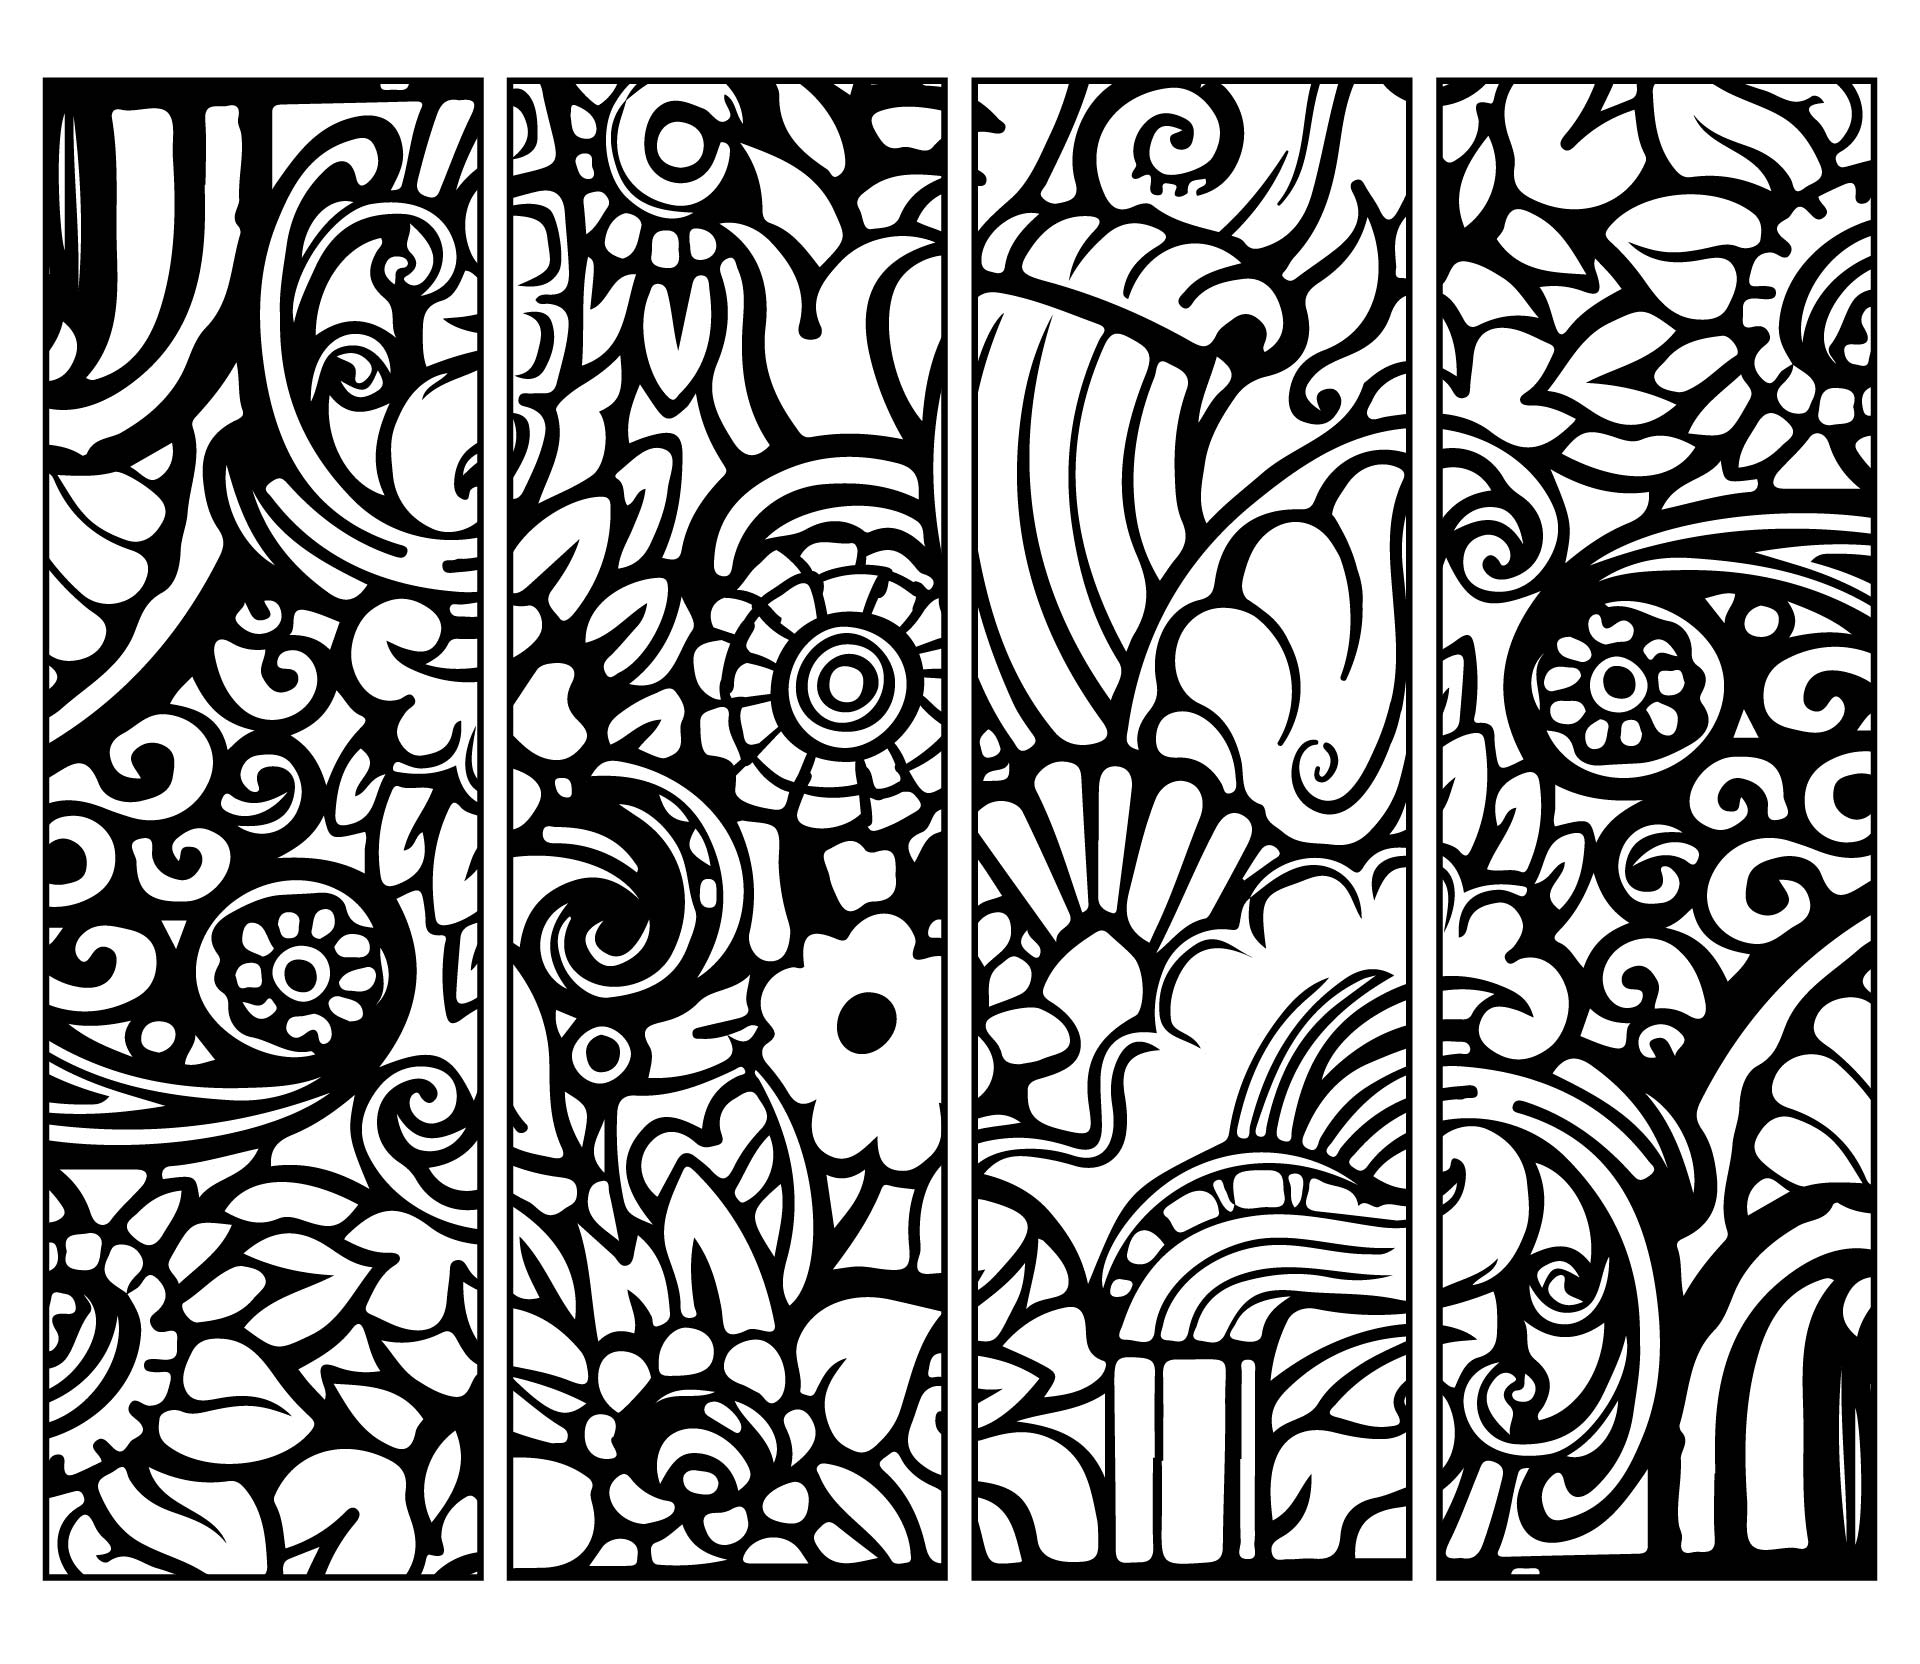
 Printable Flower Stencil Patterns

 Daisy Flower Stencils Printable

 Stencil Flowers Printable Free

 Stencil Flowers Printable Free

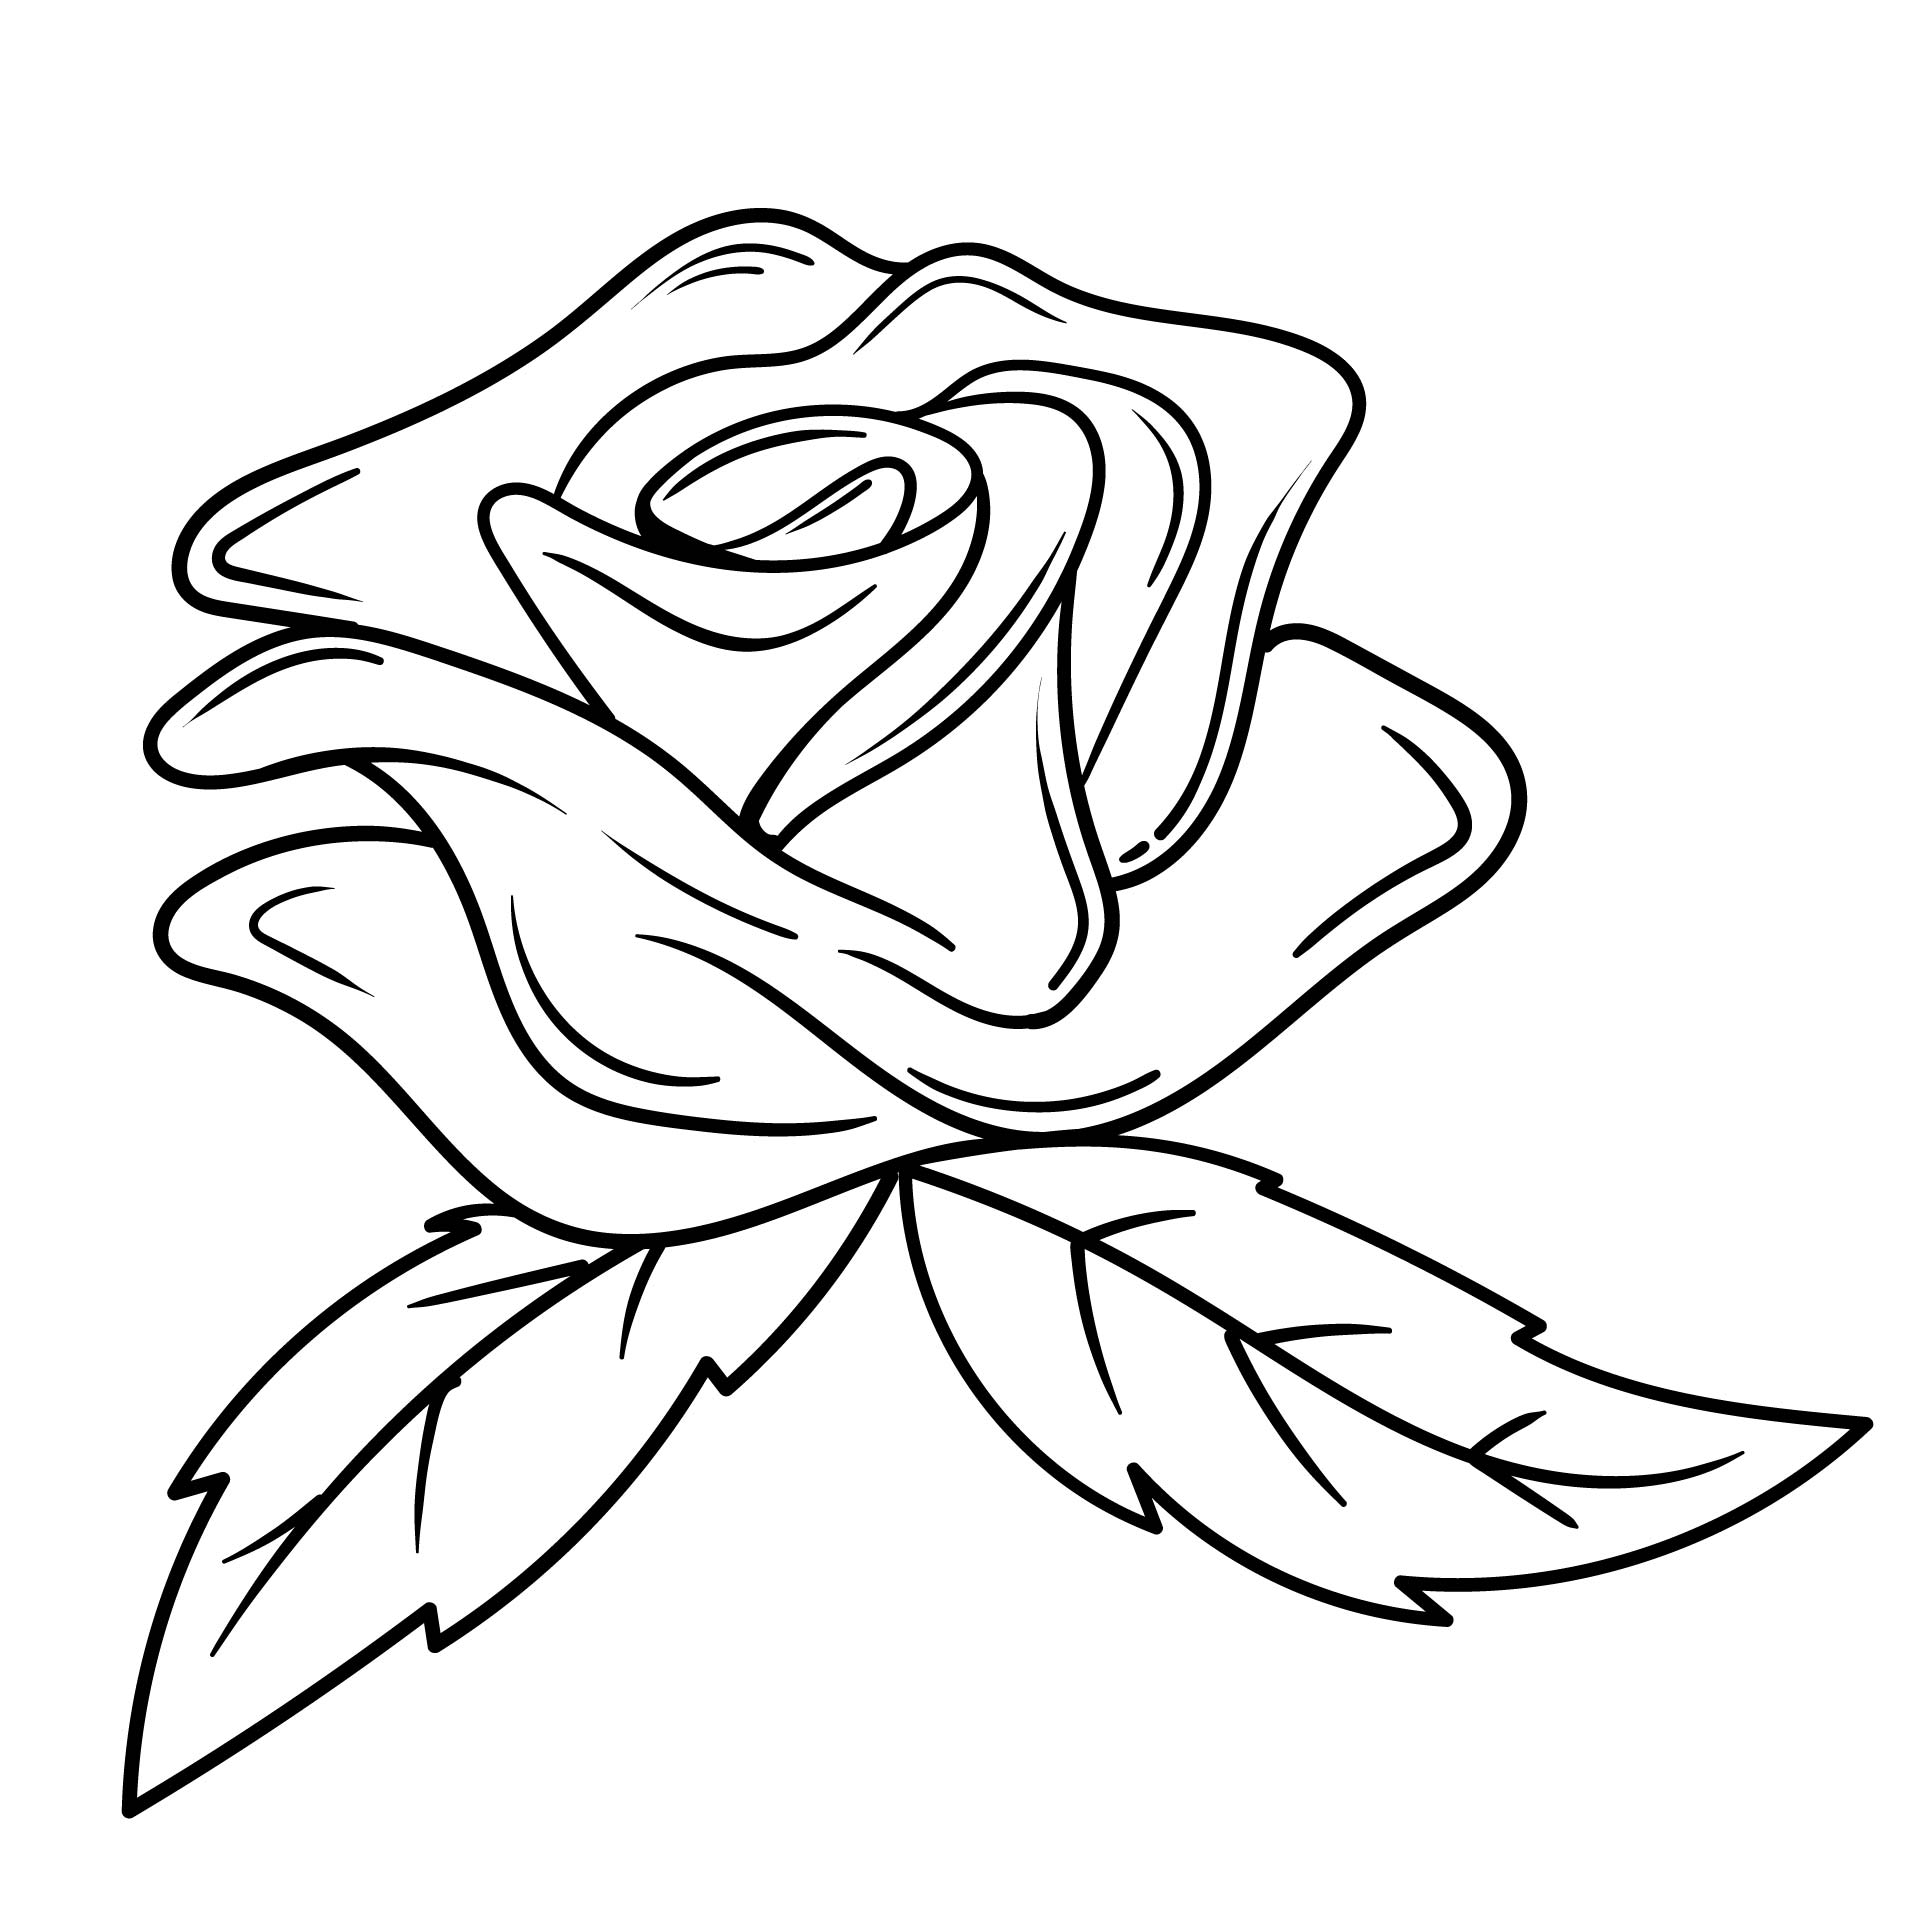
 Hibiscus Flower Stencil Template

 Sunflower Flower Templates Printable Free

 Printable Stencils

 Large Flower Stencils For Walls Printable

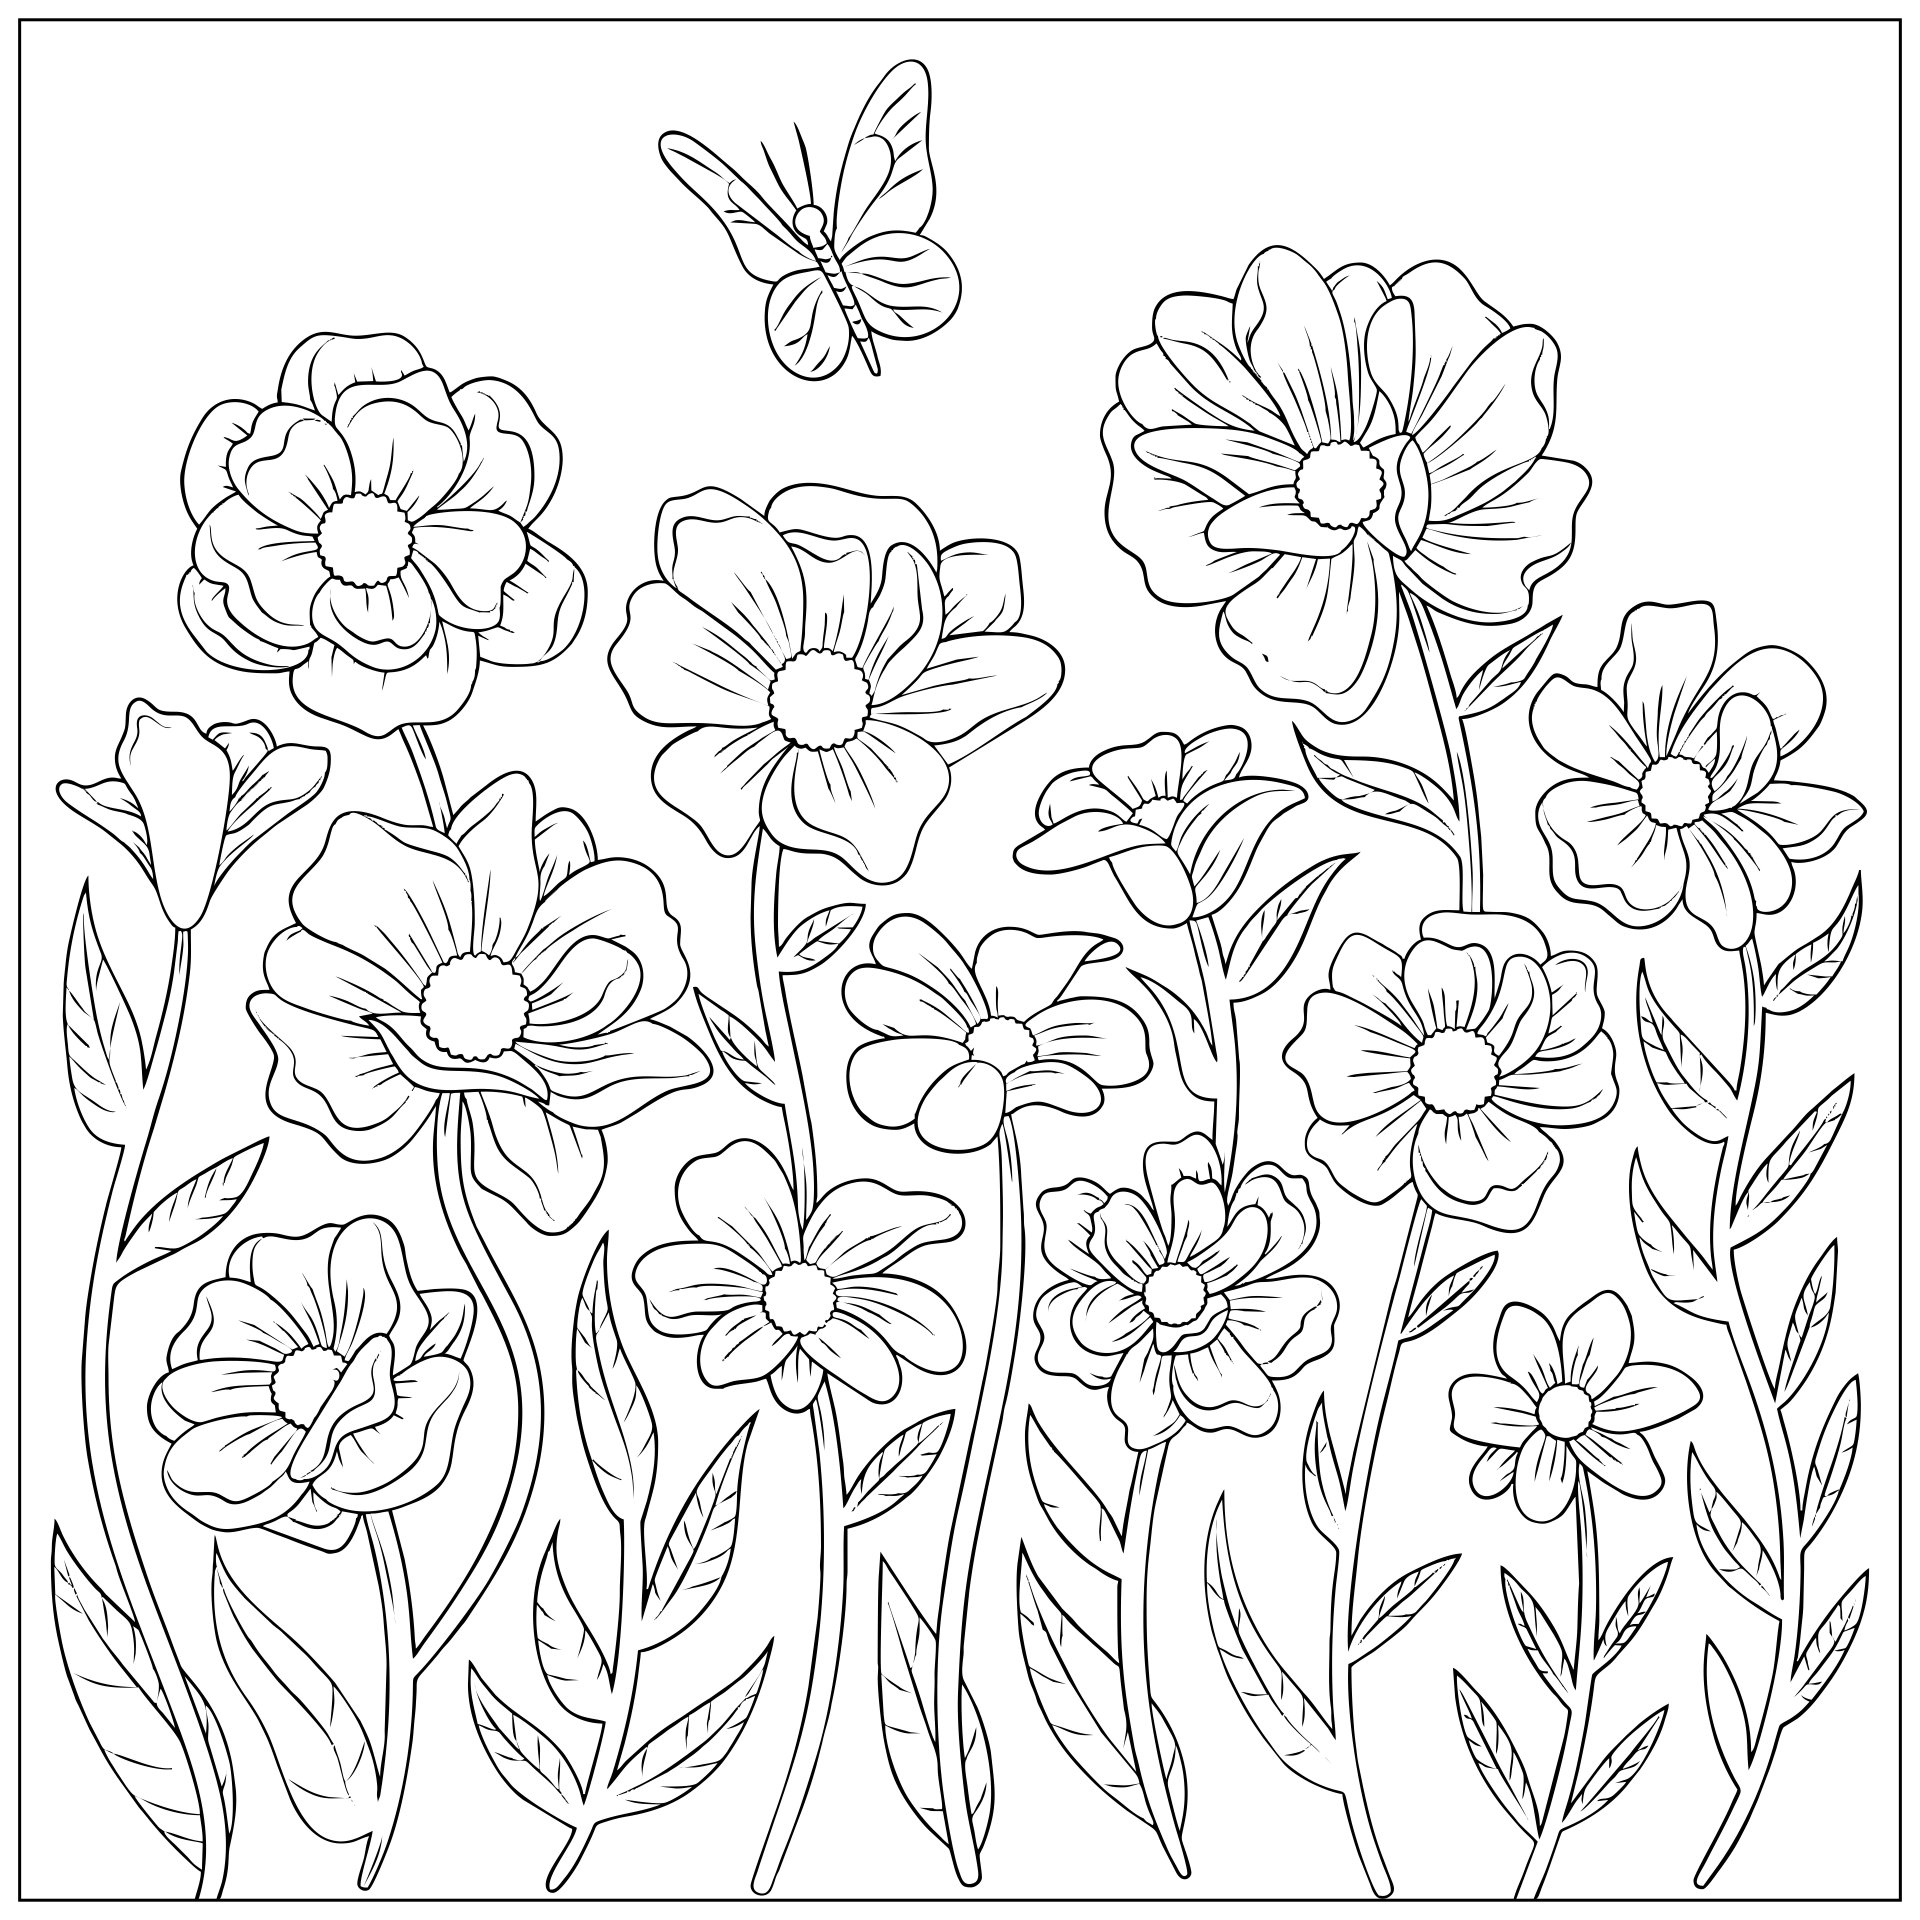
 Large Printable Flower Template Coloring Page
The best condition is to wait for the color of the flower painting until it is dry. The main reason behind this is because we sometimes make mistakes when we remove the stencil. For instance, it is not peeled perfectly or our hands accidentally slipped. When the residue on the stencil is still wet, it can stain the stencil result. Then, when we don't lift the stencil perfectly, we tend to drag on the stencil result. That too can spoil the results.


Have something to tell us?
Recent Comments
I found the Large Flower Stencils Printable very helpful for my crafting projects. The stencils were easy to use and allowed me to create beautiful and intricate flower designs with precision. Thank you for this great resource!
I love the Large Flower Stencils Printable! It's a handy and versatile resource for adding a touch of beauty to my art projects. Thank you for providing this useful resource!
I appreciate the practicality of these Large Flower Stencils Printable. They are a great addition to my crafting projects, allowing me to easily create beautiful floral designs. Thank you for this simple yet effective resource!