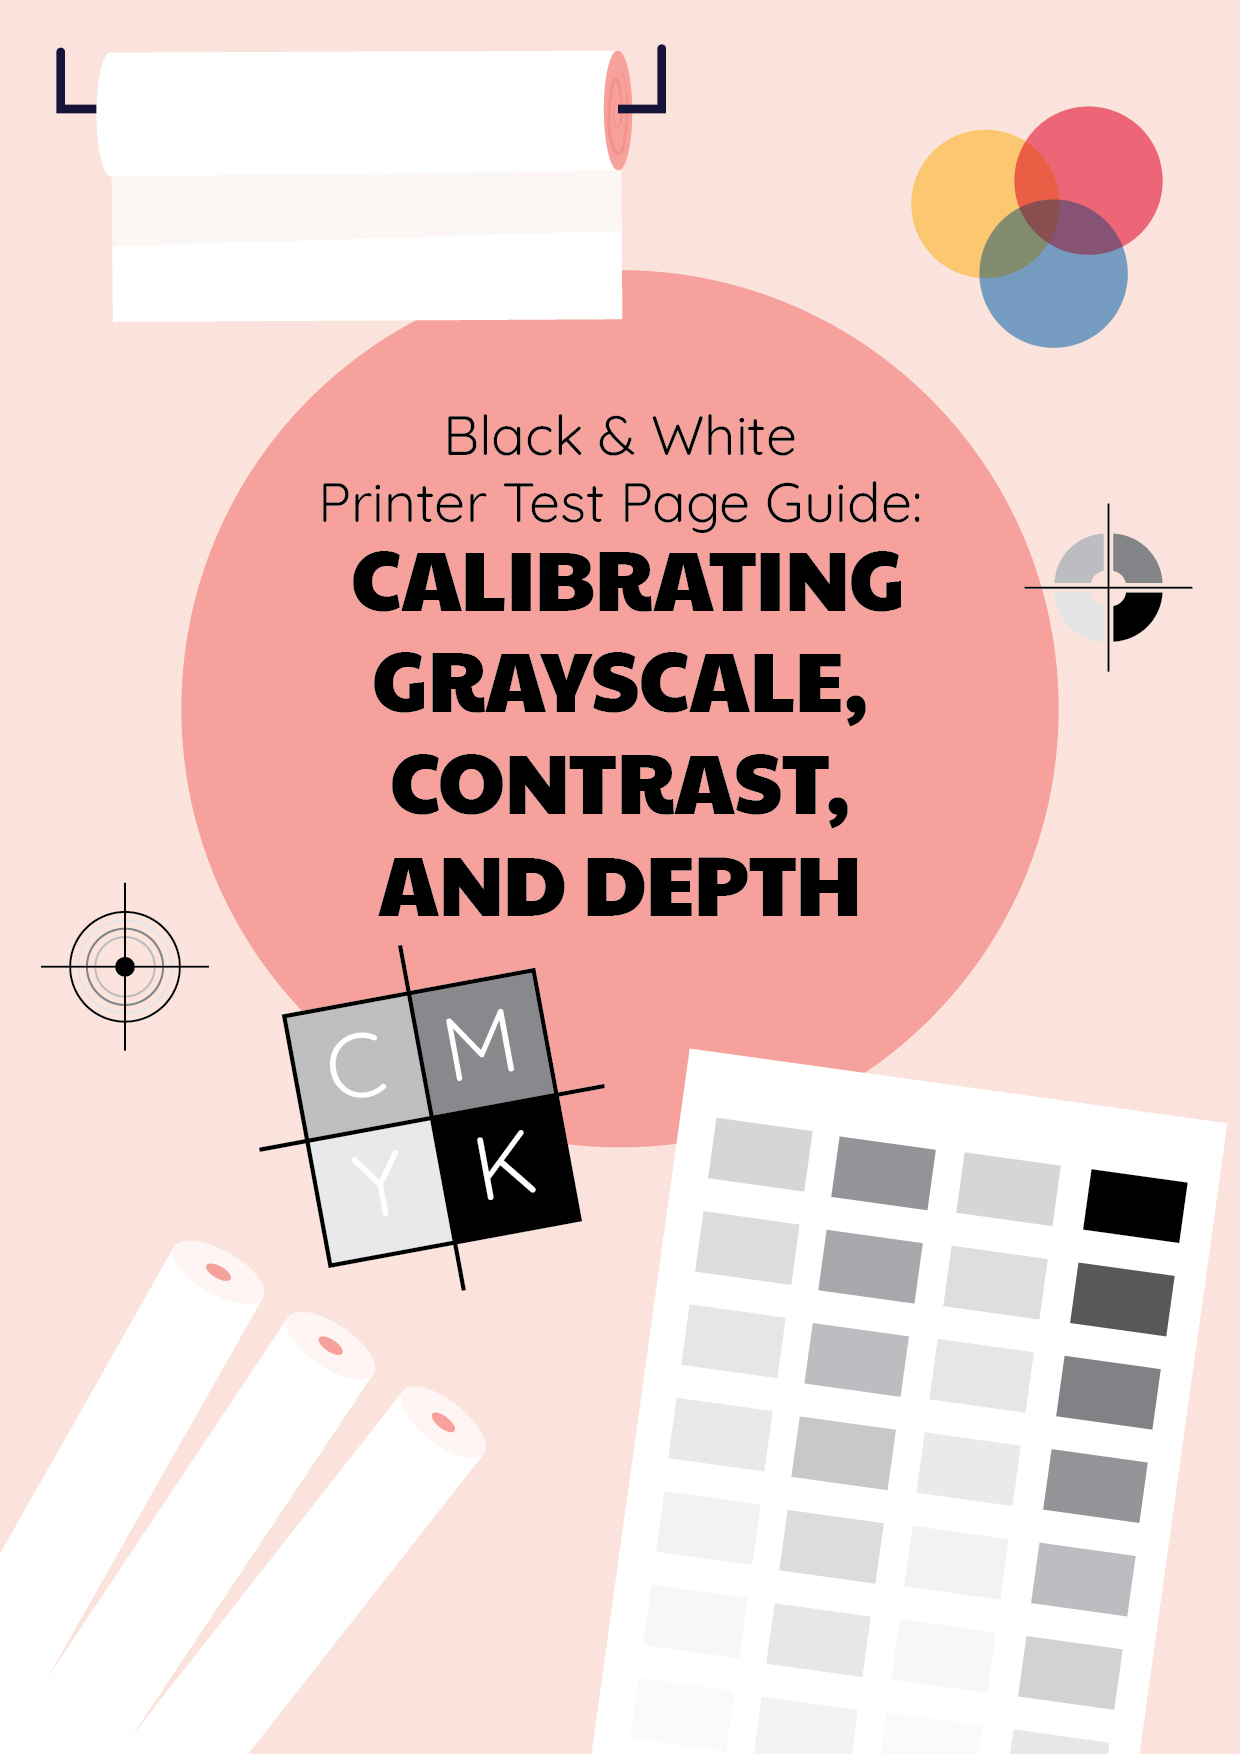
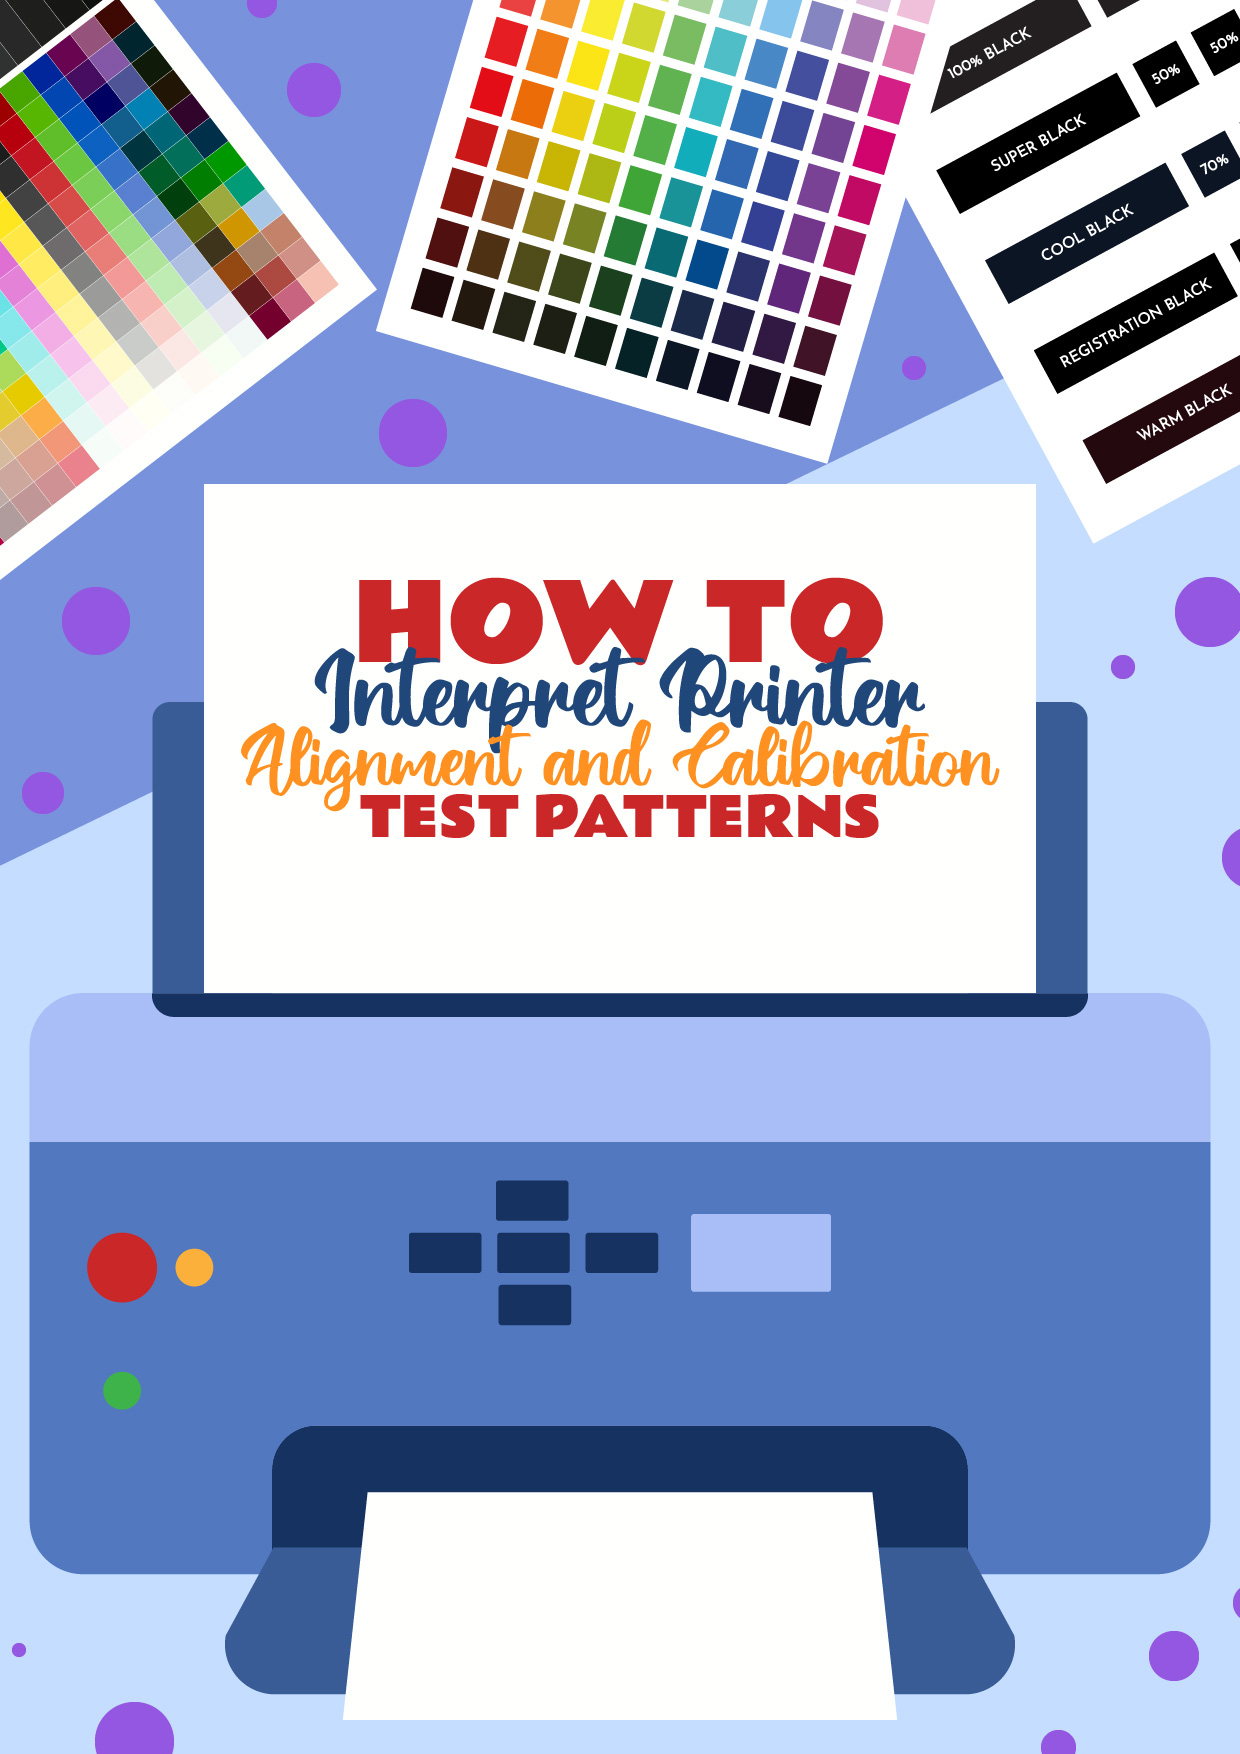
If you’ve just printed a test page and felt confused by the lines, grids, and color blocks, you’re not alone. Many users don’t realize that these patterns are actually powerful diagnostic tools. Learning how to interpret printer alignment and calibration test patterns can help you quickly identify issues and improve overall print quality without guesswork.
This guide will walk you through everything you need to know about printer alignment test patterns, printer calibration test patterns, and how to fix common problems using simple steps. With the right understanding, you can also prevent recurring issues and maintain your printer in optimal condition over time.

When analyzing printer alignment test patterns, start with vertical lines. These lines should be straight, clean, and continuous from top to bottom.
If you notice broken or uneven lines, it may indicate:
Understanding this part is key when learning how to interpret printer alignment and calibration test patterns accurately. Even small irregularities can affect text sharpness and image clarity.
Fix: Run print head alignment or a cleaning cycle.
In many printer calibration test patterns, horizontal alignment is tested through overlapping lines.
Look for:
These are signs of poor bidirectional alignment, a common issue in printer test page interpretation that often goes unnoticed during regular printing.
Fix: Run horizontal alignment calibration and switch to high-quality print mode.
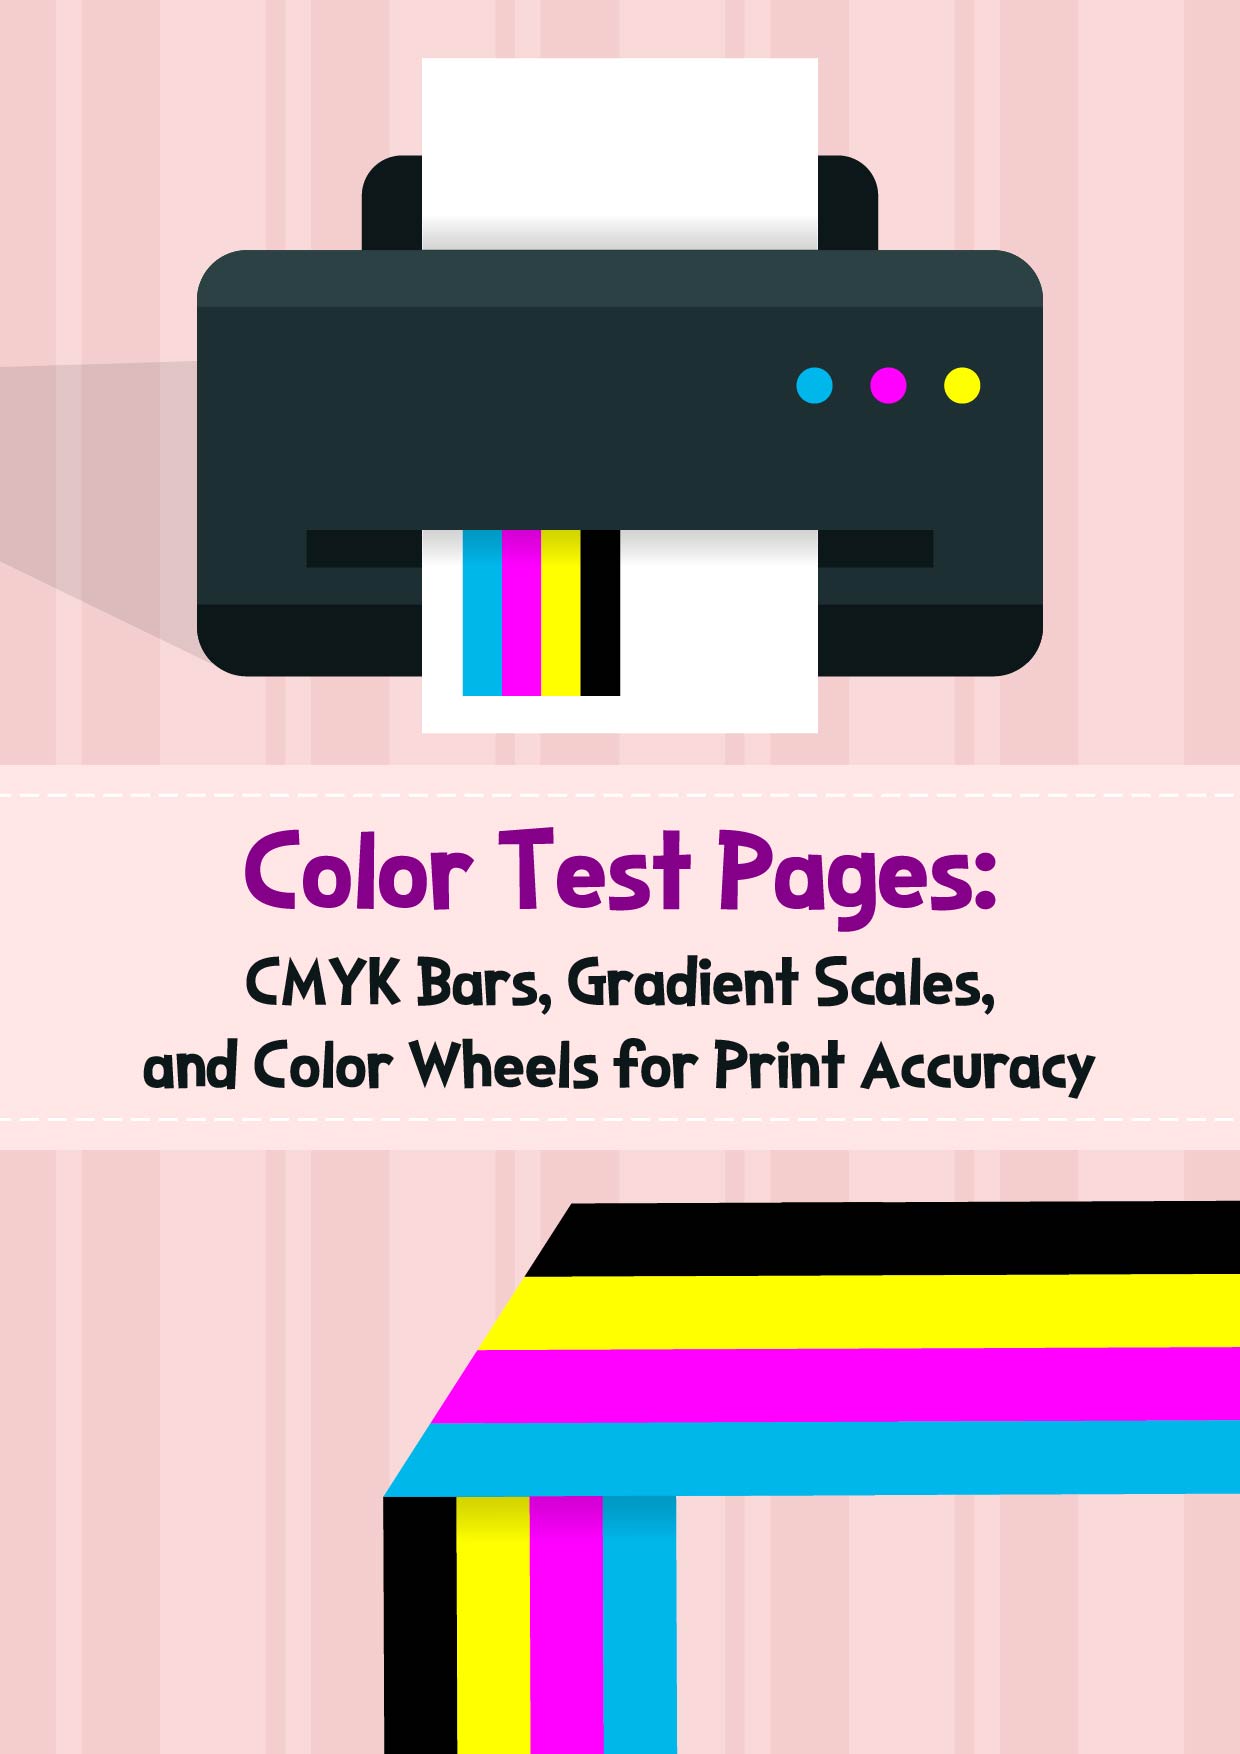
A crucial step in understanding printer calibration test patterns is checking CMYK alignment.
Watch for:
This indicates issues with color calibration printer settings, which can significantly impact photo and graphic printing results.
Fix: Run color calibration and ensure cartridges are properly installed.
The nozzle check pattern is one of the most important sections when learning how to interpret printer alignment and calibration test patterns.
Look closely for:
These are clear signs of clogged nozzles.
How to fix it:
Banding appears as visible horizontal lines across printed areas, especially in solid colors or gradients. This section helps you detect inconsistencies in how ink is applied across passes.
Signs of banding:
Causes include:
This often relates to print head alignment or feed calibration issues and can affect both text and image outputs.
How to fix:
Paper feed accuracy determines how evenly the paper moves during printing. In the test pattern, look for repeating lines or blocks.
If something’s off:
These indicate paper feed calibration issues that lead to distorted prints.
Solution:
Printers create images using tiny ink droplets. Ideally, each droplet lands exactly where it should.
Problems to look for:
Possible causes:
This affects print sharpness and detail quality, especially in high-resolution prints.
How to fix:
Grayscale areas should appear neutral (pure gray), without any tint.
What to check:
If yes, there’s a color cast issue.
Why it happens:
How to fix:
In printer calibration test patterns, ink saturation reveals how well your printer handles ink distribution.
Issues include:
These are common printer alignment and calibration issues that often relate to incorrect settings or unsuitable paper.
This may be caused by:
Solution:
Gradients should look smooth and consistent.
Warning signs:
This relates to halftone rendering and ink distribution quality, especially in detailed images.
How to fix:
Overall, knowing how to interpret printer alignment and calibration test patterns is essential for maintaining consistent print quality. These test pages are more than just technical outputs, they are diagnostic tools that help you understand exactly how your printer is performing.
Instead of wasting time trying random fixes, you can use these patterns to detect specific issues like misalignment, uneven ink distribution, or color registration errors. Once identified, you can take the right action, such as running a cleaning cycle or adjusting alignment settings.
This approach helps you reduce ink waste and avoid repeated printing mistakes. It also ensures that your printer continues to produce sharp text and vibrant images without unnecessary delays.
Whether you’re using your printer for home tasks, school projects, or creative work, proper calibration plays a key role in achieving reliable results. Even a small improvement in alignment or color accuracy can make a noticeable difference.
By taking a closer look at your test prints, you turn a simple maintenance step into a powerful tool. Over time, this habit keeps your printer running efficiently and your output looking professional every time.
So, start analyzing your printer alignment test patterns today to catch issues early. Apply these simple steps now to keep your printer running smoothly and producing high-quality prints every time!


Have something to tell us?
Recent Comments