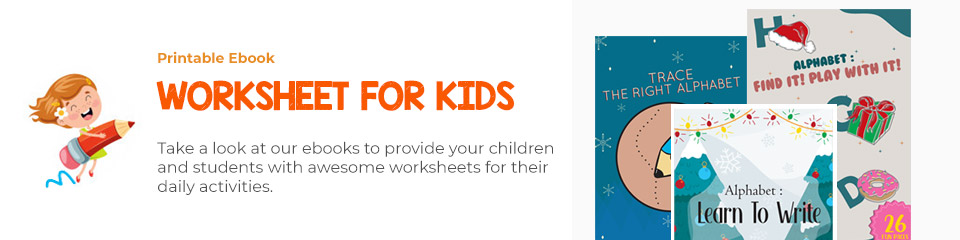
Free printable connect the dots worksheets are available online for parents of young children. They provide a fun, educational activity, helping to improve fine motor skills and concentration.
Preschool teachers can use the free online connect the dots worksheets to incorporate in their lesson plans, providing a valuable tool for developing fine motor skills and counting in a fun and engaging way. Preschool teachers can access these worksheets from the Printable Cars Connect the Dots article.

 Preschool Connect the Dots Worksheets Printable

 Connect Dots Worksheets

 Preschool Connect the Dots Worksheets Printable

 Dinosaur Connect the Dots Worksheet

 Kindergarten Halloween Connect the Dots Worksheets
Homeschooling parents can use connect the dots worksheets in their lesson plans to promote cognitive skills and hand-eye coordination, making learning more enjoyable and interactive.
Occupational therapists can utilize these free printable worksheets as a valuable tool to improve fine motor skills and visual perception in their clients, customizing the activity with various themes and difficulty levels.
A printable connect the dots worksheet is a fun and educational activity that allows you to connect numbered dots in a specific order to reveal a picture or shape. These worksheets are great for children's development as they improve hand-eye coordination, number recognition, and concentration skills. You can easily find printable connect the dots worksheets online and print them out to enjoy this engaging activity at home or in the classroom.


Have something to tell us?
Recent Comments
Printable connect the dots worksheets are a convenient and engaging way to help children improve their fine motor skills and hand-eye coordination while having fun.
Printable connect the dots worksheets offer a fun and educational activity for children, helping to improve their counting and hand-eye coordination skills while keeping them entertained.
This free printable connect the dots worksheet is a great way to engage kids in a fun and challenging activity. Thank you for sharing this creative resource!