Printable Christmas Stationery stationery borders can elevate your holiday correspondence, allowing you to add a festive touch to your letters, invitations, or even holiday menus. By downloading these borders, you can personalize your messages while saving time and money. You'll impress recipients with your attention to detail, making your holiday communications stand out.
These borders are perfect for anyone looking to add a bit of holiday cheer to their written materials.

 Christmas Stationery Borders
 Printable Christmas Letterhead Templates

 Printable Christmas Letterhead Paper

 Printable Christmas Stationery

 Printable Christmas Stationery

 Printable Christmas Borders

 Printable Christmas Borders And Frames

 Printable Merry Little Gnomes Border Paper Christmas Stationery

 Printable Christmas Lights Border Paper

 Printable Christmas Stationery Green And Red Glitter

 Printable Merry Days Of The Season Border Paper
This festive stationery features charming gnomes along its borders, adding a whimsical touch to your holiday correspondence. It's perfect for your personal letters to Santa, Christmas party invitations, or thank you notes, making your messages stand out with a seasonal flair.
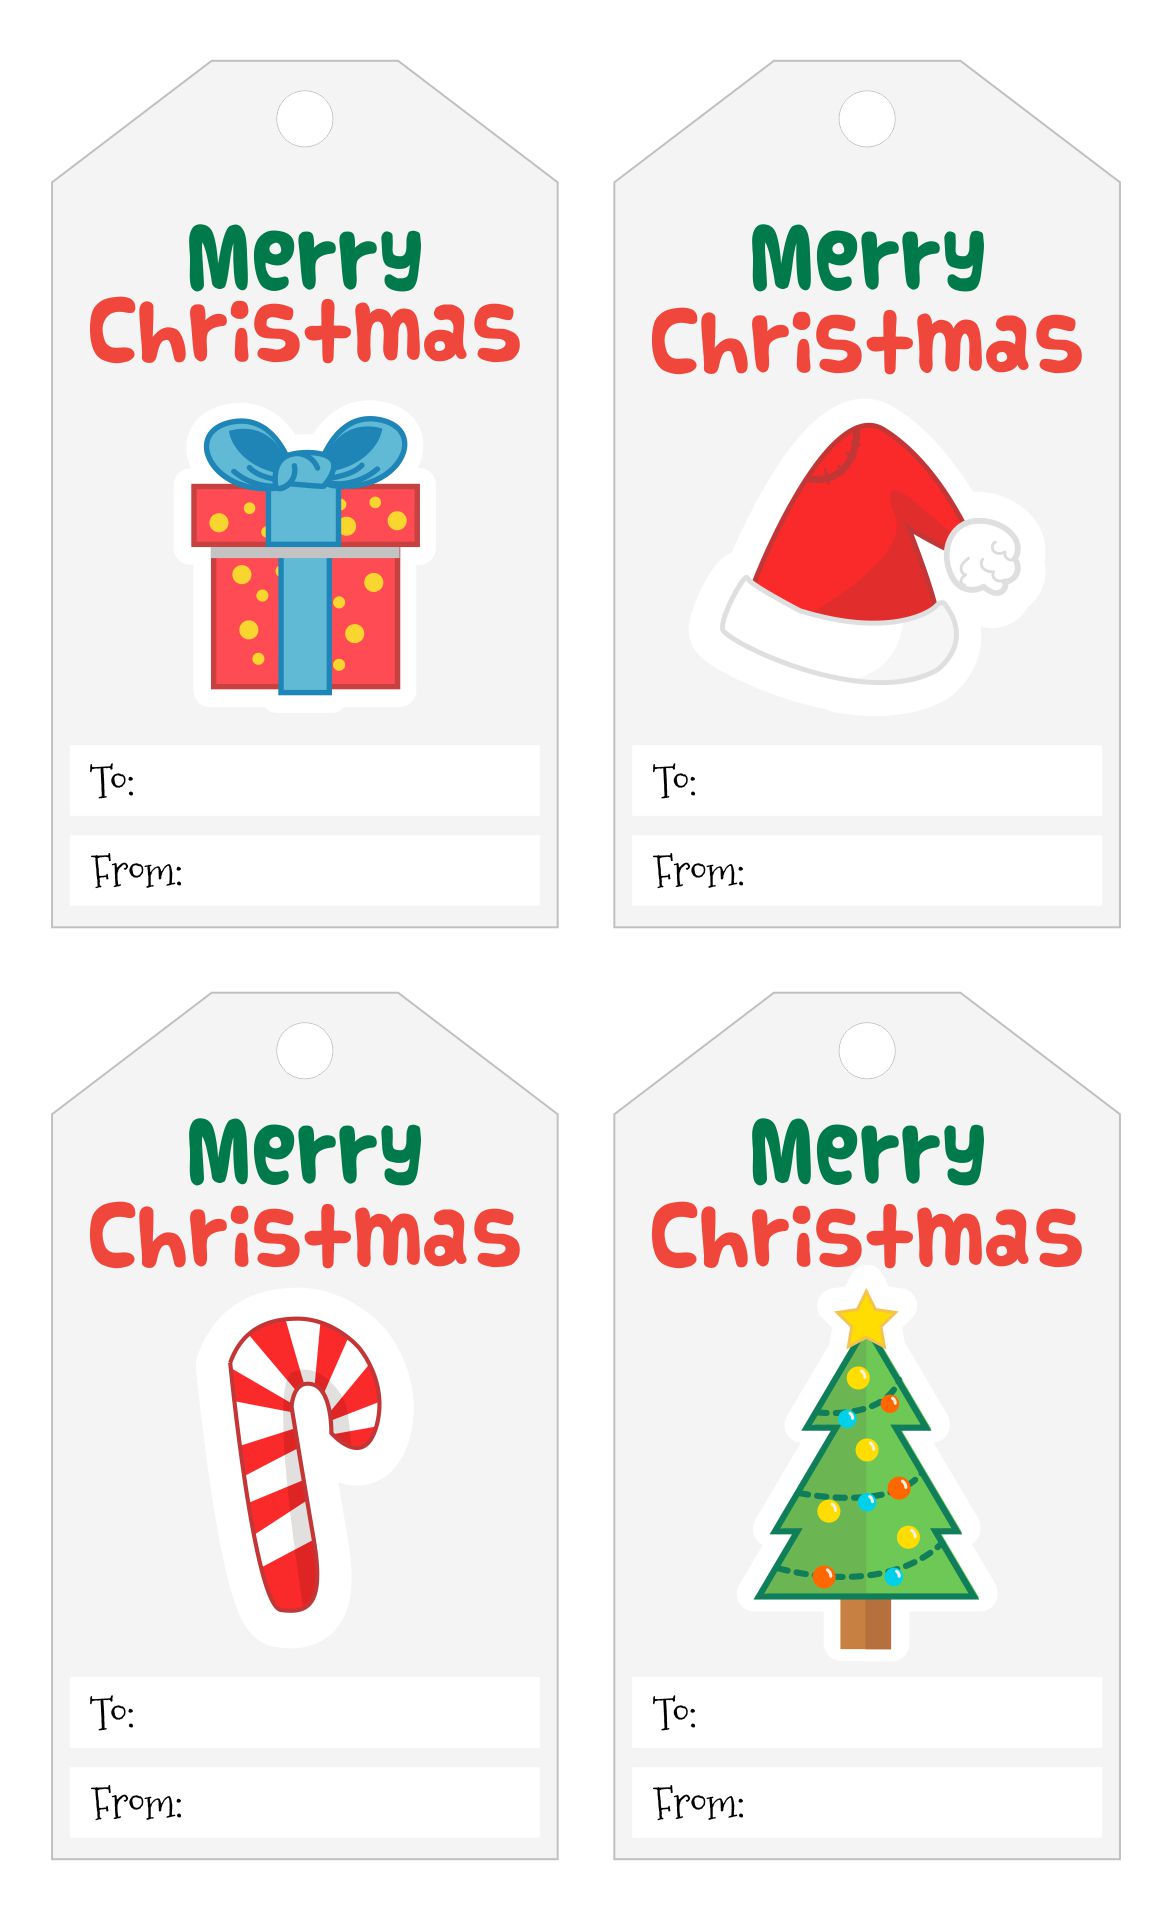
These printables offer a variety of Christmas-themed borders and frames, allowing you to add a touch of holiday spirit to any document. Ideal for customizing your holiday photo collections, creating unique gift tags, or enhancing your event menus, they help you personalize your seasonal projects.
This stationery, adorned with green and red glitter designs, brings sparkle to your holiday communications. It's perfect for creating eye-catching Christmas letters, wish lists, or event invitations, giving your seasonal mail a touch of elegance and festivity.
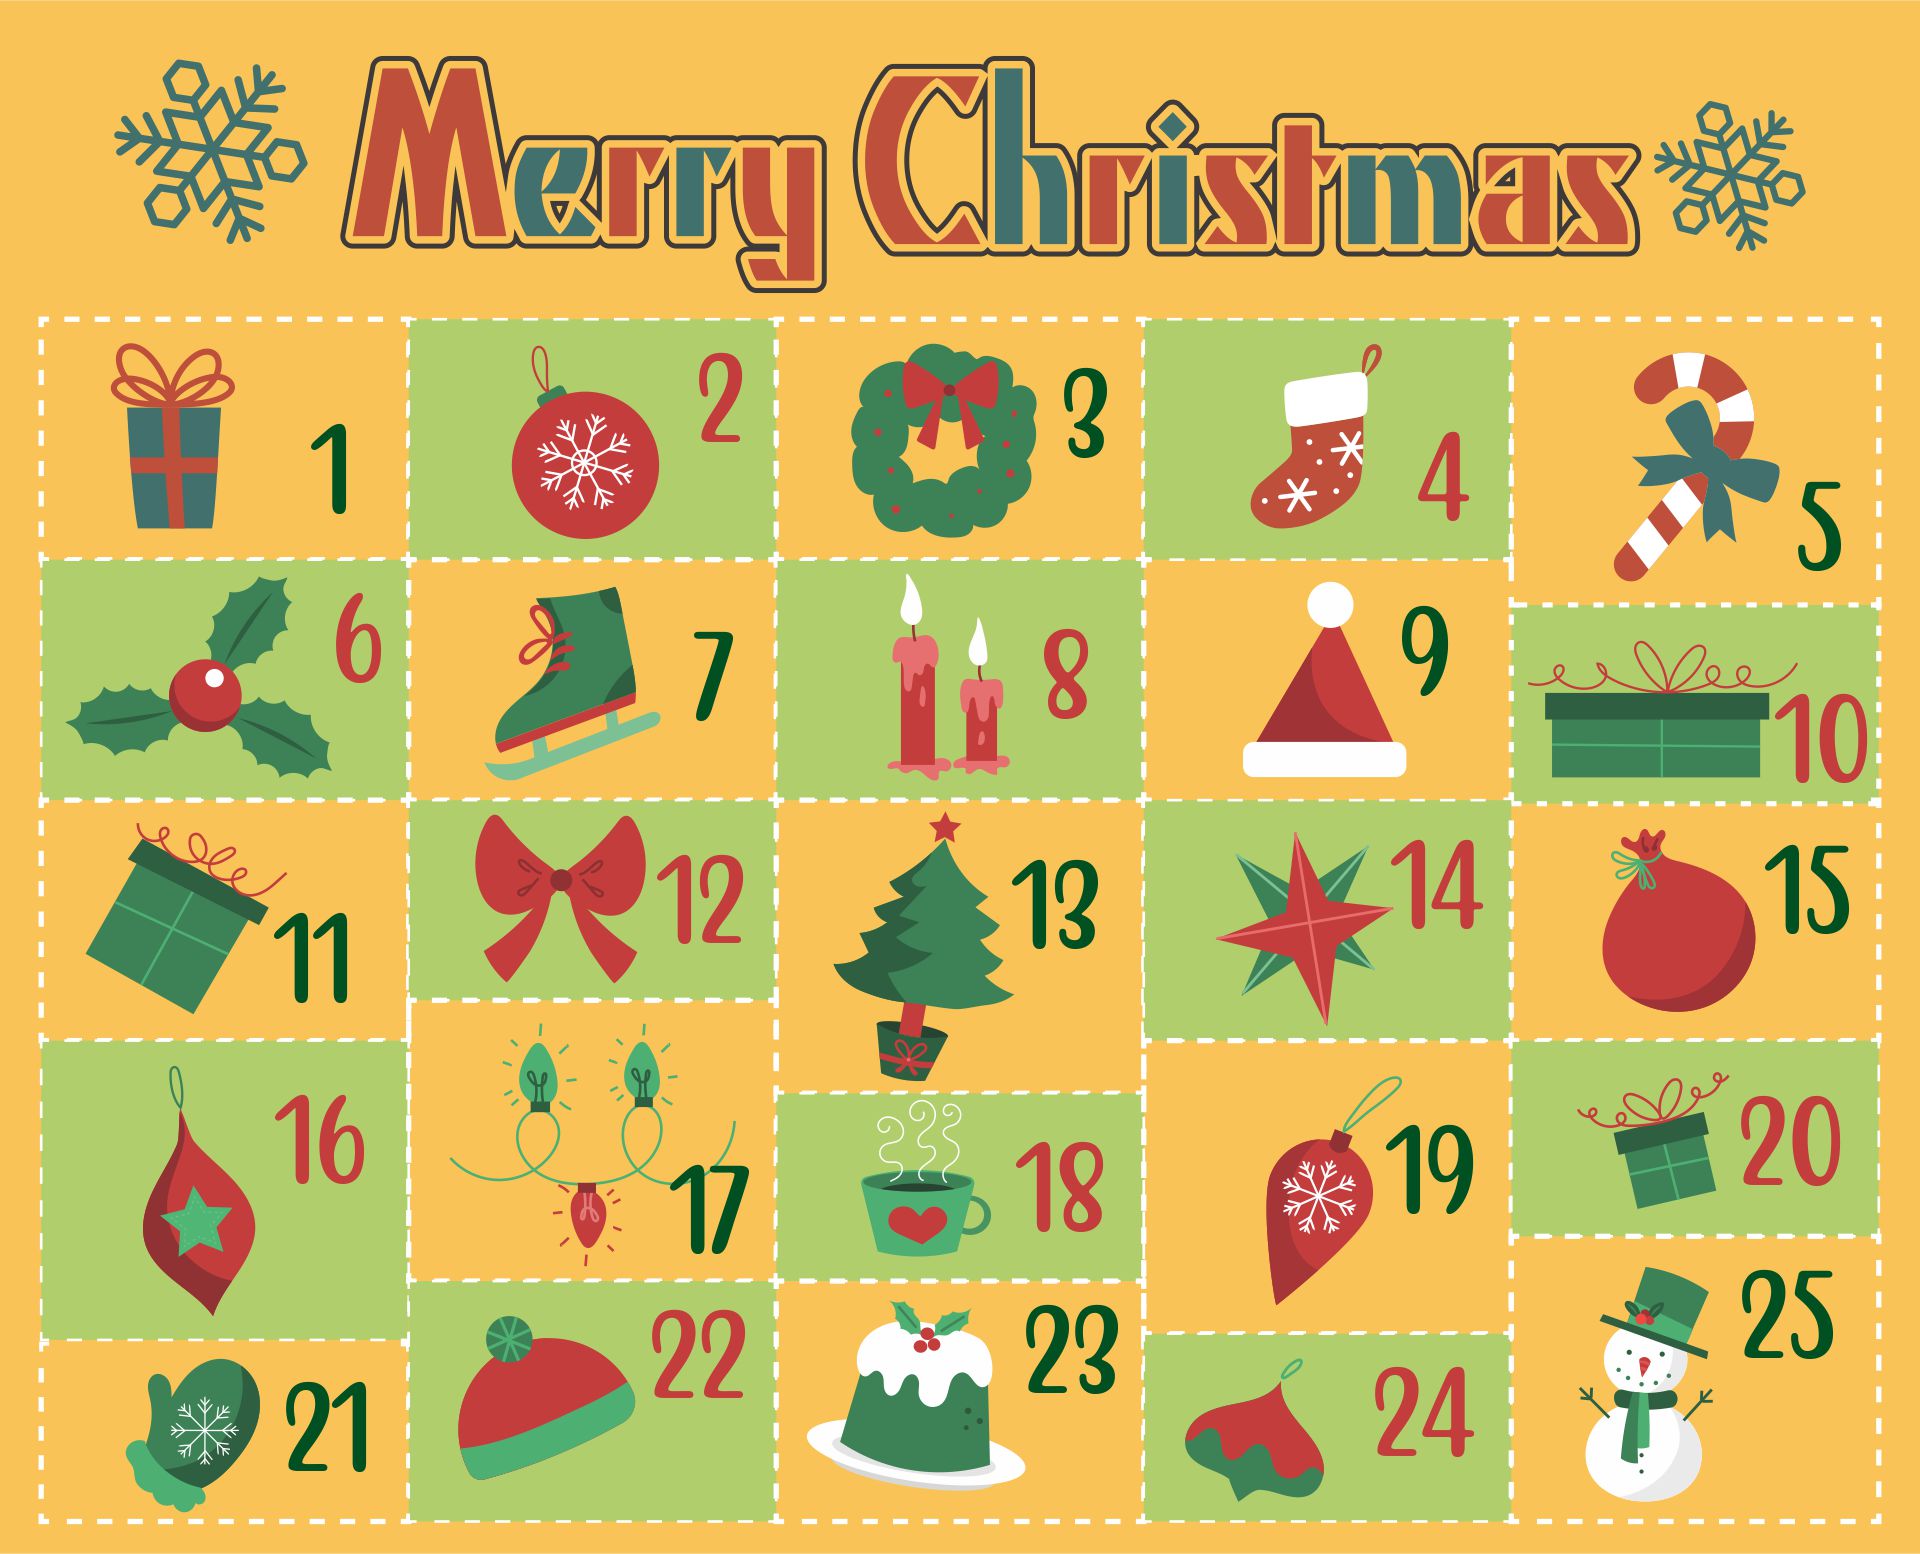
Printable Christmas stationery with festive Borders can greatly enhance the holiday mood in letters and cards. They provide a fun and colorful backdrop for a range of purposes, including letters to Santa, party invitations, or heartfelt messages.
Our special holiday-themed stationery collection for teachers includes adorable notepads, pencils, and stickers. They inject a dash of festive cheer into your daily tasks and create a warm, inviting classroom vibe. Don't miss this chance to add holiday magic to your teaching materials!

 Printable Christmas Stationery Borders

 Printable Christmas Stationery Borders

 Printable Christmas Stationery

 Printable Christmas Borders

 Printable Christmas Stationery Borders

 Printable Christmas Lights Border

 Printable Christmas Stationery Borders

 Printable Christmas Stationery Borders
If crafting is your passion, our free, printable borders can truly make your Christmas stationery distinctive. Download, print, and let your imagination soar as you design your unique Christmas stationery.
Small business owners can elevate holiday communications with personalized touch using our festive, free printable Christmas stationery and borders. Find the perfect design aligning with your brand to create customized holiday letters, invoices, and promotional materials.
Printable borders Christmas stationery is a collection of festive designs that you can print and use for your holiday correspondence, invitations, or crafts. These borders feature classic Christmas elements such as snowflakes, holly, and Christmas trees, adding a touch of seasonal charm to your communication. With printable borders Christmas stationery, you can easily create personalized and eye-catching documents to spread the holiday spirit.


Have something to tell us?
Recent Comments
Thank you for providing these free printable Christmas stationery borders! They're a simple yet creative way to make my holiday cards and letters extra special. I appreciate the positive touch it adds to my festive greetings.
Free printable Christmas stationery borders can add a festive touch to your holiday correspondence, allowing you to create personalized letters and invitations with ease.
Printable images of Christmas stationery borders provide an effortless and cost-effective solution for adding a festive touch to your holiday correspondence or crafting projects. Simply download, print, and enjoy beautiful, ready-to-use designs without any hassle or expense.