Finding simple string art patterns that suit beginners can be tough. Many available patterns end up being too complex or don't come with easy-to-follow instructions. People often look for patterns that are not only easy to do but also printable so they can start right away. This makes digging up good, straightforward designs a bit of a hunt.
We design easy string art patterns that you can print. They come with clear instructions so you can start right away, even if it's your first time. Different patterns appeal to various skill levels, offering a satisfying challenge without too much complexity. Great for decorating spaces or giving as personal gifts.


 Printable Easy String Art Patterns

 Printable String Art Patterns

 Christmas Tree String Art Pattern

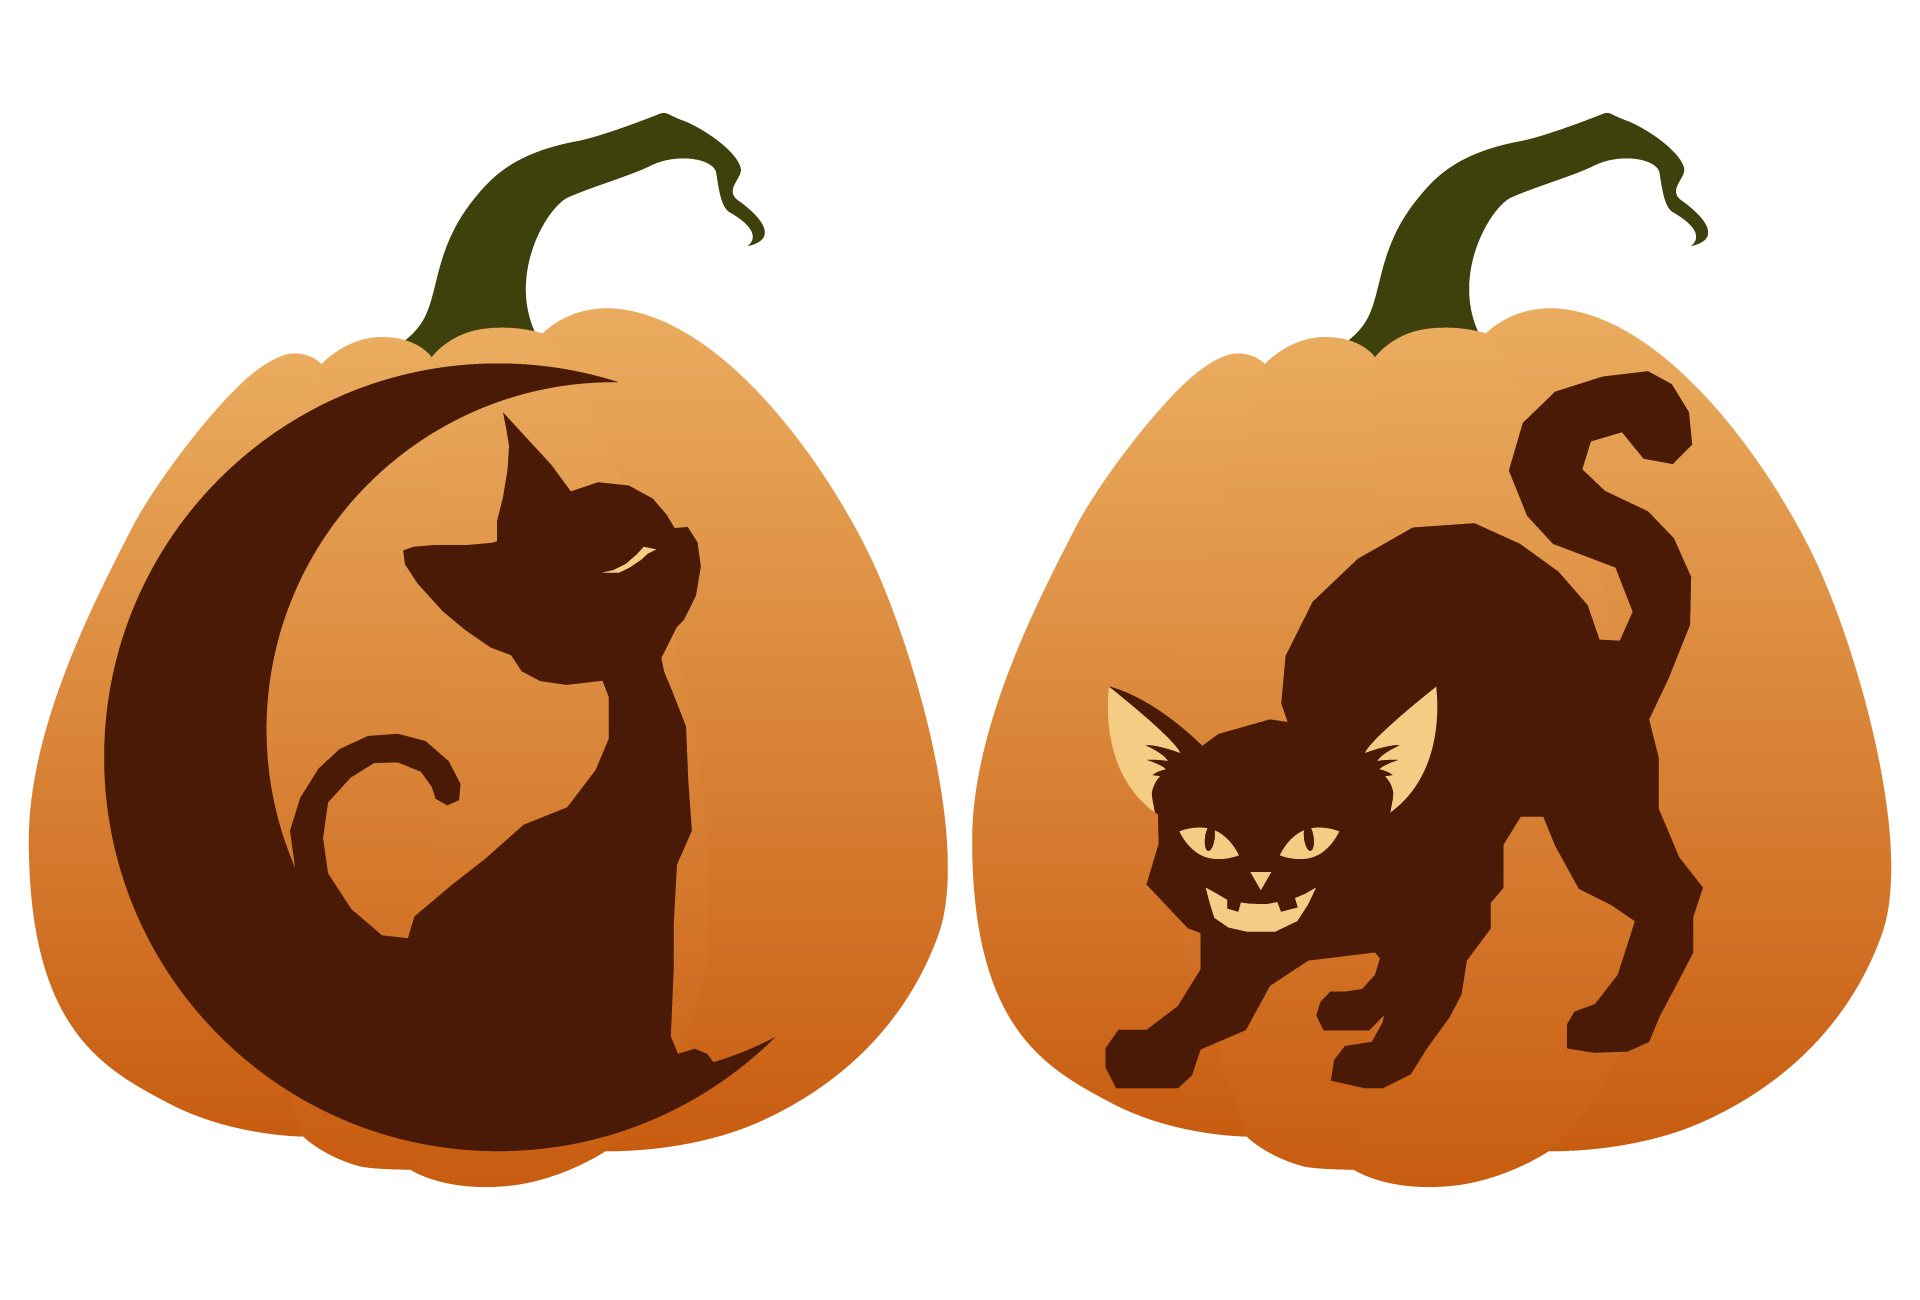
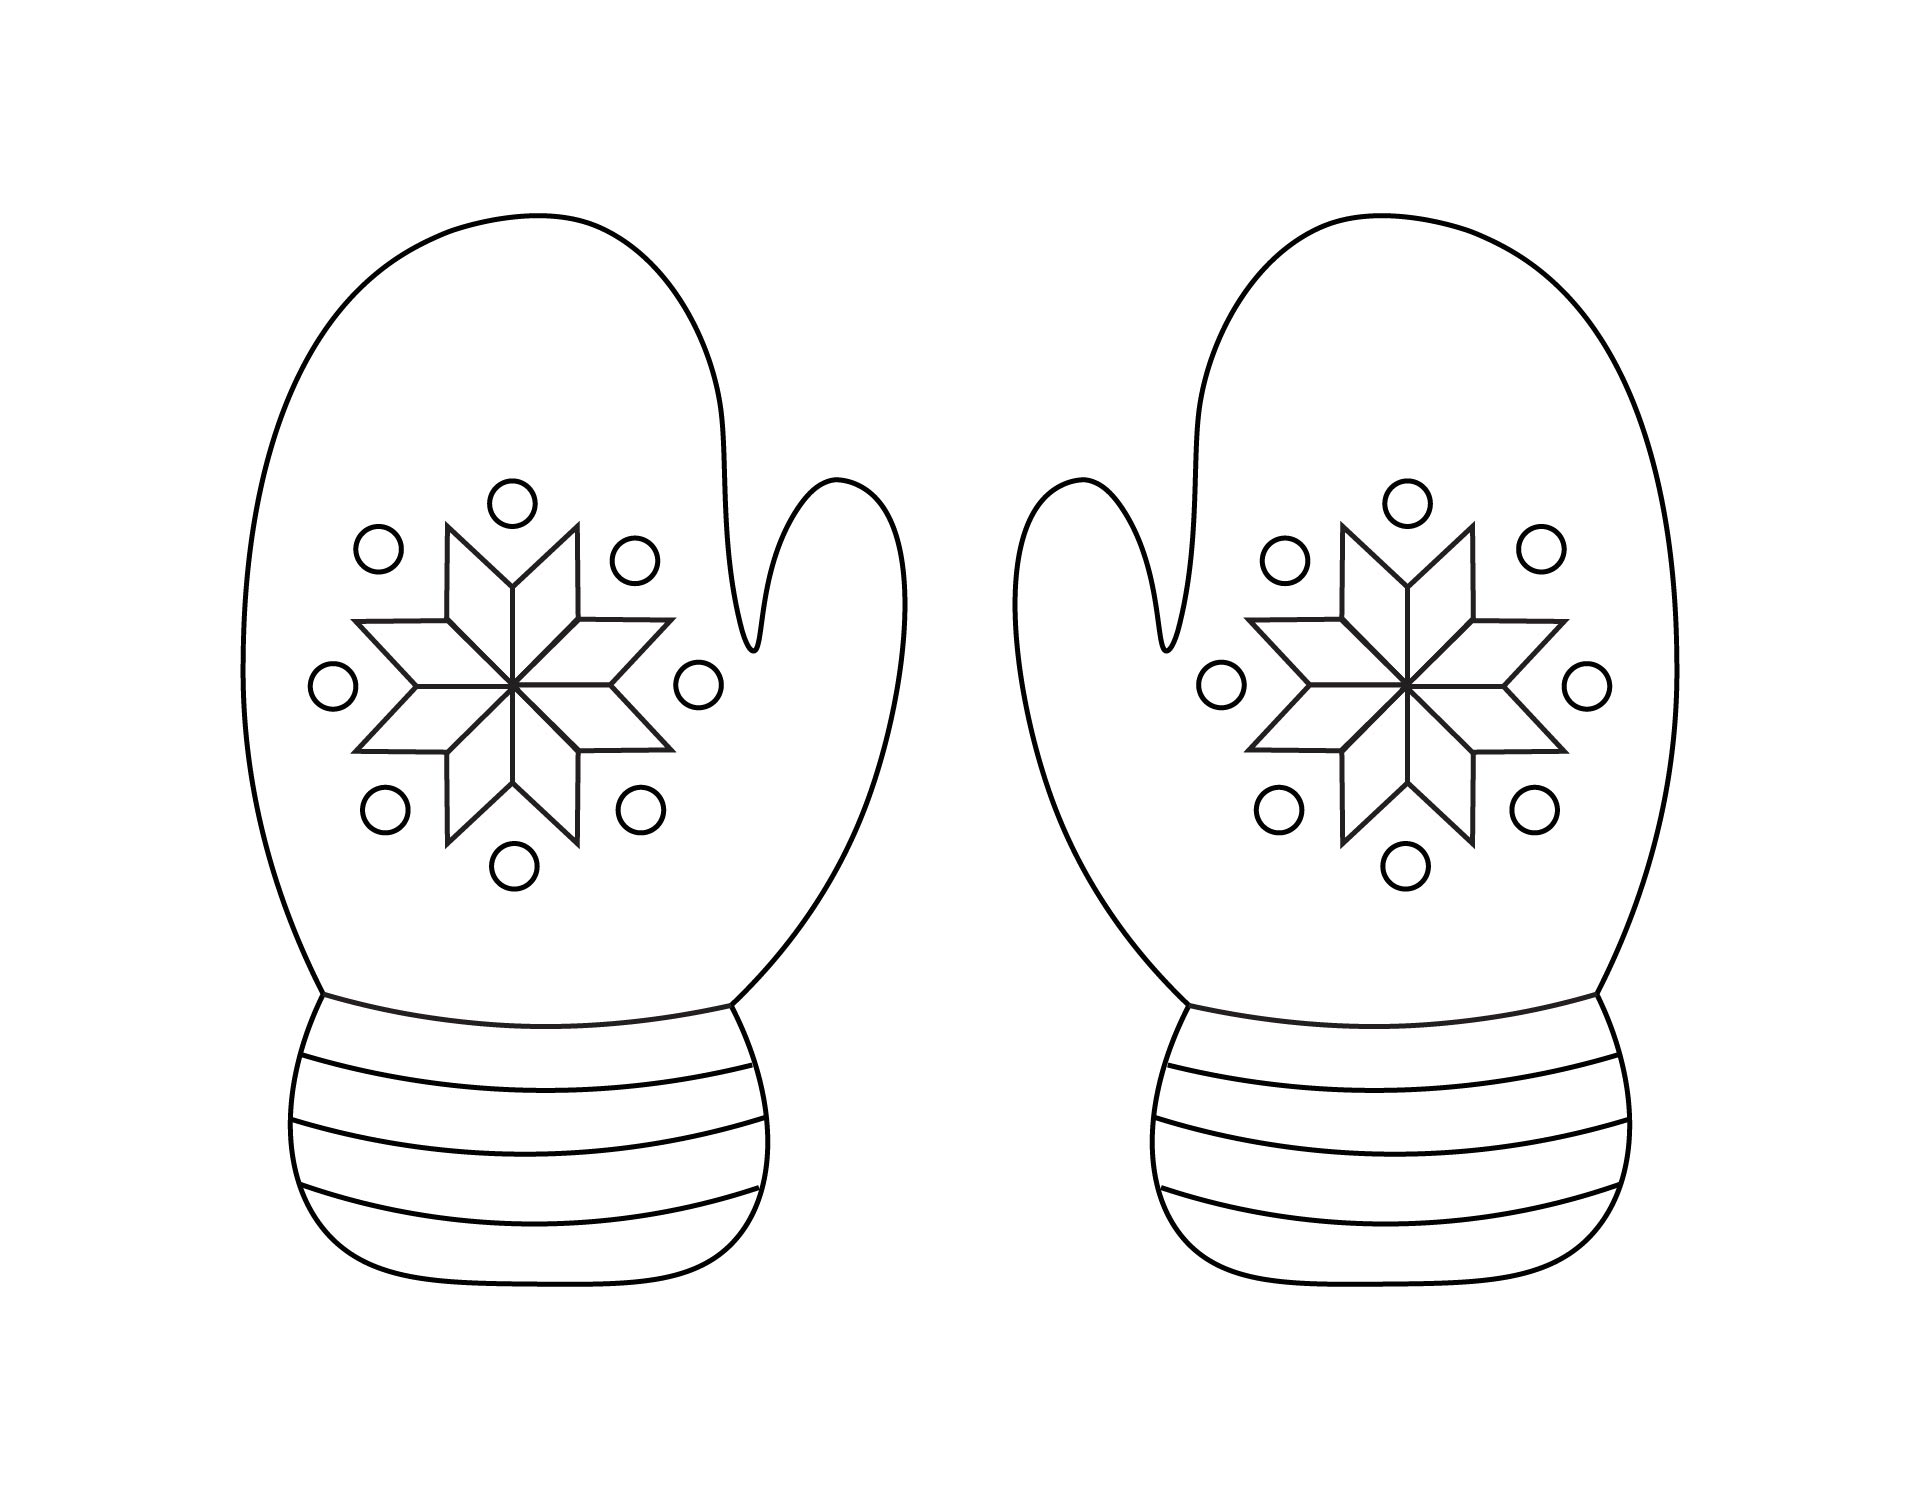
 Easy String Art Patterns

 Easy String Art Patterns

 Easy String Art Patterns

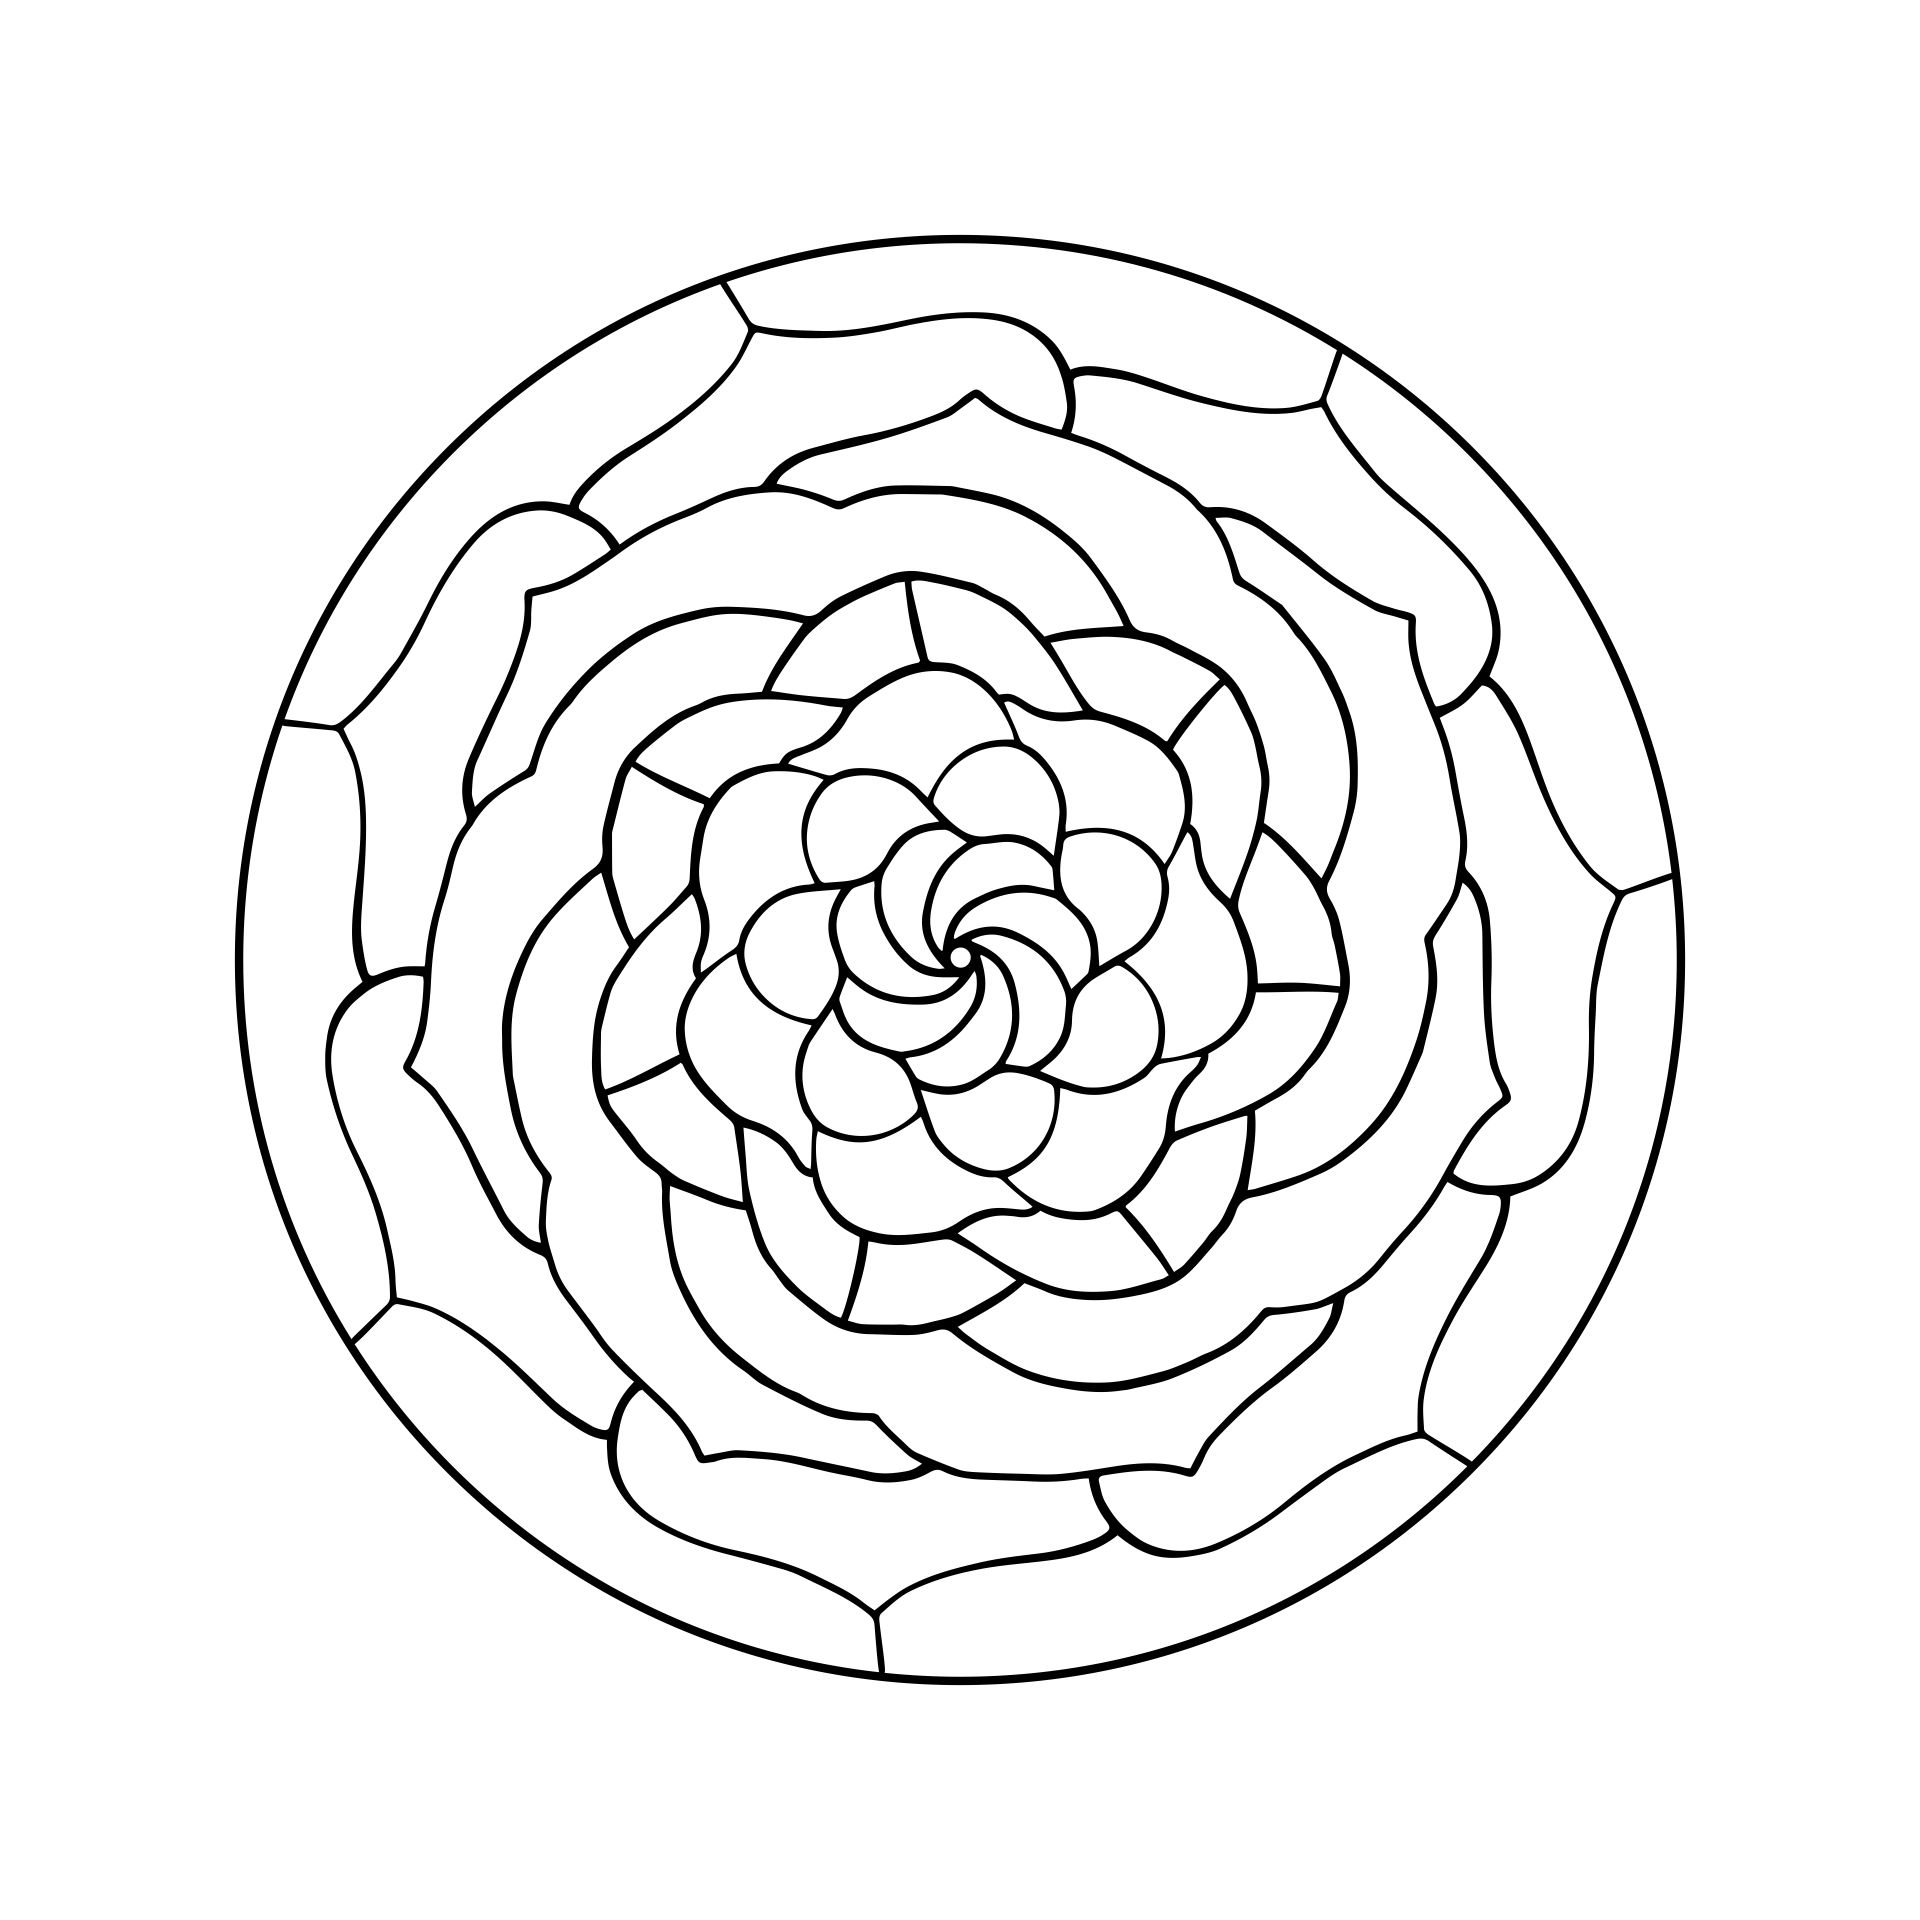
 Printable String Art Patterns

 Heart String Art Template

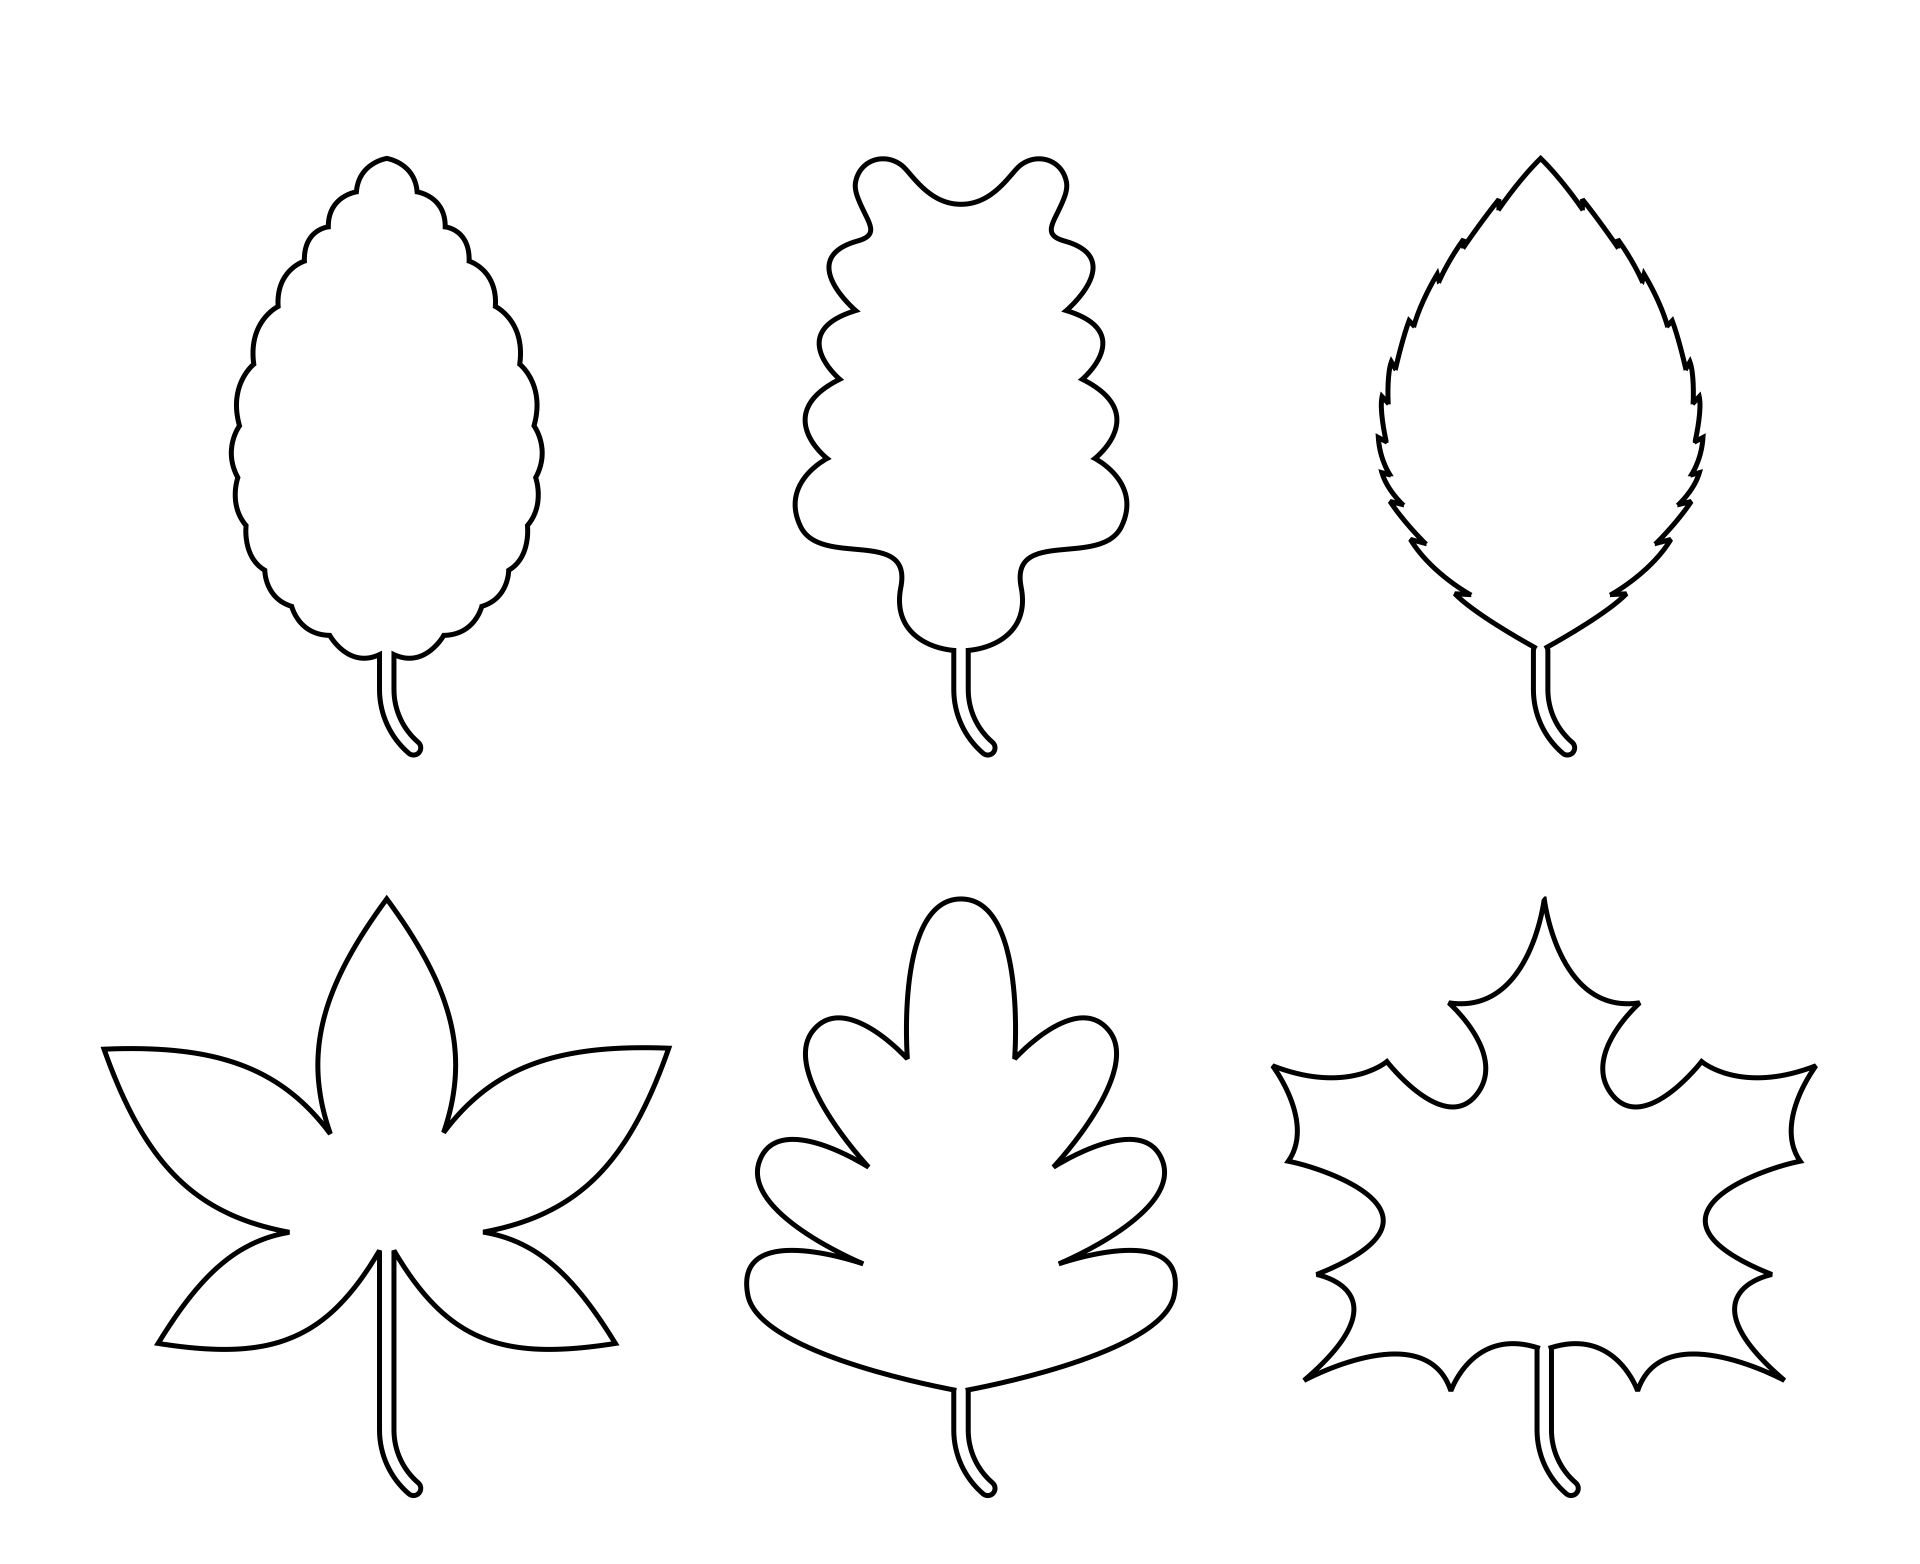
 String Art For Beginners Printable

 String Art Patterns With Numbers Printable
String art or pin-and-thread art is colored threads strung together in a pattern. The string art pattern is the dots that form a geometric pattern. The materials used to make string art are thread, rope, and wire. Because it is related to geometric patterns, string art is related to mathematical concepts.
Not only teaches you and your children about math concepts, string art also provides various benefits. Here are the benefits of making string art.
String art is a type of craft or artwork. Therefore, string art can help reduce stress. By having a low stress level, you will have a healthier lifestyle. So, string art can help you avoid the risk of high blood pressure, obesity, skin problems, and mental disorders.
String art helps improve brain performance. That's because there are geometric and mathematical concepts in the art. It can provide benefits to the performance of the brain of children and adults.
A study published in the journal of the American Academy of Neurology, art helps a person to reduce cognitive problems. In fact, as many as 73% of seniors who do art activities can avoid dementia. So, if you want to improve children's thinking skills, string art is one of the best ways.
With a good mood, you will be able to do daily activities well. If you are in a bad mood, it will affect many things in your life. Bad mood will also increase stress.
A study conducted by AnAJPH explains that art projects can help people manage pain and depression well. It is the result of self-reflection that is felt by people when doing creative activities. That's what helps you gain psychological resilience.
A good, active, and productive social life is important to improve your well-being. Social life can be obtained from togetherness with family and friends. Therefore, you can spend time with loved ones with useful activities. One of them is by making string art.
You can make string art together with family or friends. In this way, you will create good communication with others. It can help you create a good relationship with them. If you have good relationships with other people, it can improve your mental health.


Have something to tell us?
Recent Comments
Thank you for creating this helpful printable resource on Easy String Art Patterns. It's great to have access to clear and straightforward templates to explore this creative craft. Looking forward to getting inspired and trying them out!
Easy string art patterns printable are great for crafting beginners or those who want to embark on a new creative project, as they provide clear and simple designs to follow, making the process enjoyable and stress-free.
I found the Easy String Art Patterns Printable very helpful and straightforward. It made the entire string art process enjoyable and stress-free. Thanks for sharing this resource!