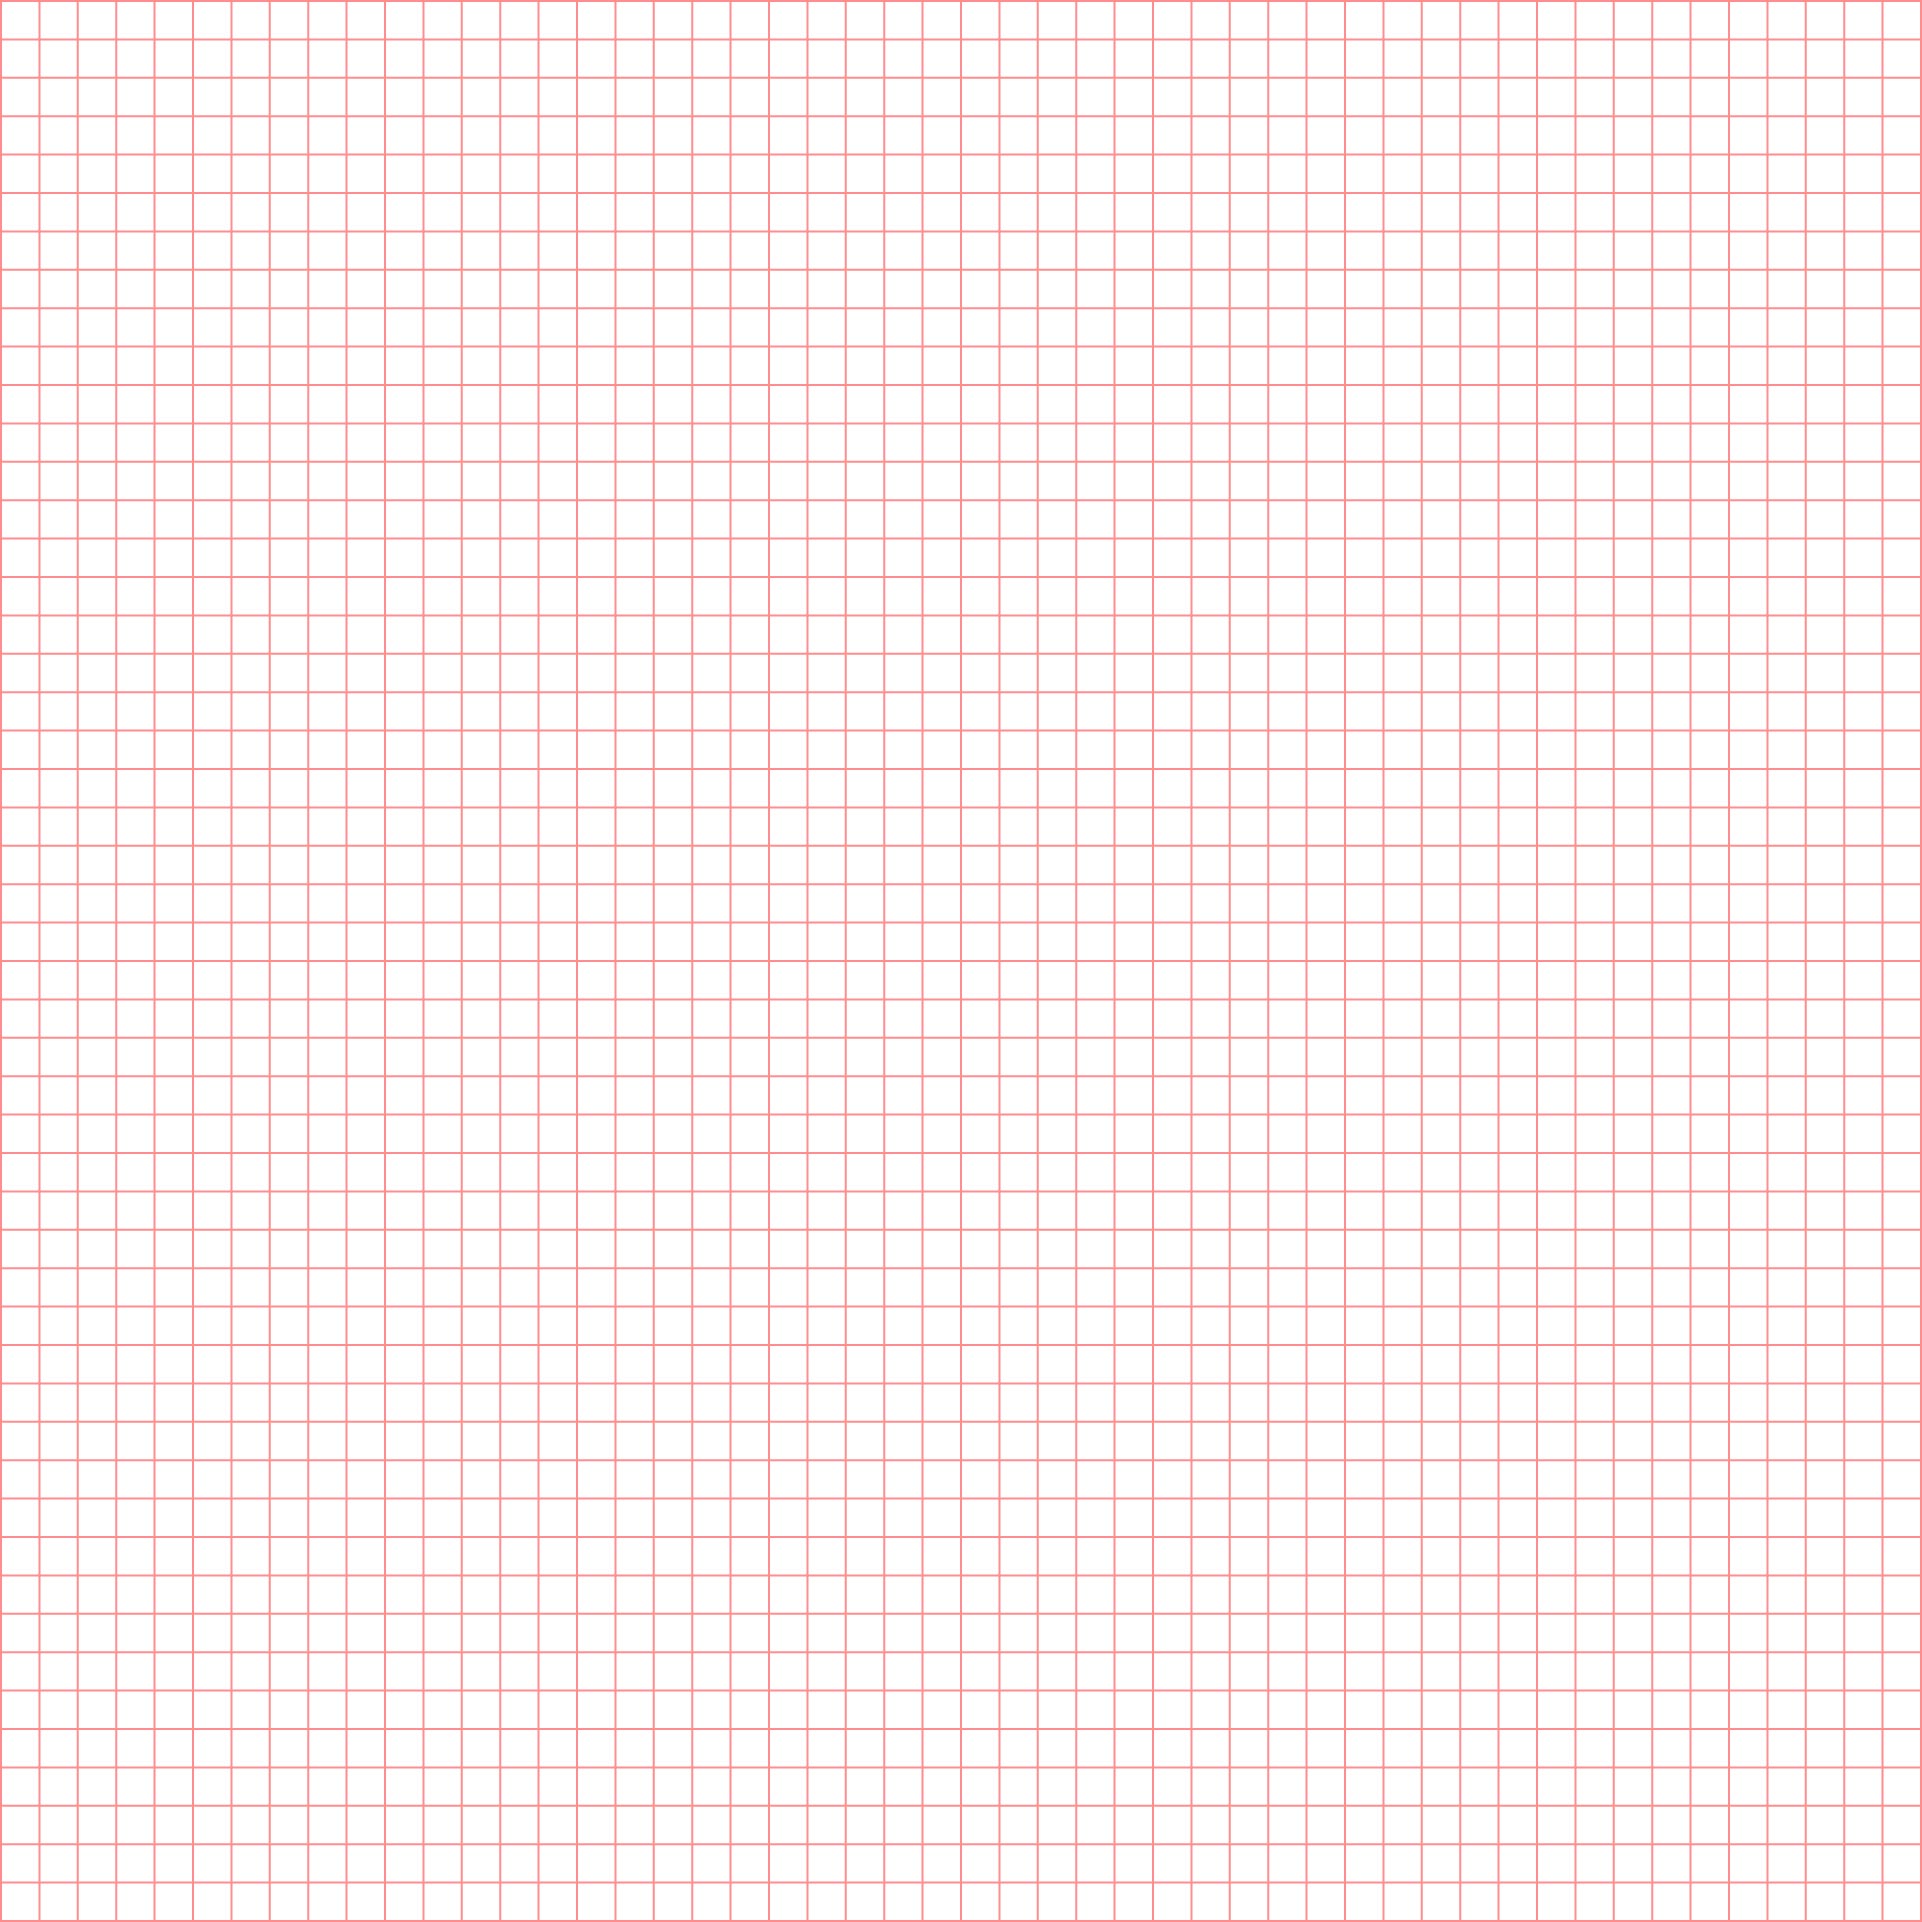
Printable grid graph paper is an essential tool for a wide range of projects, from planning a garden layout to solving complex mathematical equations. You can easily adapt it to your specific needs, whether for educational purposes, crafting, or professional designs, offering a clear and structured way to draw, plan, or calculate with precision. Having it at your fingertips means you can quickly draft or sketch anytime, enhancing your productivity and bringing your ideas to life with accuracy.

 Printable Grid Graph Paper

 Print Graph Paper PDF

 Printable Graph Paper with Axis

 Printable Graph Paper Template 11 X 17

 1/2 Inch Graph Paper Templates Printable

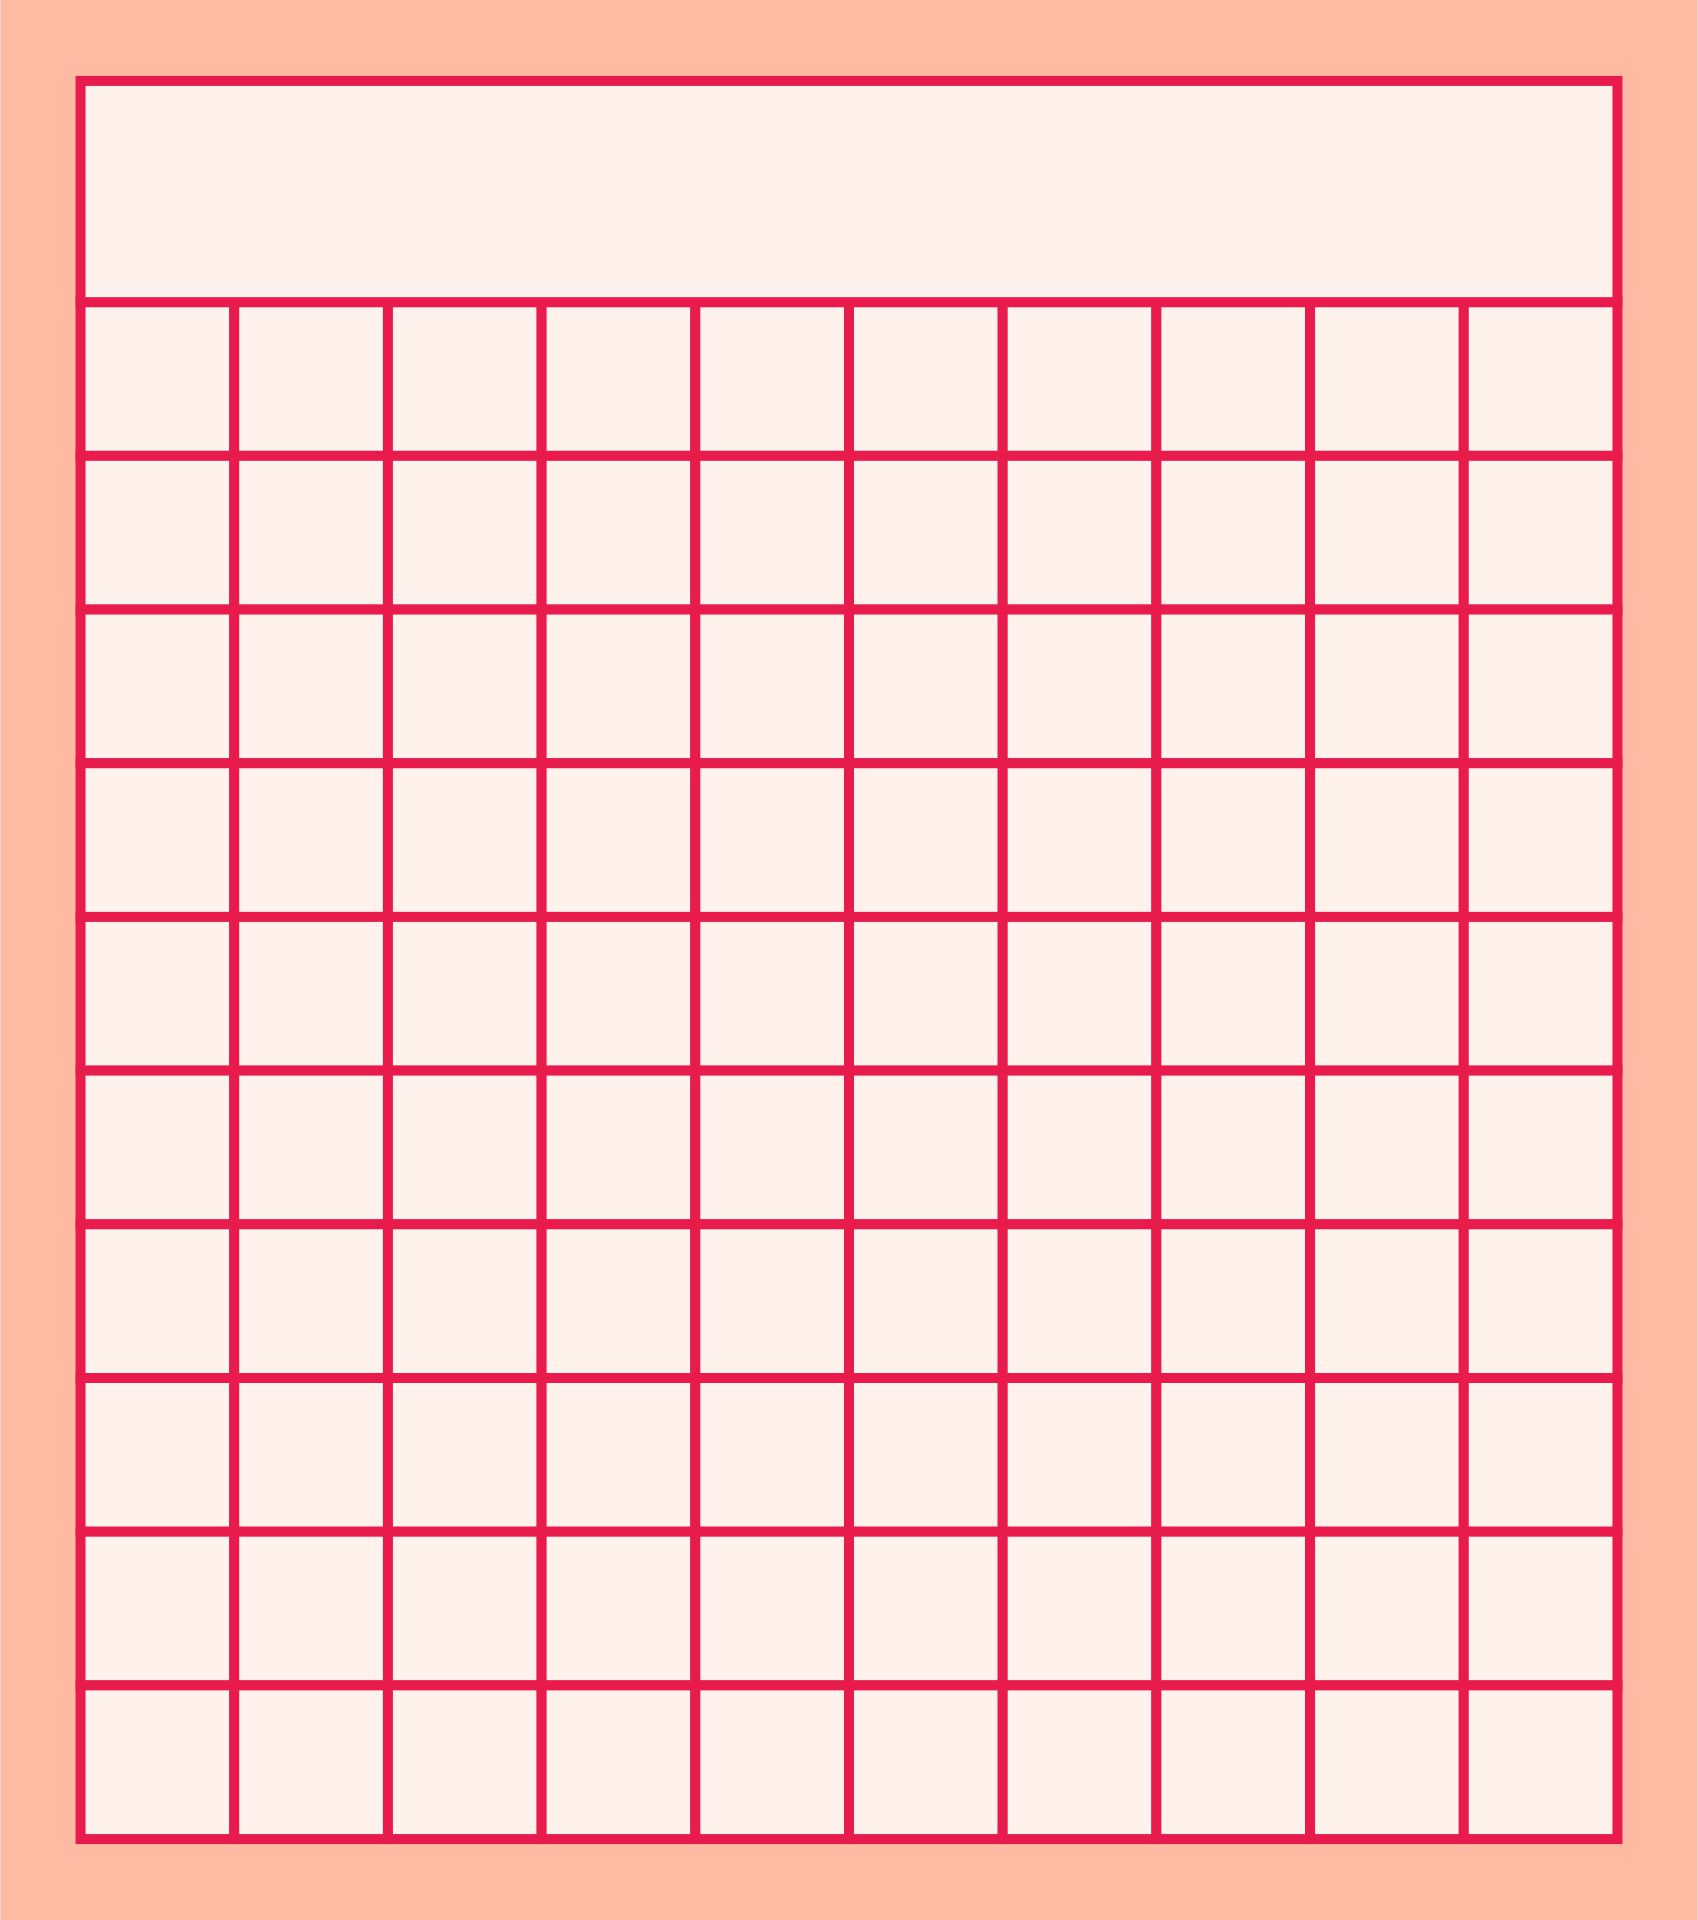
 Division Graph Paper Printable Template

 1cm Graph Paper Printable

 Printable Graph Paper In Any Color

 Regular Square Grid Paper Printable

 Printable Graph And Grid Paper Of All Sizes

 Printable 0.5 Cm Grid Paper Blue

 Full Page Printable Graph Paper

 Printable Graph Paper Template For Word

 Isometric Graph Paper Template Printable
With a Division Graph Paper Printable Template, you can streamline your mathematical work or projects. This type of template helps in accurately dividing sections, making it easier for you to do complex calculations or create detailed plans. It's particularly handy for students, teachers, and professionals who need a reliable guide for precision in their work.
Having the option to print graph paper in any color allows you to customize your worksheets or projects according to your preferences or needs. This customization can aid in differentiating various types of data visually, making your work not only more organized but also more appealing and easier to understand at a glance.
A 1cm Graph Paper Printable is crucial for projects that require exact measurements and scaling. You can use it for drawing, plotting graphs, or designing objects with precision. It is particularly useful for crafting, architecture, or any task that benefits from a clear and consistent scale.
Printable grid graph paper can be a vital tool for your projects, enhancing accuracy in drawing, planning, or mapping out ideas. You can easily customize the size and layout to fit your specific needs, making it perfect for mathematics, engineering, art, and more. This accessibility allows you to print exactly what you need, whenever you need it, enabling efficient and precise work.


Have something to tell us?
Recent Comments
Thank you for the Printable Grid Graph Paper! It's a great tool to organize my thoughts and sketches while staying organized. Highly recommended!
Great resource for visualizing data and organizing information. Love that I can print out exactly what I need without any hassle.
This printable grid graph paper has been a helpful tool in organizing my data and creating neat graphs. Thank you for this resource!