DIY Halloween bookmarks printable can transform your reading experience during the spooky season. By downloading these printables, you can quickly create unique bookmarks featuring classic Halloween motifs such as pumpkins, ghosts, and witches.
These bookmarks not only save your place in a book but also add a festive touch to your reading nook or library. Perfect for personal use or as thoughtful gifts for friends and family, they encourage reading and bring a little Halloween spirit into everyday life. Your crafting session becomes a fun, creative outlet, enhancing your enjoyment of seasonal books and stories.

 DIY Halloween Bookmarks Printable
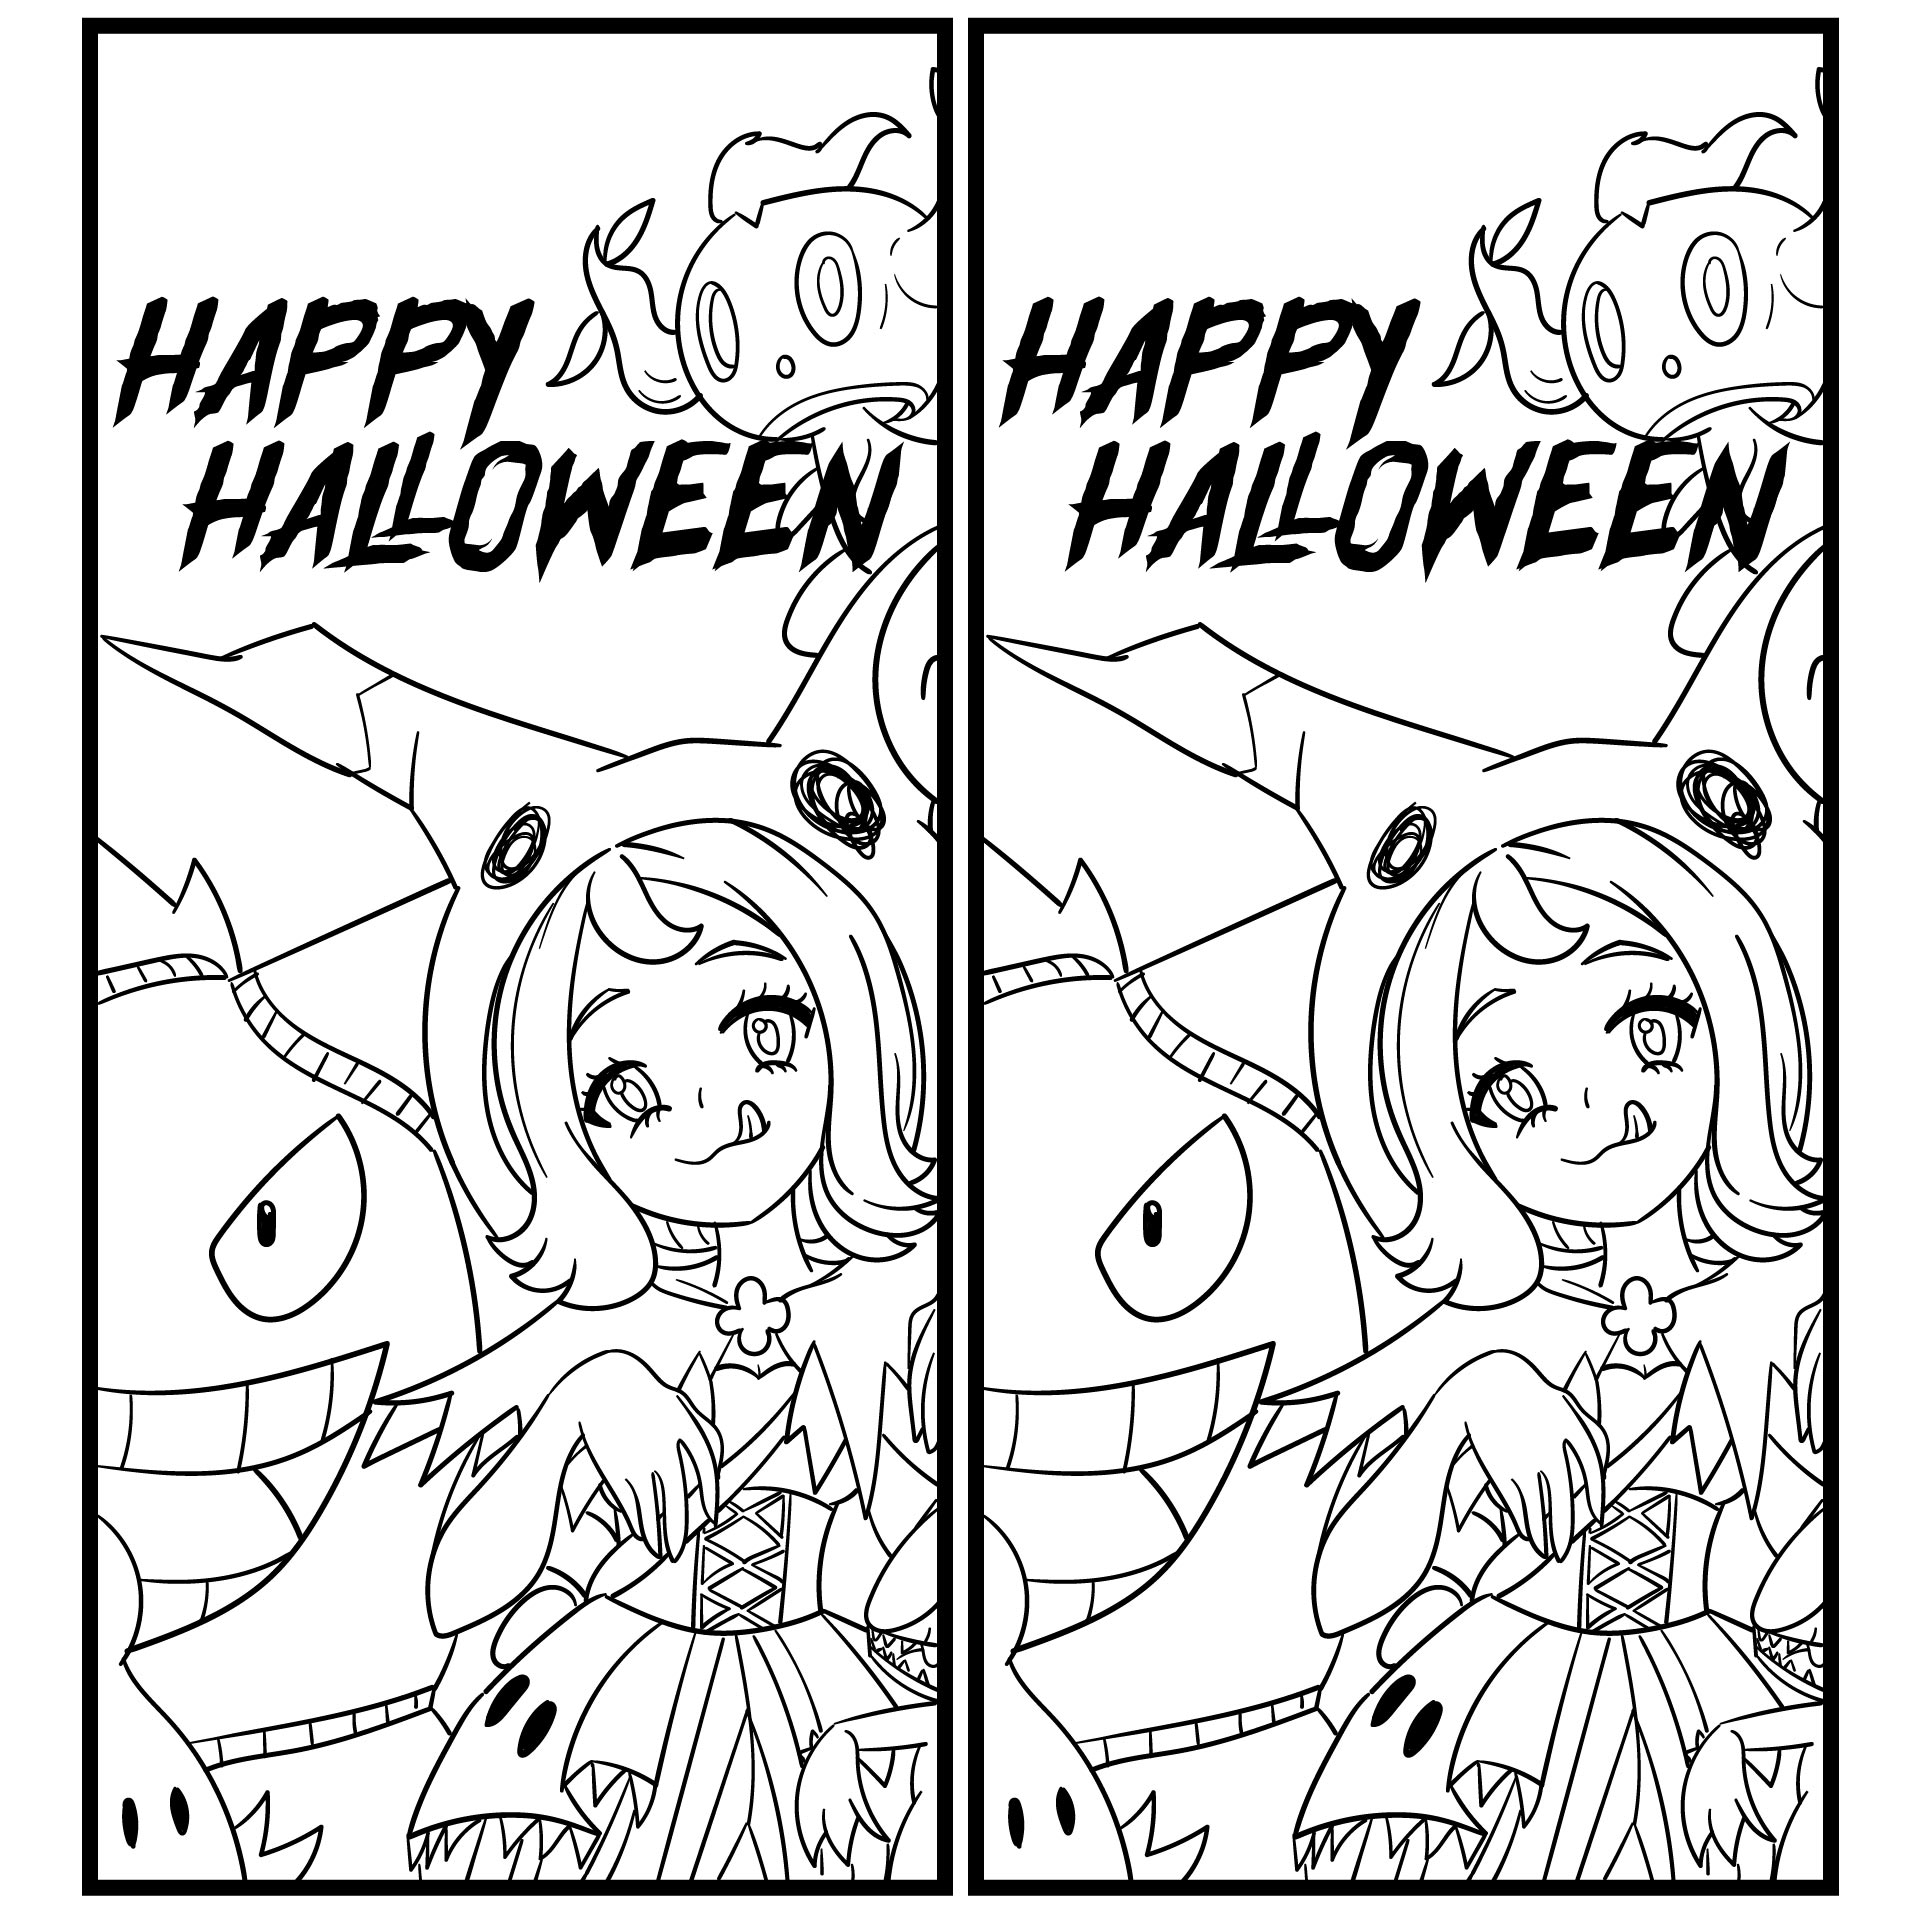
 Printable Halloween Bookmarks to Color

 Printable Cat Bookmarks

 Kids Printable Bookmarks

 Magnetic Kitty Printable Bookmarks

 Vintage Halloween Printables

 Halloween Bookmarks to Print

 Printable Halloween Bookmarks For Coloring

 Best Halloween Corner Bookmarks

 DIY Halloween Bookmarks Printable

 Printable Vampire DIY Bookmarks

 DIY Halloween Character Bookmarks Printable

 DIY Bat Corner Bookmarks Printable

 Cute Fall Boorkmarks To Color Printable

 Non Candy Halloween Mini Bookmark Treat Printable

 Jack O Lantern Bookmark Printable Template
Create a spooky reading experience with a Jack O Lantern Bookmark Printable Template. This easy-to-use template allows you to craft personalized pumpkin-themed bookmarks, perfect for adding a Halloween touch to your books. Not only does it make reading more enjoyable, but it's also a fun activity to get into the festive spirit.
Bring your favorite ghouls and ghosts to your pages with DIY Halloween Character Bookmarks. This printable comes with a variety of designs, letting you easily make unique bookmarks. It's a great way to encourage reading during the Halloween season, making it a hit for both kids and adults who enjoy a touch of spookiness in their reading nook.
Opt for a healthier Halloween treat with Non Candy Halloween Mini Bookmark Treat Printables. These bookmarks are perfect for giving away to trick-or-treaters or as party favors, offering a creative alternative to sweets. Your recipients will appreciate this thoughtful and practical gift, enhancing their reading experience while staying in the Halloween theme.


Have something to tell us?
Recent Comments
This DIY Halloween Bookmarks Printable is a fun and handy way to add a festive touch to my reading sessions. Love the creativity and simplicity of these printable bookmarks!
These DIY Halloween bookmarks printable offer the perfect opportunity to add a festive touch to your reading experience, allowing you to easily mark your place in a book while embracing the Halloween spirit.
Get in the Halloween spirit with these DIY printable bookmarks, perfect for adding a spooky touch to your reading routine or gifting to fellow book lovers. Simply print, color, and cut - a fun and creative way to celebrate the season while keeping your place in your favorite stories.