Creating Happy Halloween printable tags adds a festive touch to your holiday treats, gifts, and decorations.
You can personalize these tags to match any Halloween theme, ensuring your goodies stand out at parties or trick-or-treating. They simplify the process of adding a memorable and unique element to your Halloween favors, saving you time while enhancing the presentation of your holiday offerings.

 Happy Halloween Printable Tags
 Happy Halloween Tags Printable

 Happy Halloween Tags Printable

 Happy Halloween Tags Printable Free

 Printable Halloween Gift Tags

 Happy Halloween Tags Printable Free

 Happy Halloween Tags Printable Free

 Free Printable Halloween Tags For Goodie Bags

 Happy Halloween Gift Tag Free Printable

 Free Printable Halloween Treat Bag Tags

 Printable Cute Halloween Gift Tag

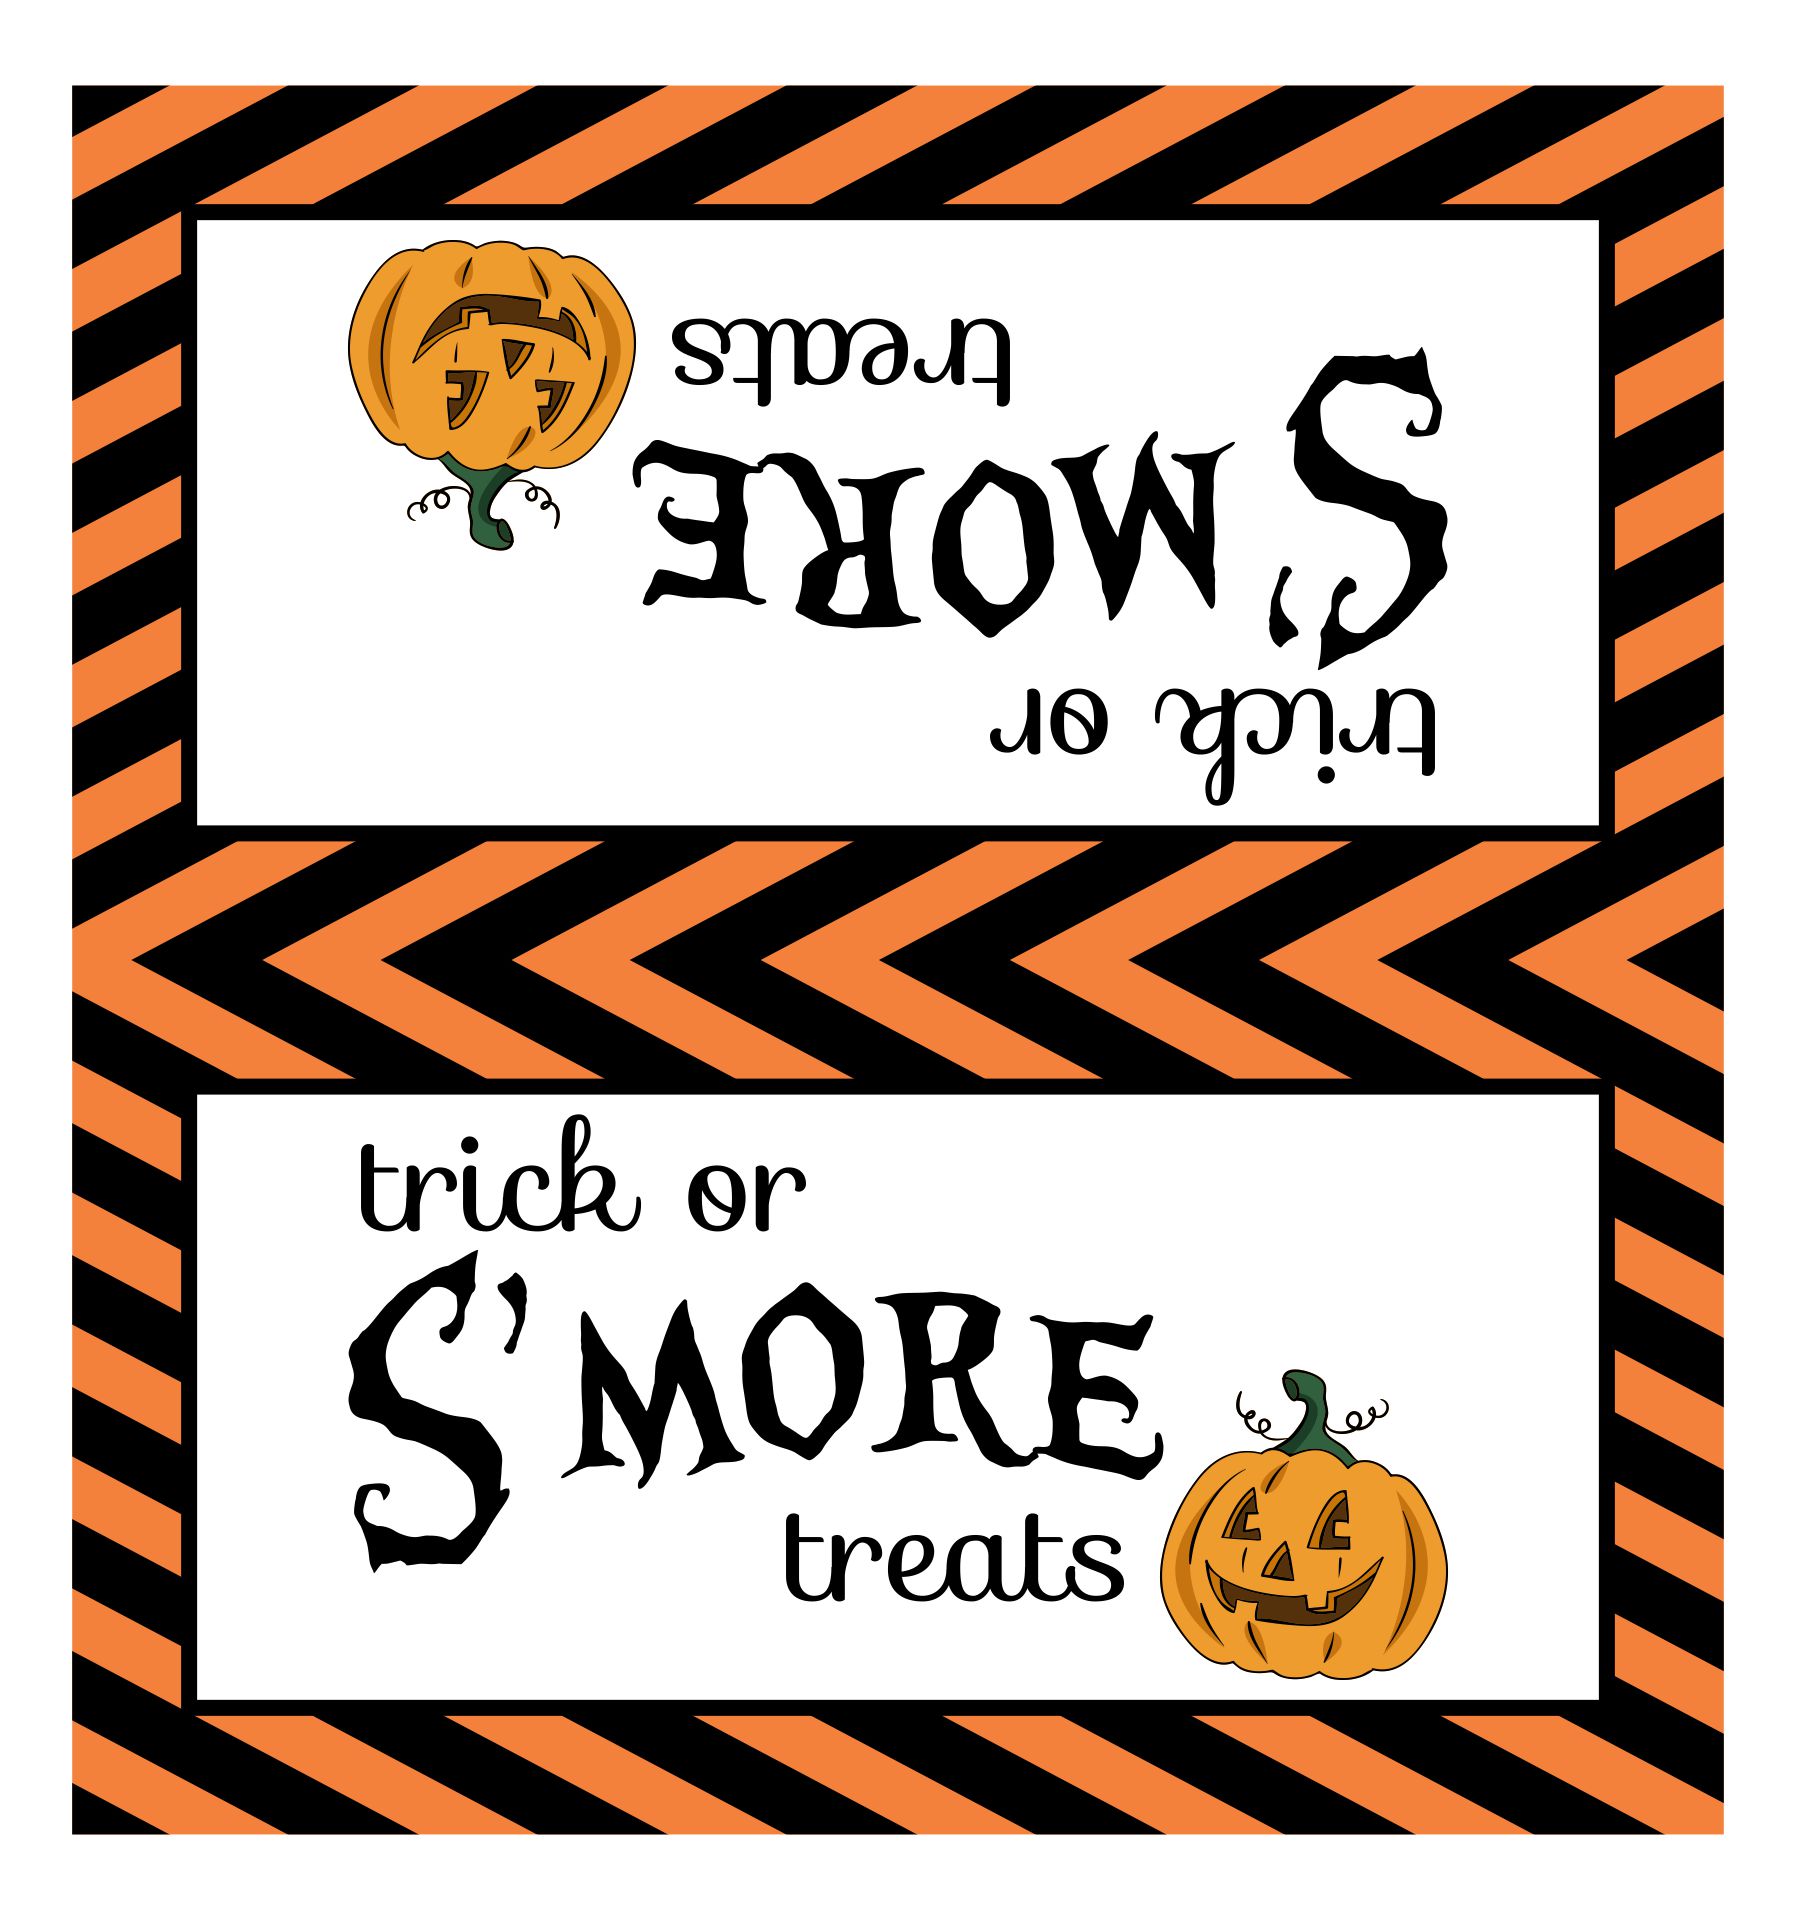
 Ghost Lollipops Printable Halloween Tags

 Printable Cute Halloween Gift Tag Witch, Frankenstein, Ghost, Jack-O-Lantern Characters

 Printable Halloween Tags & Bookrmarks

 Candy Box Decoration Tags Printable

 Happy Halloween Party Printable Thank You Tags
Make your Halloween treats stand out with Ghost Lollipops Printable Halloween Tags. These tags add a spooky yet adorable touch to lollipops, making them perfect for party favors or trick-or-treat giveaways. Your guests will appreciate the extra effort you put into personalizing their goodies.
Adding a personal touch to your Halloween gifts is easy with Cute Halloween Gift Tags featuring Witch, Frankenstein, Ghost, and Jack-O-Lantern characters. These tags can make any present more festive and are perfect for both kids and adults. Your gifts will surely stand out and bring a smile to everyone's face.
For those who love both reading and Halloween, Printable Halloween Tags & Bookmarks are a creative way to mark your place in a spooky story. These themed bookmarks double as great party favors or classroom gifts, encouraging reading while keeping the Halloween spirit alive. Your friends and family will appreciate this thoughtful and unique gift.
Happy Halloween tags printable offer a quick and easy way to add a personal touch to your Halloween treats or party favors. By downloading and printing these tags, you can avoid the last-minute rush at stores and instead focus on customizing your gifts with unique designs that fit your Halloween theme.
This can save you time and allow you to add a personal, creative touch to your festivity preparations, making your gifts or decorations stand out.

 Happy Halloween Labels Printable Free

 Happy Halloween Tags Printable

 Happy Halloween Printable Labels

 Printable Halloween Gift Bag Tags

 Printable Cute Halloween Gift Tag Happy Halloween

 Happy Halloween Printable Labels

 Happy Halloween Treat Bag Tags

 Happy Halloween Gift Tag Free Printable

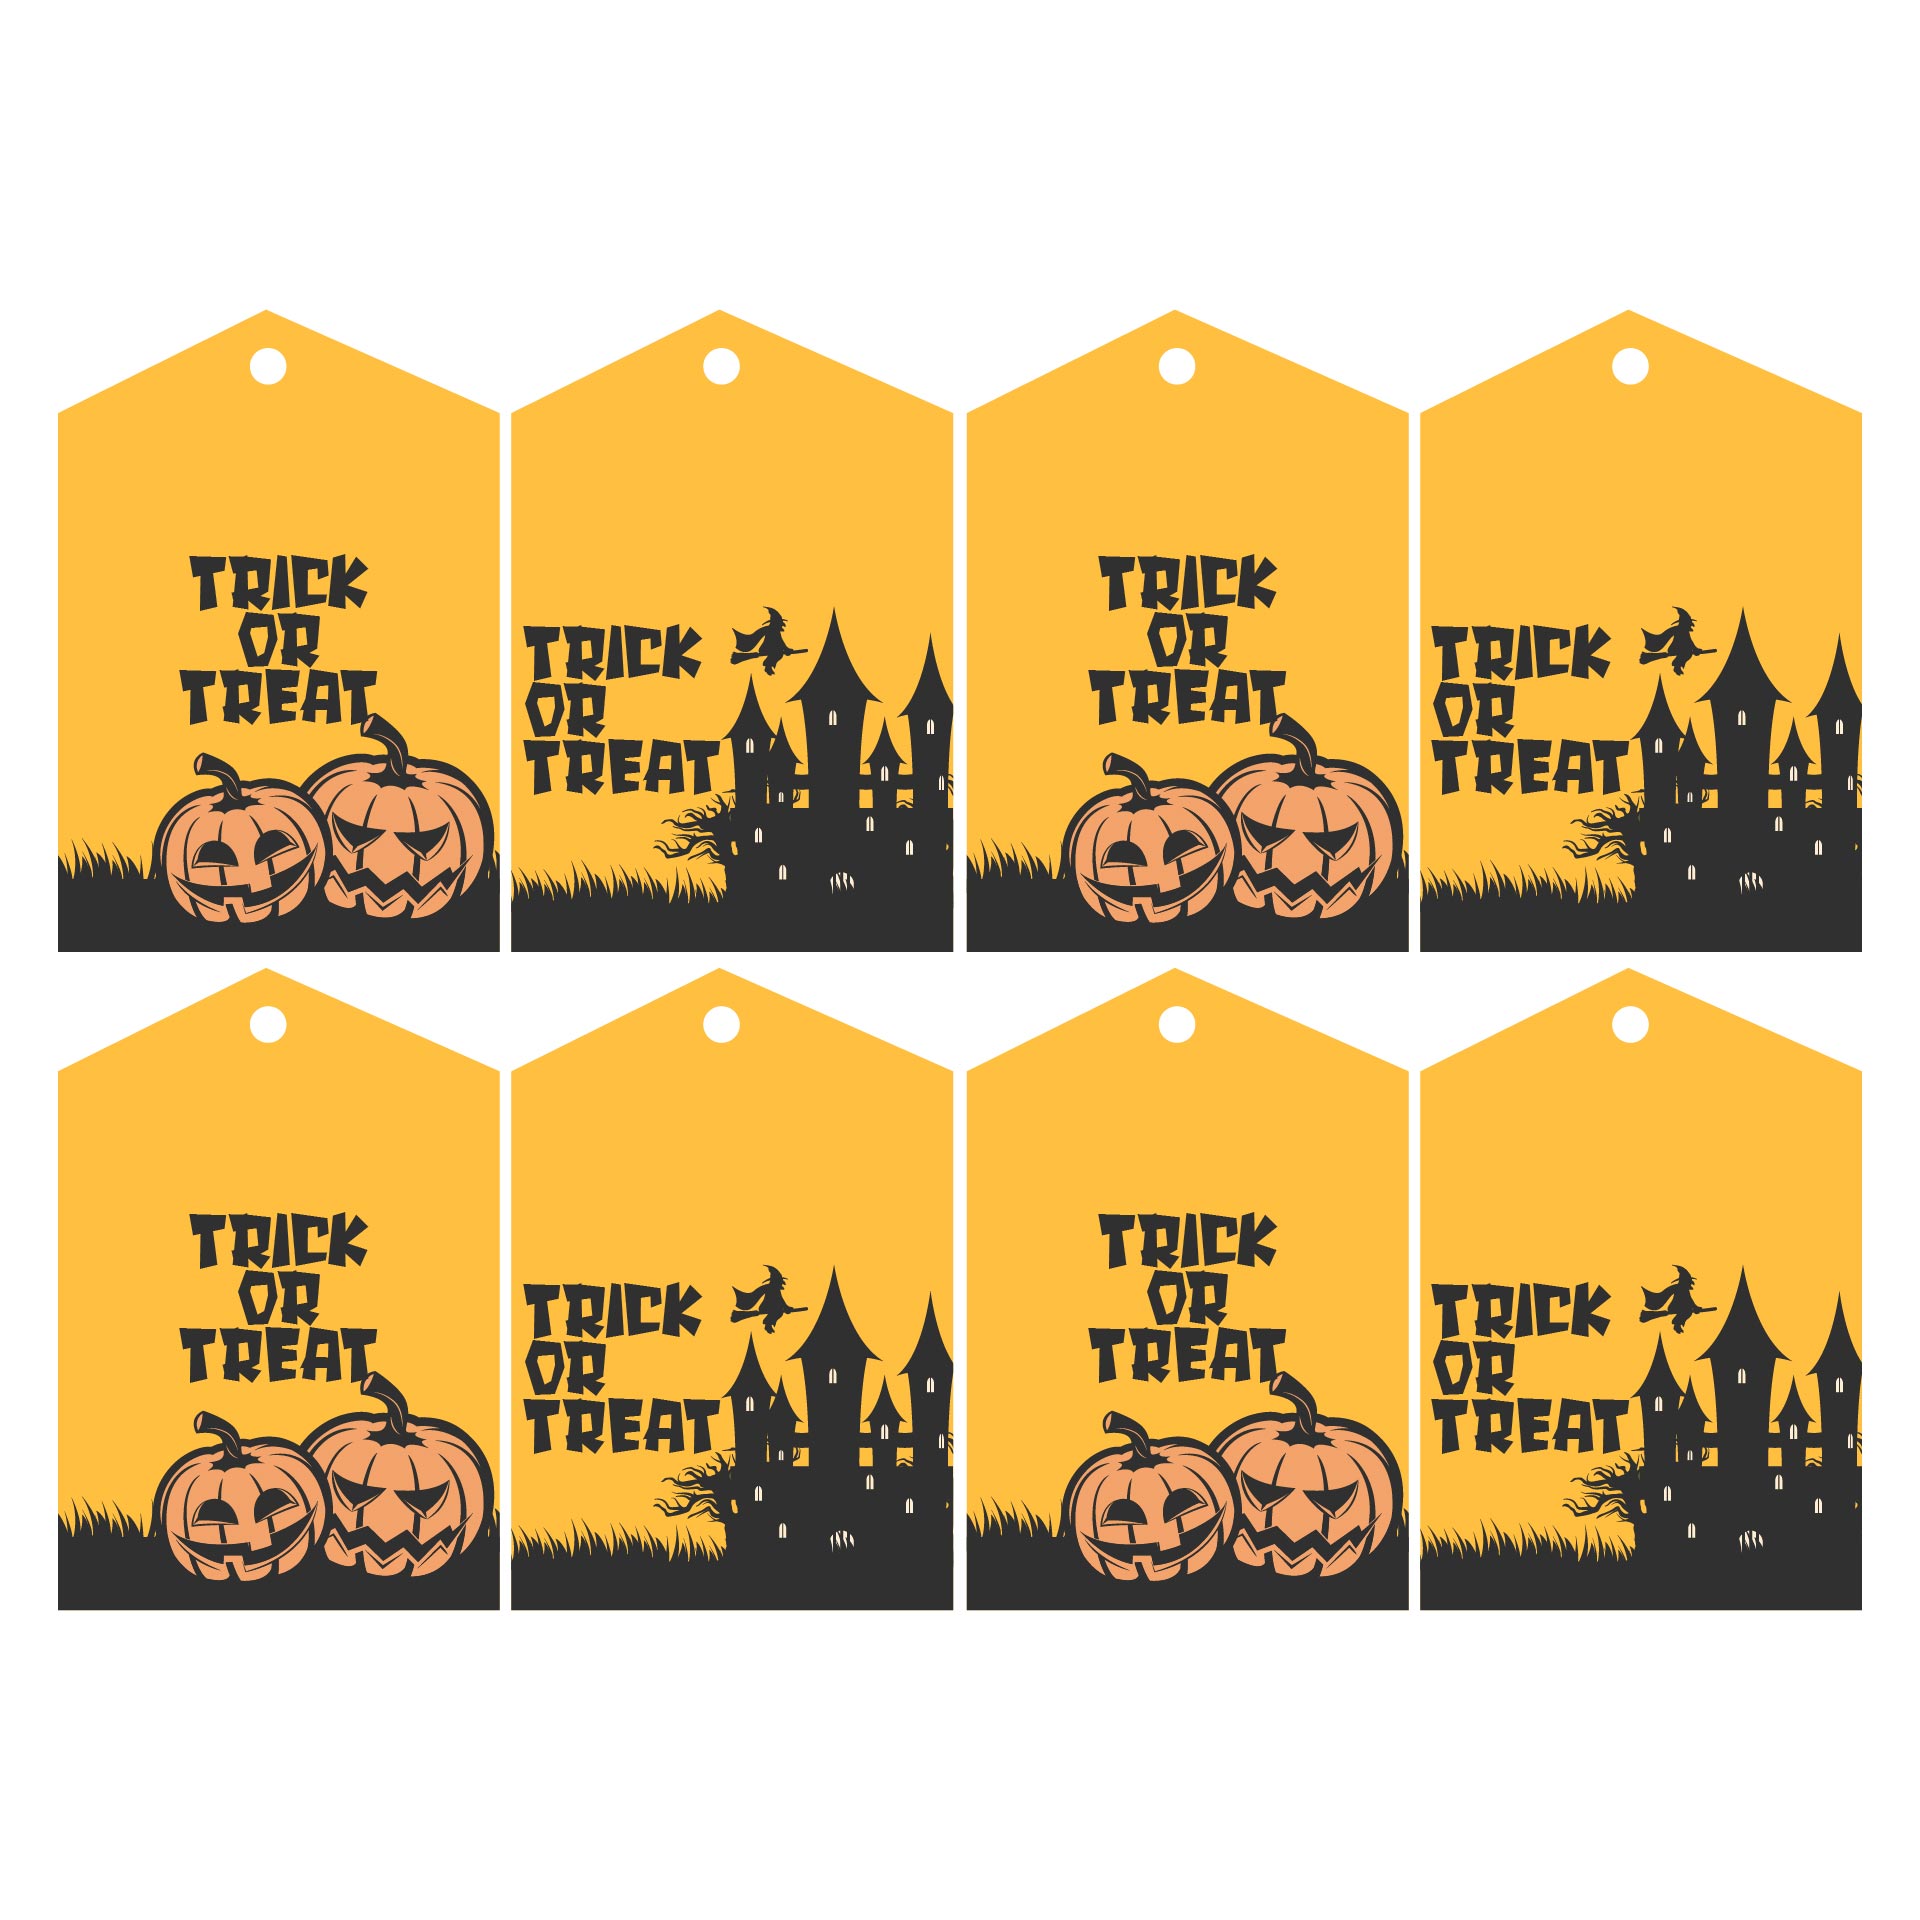
 Happy Halloween Gift Tag Trick Or Treat

 Halloween Tags Printable Happy Halloween Bat

 Printable Halloween Tags For Easy Small Gifts

 Printable Halloween Treat Tags

 Happy Halloween Treat Bag Tags In Black And White Printable

 Adorable Printable Halloween Tags For Booing Friends And Neighbors

 Darling Personalized Halloween Tag Printable
Your Halloween treats can stand out with eye-catching printable Halloween treat tags, perfect for adding a personalized touch to goodies for friends and neighbors. These tags are not only a creative way to package your treats but also help in spreading the festive spirit with unique designs that cater to everyone's taste.
Boost the fun of your neighborhood 'booing' tradition with adorable printable Halloween tags. These tags can quickly turn a simple act of kindness into a memorable moment, making your boo baskets the talk of the block. Easy to print and customize, they’re your secret ingredient for creating lasting Halloween memories.
Happy Halloween printable labels are your go-to for giving any Halloween party favors, gifts, or treats that final spooky touch. These labels, easy to customize and apply, ensure your Halloween gifts not only look fantastic but also carry a personal feel that friends and family will appreciate and remember.


Have something to tell us?
Recent Comments
These Happy Halloween Printable Tags are a simple and delightful way to add a festive touch to any Halloween celebration. They are easy to print and use, making them a handy resource for decorating and personalizing party favors or gifts. Highly recommended!
These Happy Halloween Printable Tags are a perfect addition to my party favors! Love the cute designs and they are so easy to print. Thank you for making Halloween preparations a breeze!
These happy Halloween printable tags can be easily printed and attached to your Halloween treats or party favors, adding a festive touch and personalization to your celebrations.